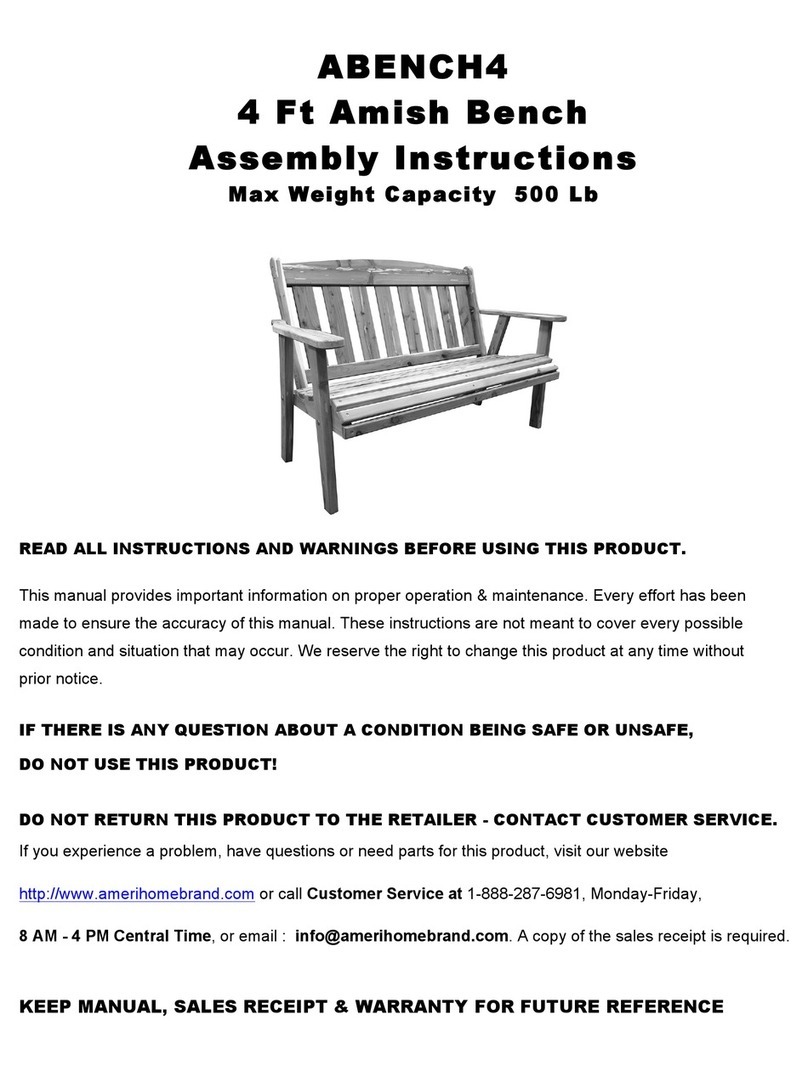
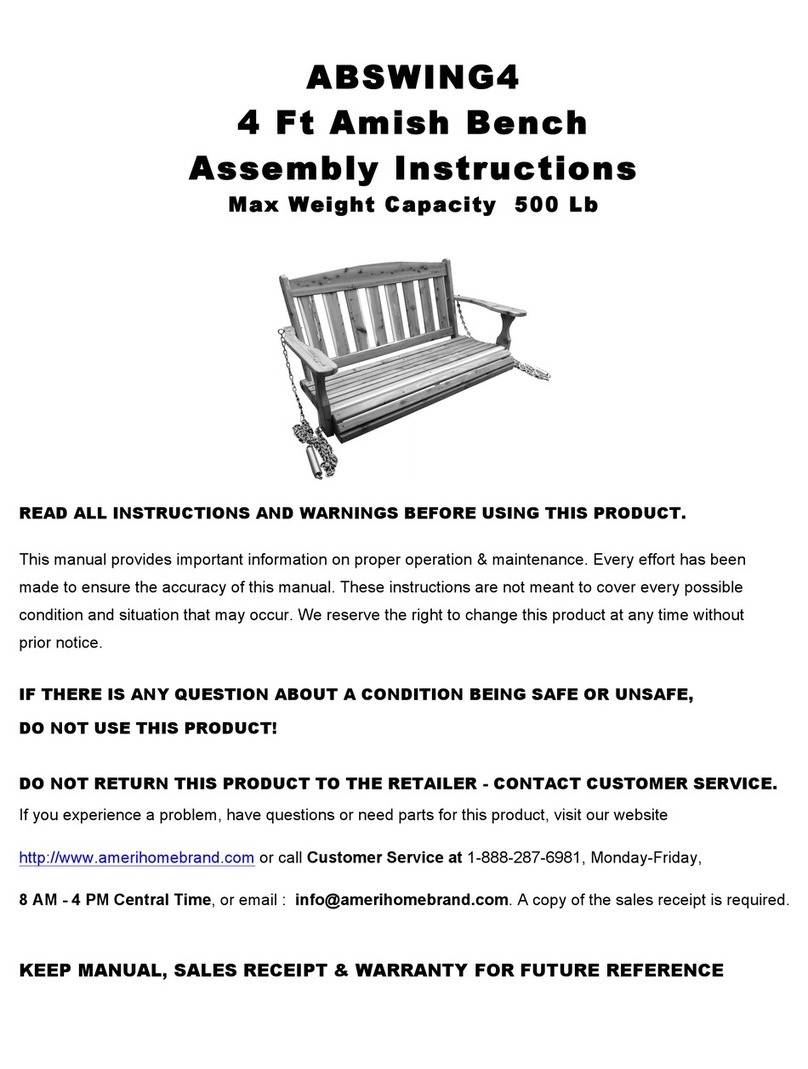
Amerihome ABGLIDER4 User manual

ABGLIDER4
4 Ft Amish Bench Glider
Assembly Instructions
Max Weight Capacity 300 Lb
!
!
READ ALL INSTRUCTIONS AND WARNINGS BEFORE USING THIS PRODUCT.
This manual provides important information on proper operation & maintenance. Every effort has been
made to ensure the accuracy of this manual. These instructions are not meant to cover every possible
condition and situation that may occur. We reserve the right to change this product at any time without
prior notice.
IF THERE IS ANY QUESTION ABOUT A CONDITION BEING SAFE OR UNSAFE,
DO NOT USE THIS PRODUCT!
DO NOT RETURN THIS PRODUCT TO THE RETAILER - CONTACT CUSTOMER SERVICE.
If you experience a problem, have questions or need parts for this product, visit our website
http://www.amerihomebrand.com or call Customer Service at 1-888-287-6981, Monday-Friday,
KEEP MANUAL, SALES RECEIPT & WARRANTY FOR FUTURE REFERENCE!

HARDWARE
!
(A) 4 7/16" Carriage Bolts 2 pieces
(E) Locking Nuts 24 pieces
(G) Washers 24 pieces
TOOLS YOU WILL NEED
• Hammer • 1/2" Ratchet • 1/2" Wrench
PARTS LIST
Right Arm
Rest
(B) 3 15/16" Carriage Bolts 4 pieces
Left Arm Rest
Seat
Spacer
4 Pieces
Base Legs
2 Pieces
(H) Gliding Brackets 4 pieces
(F) Nuts 8 pieces
(C) 8 7/8" Carriage Bolts 4 pieces
(I) 3 1/2" Carriage Bolts 6 pieces
(D) 2 1/2" Carriage Bolts 8 pieces
Bench Back
Top Support
2 Pieces
47” Cross Support
2 Pieces
44” Cross Support
1 Pieces

BASE ASSEMBLY
1.!Lay!2!pieces!of!Base!Legs!parallel!to!each!other.!Connect!by!aligning!holes!in!44”!cross!brace!with!holes!in!the!center!
of!each!base!leg.!Place!3!½”!carriage!bolt!through!both!base!leg!and!44”!cross!brace!and!add!washer!and!locking!nut!to!
the!bottom!side!of!the!base!leg.!DO!NOT!TIGHTEN!BOLT.!You!will!first!need!to!set!the!carriage!bolt!by!tapping!in!place!
with!a!hammer.!You!will!next!flip!over!and!use!½”!long!ratchet!to!make!locking!nut!snug.!You!will!need!to!be!able!to!
adjust!the!legs!in!order!to!make!sure!base!is!square!in!future!steps.!!
!
2.!Next!you!will!need!to!attach!the!47”!cross!support!to!the!top!supports.!Place!the!47”!cross!braces!parallel!to!each!
other!on!the!ground.!Next!place!the!top!support!on!top!of!the!cross!supports!aligning!the!2!middle!holes!of!the!top!
support!with!the!two!holes!on!the!ends!of!each!cross!support.!
!!!!!!!!!!! !
Next!you!will!place!a!4!½”!carriage!bolt!through!the!aligned!holes!and!secure!with!a!washer!and!locking!nut!on!the!back.!
Be!sure!to!set!carriage!bolt!by!tapping!in!place!with!a!hammer!before!tightening!the!locking!nut!with!a!½”!long!ratchet.!!!
!
!!! !
3.!Take!the!four!spacers!and!set!them!on!top!of!the!base!legs!you!assembled!in!step!one.!!Be!sure!you!have!aligned!the!
holes!in!base!legs!with!the!holes!in!the!spacers.!!
!
Carriage Bolts

4.!You!will!now!place!the!part!of!the!base!assembled!in!Step!2!on!top!of!the!spacers.!Be!sure!to!align!the!holes!on!the!
top!support!with!the!holes!in!the!spacers.!See!photo!below.!!
!
5.!Next!insert!the!4!pieces!8!7/8”!carriage!bolts!in!each!of!the!four!holes.!It!will!run!through!the!top!support,!the!spacer!
and!the!leg!base.!You!will!secure!by!taping!in!place!with!a!hammer!and!tighten!using!a!washer!and!locking!nut!on!the!
underside!of!the!base!leg.!See!photos!below.!!
!
6.!Your!base!should!now!be!squared!and!you!can!complete!tightening!the!two!bolts!from!step!one!on!the!underneath!
side!of!the!leg!base!in!the!center.!!
!
!
!
!
!
!
!
!
!
Carriage Bolts

BENCH ASSEMBLY
1. You!will!need!to!lay!the!bench!seat!on!the!ground!and!place!bench!back!in!between!the!extensions!of!the!base!
seat.!You!will!need!to!align!the!holes!at!the!back!of!the!bench!seat!and!the!bottom!of!the!bench!back.!Insert!a!3!
½”!carriage!bolt!(from!inside!out)!through!the!bench!back!and!bench!seat.!See!photo!below.!NOTE:!DO!NOT!SET!
CARRIAGE!BOLT!OR!SECURE!WITH!LOCKING!NUT.!THIS!STEP!IS!TO!JUST!HOLD!THESE!TWO!PIECES!TOGETHER!
AND!IN!PLACE!FOR!NEXT!STEP.!
!
!!!!!!!!!!!!!! !
!
2. Attach!the!arm!rest!to!the!bench!seat!and!the!bench!back.!!
a. You!will!need!the!box!the!product!was!shipped!in,!left!arm!rest,!right!arm!rest,!2!pieces!4!½”!carriage!
bolt,!2!pieces!3!½”!carriage!bolt!!
b. Place!the!box!the!product!was!shipped!in!on!its!side!and!place!attached!bench!back!and!bench!seat!on!
top!as!shown!in!the!photo!below.!Be!sure!you!stabilize!the!box!so!it!does!not!fall!over!and!damage!the!
product!or!cause!injury.!!
!
!
c. Next!you!will!take!the!left!arm!rest!and!insert!a!3!½”!carriage!bolt!in!the!front!leg!of!the!arm!rest!and!a!4!
½”!carriage!bolt!in!the!back!leg!of!the!arm!rest.!You!will!not!push!them!all!the!way!through.!You!will!
insert!them!just!so!they!are!showing!on!the!opposite!side!of!the!wood.!These!are!the!holes!midZway!up!
the!leg!of!the!arm!rest.!See!photo!below.!!

!
3. You!will!then!align!the!bolts!with!the!preZdrilled!holes!on!the!left!side!of!the!chair!seat.!!
Note:!the!bolt!in!the!back!leg!of!the!arm!rest!will!run!through!the!leg!of!the!arm!rest,!the!seat!
bottom!and!the!bottom!of!the!chair!back.!This!should!push!the!3!½”!carriage!bolt!in!the!chair!
back!and!seat!bottom!(which!was!inserted!in!step!1)!out.!!
!
a. Repeat!steps!2!and!3!on!the!opposite!side!and!tighten.!Use!hammer!to!set!carriage!bolts.!Next!use!½”!
ratchet!to!tighten!all!bolts!with!a!washer!and!locking!nut.!
!
4. Next!you!will!align!the!preZdrilled!holes!in!the!back!of!the!arm!rest!and!the!middle!of!the!chair!back.!!
!
4 1/2”
Carriage Bolt
in Back Leg
3 1/2”
Carriage Bolt
in Back Leg
Left Arm Rest

a. Insert!3!½”!carriage!bolt.!Use!hammer!to!set!the!carriage!bolt.!Next!tighten!with!washer!and!locking!nut!
using!½”!wrench.!!
!
b. Repeat!on!Opposite!side!
ASSEMBLING BENCH AND BASE
!
1. On!top!support!you!should!still!have!two!holes!in!the!front!and!back.!You!will!take!a!2!½”!carriage!bolt!and!place!
through!each!hole.!This!bolt!will!run!from!the!inside!out.!You!will!next!place!a!washer,!regular!nut,!gliding!brace,!
and!locking!nut!on!the!carriage!bolt.!Be!sure!to!set!the!carriage!bolt!before!tightening!the!regular!nut!and!
locking!nut.!!Be!sure!to!note!how!the!gliding!brackets!are!placed!on!the!carriage!bolt!in!below!photos.!
!!!!!!!! !
!
!
!
!
!
!
Placement of
Gliding Brackets

2. Next!place!bench!over!top!of!the!base.!!
!
!
3. You!will!now!repeat!the!previous!step!only!this!time!you!will!place!bolt!through!the!lowest!hole!on!the!leg!of!the!
arm!rest!running!the!bolt!from!outside!in.!Then!you!will!place!washer,!locking!nut,!gliding!brace!(which!is!already!
attached!to!the!base),!and!locking!nut.!Tighten!and!you!are!complete.!
!!!!!!!!!!!!!!!!!! !
!
!
Table of contents
Other Amerihome Outdoor Furnishing manuals
Popular Outdoor Furnishing manuals by other brands

BOERPLAY
BOERPLAY PKNE103.240 manual

Royal garden
Royal garden LINRTT107 Use and care guide

Nuu Garden
Nuu Garden CT002 instruction manual

Salsbury Industries
Salsbury Industries Wood 77781-ADA Series Assembly/installation instructions

leco
leco Retro Cool Box Assembly instruction

U-Line
U-Line H-6570 Assembly instructions