manuals.online logo
Brands
  1. Home
  2. •
  3. Brands
  4. •
  5. AMP Research
  6. •
  7. Automobile Accessories
  8. •
  9. AMP Research PowerStep 75124-01 User manual

AMP Research PowerStep 75124-01 User manual

IM3274 rev 06.08.10
www.amp-research.com 1/10
INSTALLATION GUIDE
APPLICATION MODEL YR PART #
Chevy Tahoe / GMC Yukon / Cadillac Escalade 2007 - up 75124-01
Chevy Suburban / GMC Yukon XL / Escalade ESV 2007 - up 75125-01
Chevy Avalanche / Escalade EXT 2007 - up 75125-01
TOOLS REQUIRED
q Safety goggles
q Measuring tape
q Flat blade screwdriver
q Phillips head screwdriver
q Right angle drill
q 9/32” drill bit
q 13 mm socket
q 10 mm socket
q 7 mm socket
q Ratchet wrench and extension
q 13mm end wrench
q Wire stripper / cutter
q Pliers
q Corrosion inhibiter
q
3/16” hex key wrench (allen wrench)
q 5mm hex key wrench (allen wrench)
q Electrical tape
q
Weather proof caulking (silicone
sealer)
INSTALLATION TIME
12 3 4
SKILL LEVEL
4= Experienced
3:00 hrs
AMP RESEARCH TECH SUPPORT 1-888-983-2204 (Press 2)
Monday - Friday, 6:00 AM - 5:00 PM PST
Designed and manufactured by AMP Research®. Patent Number 6,830,257; 6,641,158; 6,834,875; 6,938,909; 6,942,233; 7,007,961; 7,055,839; 7,163,221;
7,367,574; 7,380,807; 7,398,985; 7,413,204; 7,487,986. Other US and Worldwide patents pending. Made in USA © 2010 AMP Research
5-year limited warranty. Professional installation is recommended.
IM3274 rev 06.08.10
www.amp-research.com 2/10
AMP RESEARCH POWER STEP – GMC / CHEVROLET
1x2
Running board assembly
2x2
10-03273-10
Idler linkage assembly
3x2
10-03272-10
Motor linkage assembly
4
19-03348-90
Wire harness
5
19-03297-93
Controller
6
PARTS LIST AND HARDWARE IDENTIFICATION
789
19-02721-90
Cinch Fastener
D
B
(A) 19-03225-11 End cap left (x1)
(B) 19-03225-12 End cap right (x1)
(C) 19-02663-90 T-nut insert (x2)
(D) 19-03236-90 Socket cap screw (x2)
(E) 19-03237-90 Nut plate (x2)
x2 x2
A
CE
19-03403-90
Rubber Tape
19-03289-90
Motor
19-03238-90
Motor Cover
x6
IM3274 rev 06.08.10
www.amp-research.com 3/10
AMP RESEARCH POWER STEP – GMC / CHEVROLET
10 x4 11 x4 12 x4
13 x4
10-00115-60
Nylock Nut
14 x4
16-02634-90
Button Head Bolt
19-02805-90
Cable tie (7”)
15 x25
19-02802-90
Socket Cap Screw
16 x8
19-02992-90
Tubing (Installation To ol)
19
19-02640-90
Grommet
PARTS LIST AND
HARDWARE
IDENTIFICATION
20
19-03354-90
Posi-Tap™
17
19-03339-90
Cable tie (11”)
18 x2
x4
19-02849-90
Hex Bolt 19-03326-90
Hex Bolt
19-02389-90
Washer
IM3274 rev 06.08.10
www.amp-research.com 4/10
WIRING GUIDE
WIRING GUIDE / General Instructions
Posi-Tap™ installation instructions
Designed and manufactured by AMP Research. Patent 6,830,257 / 6,641,158 / 6,834,875 / 6,938,909 / 6,942,233 / 7,007,961 Other US and worldwide
patents pending. 5-year limited warranty. Professional installation is recommended.
CAUTION
qHandle the motor and linkage assemblies with care when installing. Dropping can damage
motor.
qRemove fuse from wiring harness during installation. Falure to do so could result in
severe electrical shock.
1. Insert 2. Tighten 3. Strip 3/8”
4. Insert & Tighten For two or more
wires twist.
Posi-Tap™ Patents:
5,228,875; 5,695,369;
5,868,589, 2,708.
Other patents pending
AMP RESEARCH TECH SUPPORT 1-888-983-2204 (Press 2)
Monday - Friday, 6:00 AM - 5:00 PM PST
IM3274 rev 06.08.10
www.amp-research.com 5/10
AMP RESEARCH POWER STEP – GMC / CHEVROLET
Bolt idler linkage assembly to rearmost
mounting tab using an M8 nut and washer
(some vehicles may require a M8 x 35 bolt)
and a M8x16 Button Head Screw.
Bolt driving linkage assembly to forward
most mounting tab using an M8 nut and
washer (some vehicles may require a M8 x
35 bolt) and a M8x16 Button Head Screw.
Slide mounting T-nut into position. Mount board
and tighten fasteners to 10 ft-lbs. Align the end
of the board with the rear edge of the back door.
Tighten button head fasteners and M8 nuts on
driving and idler linkages to 16 ft-lbs.
On some vehicles the emergency cable bracket
may come in contact with linkage arm. If so,
wrap supplied rubber tape around bracket.
Using the two 11” cable ties, mount controller
to support arm next to battery
Plug in wire harness.
(Ensure that locking tabs engage.)
Remove power fuse. Attach power lead (RED
wire) to positive pole on the battery.
CAUTION: Do not ground wrench when en-
gaged with nut.
Attach ground lead to negative battery pole.
12
1113
14
2
12
11 13
14
3
1
2
16
8
18
45
4
1
3 4
56
2
IM3274 rev 06.08.10
www.amp-research.com 6/10
AMP RESEARCH POWER STEP – GMC / CHEVROLET
4
Driver side shown
Route long end of wire harness above engine
and down through drivers side wheel well.
Zip tie harness to cowling clips on fire wall.
Route short end down passengers side.
Secure with zip ties.
Route wire harness along the frame. Secure
with zip ties.
Poke hole through rubber grommet near front
door on underside of floor panel with small
phillips screwdriver. Push both wires through
hole.
(See Step 11 for passenger side notes.)
Plug wire
harness into
motors.
Pop off the threshold cover with screwdriver and
remove the kick panel. The panel will slide out
from under the seat after fasteners give way.
Pull up the carpet and thread both wires
through the floor panel (same steps on
passenger side EXCEPT drill 9/32” hole in
metal and add rubber grommet).
Seal holes
with silicon glue.
Locate wire loom in door sill. Carefully remove
wire wrap and find the trigger wire.
Drivers side: LIGHT BLUE wire with BLACK
STRIPE
Passenger side: GREEN wire with BLACK
STRIPE. (Locate wire rearward of junction
shown in step 13)
4
4
2
4
7
910
11 12
8
4
IM3274 rev 06.08.10
www.amp-research.com 7/10
AMP RESEARCH POWER STEP – GMC / CHEVROLET
Remove plastic trim on door near
mirror attachment.
Carefully pry up window/ door lock switch plate Remove all plugs from switchplate
To remove door panel, first pry off door lock
and plastic covers by handle and door latch.
Remove the 3 door bolts and then remove
door panel by pring loose all panel fasteners.
remove bolts
Remove door latch cable from door panel
Using Supplied Posi-Tap™ connector, splice
shorter trigger wire into wire found in Step12.
4
19
17
15 16
13 14
18
IM3274 rev 06.08.10
www.amp-research.com 8/10
AMP RESEARCH POWER STEP – GMC / CHEVROLET
Pull back the door weather guard, unbolt
speaker and unplug. Thread plastic tube
through accordion.
Feed longer wire of Step 11 through tube into
door and pull out plastic tube on door side.
Route wire along harness to switchplate.
Locate the brown plug and using supplied
Posi-Tap™ connector, splice into trigger wire.
2007-2008 Vehicles:
Drivers side: TAN wire- pin #11
Passengers side: LIGHT GREEN wire-pin#11
2009 Vehicles:
Drivers side: Gry/Blk wire- pin #13
Passenger side: Ta n/Wht wire- pin # 13
Insert plug from wire harness onto motor.
Slide rubber grommet on wire harness into slot
of motor cover. Insert motor cover onto motor.
Insert plastic push pin rivets in mounting holes
of motor cover. Use pliers to ease installation.
17 17
4
4
6
4
4
677
9
19 20
22
23 24
21
Brown plug
19
4
IM3274 rev 06.08.10
www.amp-research.com 9/10
AMP RESEARCH POWER STEP – GMC / CHEVROLET
Slide motor assembly onto drive shaft and
mounting bosses of driving linkage assembly.
Use two M8x20 bolts to bolt motor down. Use
electrical tape to cover any exposed wire from
the motor.
Replace power fuse.
Check for proper operation by
opening and closing all doors.
10
4
25 26
27
amp-research.com
LIMITED WARRANTY
WARNING
Congratulations on the purchase of your
AMPResearch Power Step
Here’s what you should know...
OPERATION
The AMP Research Power Step automatically deploys when atleastone door opensand automaticallyretracts under
your vehicle when both frontand reardoors close.If resistance or blockage is encountered while the Power Step is
in motion, the drivesystem is designed to automatically stop. To reset, simplyopen or close the vehicle door and the
Power Step will resume normal operation.
MAINTENANCETIPS
The stepping surface and drive mechanism can be wash with mild soap and water using a soft brushor sponge to
dislodge any mud, dirt or accumulated road grime. Rinse with fresh water.
To prevent slipping, avoid applying waxes, lubricants or protectants like Armor All®to the step surface.
Whenwashing your vehicle, the Power Steps can be set to remain deployed with the doors closed for easy clean-
ning. Do this...
1With the Power Step deployed, press and hold the board down with your foot.
2Close the door while continuing to press down the board. (This will not harm motor.)
3To reset the Power Step, simply open and close the door. (Repeat for both sides of vehicle.)
CAUTION! BE SURE TO KEEP HANDS AWAY WHENTHE POWER STEPIS IN MOTION.
AMP RESEARCH warrants product to be free from defects in material and workmanship, for terms specied below, provided
there has been normal use and proper maintenance. All remedies under this warranty are limited to the repair or replace-
ment of any item found by the factory to be defective within the time period specied.
If you have a warranty claim, rst you must call our factory at the number below for instructions. You must retain proof of
purchase and submit a copy with any items returned for warranty work. Upon completion of warranty work, if any, we will
return the repaired or replaced item or items to you freight prepaid. Damage to our products caused by accidents, re,
vandalism, negligence,
misinstallation, misuse, Acts of God, or by defective parts not manufactured by us, is not covered under this warranty.
THE WARRANTY TIME PERIOD IS AS FOLLOWS: 5-YEARS FROM DATE OF PURCHASE.
ANY IMPLIED WARRANTIES OF MERCHANTABILITY AND/OR FITNESS FOR A PARTICULAR PURPOSE CREATED HEREBY ARE
LIMITED IN DURATION TO THE SAME DURATION AND SCOPE AS THE EXPRESS WRITTEN WARRANTY. OUR COMPANDY SHALL
NOT BE LIABLE FOR ANY INCIDENTAL OR CONSEQUENTIAL DAMAGE.
Some states do not allow limitations on how long an implied warranty lasts, or the exclusion or limitation of incidental or
consequential damages, so the above limitations or exclusions may not apply to you. This warranty gives you specic legal
rights, and you may also have other rights that vary from state to state.
Be sure to read and precisely follow the provided instructions when installing this product. Failure to do so could place the
vehicle occupants in a potentially dangerous situation. After installing or reinstalling, re-check to insure that the product is

This manual suits for next models

1

Other AMP Research Automobile Accessories manuals
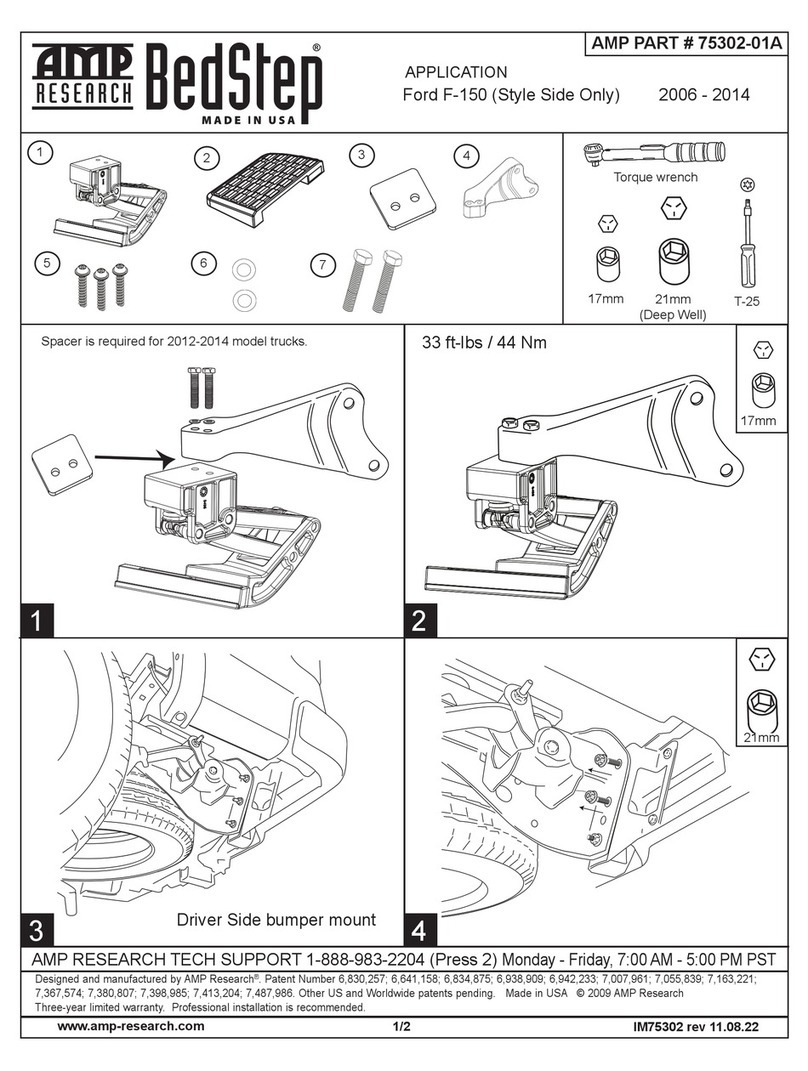
AMP Research Powerstep 77158-01A User manual

AMP Research

AMP Research Powerstep 77158-01A User manual

AMP Research BedStep AMP 75304-01A User manual

AMP Research

AMP Research BedStep AMP 75304-01A User manual

AMP Research BedStep 75306-01A User manual

AMP Research

AMP Research BedStep 75306-01A User manual

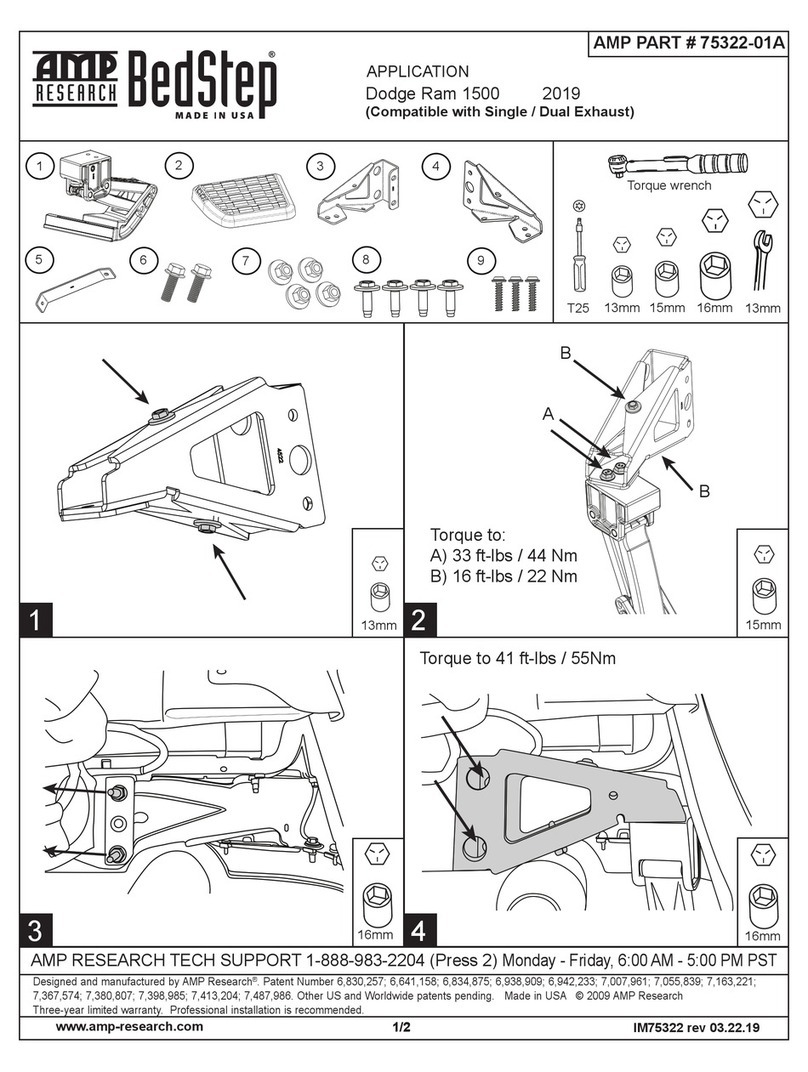
AMP Research BedStep 75322-01A User manual

AMP Research

AMP Research BedStep 75322-01A User manual

AMP Research Power Step User manual

AMP Research

AMP Research Power Step User manual

AMP Research PowerStep 75155-01A User manual

AMP Research

AMP Research PowerStep 75155-01A User manual

AMP Research POWERSTEP 76141-01A User manual

AMP Research

AMP Research POWERSTEP 76141-01A User manual

AMP Research 75105-01A User manual

AMP Research

AMP Research 75105-01A User manual

AMP Research BedStep AMP 75312-01a User manual

AMP Research

AMP Research BedStep AMP 75312-01a User manual

AMP Research BedStep 75300-01A User manual

AMP Research

AMP Research BedStep 75300-01A User manual

AMP Research PowerStep 77238-01A User manual

AMP Research

AMP Research PowerStep 77238-01A User manual

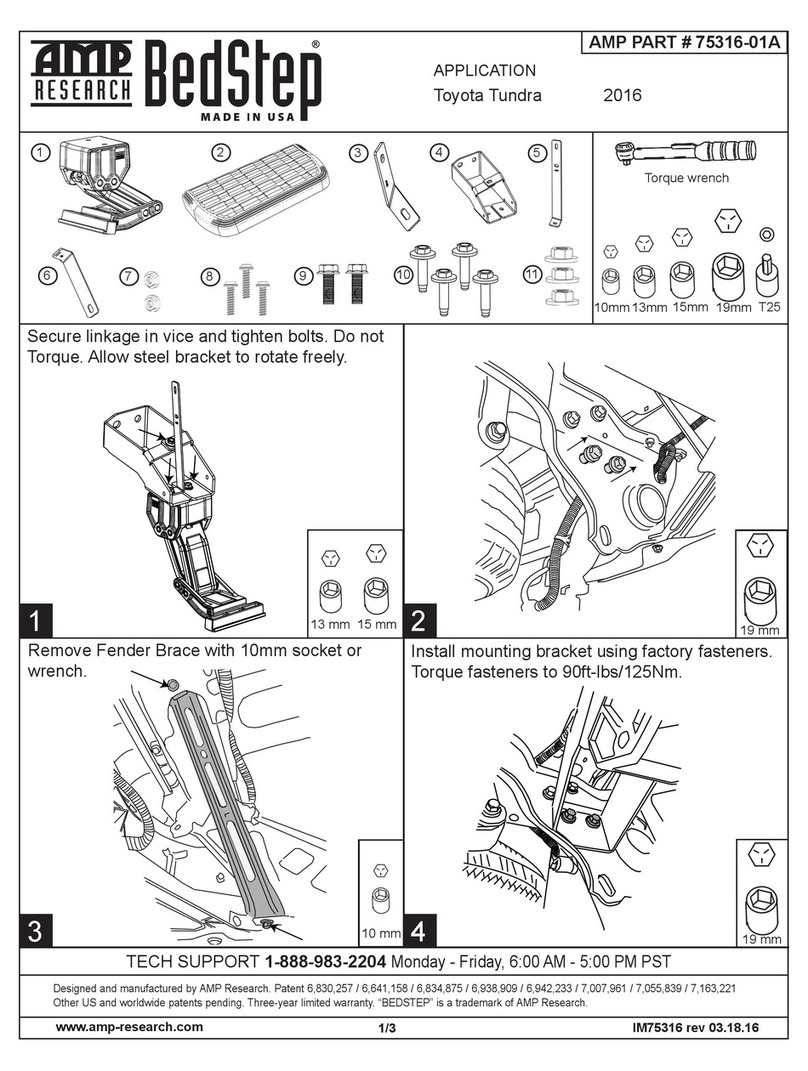
AMP Research BedStep 75316-01A User manual

AMP Research

AMP Research BedStep 75316-01A User manual

AMP Research BedStep 75315-01A User manual

AMP Research

AMP Research BedStep 75315-01A User manual

AMP Research BedStep AMP 75314-01A User manual

AMP Research

AMP Research BedStep AMP 75314-01A User manual

AMP Research PowerStep User manual

AMP Research

AMP Research PowerStep User manual

AMP Research Power Step 77137-01A User manual

AMP Research

AMP Research Power Step 77137-01A User manual

AMP Research Power Step User manual

AMP Research

AMP Research Power Step User manual

AMP Research Power Step User manual

AMP Research

AMP Research Power Step User manual

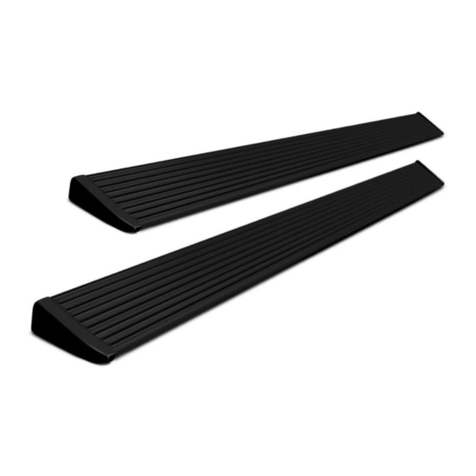
AMP Research PowerStep XTreme 78122-01A User manual
AMP Research

AMP Research PowerStep XTreme 78122-01A User manual

AMP Research BedStep 75317-01A User manual

AMP Research

AMP Research BedStep 75317-01A User manual

AMP Research BEDXTENDER HD MAX 74841-00A User manual

AMP Research

AMP Research BEDXTENDER HD MAX 74841-00A User manual

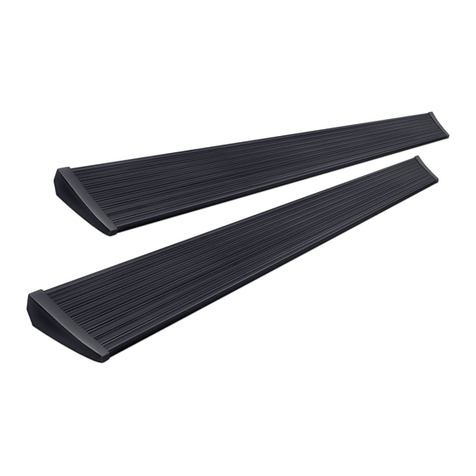
AMP Research BedStep 75309-01A User manual
AMP Research

AMP Research BedStep 75309-01A User manual

AMP Research BedXTender HD MAX Series User manual

AMP Research

AMP Research BedXTender HD MAX Series User manual

AMP Research PowerStep XTreme 78121-01A User manual

AMP Research

AMP Research PowerStep XTreme 78121-01A User manual

Popular Automobile Accessories manuals by other brands

Reese TransRACK 70552 manual

Reese

Reese TransRACK 70552 manual

Car-Interface CI-RL4-MIB100 manual

Car-Interface

Car-Interface CI-RL4-MIB100 manual

pro user AC150A manual

pro user

pro user AC150A manual

Hamron 619-626 User instructions

Hamron

Hamron 619-626 User instructions

r.LiNK RL2-MMI3G-Q3 manual

r.LiNK

r.LiNK RL2-MMI3G-Q3 manual

FormFit HD 21L 10 quick start guide

FormFit

FormFit HD 21L 10 quick start guide

ariazone 6001 Operator's manual

ariazone

ariazone 6001 Operator's manual

Bestop Tigertop Installation instructions and owner's manual

Bestop

Bestop Tigertop Installation instructions and owner's manual

DV8 OFFROAD RBJL-13 installation manual

DV8 OFFROAD

DV8 OFFROAD RBJL-13 installation manual

iDataLink maestro Rr install guide

iDataLink

iDataLink maestro Rr install guide

AutoLoc AUTDL1000 User guide and installation manual

AutoLoc

AutoLoc AUTDL1000 User guide and installation manual

Dynojet Power Vision PV3-25-02 installation guide

Dynojet

Dynojet Power Vision PV3-25-02 installation guide

Performance Accessories 4083 installation instructions

Performance Accessories

Performance Accessories 4083 installation instructions

Prorack K104 Fitting instructions

Prorack

Prorack K104 Fitting instructions

AMiO CRR-02 user manual

AMiO

AMiO CRR-02 user manual

Westin HLR installation instructions

Westin

Westin HLR installation instructions

RBP RBP-510-RX7 quick start guide

RBP

RBP RBP-510-RX7 quick start guide

bosal 028461 FITTING INSTRUCTION

bosal

bosal 028461 FITTING INSTRUCTION

manuals.online logo
manuals.online logoBrands
  • About & Mission
  • Contact us
  • Privacy Policy
  • Terms and Conditions

Copyright 2025 Manuals.Online. All Rights Reserved.