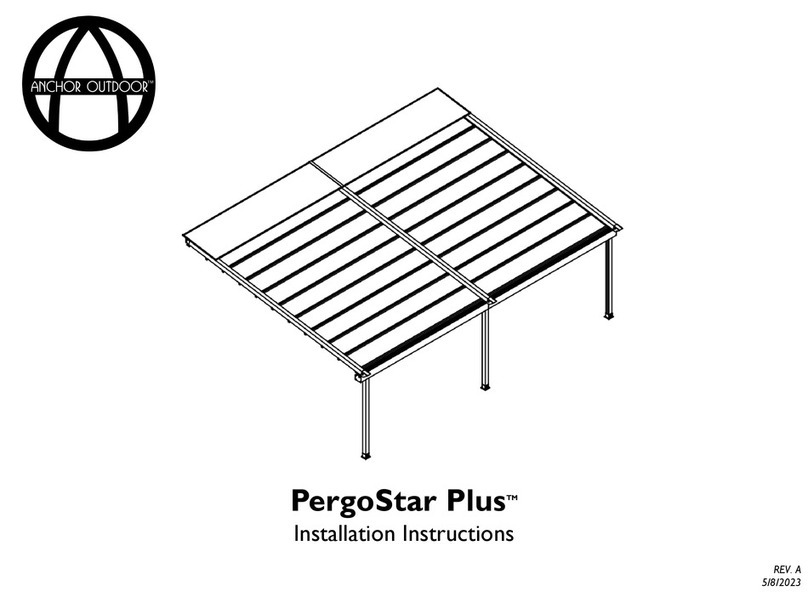
ANCHOR OUTDOOR PergoLam User manual

PergoLamTM
Installation Instructions
REV. 2
7/27/2023

This installation manual is to be used in conjunction
with the installation videos that can be found on
YouTube.com/@AnchorIndustries
All details and information provided on the subsequent
pages are of general nature and may not refer to your
specific project.
2
Toscana by Anchor • PergoLamTM • Installation Instructions

3
Contents
-
Extrusion Glossary
4
-
Installation Tools
6
-
Suggested Order of Installation
8
-
Assembly Instructions
Documentation
11
Gutters & Posts
14
Louvers
25
Transmission Bar
30
Motor Configuration
32
LED Strip Wiring
36
Light Configuration
39
Daisy Wi-Fi Controller
47
Flaps & Covers
70
Miscellaneous
80
Finishing Touches
85
-
Maintenance & Care
87
-
FAQ
89

Extrusion
Glossary
4

Contents
5
Extrusion Glossary
Toscana by Anchor • PergoLamTM • Installation Instructions
Upright Upright Insert Transmission Bar Transmission Bar Flap Lateral Falp
Louver With Lights Louver With Out Lights Light Cover Frame Cap Louver Protection
Gutter Top Gutter Bottom Fan Bar Wall Flashing Bottom Flap

Installation
Tools
6

Contents
7
Installation Tools
Toscana by Anchor • PergoLamTM • Installation Instructions
The following list details the minimum required tools to successfully install a Toscana PergoLam. Other tools
may be required depending on your project location or configuration.
1. Ladder(s)
2. Metric Tape Measure
3. Level
4. Metric Hex Key Set (M2 to M6)
5. Combination Wrench Set (M13 & M17)
6. Drill and/or Driver
7. Phillips #2 Bits
8. Phillips & Flat Head Screwdriver
9. Caulk and Caulk Gun
10. Project Specific Anchors and Necessary Equipment to Install Anchors
Note: Anchors to the ground or wall are not supplied.

Suggested
Order of
Installation
8

The following details the manufacturer’s suggested order of operations to successfully install the Pergolam. Though,
adjustments may be necessary depending on your specific project configuration or location.
1. Documentation. Locate and review the project pack list and customer detail drawing.These documents are located inside the
miscellaneous parts box inside a white envelope. Following the provided pack list, confirm all components have been received.
1. Remove Covers. Remove the motor, light, and electrical junction box lids.
2. Gutter Frame. Construct the gutter frame by connecting the four corners using the provided weldments and hardware. If present,
connect the fan bar during this step.
3. Uprights. Using a mechanical lift, lift one side of the gutter frame high enough that the uprights can be connected using the
provided hardware. Repeat this step for the opposite side. Ensure pergola is square and level prior to anchoring.
Note: If a mechanical lift is not available, it is possible to complete step 2 & 3 simultaneously by connecting the uprights to
gutter members first, then connecting gutter members together as shown in the example installation video that can be
found online.
Note: If the Pergolam is connected to a wall, connect the front uprights first, then position the gutter frame and upright
assembly in place on the wall using the mechanical lift if applicable.
4. Preliminary Electrical Connections. Before installing the louvers, it is best to do some preliminary electrical work. Complete
all the following (that are applicable to your specific project):
1. Connect the 90W transformer inputs to the power supply inside the junction box.
2. Remove light box painted cover. Open light control box and motor control box.
3. Connect gutter strip lighting to the junction box.
4. Connect upright strip lighting to the junction box.
5. Connect Pergolam to power. Ensure beep is heard from the motor and all connected LED strips flash.
6. Complete steps 1 through 4 of the motor configuration.This will provide you control of the motor via the remote when
connecting the transmission bar. Step 3 & 4 may need to be completed again following installation of the louvers.
9
Suggested Order of Installation
Toscana by Anchor • PergoLamTM • Installation Instructions

5. Louvers. Install the louvers using the provided hardware and components, referencing your Customer Detail drawing for
pertinent information.
6. Transmission Bar. Connect the transmission bar to the motor T weldment using the provided hardware.
7. Final Electrical Configuration. Complete all the following (that are applicable to your specific project):
1. Complete motor configuration.
2. Connect louver strip lights to the junction box.
3. Complete lighting configuration.
4. Complete Daisy Wi-Fi controller configuration.
5. Waterproof electrical components using the provided IP glue.
8. Flaps and Covers. Connect all provided flaps and covers to the Pergolam.
9. Finishing Touches. Caulk and waterproof all corners and openings to ensure a weatherproof pergola.
10
Suggested Order of Installation
Continued
Toscana by Anchor • PergoLamTM • Installation Instructions

Assembly
Instructions
Documentation
11

Contents
12
Navigating Supplied Documentation
Pack List,Tags & Box Labels
Inside your pergola’s miscellaneous
parts box, you will be supplied with
a white packet containing pertinent
documents and drawings to your
project.
Within this packet you will find a
document labeled “TOSCANA BY
ANCHOR –PACK LIST” which will
detail how many of each item you
received and how they are tagged.
This will help to quickly identify each
part on site.
Each box received will also be
tagged with a label that will identify
which type of parts and quantities
are inside.
Project Specific Details
Part Tags
Box Labels
Toscana by Anchor • PergoLamTM • Installation Instructions

Orientation of Louvers Rear Louver Spacing
Example Part Tag
Example Part Tag
Location of Louvers
with Lights
General Location
of Motor
Contents
13
Navigating Supplied Documentation
Customer Detail Drawing
Within the customer information
packet, you will find a document
labeled “CUSTOMER DETAIL”.
This drawing will aid in identifying
parts and provide you with
critical measurements to ensure
your pergola is properly installed.
Note: Information and location of information will
vary based on the specifics of your project.
Toscana by Anchor • PergoLamTM • Installation Instructions

Assembly
Instructions
Gutter & Posts
14

Your Pergolam may contain one or more of the eight possible
corner and post assemblies shown on the subsequent pages.
Prior to assembly, it is beneficial to identify which configuration
your specific pergola contains.
The table below is included in each of the subsequent assembly
pages and will help identify which assembly may be present for
each type of pergola configuration.
GZ = Gazebo
WP = With Post
BW = Between Walls
15
Configuration
GZ WP BW
X X
Toscana by Anchor • PergoLamTM • Installation Instructions

Gutters and Posts
Upright Base
16
When assembling the upright to the
gutter, ensure the drain hole
orientation matches the project
specific drawing.Anchor the base
plate to the project surface using the
appropriate anchors for your project.
Note: Base plate anchors are not supplied.
Configuration
GZ WP BW
X X
Side View
Toscana by Anchor • PergoLamTM • Installation Instructions

Gutter and Posts
Corner with Post
17
Connect the corners of the gutters together
using the various corner weldments. Join the
upright to the corner using the 13” bolts.
Make final adjustments and secure the two
gutters together using the M8 set screws.
Note: In most standard configurations, the two post light channels will
always face in towards the center of the pergola.
Configuration
GZ WP BW
X X
Toscana by Anchor • PergoLamTM • Installation Instructions

Gutters and Posts
Corner without Post
18
Connect the corners of the gutters
together using the various corner
weldments. Join the gutters to the
weldments using the 5” bolts. Make
final adjustments and secure the two
gutters together using the M8 set
screws.
Configuration
GZ WP BW
XXX
Toscana by Anchor • PergoLamTM • Installation Instructions

Gutters and Posts
Structural Mobile Upright
19
Secure the gutter to the structural
upright using the two 13” bolts
through the gutter and the two M10
countersunk bolts through the gutter
weldment. Ensure the structural
upright is orientated with the front
face facing towards the inside of the
pergola, as shown.
Configuration
GZ WP BW
X X
Toscana by Anchor • PergoLamTM • Installation Instructions

Gutters and Posts
Shared Post
20
Connect the corners of
the gutters together using
the various corner
weldments. Join the shared
upright to the corner using
the 5” and 13” bolts. Make
final adjustments and
secure the two gutters
together using the M8 set
screws.
Configuration
GZ WP BW
X X
Toscana by Anchor • PergoLamTM • Installation Instructions
Table of contents
Other ANCHOR OUTDOOR Outdoor Furnishing manuals