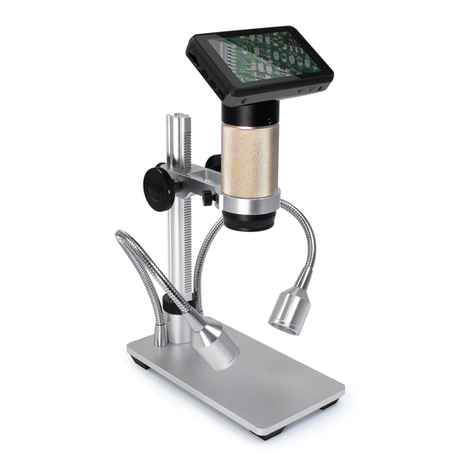
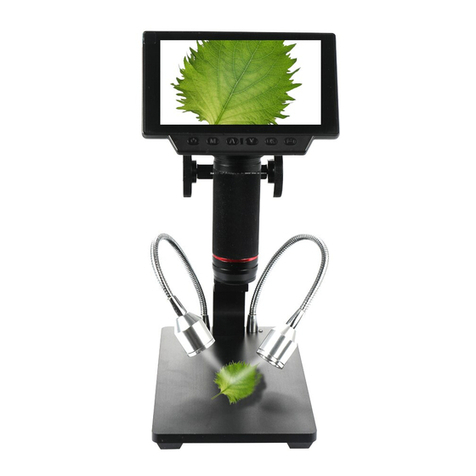
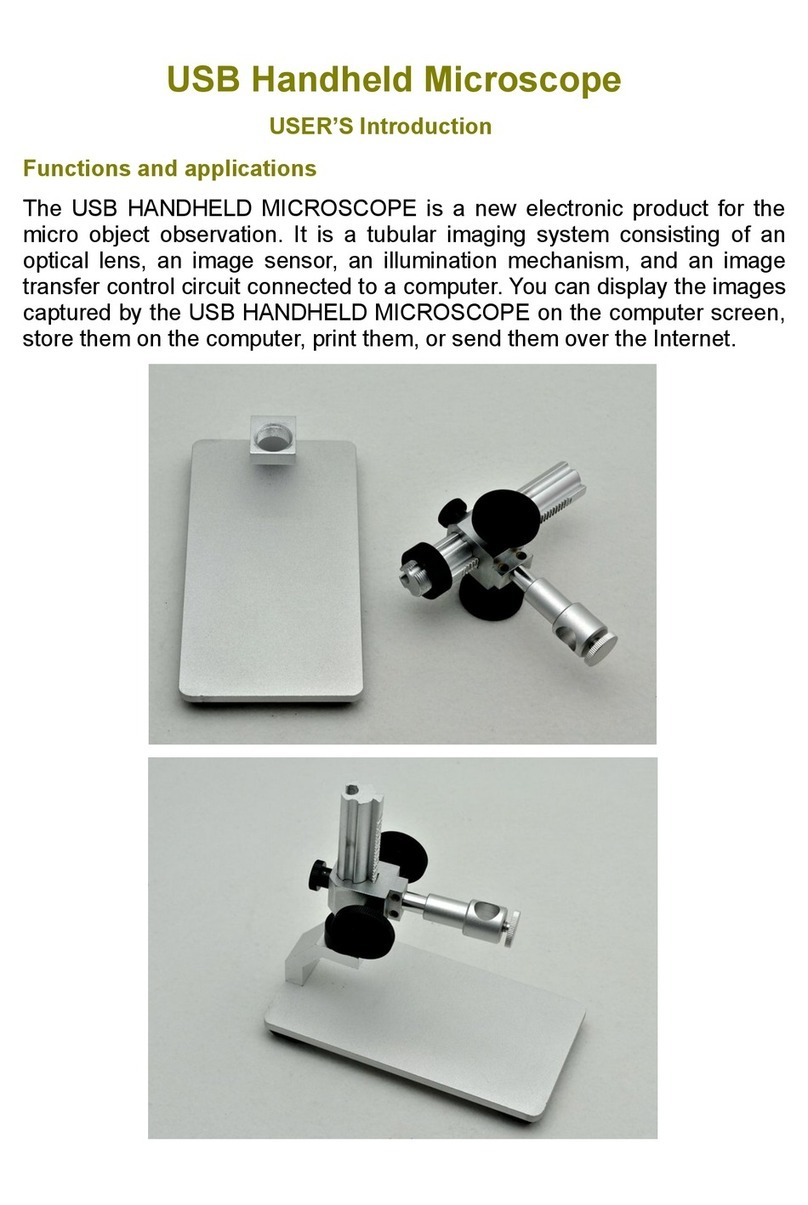
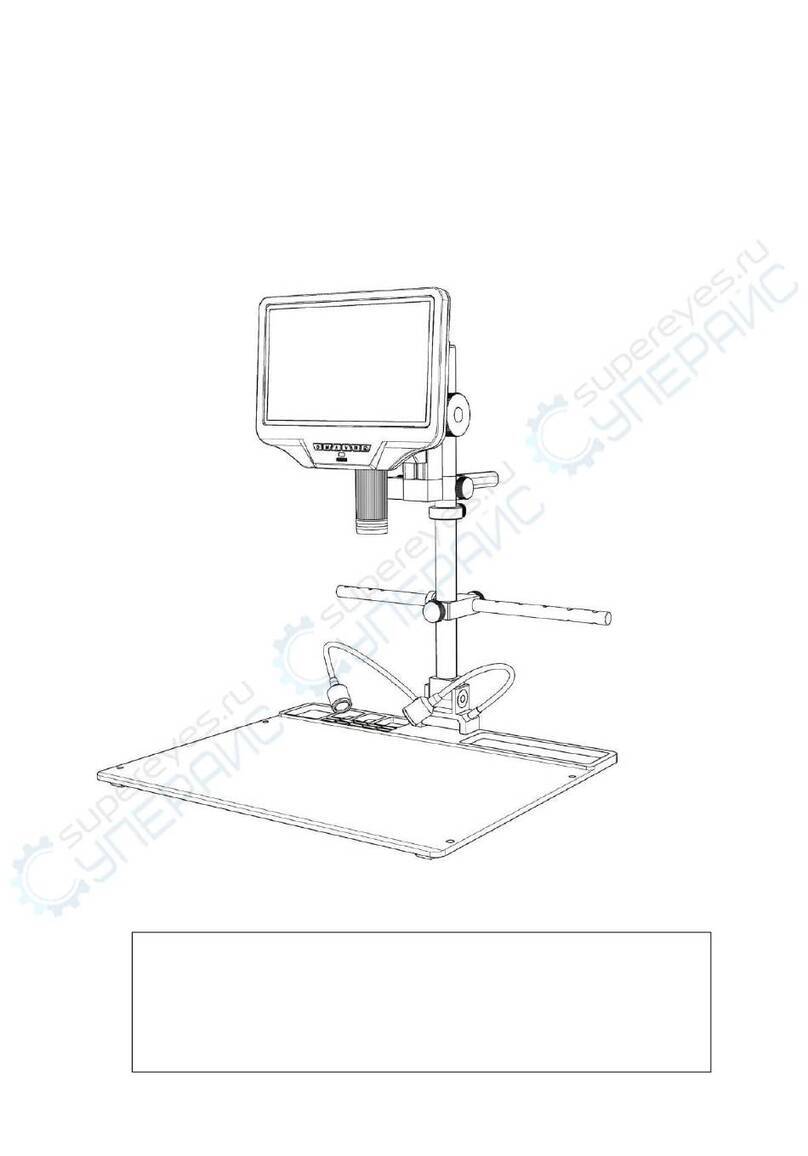
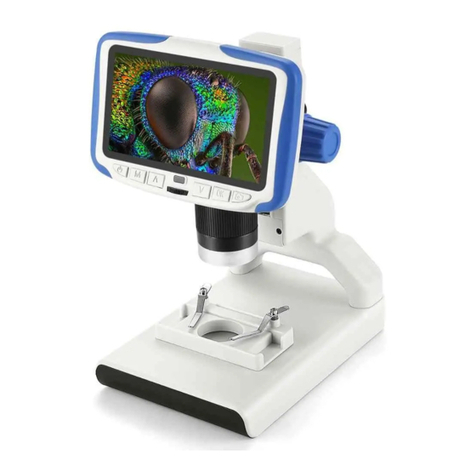
Andonstar A1 User manual

USB digital microscope instruction manual
A1/V160/A1-Hose

- 1 -
LIST OF CONTENTS
1. Product specifications..................................................................................................................2
2. Safety warnings and precautions............................................................................................3
3. Product structure description..................................................................................................4
4. Bracket installation instructions.............................................................................................5
5. Product configuration instructions........................................................................................6
6. Instructions for connecting to a computer.........................................................................7
①System requirements...........................................................................................................7
②Connect to the computer....................................................................................................7
③Software download and installation.............................................................................8
④ Use of amcap software.......................................................................................................8
7. Adjust the object distance and magnification...................................................................8
8. Troubleshooting.............................................................................................................................9
9. After-sales service.........................................................................................................................9

- 2 -
USB digital microscope——a versatile digital product:
It can be used to check the mouth, teeth, nasal cavity, skin, etc.
Used for the inspection and maintenance of equipment, pipeline, circuit board.
Used for jewelry detection, antique appreciation, fiber amplification, coin detection, etc.
1. Product specifications
DSP
Adopt Vimicro digital image main control processor
Sensor
Using high-quality CMOS sensor, hardware 2 million pixels
Resolution
640*480, 1600*1200
Colour
True Color 24-bit (RGB)
Adaptive interface
USB 2.0
Display frame rate
Up to 30 FPS (CIF, VGA) 640*480
Focusing distance
5mm to infinity. [ When the focal length is about 5MM, the
magnification is the largest, and it can be used as a camera when
it is infinite]
Enlargement factor
1-500 times
Different magnifications can be obtained at different
observation distances, and the maximum is not less than 500
times (using a 17-inch display).
Physical dimension
Length: 130 mm; diameter: 12 mm.
USB cable length
1.5m

- 3 -
2. Safety warnings and precautions
1. The computer power socket that provides power to this product should be properly and well
grounded. If you are not sure, please ask a professional electrician to help check and confirm before
use to ensure personal safety during use.
2. It is strictly forbidden to use this product during thunderstorms.
3. Do not share this product with others to prevent disease transmission.
4. Before and after use the product, the surface of the parts contacting the human cavity must be
wiped by using 70% alcohol cotton ball. As for microscope cleaning, you can use a cloth dipped in a
small amount of alcohol to wipe the handle, please mind that the lens is prohibited to wipe.
5. The structure of this product is precise and exquisite. It should be used as softly as possible to avoid
damage caused by excessive force.
6. During use, there will be a certain degree of temperature rise in the handle, and it is a normal
phenomonan for the user to feel that the handle is warm. If you feel the product is overheated or even
hot, you should immediately turn off the power and contact our company for repairing.
7. It is strictly forbidden to keep this product on working when unattended, and the user should pull
out the USB plug before leaving.
8. It is strictly forbidden to disassemble this product. It will cause irreversible damage, and our
company is not responsible for the warranty for the damage caused by the user's disassembly. In case
of failure, please contact our company directly.
9. It is strictly forbidden to give this product to infants or young children to use or play by themselves,
and they should be used under the company and guidance of adults. This product should be kept out
of the reach of infants and young children to avoid unnecessary injuries.
10. This product should not be in direct contact with steam, mist, water and liquids. If contacted, it
will cause irreversible damage. This type of damage is not covered by the warranty.
11. When not in use, this product should be stored in a closed box to prevent the lens from being
damp and mildewed. This kind of damage will be irreversible and not covered by the warranty.
12. When using this product to observe eyes, the light used should be as dark as possible and the
observation time should be as short as possible. It is strictly forbidden to use this product to observe
the eyes of infants or young children to avoid injury.
13. When observing or cleaning the ear canal, nasal cavity and oral cavity, it should be operated by a
healthy adult. Moreover, the depth and strength of the treatment should be mastered, and the
operation should be gentle to avoid injury.
14. It is strictly forbidden to use mirrors, cotton swabs, etc. to observe, clean or dispose of the deep
part of the oral cavity to prevent the connector from falling into the throat during use and causing
serious injury to the human body.
15. The cables used in this product have been strictly tested to ensure safe use. Please do not use
other cables.

- 4 -
3. Product structure description
(Picture1---A1)
(Picture1---V160)

- 5 -
(Picture 1---A1 hose)
4. Bracket installation instructions

- 6 -
A1:
See the Pictureabove for bracket installation.
V160:
Install the standing pillar to the screw hole at the corner of the bottom plate. After installing it in place, you can turn
the "vertical scope arm fixing knob" (see Picture1-V160) to adjust different angles according to your needs.
Object distance adjustment:
loosen the scope arm fixing knob, adjust the standing pillar "lifting knob" (see Picture1-V160) to obtain different
object distances, and tighten the "scope arm fixing knob".
A1 Hose:
Take out the screw at the bottom of the hose, install the hose to the bottom plate, and then fix it with a screwdriver.
5. Product configuration instructions
1. 1 digital microscope host
2. 1 each for casing, white earmuffs, sleeve, black earmuffs, and side lens
①Casing: It protects the body when inspecting the bottom of the slit, deep in the pipe, and when the microscope needs
to be placed in other objects.(This accessory is not waterproof)
Black earmuffs: Used to check holes with a diameter smaller than the body diameter (12mm).
Black can block the external stray light, making the center of the picture brighter.

- 7 -
Side lens: Used to observe the back or side of an object.
④Sleeve: Fixed object distance when observing large area flat objects.
⑤White earmuffs: Used to check holes with a diameter smaller than the body diameter (12mm).
3. 1 set of bracket
6. Instructions for connecting to a computer
①System requirements
※IBM PC compatible computer.
※INTEL PIII and above compatible models.
※256M RAM.
※3D graphics card at least 64M RAM. Support 32bit color display.
※1 usable USB interface (USB 2.0 interface is recommended for best use).
※WinXP/7/8 system home edition or professional edition. Hard disk with capacity above 40G (with CD-ROM).
②Connect to the computer
The digital microscope is connected to the computer via a USB cable.
The USB cable of this product is 1.5 meters, and a dimming potentiometer is installed in the middle. By turning the
pulley on the dimming potentiometer, the brightness of the front lighting of the digital microscope can be adjusted.

- 8 -
③. Software download and installation
Note: For different computer operating systems, please download the matching installation software.
Windows10 and MacOS systems can use the system camera to view images.
Operating system required for installation:
Windows XP, Windows 7, Windows 8, Windows 10, etc
In order to avoid errors during the installation process, please strictly follow the installation steps:
Application: (take Windows system as an example)
Download link: https://bit.ly/3woHmVG
Please download the software "amcap" and related instructions and copy it to your computer desktop.
After installation, the desktop will have the following icons:
④ Use of amcap software
Connect the USB plug of the USB digital microscope to the computer. Confirm that the new USB device is
connected to the computer.
① Start the "amcap" software
② Select the microscope equipment in Devices
③ Capture pictures:
1. Initial setting: Options→Preview√, Capture→Still→Enable√,
2. Select the image storage path: Capture→Still→Folder
3. Capture the screen: Capture→Snap or press the camera button on the USB remote controller to take a photo. (Or
simply press "Enter" on the keyboard)
④ Record video:
1) Select the video storage path: File→Set Capture File→ Target Folder
2) Recording: Capture→start capture→OK→stop capture.
⑤ The video/picture data is stored as a file in the location you specify, and the recorded video file can be viewed in
the saved folder.
⑥Image resolution setting: Options→Video capture pin...→New window properties→Select output size→OK.
7. Adjust the object distance and magnification
If the image is blurry, you can debug it in the following two ways:
1. Keep the object distance unchanged, turn the ‘focus ring’ (Picture1) at the rear of the microscope to focus (you can
fine-tune the focus ring, don’t turn too much at a time, easy to over-focus) Until the image is clear.
2. The magnification remains the same, that is, the ‘focus ring’ at the end of the microscope (Picture1) remains the
same, adjust the object distance until the image is clear.
Object distance: the distance between the microscope lens and the object being observed.
①The microscope host can be manually pulled in and out to adjust the object distance;
②Install the host to the bracket, and adjust the object distance through the ‘lifting knob’ (see Picture1).

- 9 -
8. Troubleshooting
※What should I do if the computer is not recognized?
If the computer cannot recognize the hardware, please replace the USB interface; if it is a desktop computer, please
connect the USB interface on the back of the computer. The USB interface of some computers may have unstable
power supply. It is better to use a rear USB. Or change the notebook to observe and use.
※What should I do if I choose a USB camera but still can’t use it?
In the amcap program, "Devices"→"USB Camera", select it, if there are other cameras connected to the computer,
there may be two or more "USB Camera", please select the microscope device.
※The "USB camera" of the microscope image has been selected, but there is no image?
In the amcap program, "Options" → check √ "Preview" (preview), and then select "Yes" in the new window to display
the image.
※The video file recorded by amcap software is relatively large (AVI format). Can the video format be adjusted?
In the amcap program, "Capture"→"Compression"→"Windows Media 9 Series", switch to the wmv format, and the
recorded video file will be relatively smaller.
9. After-sales service
The following clauses stipulate the responsibilities assumed in the after-sales service. In order to protect your
interests, please read them carefully and keep them properly.
Our company only assumes responsibility for product maintenance, and does not assume responsibility for direct or
indirect losses, loss of data, materials and programs caused by product failures.
1. Replacement regulations:
You can choose to replace or repair if the product cannot be used normally after maintenance and the appearance of
the product and packaging is not worn out if it appears in the state specified in the product instruction manual
within the first to seven days after the sale.
If you choose to replace it, please send the faulty equipment to the place of the seller, and the seller will replace you
with the same model or the same brand product with no lower performance than the original product. (Note:
product accessories are not subject to replacement)
2. From the date of purchase, if the user performs normal use and maintenance according to the manual within one
year, when there is a performance failure of the product itself, we implement warranty service.

- 10 -
parts category
part name
warranty period
the main components
USB digital microscope
1 year warranty from the
date of purchase:
Free warranty within 1 year
from the date of purchase,
and paid service thereafter
Instruction:
1. Please refer to the configuration listed in the packing list of the actual purchased machine,
and implement the corresponding free warranty in the above table.
2. The product shell and accessories do not enjoy free warranty.
The warranty service for you is limited to products under normal use conditions.
Sorry, damage caused by the following conditions will not be covered by the warranty:
1. Disassemble and assemble the product by yourself
2. The plug-in accessories are damaged
3. Repairs and modifications not approved by our company
4. The shell is severely deformed, scratched, discolored, or damaged
5. The lens is cracked or has scratches or mildew spots
6. COMS sensor is burned or has obvious scratches
7. PCB board burned and other man-made damage caused by improper operation
8. Anything not purchased from our company will not be repaired!
Other manuals for A1
1
This manual suits for next models
2
Table of contents
Other Andonstar Microscope manuals

Andonstar
Andonstar ADSM201 User manual

Andonstar
Andonstar AD205 User manual

Andonstar
Andonstar AD108 User manual

Andonstar
Andonstar AD407 User manual

Andonstar
Andonstar 246S User manual

Andonstar
Andonstar ADSM201 User manual

Andonstar
Andonstar 246 User manual

Andonstar
Andonstar AD203 User manual

Andonstar
Andonstar ADSM302 User manual

Andonstar
Andonstar 246 User manual