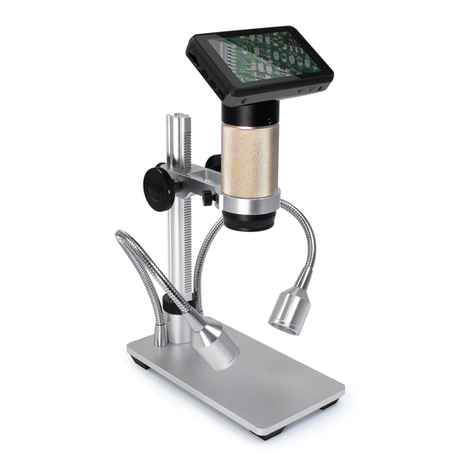
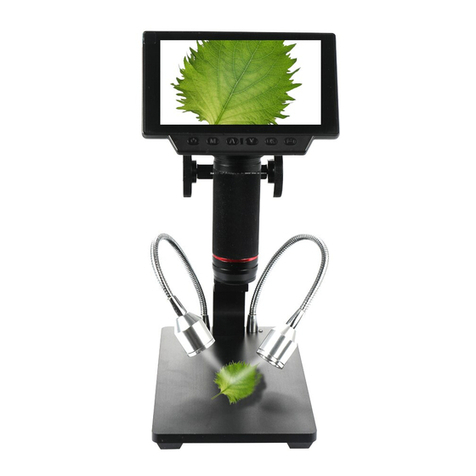
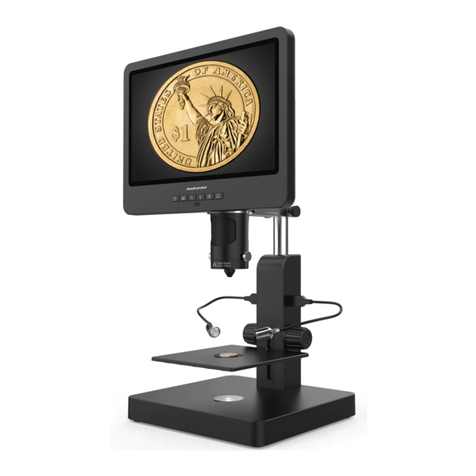
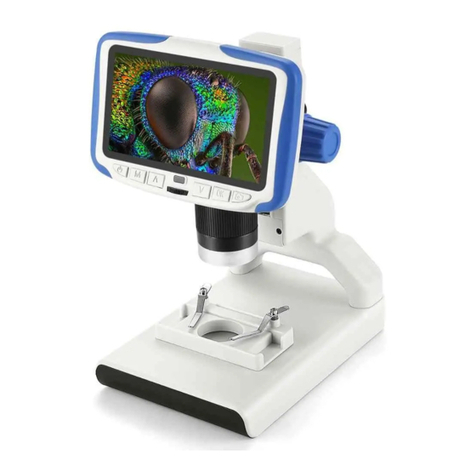
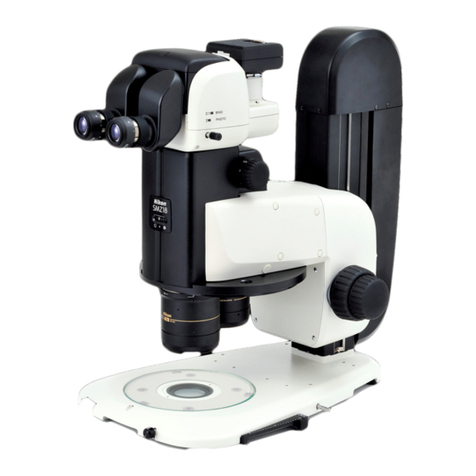
Andonstar AD206S User manual

Digital Microscope AD206S Users Manual

LIST OF CONTENTS
Safety and Maintenance........................................................................................... 1
Basic Parameters....................................................................................................... 1
What’s in the box...................................................................................................... 2
Installation tutorial....................................................................................................3
Buttons...................................................................................................................... 5
Quick start................................................................................................................. 5
Image switching.................................................................................................. 6
Obtain the clear image........................................................................................7
Take pictures and videos recording.................................................................... 7
Date and language settings.................................................................................8
Warranty Card........................................................................................................... 9

1
Safety and Maintenance
1. Please read the manual before use to avoid damage to the device or other problems caused by
non-compliance with the manual.
2. The product contains tiny parts and is not edible, please operate under the guidance of guardians or
teachers to avoid accidental ingestion.
3. It is not recommended to use this product in outdoor operation. This product is not waterproof and
cannot be exposed to extreme environments. Please store and operate in a scientific and safe
environment, and refer to the preservation and care methods of general electronic equipment, such as
laptop computers.
4. When the image quality is found to be degraded, the protective lens under the main body lens
should be cleaned. Wipe carefully with a soft clean cotton cloth (such as glasses cloth) dampened with
an appropriate amount of alcohol.
5. Keep the equipment in a clean and dry environment. Keep away from oil, water, gas and other materials that
may cause corrosion.
6. The handicapped, sick or allergic people are not suitable to use this product.
7. If you need to wipe the microscope with a damp cotton cloth, please cut off the power first, and
only gently wipe the insulated part of the microscope housing with a damp cloth. Please check whether
the microscope has returned to dryness before turning on the power again.
8. This microscope is not intended to medical use.
Basic Parameters
Image sensor
2 Mega Pixels HD Sensor(Digital microscope)
0.3 Mega Pixels HD Sensor(Endoscope)
Video output
FHD1920X1080 30FPS; 1080P 1440X1080 30FPS
720P 1280X720 30FPS,
Video format
AVI
Magnification Ratio
Up to 50times
Photo resolution
Max 12M(4032x3024)
Photo format
JPG
Focus distance
2CM-17CM
Frame Rate
Max 30f/s
Storage
Micro-SD card, up to 32G(not included)
PC support
No
Power source
5V DC
Stand size
20cm*12cm*19cm
Screen size
7 inch
Packing data
32*22*10cm/1.5kg

2
What’s in the box
(
Figure1 What’s in the box
)
(
Figure2 Endoscope accessories
)

3
Note:
1. The UV filter and lens cover have been installed on the bottom of the focusing controller;
2. The clips should be installed on the metal base to fix the observed object(optional);
3. Instructions for use of endoscope accessories are as follows:
①White sleeve: It protects the endoscope when detecting the bottom of the slit, the depth of the pipe,
and the scene where the endoscope needs to be placed in other objects. (This accessory is not
waterproof and cannot be placed directly in the water).
②Black speculum: used to inspect holes with a diameter smaller than the endoscope diameter (12mm).
Black material, the sensor will increase the image gain, can block external stray light, make the
center of the picture brighter.
③Side-view mirror: used to observe the back or side of an object. For example, the inner wall of the
pipe.
④Transparent sleeve: Used to fix the object distance when observing large area flat objects. For
example: Observing circuit boards, coins, reading magnification, etc..
⑤White speculum: used to inspect holes with a diameter smaller than the endoscope diameter (12mm).
Installation tutorial
* Mounting bracket: Screw the optical bracket on to the base, referring figure3.
(
Figure3 Mounting bracket
) (
Figure4 Bracket instructions
)
*Installation clips (optional)
1. Make sure that the direction of the clips correct before installation, as shown in the figure below,
(
Figure5 Schematic diagram of clips installation)
2. Use a screwdriver to install it on the base.

4
3. The another clip is installed in the same way.
*Install main device: Loosen the small thumbscrews on the optical bracket. Then slide the optical stack
in to the ring of the optical bracket. Finally tighten the thumbscrews to hold the optical stack in place.
If done correctly, you should be able to not just turn the focus controller of the optical stack freely,
but also freely adjust the monitor, the angle between the base and the optical bracket, while the
rest of microscope remains in place. If you have any question or problem for assembly, please
contact us as soon as possible, so you won’t damage the device during assembly.
*Connect the power supply: connect the microscope and the power supply with the switch cable. (See
Figure 6)
(
Figure 6 Connect
)
(
Figure7 Remote buttons
)

5
Buttons
(
Figure 8 Buttons
)
①Power on/off remote, please point the remote to this so
②Mode/Menu the device would response)
③Up ⑧Light controller
④Down(image switching) ⑨Focus controller
⑤OK/Start video record ⑩Endoscope
⑥Picture capture ⑪Focusing pulley
⑦Infrared sensor (when you are using the ⑫Endoscope bracket
Quick start
Lightly press and hold the Power button (Figure 8/①or power button of the switch cable) underneath
the display until the display turns on. (It may turn on automatically while connecting cables at the first
time, and it’s totally normal. )
*Troubleshooting
1. If the device is turned on and off repeatedly after starting up, please check if you press and hold the
power button.
2. If the display freezes, locate the “reset ” hole on the back of the monitor. Use a narrow object
such as an unfolded paperclip to depress the button located inside. This resets all settings to their
factory values and restarts the display. It does not erase saved images or video.

6
Image switching
When connecting the endoscope to the microscope, pay attention to the direction of the plug. Refer to
the schematic diagram in Figure9:
Note: 1.After the endoscope is connected to the main device, please do not swing left or right to
avoid poor contact of the endoscope; 2. The endoscope does not support functions such as remote
control, capture, and video recording.
(Figure9 Schematic diagram of endoscope interface)
After the endoscope is connected, its image does not appear on the screen immediately. You need to
press the "V" key (image switching key, Figure 8/④), the remote control "NTL/PAL" key has the
same function).
The process of image switching is shown in Figure 10. Through the "V" key, the endoscope image can
be switched: from small to full screen. If you don't need the endoscope image, you can continue to
press the "V" key to switch to the microscope image or not connect to the endoscope.
Press the "V" key for the first time to achieve dual-screen display; press the "V" key for the second time
to display the endoscope image; press "V" for the third time to switch to the microscope image.
(Figure10 Schematic diagram of the screen switching process)

7
Obtain the clear image
Use the object distance adjustment knob of the column to
lift the microscope to the desired height. The shorter the
object distance, the greater the magnification. Be careful
not to let the bottom of the lens touch the observed object.
(When adjusting the height of the microscope, you can
properly adjust the positions of the two light sources on the
base to achieve better results.) Then gently turn the
focusing tube (Figure 8/⑨) to focus and obtain a clear
picture.
(Figure11 Schematic diagram of focusing)
Take pictures and videos recording
By using a Micro SD card (not provided), you can save images and videos to review later or export
to a computer or other device .
Insert the Micro SD card in to the TF slot on top back of the monitor. (be careful with the direction.
The side which has metal exposed should face down,refer to the figure 6 ) Push it in until you hear a
click. (If you don't push it in far enough, it will be ejected. )
The Mode button(number ②from the figure “Buttons”, marked with an "M") can be used to cycle
between three modes: video standby ( ), still image ( ), and review ( ). In video standby
mode, there shows 'time' & ‘1080FHD’(white color font)at the top right of the display. The 'time'
means how many time the rest storage of the card would allow you to record video. The‘1080FHD’
means the video resolution is 1080FHD in this mode.
To record videos
Press the OK button(Figure 8/⑤) briefly to begin recording. The elapsed time(red color font) in the
recording will appear at the top right. To stop recording, hit the OK button again. The OK button
on the remote has the same function.
To Capture pictures
There are two ways to capture pictures. In the recording video mode, press the Picture Capture
button(Figure 8/⑥)(Marked with a camera) briefly to capture an image. In the still image mode, press
‘OK’ button to capture an image. The picture capture button and ‘OK’ button on the remote has the
same function.
Note: You can’t take pictures or videos in Preview mode
Reviewing and Managing Images
To review and manage images on the display, use the Mode button to select review
mode. Use the Up and Down buttons to cycle through the pictures and videos.

8
To play a video, press the OK button to start play. Press the OK button again to pause. Press Mode
button to stop playing the current video.
Hit the Mode button again to exit playback mode.
While reviewing a still image or video, the Menu button can be used to provide
additional options. Press the Menu button and hold for a while till options show up.
Date and language settings
In any mode, press the M button and hold it for a while until the Video/Still/Playback Menu shows
up on the display(Or you can press MENU button on the remote). Hit M button again, get into the
general Setup Menu.
For example, if you are in Video standby mode, and you press MENU, this is the first menu
would show, the “Video menu”:
(Figure12 Video menu)
Then, press MENU button (or M on the monitor) again, you get into the Setup menu, like this:
(Figure13 Settings menu)

9
Date/time setting
Date/Time
Press “OK” into Date/time setting. Use “Up” and “Down” to select the correct number for
year/month/day. Once you finish setting a number, press “OK” on the monitor to the next number.
Or, you can use “Left” and “Right” on the remote to get to the one that you want.
Press “MENU” button on the remote to exit date/time setting directly. If you don’t have the remote,
you have to go through all over these settings one by one and then press OK again to exit.
Langue settings
English, Japanese, French , Korean, Spanish, Portuguese are available to be set.
To save settings
After you set everything right, you should turn off the device by pressing ON/OFF button on the
monitor and hold it until the device switching off.
If you turn off the device by pressing the button on the switch cable, or just simply cut off the power
supply, the setting would not be saved.
Warranty Card
Warranty Card
User’s name:
Address:
Phone number:
Post code:
email:
Model name:
Purchase date:
Fault feedback:
Date:
Fault:
Notice:
Our warranty doesn’t cover:
1
If users can not provide the purchase proof or the Warranty.
2
If users use it in an improper environment, such as incompatible power supply,
high temperature environment etc.
3
If the fault caused by accident, oversight, misoperation or natural disasters etc.
4
If the fault caused by people who are not belong to authorized organizations of our
company during repacking, repair, dismantle, Or if users repack, repair or
dismantle the device not following our advice.
5
Out of warranty period.
Table of contents
Other Andonstar Microscope manuals

Andonstar
Andonstar AD205 User manual

Andonstar
Andonstar AD409 User manual

Andonstar
Andonstar AD409-Max User manual

Andonstar
Andonstar 246 User manual

Andonstar
Andonstar A1 Reference manual

Andonstar
Andonstar AD409-Pro User manual

Andonstar
Andonstar AD407 User manual

Andonstar
Andonstar 246 User manual

Andonstar
Andonstar 246S User manual

Andonstar
Andonstar AD203 User manual