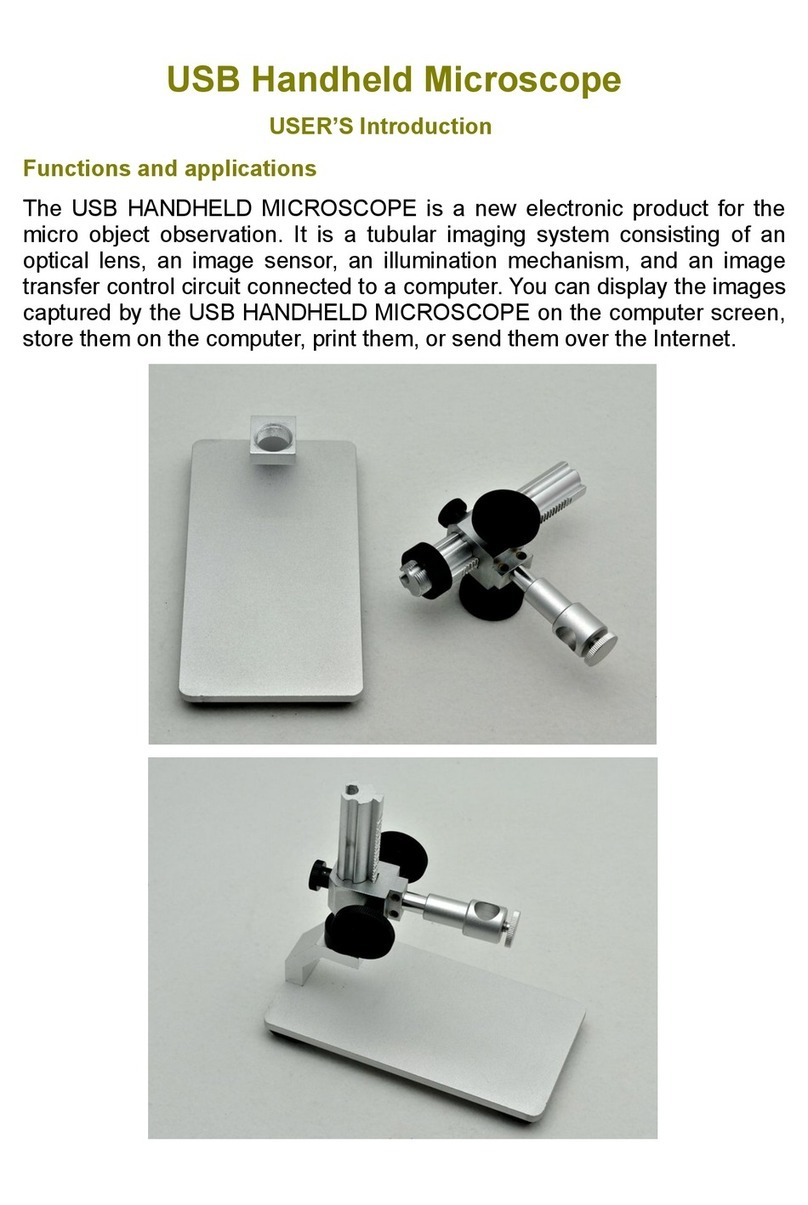
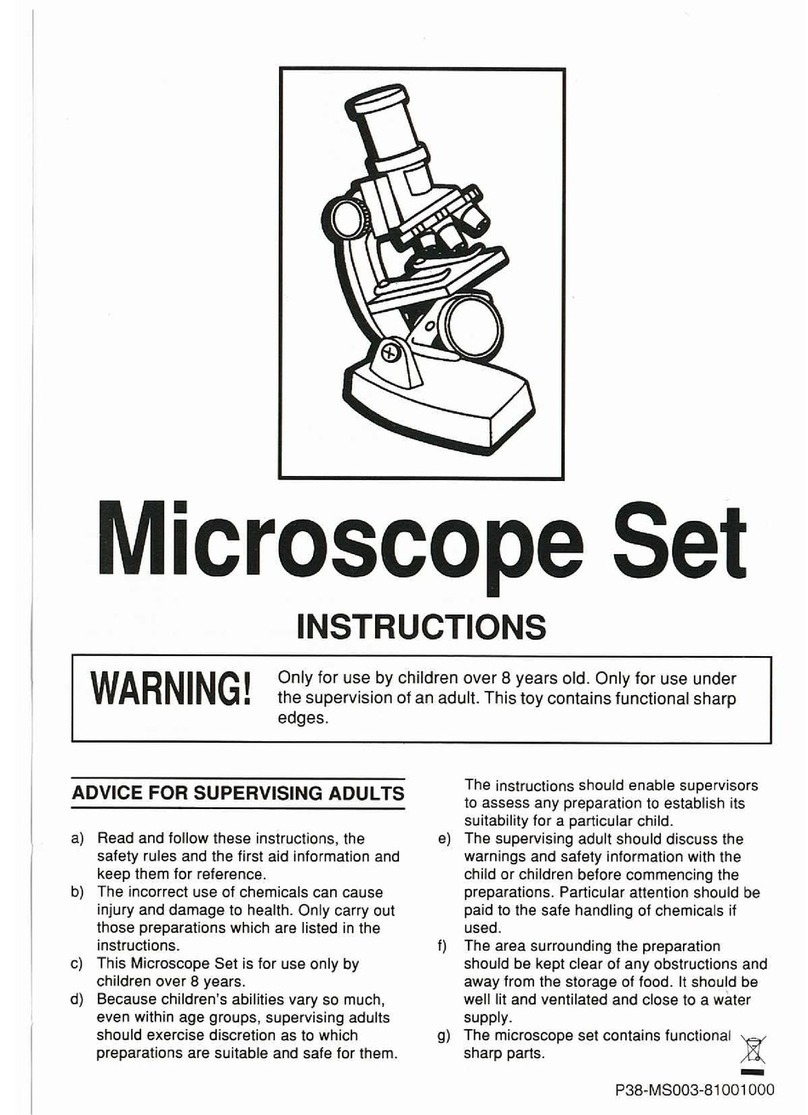
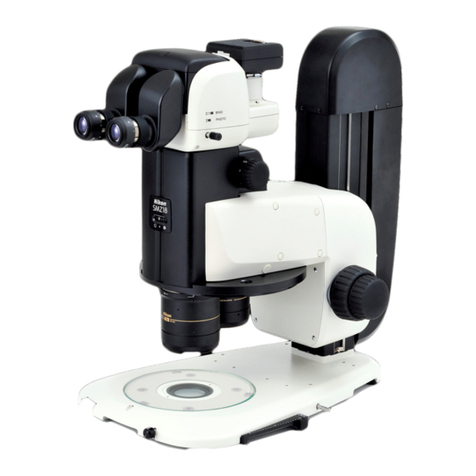
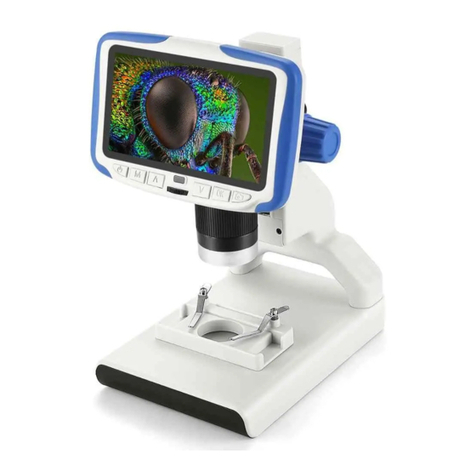
Andonstar ADSM201 User manual

HDMI Microscope ADSM201
User Manual

1/12
General Rules.................................................................................................................................................... 2
Basic Parameters.............................................................................................................................................. 2
Structure diagram............................................................................................................................................ 3
Assembly............................................................................................................................................................ 3
General use........................................................................................................................................................ 4
Displaying on an External HDMI Monitor.................................................................................................5
USB output mode............................................................................................................................................ 5

2/12
General Rules
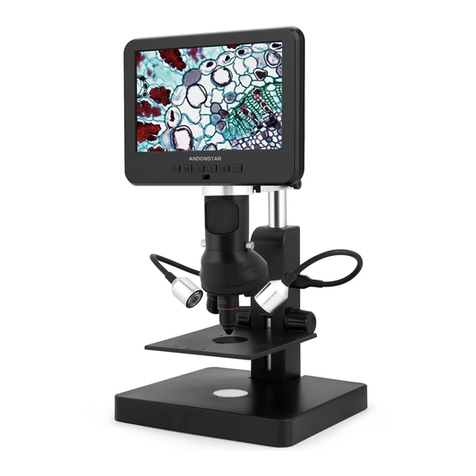
ADSM201 is a multifunctional digital microscope. It realized Full HD, high object distance,
multifunction, multi-output at the same time. It can easily meet the many different
requirements from many industries, such as industrial overhaul and teaching demonstration.
And it ’ s appearance design combines many ergonomic consideration, provides users
better experience. We sincerely wish this product can release your eyes and improve your
work quality. Thanks for your support.
·ADSM201 is safe and low-maintenance, as long as common sense is employed.
·The assembly includes small parts , particularly the thumbscrews used to hold the optical
stack in place. Do not allow unsupervised access by infants or toddlers.
·Your ADSM201 is not intended for field use . It is not waterproof, and should not be
exposed to extreme temperatures. Treat as you would any other electronic device, such as a
laptop or tablet.
·The surface of the lens at the bottom of the ADSM201 should be cleaned whenever you
start to notice a degradation in image quality. Use a few drops of lens-cleaning fluid on
lens tissues or use a microfiber cleaning cloth.
·The rest of your ADSM201 can be cleaned with a damp cloth.
Basic Parameters
Image sensor
3 Mega Pixels HD Sensor
Output
HDMI&USB
Video format
MOV
Magnification Ratio
Up to 300X(HDMI monitor 22 inch)
Photo resolution
12M
Photo format
JPEG
Focus Range
10mm to 150mm
Frame Rate
Max 30f/s under 600 Lus Brightness
Digital zoom
4X
Storage
Micro-SD card, up to 32G
PC support
Windows XP/7/8
Power sourse
5V DC
Stand size
14.5cm*7.9cm*16.5cm
Monitor size
3 inch
Accessories
Stand*1, Adapter*1, USB Cable*1, HDMI Cable*1
Packing data
24*18.5*8.3cm/1.2kg

3/12
Structure diagram
Assembly
1. Bend the spotlights down(⑤), so that they are out of the way.
2. Screw the locking ring(⑥) all the way on to the optical bracket(①).
3. Screw the optical bracket(①) on to the base(⑦). Once you have done so, it is likely the
bracket will not be aligned over the base(⑦). Unscrew it until it is aligned, and then turn the
locking ring(⑥) clockwise until it is tight. (After doing so, it will still be possible to hold the
base and turn the bracket if sufficient force is applied, but it will not spin freely.)
4. Loosen the small thumbscrews(④) on the optical bracket(①).
5. Slide the microscope in to the ring of the optical bracket about 3/4" (2 cm), so that the
ridged section of the microscope is entirely above the ring.

4/12
6. Tighten the thumbscrews( ④ ) to hold the microscope in place. If done correctly, you
should be able to turn the focus controller(②) of the microscope freely, while the rest of it
remains in place.
7. Remove the protective film from the display at the top of the microscope.
General use
1. Connect the camera to the power supply via USB cable. Also connect spotlights to the
power supply.
2. Press the “ON/OFF” button on the monitor. (Sometimes the camera will switch on
automatically when it is connected to the power supply)
3. Turn on the spotlights, adjust the “height adjustment” and the “Focus controller” to
get the image that you want.
4. Use the “UP/Down”to do digital zooming.
*To set the menu
1. Press “Menu” until it shows the menu on the built-in screen.
2. Press “UP/DOWN”and “OK” choose what to set.
3. Press “Menu”again after you finish setting.
*To switch mode
1. Press “Mode” shortly.
2. Icons :
:standby mode; : capture mode;
: record mode; : image playback mode
: video playback mode (If the files are videos, press “OK” to play the video file)
: Lock the file which is being recording
*To capture pictures.
Press “Mode”shortly to get into the Capture mode. Press “OK” to take pictures.
* To record a video
1.Press “Mode”shortly to get into the Standby mode. Press “OK”to start recording.
2.Press “OK”again to stop recording.

5/12
Displaying on an External HDMI monitor
·Fisrt, make sure that the monitor connecting to the microscope is literally HDMI monitor.
Otherwise it won’t perform as good as we expect.
·Second, connect the microscope to the HDMI monitor, also, connect it to the power supply.
Because there is no built-in battery in the device, so make sure the microscope is always in
charging when you use it.
·Third, turn on the microscope and adjust the distance. Then put the object on the table
and adjust the focus controller.
·It won’t show anything on it’s own built-in screen when it is connecting to other
monitors. So it’s normal that when you use it as HDMI output, the 3 inch screen keeps
being dark.
·You still can take pictures and save them if you have a memory card inside the microscope.
But you can’t record videos in this output mode.
USB output mode
* The software we provided can only work on Windows XP/7/8 systems.
* Make sure your computer USB port provided powerful and stable enough electricity.
Some laptops may not work well in their condition, please try some desktops USB port, or
even the USB port on the back side of the desktop.
* At this USB output mode, maximum resolution ratio can only get to 1280*720P
Steps:
1.Connect the microscope to the computer.
2.It will show 2 options, PC camera & Mass storage on the screen of the microscope. Use
“Down”button and “OK”button to choose “PC camera”.
3.Open the software, it will show the Storage path after the software’s name, for example:
AMCap-C:\Users\H.chao\Desktop.
4.√Select the microscope name in “Devices”
5.To take a picture:
1)Aim the storage path of the image file: Capture→Still→Folder→target file.
2)basic settings: Options→Preview√;Capture→Still→Enable√.
3)Take a picture: Capture→Still→Snap.(Or press “Enter” on your keyboard.)
6.Record a video:
1)Aim the Storage path of the video file: File→Set capture file→target file
2)Record a video: Capture→start capture→OK→stop capture
6/12
Warranty
User’s name:
Address:
Phone number:
Post code:
email:
Model name:
Purchase date:
Fault feedback:
Date:
Fault:
Notice:
Our warranty doesn’t cover:
1
If users can not provide the purchase proof or the Warranty.
2
If users use it in an improper environment, such as incompatible power supply, high temperature
environment etc.
3
If the fault caused by accident, oversight, misoperation or natural disasters etc.
4
If the fault caused by people who are not belong to authorized organizations of our company
during repacking, repair, dismantle, Or if users repack, repair or dismantle the device not
following our advice.
5
Out of warranty period.

7/12
电子显微镜 ADSM201 使用说明书
总章.......................................................................................................................................................................8
基本参数...............................................................................................................................................................8
ADSM201 结构示意图...................................................................................................................................... 9
独立使用操作步骤...............................................................................................................................................9
HDMI 输出模式................................................................................................................................................10
USB 输出模式................................................................................................................................................... 10

8/12
总章
◆为了您能更好的使用本产品。我们希望您能一直保留这份说明书。如果因为违背手册指导的操作步
骤对产品造成损坏,不在保修范围内。由于不遵守手册告知的安全需知而造成对使用者的伤害或者其
他损失,本公司不承担任何责任和义务。
◆不遵守警告和说明可能导致触电,火灾或严重伤害。
◆不遵守本说明可能导致设备永久性损坏。
◆保存和运输:不恰当的运输可能会危害设备, 运输设备时一定放在包装箱内,以防止损坏。
◆处置办法:电子设备不属于生活垃圾,需要按照相关的法律规定处理。
◆安全需知
1. 保持设备处在干净干燥的环境。原离油、水、瓦斯以及其他可能导致腐蚀的材料。
2. 残障人士、心理疾病患者或者敏感状况的人士不适合使用本产品。
3. 产品中包含微小的零件且不可食用,请小孩在监护人或者教师的指导下操作,避免误食。
4. 不要过度操作。产品的各个部件之间的调整都有限度,为保持工作达到最佳状态请保持设备整体
的平衡。
5. 机身绝大部分属于金属质地,不防水。请远离导电介质,且不可再高温下过度曝露。
6. 为了保证达到良好的使用体验,每次使用前请用柔软干净的微纤维布擦拭主机镜头下方的保护镜。
基本参数
图像传感器
3 百万像素高清传感器
数字放大
4 倍
视频格式
MOV
放大率
最高可达 300 倍(连接 22 寸高清显示屏时)
照片分辨率
12M
照片格式
JPEG
对焦范围
1cm 至 15cm
帧频
最大 30f/s (600 Lus 亮度下)
输出接口
HDMI/USB
存储
SD 存储卡, 最大容量 32G
PC 支持
支持 Windows XP/7/8 系统。
电源
5V DC
支架尺寸
14.5*7.9*16.5cm
屏幕尺寸
3 英寸
配件
支架×1,电源适配器×1,USB 线×1,HDMI 线×1
包装尺寸
24*18.5*8.3cm/1.2kg

9/12
ADSM201 结构示意图
独立使用操作步骤
1.用 USB 线连接显微镜到电源。将载物台背后的两个 LED 灯的 USB 开关线连接电源
2.按下显示器上的“开/关”按钮。 (有时显微镜在连接电源时会自动打开)
3.打开 LED 指示灯,调节物距高度以获得足够的放大倍数,与此同时对准调焦筒以获得所清晰的图
像。
4.使用按键“上“或者”下”进行数字变焦。
*设置菜单

10 /12
1.视频模式下长按“菜单” 键直到屏幕上出现菜单。
2.按“上“、”下”找到需要设置的参数,按“OK”进入要设置的内容。
3.完成设置后再按“菜单”键,退出菜单。
*切换模式
1. 短按“模式”键切换不同模式。
2. 不同模式图标释义:
:视频模式; : 拍照模式; : 录制模式; : 图片播放模式
:视频回放模式(当文件为视频时,按“确定”播放视频文件)
:锁定正在录制的视频文件。
*拍摄图片
短按“模式”键进入拍摄模式。 按“OK”拍摄照片。
*录制视频
1.短按“模式”键进入视频模式。按“OK”开始录制。
2.按“OK”键停止录制。
HDMI 输出模式
•首先,确保连接显微镜的显示器是真高清显示器, 否则图像效果将无法达到 1080 的分辨率。
•然后,将显微镜通电并连接到高清显示器。显微镜中没有内置电池,所以请确保显微镜在使用时一
直处于通电状态。
•第三,打开显微镜,将观察对象放在载物台上并调整焦距和物距。
•当显微镜连接到其他设备时,它本身的屏幕上不会显示内容。 因此, 当您用 HDMI 显示屏输出时,
显微镜自带的 3 寸屏幕无图像是正常现象。
•如果显微镜中有存储卡,您还是可以拍照,但是不能录像。
USB 输出模式
*目前我们提供的软件只能适用于 WindowsXP/7/8 系统。 其余电脑操作系统下的操作软件有待开发,
敬请谅解。
*需要使用 USB 输出在电脑上观看图像以及进行相关操作,需要电脑的 USB 端口提供足够稳定的电
流。部分笔记本电脑的 USB 接口由于使用年限或者自身性能的关系,所供电流只能保持让显微镜通
电,却不能在与此同时满足数据传输的要求。因此,建议您尝试使用台式电脑,甚至台式电脑主机背
面的 USB 接口。
*在此模式下,分辨率最大只能达到 1280*720P
步骤:
1. 连接设备和电脑。
2. 显微镜屏幕上出现两个选项“PC camera”和“Mass storage”。选择“PC camera”。
3. 启动软件,界面顶部会显示视频存储路径。
4. 在 Devices 中勾选显微镜设备

11 /12
5. 捕获图片:
1) 选择图片存储路径:capture→still→folder
2) 初始设置:capture→still→enable√, Options→Preview√
3) 捕获屏幕:capture→snap(或者直接按键盘上的 “Enter” 即可)
6. 录制视频:
1) 选择视频存储路径: File→Set capture file→ 目标文件夹
2) 录像:Capture→start capture→OK→stop capture。
保修卡
用户名称:
详细地址:
电话:
邮编:
邮箱:
产品型号:
购买日期:
故障反馈:
日期:
故障现象:
敬请注意:
下列情况造成的产品故障不在保修之列
1
不能出示产品的有效保修凭证和有效购物凭证。
2
使用环境或条件不当,例如电源不合、环境温度、湿度、雷击等而导致产品故障。
3
由于事故、疏忽、灾害、操作不当等造成产品故障。
4
由非本公司授权机构的维修人员改装、修理、拆卸,或未按照经被公司授权机构的售后的处理意见进行擅自
改装、修理、拆卸等而造成的故障或损坏。
5
产品超出本公司规定的保修期限。
Other manuals for ADSM201
1
Table of contents
Other Andonstar Microscope manuals

Andonstar
Andonstar A1 User manual

Andonstar
Andonstar AD409 User manual

Andonstar
Andonstar AD108 User manual

Andonstar
Andonstar 246S User manual

Andonstar
Andonstar A1 Reference manual

Andonstar
Andonstar AD409-Max User manual

Andonstar
Andonstar AD206S User manual

Andonstar
Andonstar AD409-Pro User manual

Andonstar
Andonstar ADSM302 User manual

Andonstar
Andonstar AD203 User manual