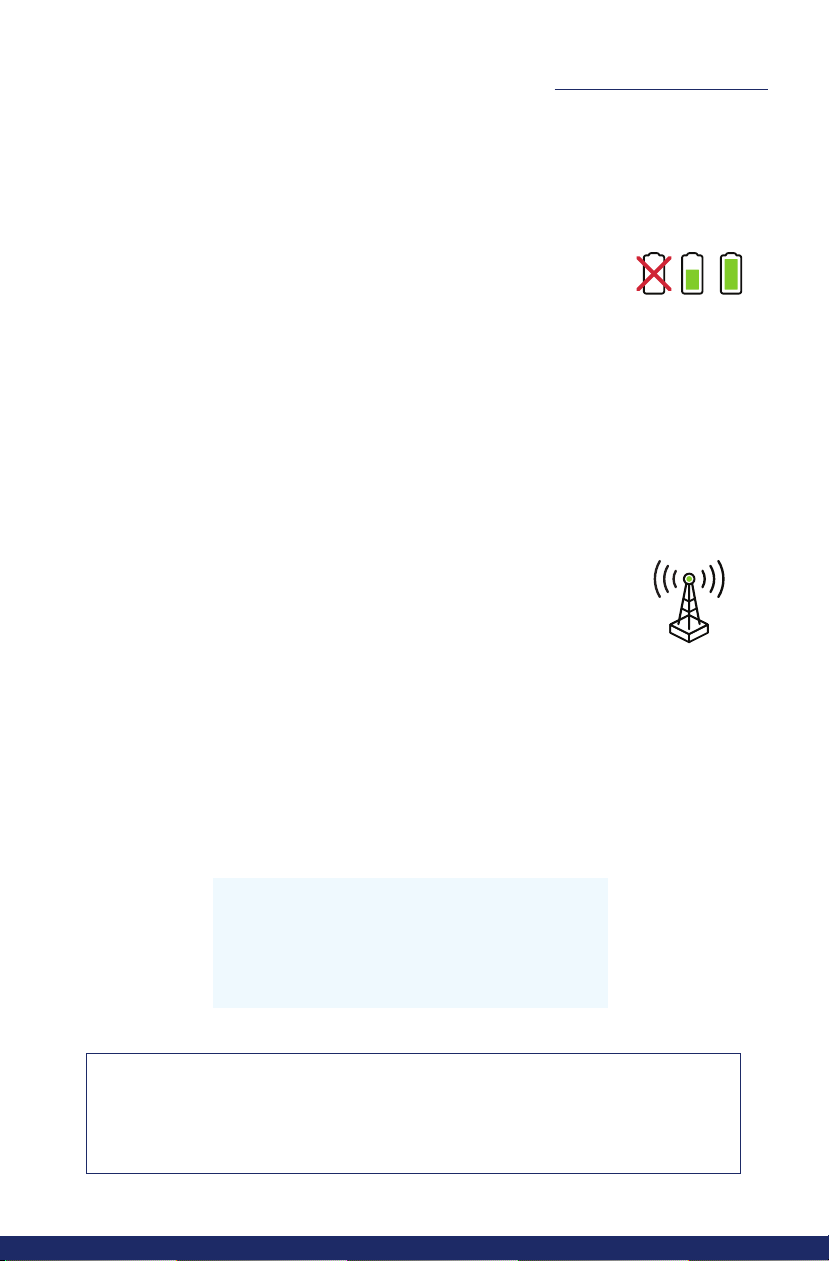
Anelto On the Go User manual

1
SETUP GUIDE
On the Go SETUP GUIDE

2
SETUP GUIDE
Welcome!
Enclosed you will find your Monitoring Service
Agreement filled out with the information provided
at the time of your order.
Sign the agreement carfully to ensure its accuracy
and note any updates if necessary.
Please sign and date the Monitoring Service
Agreement where indicated and return it in the
postage paid envelope. Keep the second copy for
your records.
Please fill out the enclosed Medical Information
Card and place it on your refrigerator for a quick
reference in case of an emergency.
Thank you!
TABLE OF CONTENTS
2 Welcome
3 What's Included
4 Setting Up
Your System
5-6 Using Your
Device
7 Optional Fall
Detection
8 Troubleshooting
9 Tips and
Reminders
10 Important
Information

3
SETUP GUIDE
On the Go:
What's Included
ALL IN ONE DEVICE
CHARGING CRADLE PLUG
CHARGING CABLE
SPEAKER
LED
HELP BUTTON
MICROPHONE

4
SETUP GUIDE
Plug in your On the Go
1Remove and discard the red band.
2Insert the charging cable in the plug and insert into
an electrical outlet not controlled by a light switch..
3The LED light will turn solid red and the device
will announce, “Your device is now charging.”
4When your device has adequate battery charge
and is connected to the cellular network, it will
announce, "Your device is now ready, If you need
to place an emergency call please press and
hold the HELP button now."
5The first time you turn on your system it may
announce, “Hello, it is time to test your system to
make sure it is working properly. Please press and
hold the HELP button for one second now.”
Please make this test call when requested.
6Leave your device on the charging cradle until
the LED light is green, indicating that your
device has completed charging.
On the Go:
Setting Up Your System
A complete
charge will take
approximately
2-3 hours.
*Test your system monthly!
Charge your device daily!

5
SETUP GUIDE
Placing an Emergency Call
1Firmly press and hold the HELP button. The device
will BEEP and announce, “Placing an emergency
call now. To cancel the call please press and hold
the HELP button for two seconds now.”
2Allow the call to go through and speak to the
emergency operator.
Canceling an Emergency Call
1During the “Placing an emergency call now...”
announcement, press and hold the HELP
button for two seconds when prompted.
2The device will announce, “Your call has
been canceled.”
*If the call cannot be placed due to poor
cellular connection or other issues, the
device will announce, “Call failed.”
Attempt to place the call again or move
to an area with better cellular service.
On the Go:
Using Your Device

6
SETUP GUIDE
On the Go:
Using Your Device
Powering Off Your Device
Press and quickly release the HELP button
three times.
1Your device will announce, “Device is powering
off. Please confirm by pressing and holding the
HELP button now”.
2Confirm by pressing and holding the HELP
button. The device will announce,
“Powering off now, goodbye.”
Turning Your Device ON
Firmly press and hold the HELP button
for one second.
*Your device is designed to always be ON
except when taking it on an airplane.

7
SETUP GUIDE
On the Go:
Optional Fall Detection
(if enabled)
Fall Detection – How It Works
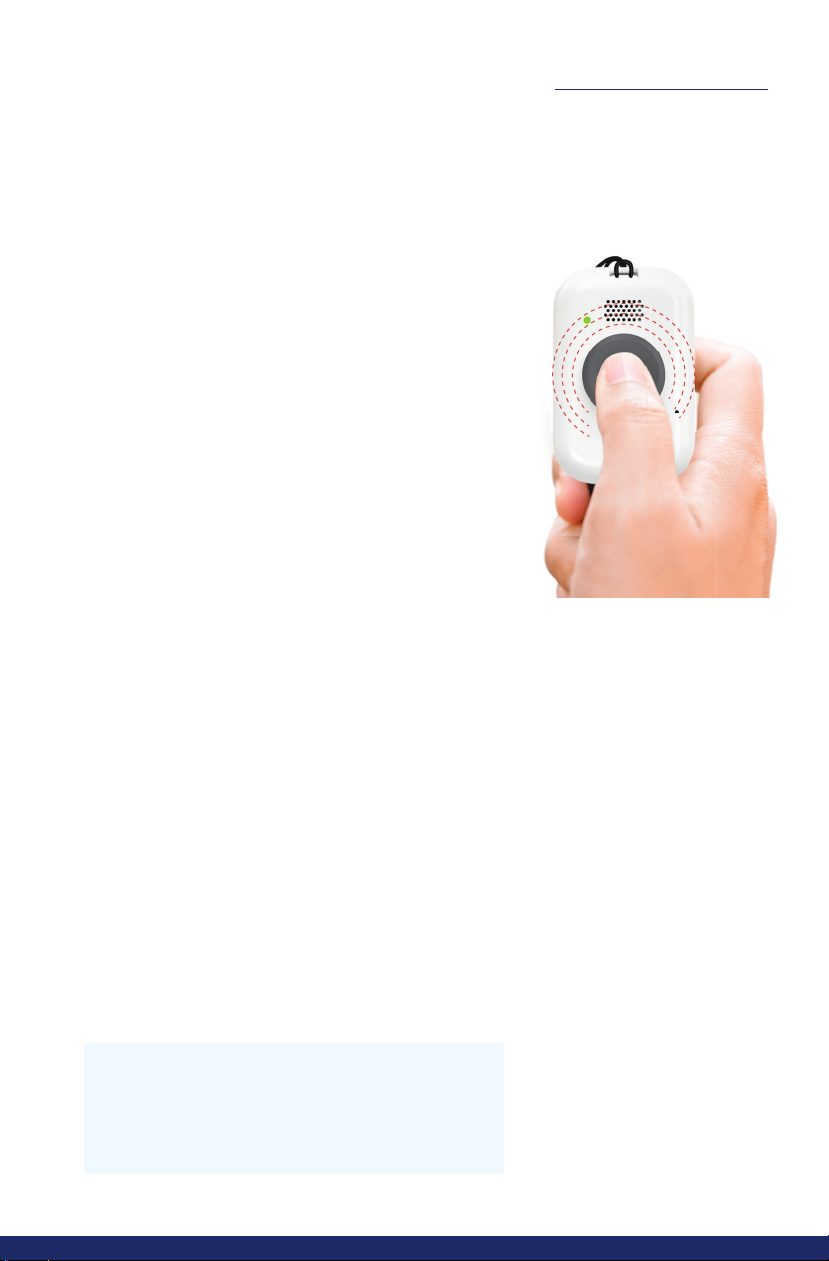
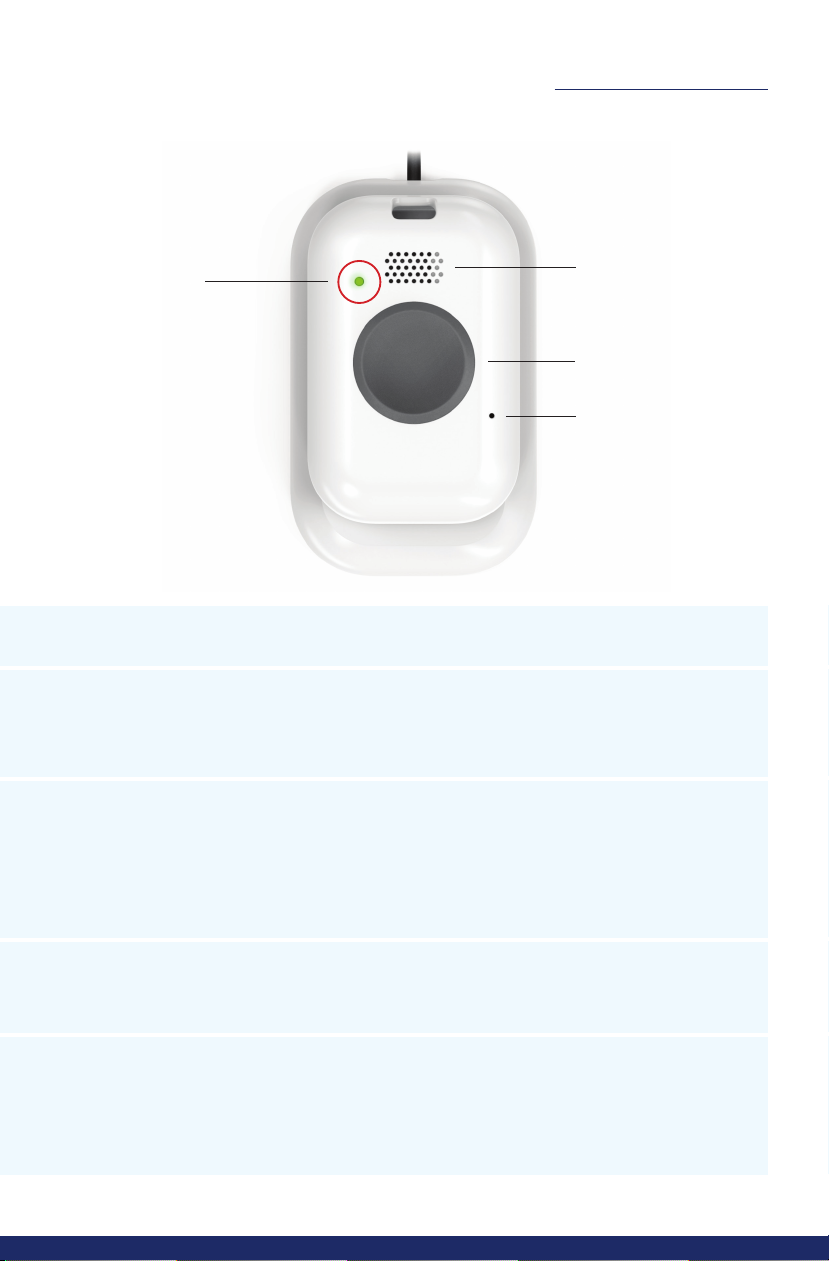
The Fall Detection only takes a few seconds
to interpret the movement and determine if
an actual fall has occurred. If a fall is determined,
the device will send a signal which will initiate
a call to the emergency response center.
Remember, always press your button if able,
as some falls man not be detectable.
To cancel a call made due to a Fall Detection
event, aer you hear the announcement, press
the HELP button on your main device for two
seconds when prompted. The device will
announce, “Your call has been canceled.”
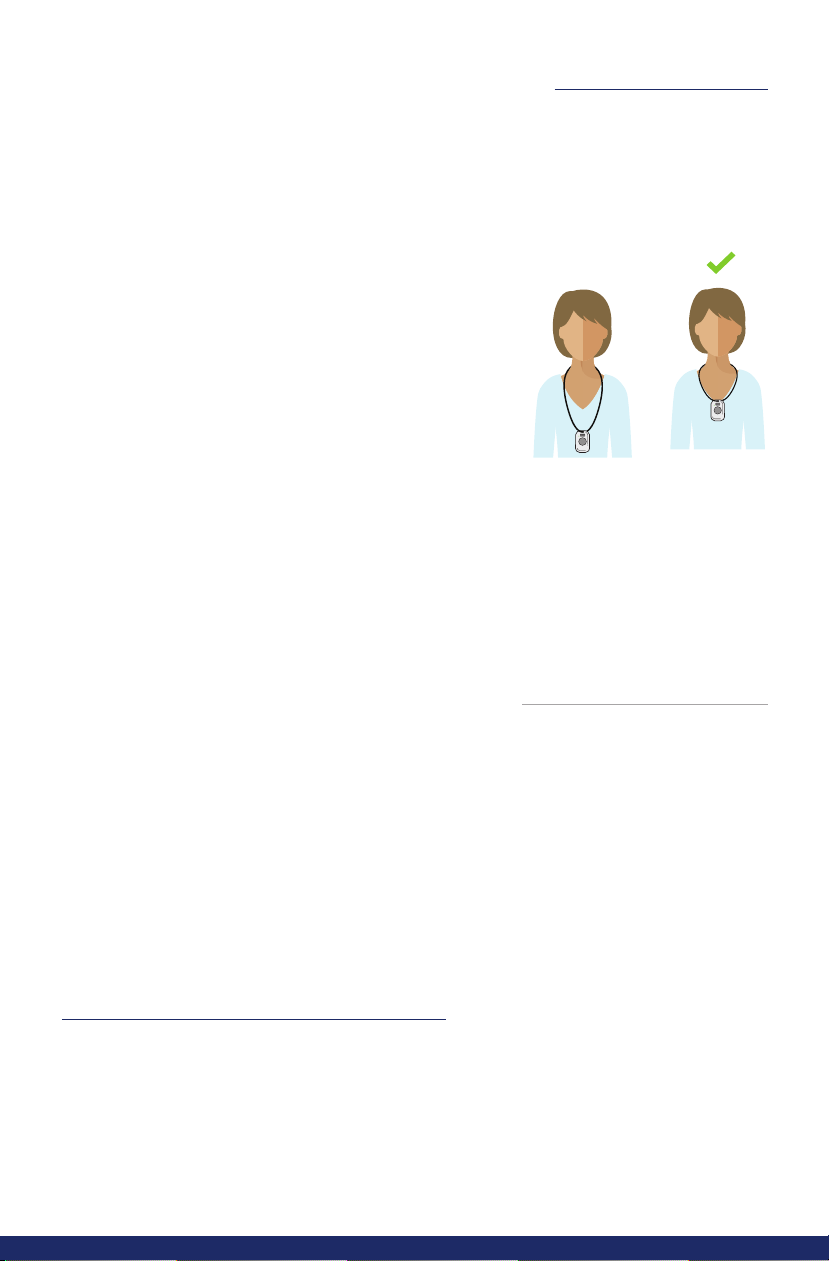
We recommend that you wear your device
around your neck so that it rests at chest level
to avoid unnecessary swinging. Make sure the
emergency button is facing forward, making
it easier for you to press in the event of an
emergency. Wear outside your clothing as
wearing it inside can reduce the percentage
of falls being detected.
The Fall Detection Pendant
does not detect 100% of falls.
Always press your button if you are able,
as some falls may not be detectable.
INCORRECT
Below the
mid-section or
over the stomach
CORRECT
High on the
chest on top
of the sternum
Ñ
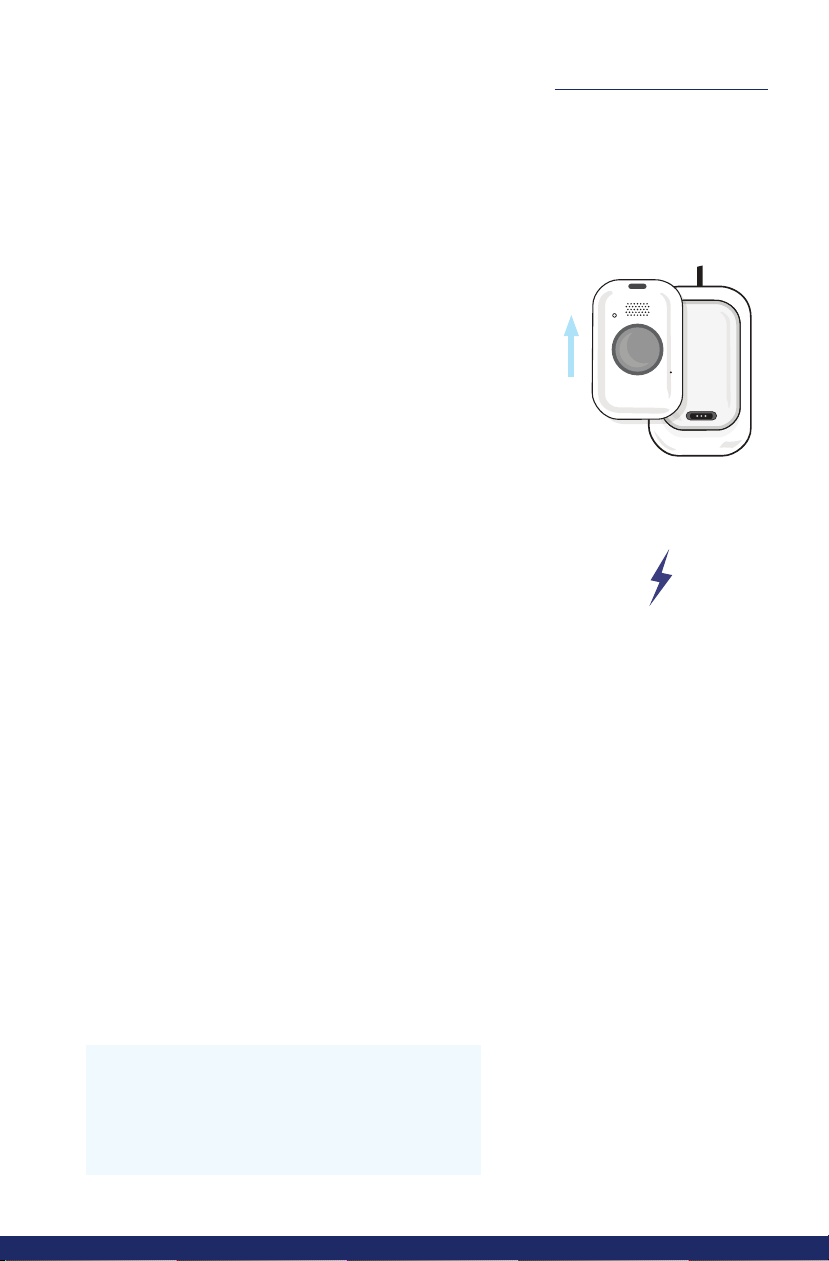
You must be wearing your
On the Go device for
fall detection.
To adjust the lanyard, hold one
side of the loop and slide the
barrel until the lanyard is at the
proper length.

8
SETUP GUIDE
On the Go:
Troubleshooting
LED Announcement What this means What you should do
Red
Solid
“Your device is
now charging.”
Device is connected
to the charger
Leave on charger until
battery is charged and
the LED is green
Red
Blinking
“Your device battery
is low. For your
protection, please
place your device on
the charger now.”
Your battery is
critically low
Place device on charger
as soon as possible
Solid
Green
“Your device is
now ready.”
Your device is ready
to make a call
Press the button if you
wish to make a call
Blinking
Green
Your device has
adequate charge
and is looking for
cellular connection
Wait. If this continues,
move to another location
with better cell coverage
SPEAKER
LED
HELP BUTTON
MICROPHONE

9
SETUP GUIDE
On the Go:
Tips and Reminders
• Your device requires adequate battery charge and
cellular signal to make an emergency call.
• Your device is water resistant and can be worn in the bath
or shower.
• Your device uses GPS technology to identify your location.
In good conditions the product should provide a location
that is accurate within 30 feet or less. However, performance
of GPS can be aected by a wide range of factors including
obstructions, metal objects in the vicinity, structures that
block the signal from satellites, weather, and other factors.
• Your device uses the cellular network to communicate.
The device’s location, network provider service availability,
and other issues may disrupt communications.
• Pendant lanyards are designed to breakaway under certain
conditions; however, any cord worn around the neck can
pose a risk of strangulation, including the possibility of
serious injury or death.
Please notify us if there are any changes to your address,
phone number or emergency contacts.
*Test your system monthly!
Charge your device daily!

10
SETUP GUIDE
On the Go:
Important Information
• The back of this device and the charging cable both contain
magnets. Magnets with a strong magnetic field may cause
permanent damage to health devices susceptible to
magnetic fields, credit cards, computer hard drives, watches,
TVs, data storage media and other electronic devices.
If you have a health device susceptible to magnetic fields,
such as a pacemaker or defibrillator, this device and its
charging cable must be kept 3″ or more from your health
device. Please check with your physician prior to using
this device if concerned.
• Our products are tested, as are other cellular and wireless
communications products licensed in the United States.
Individuals with pacemakers should review their pacemaker
materials regarding interaction with cell phones and take
the same precautions the materials recommend for
this device.

11
SETUP GUIDE

12
SETUP GUIDE
OTG-UB-SU-1911-12312019
Table of contents
Other Anelto Personal Care Product manuals
Popular Personal Care Product manuals by other brands

Weinmann
Weinmann SOMNOvent S Description of the equipment and instructions for use

Orliman
Orliman Maternity OMT601 Use and maintenance instructions

TEFAL
TEFAL Beauty Brush Activ Nano Smart instructions

miseno
miseno MMC2426SLED user guide

Herowear
Herowear Apex 2 exosuit user manual

ResMed
ResMed AirFit P10 user guide