Installation Guide Angel Armor Avail ballistic door panels (Level III) FOR DODGE CHARGER PURSUIT
970 235 2961 sales@angelarmor.com angelarmor.com 3
Product Description
The Avail Level III armor panel is made of a
premium steel plate packed with superior
protective capabilities. This high-strength
solution features discreet, seamless coverage
in a single-piece design and a weatherproof
Introduction
Congratulations on your
purchase of the Angel Armor™
Avail Ballistic Door Panel (Level
III) for Dodge Charger Pursuit
(2011 & Newer Models)! It’s our
honor to provide advanced
protection to those who put
their lives on the line in the name
of law and order.
Your vehicle will soon be upfitted with the
finest ballistic technology available. With
optimized coverage area, a seamless design
and powerful protection from NIJ Level III rifle
threats, Avail elevates vehicle protection to a
higher level.
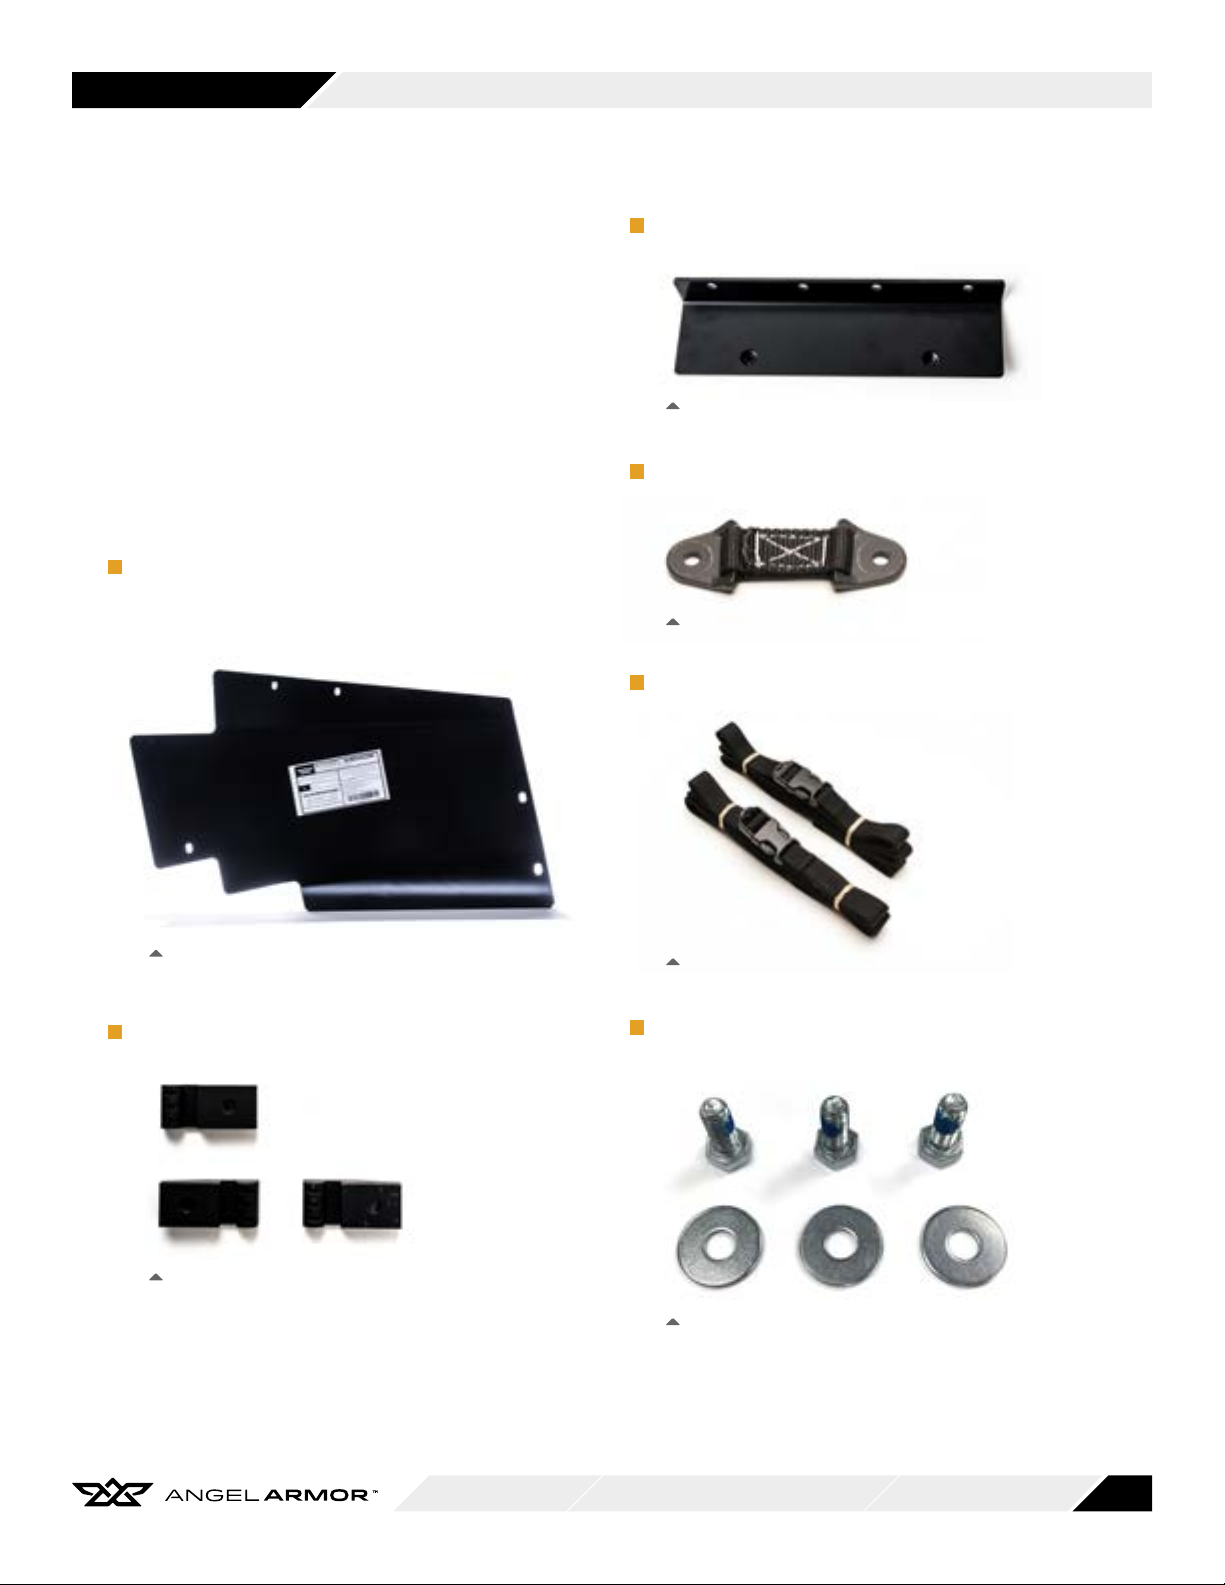
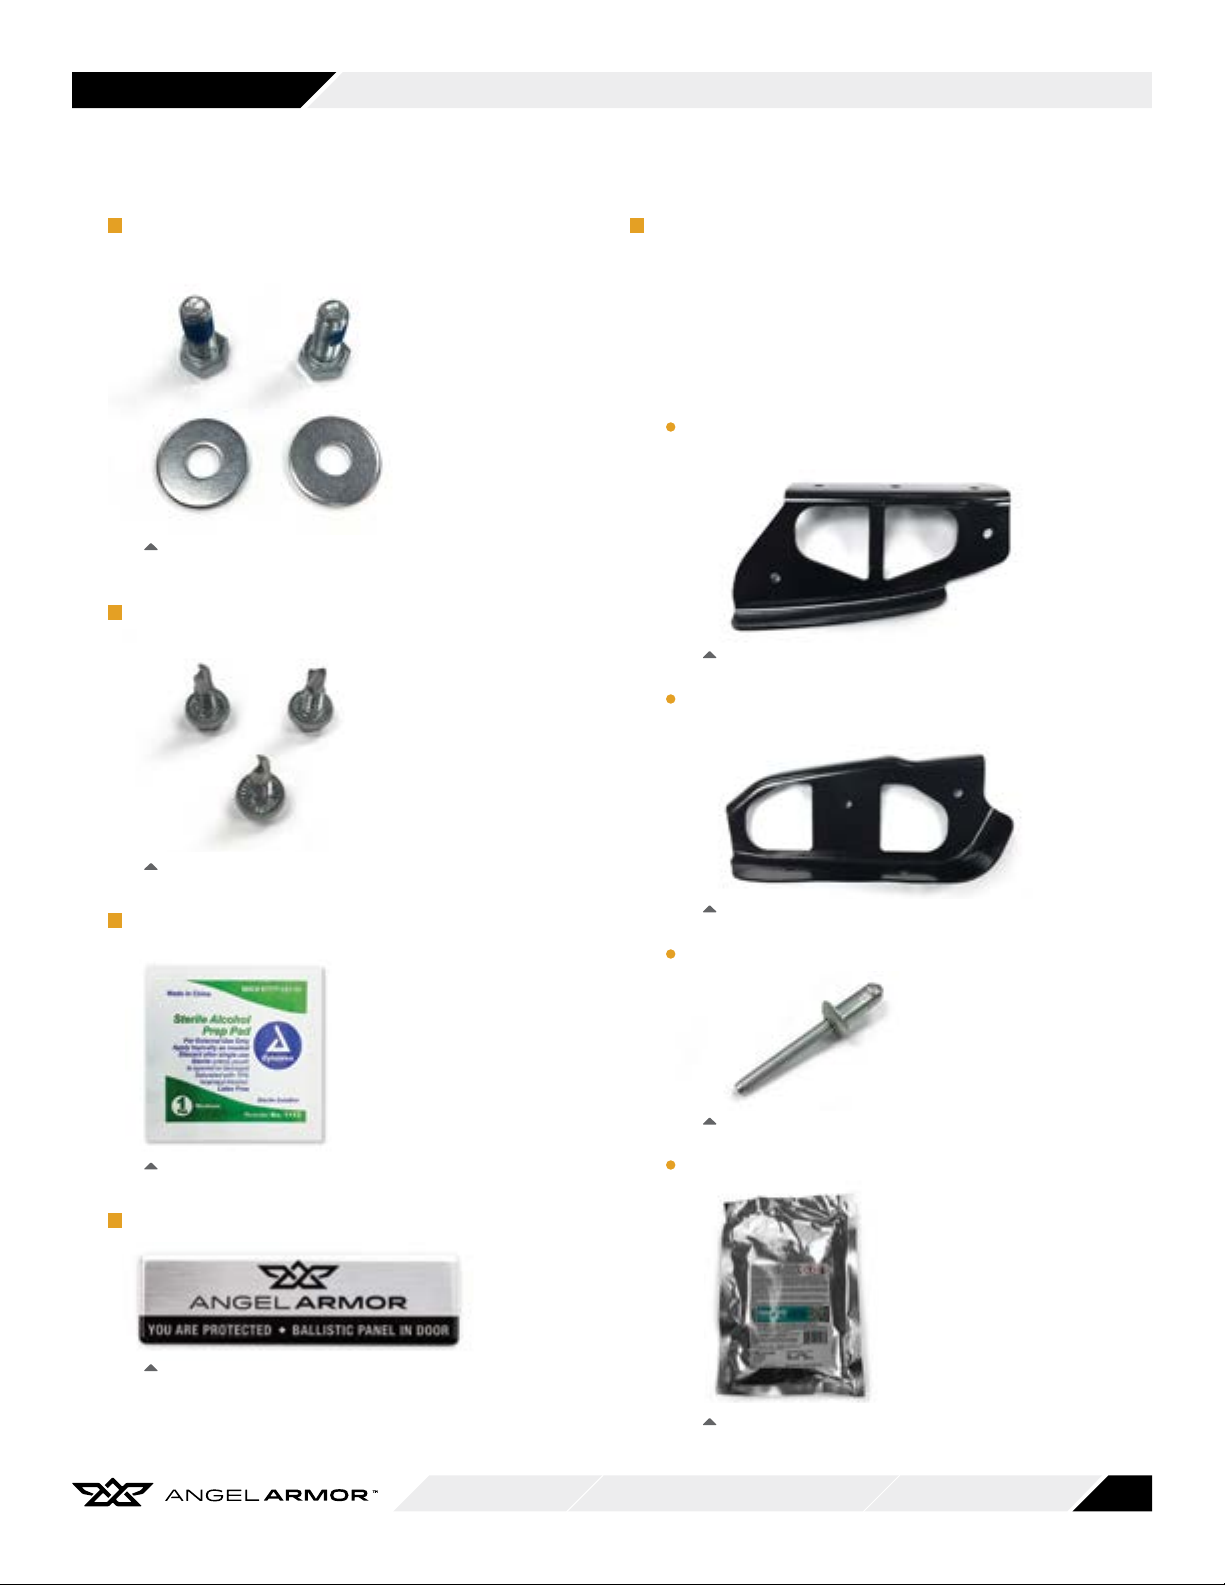
coating to help resist environmental wear and
corrosion. The alloy steel crash bar brackets
and door mounting bracket secure the armor in
place to help prevent rattling and shifting within
the door and a nylon check strap is included
to preserve door functionality and hinder over-
extension. Each purchase of Avail Level III
Ballistic Door Panels comes standard with hinge
reinforcements from the vehicle OEM. These
reinforcements help strengthen the door hinge
area to prevent door sag and fatigue due to the
added weight of the armor panel.
When fully installed, the complete Avail Level III
ballistic armor package gives officers the ability
to use their door as a tactical shield against
rifle-round threats without compromising the
integrity/functionality of the vehicle door.
Avail exceeds NIJ Level III Standard 0108.01
protocol for multi-round protection and offers a
five-year express limited warranty.
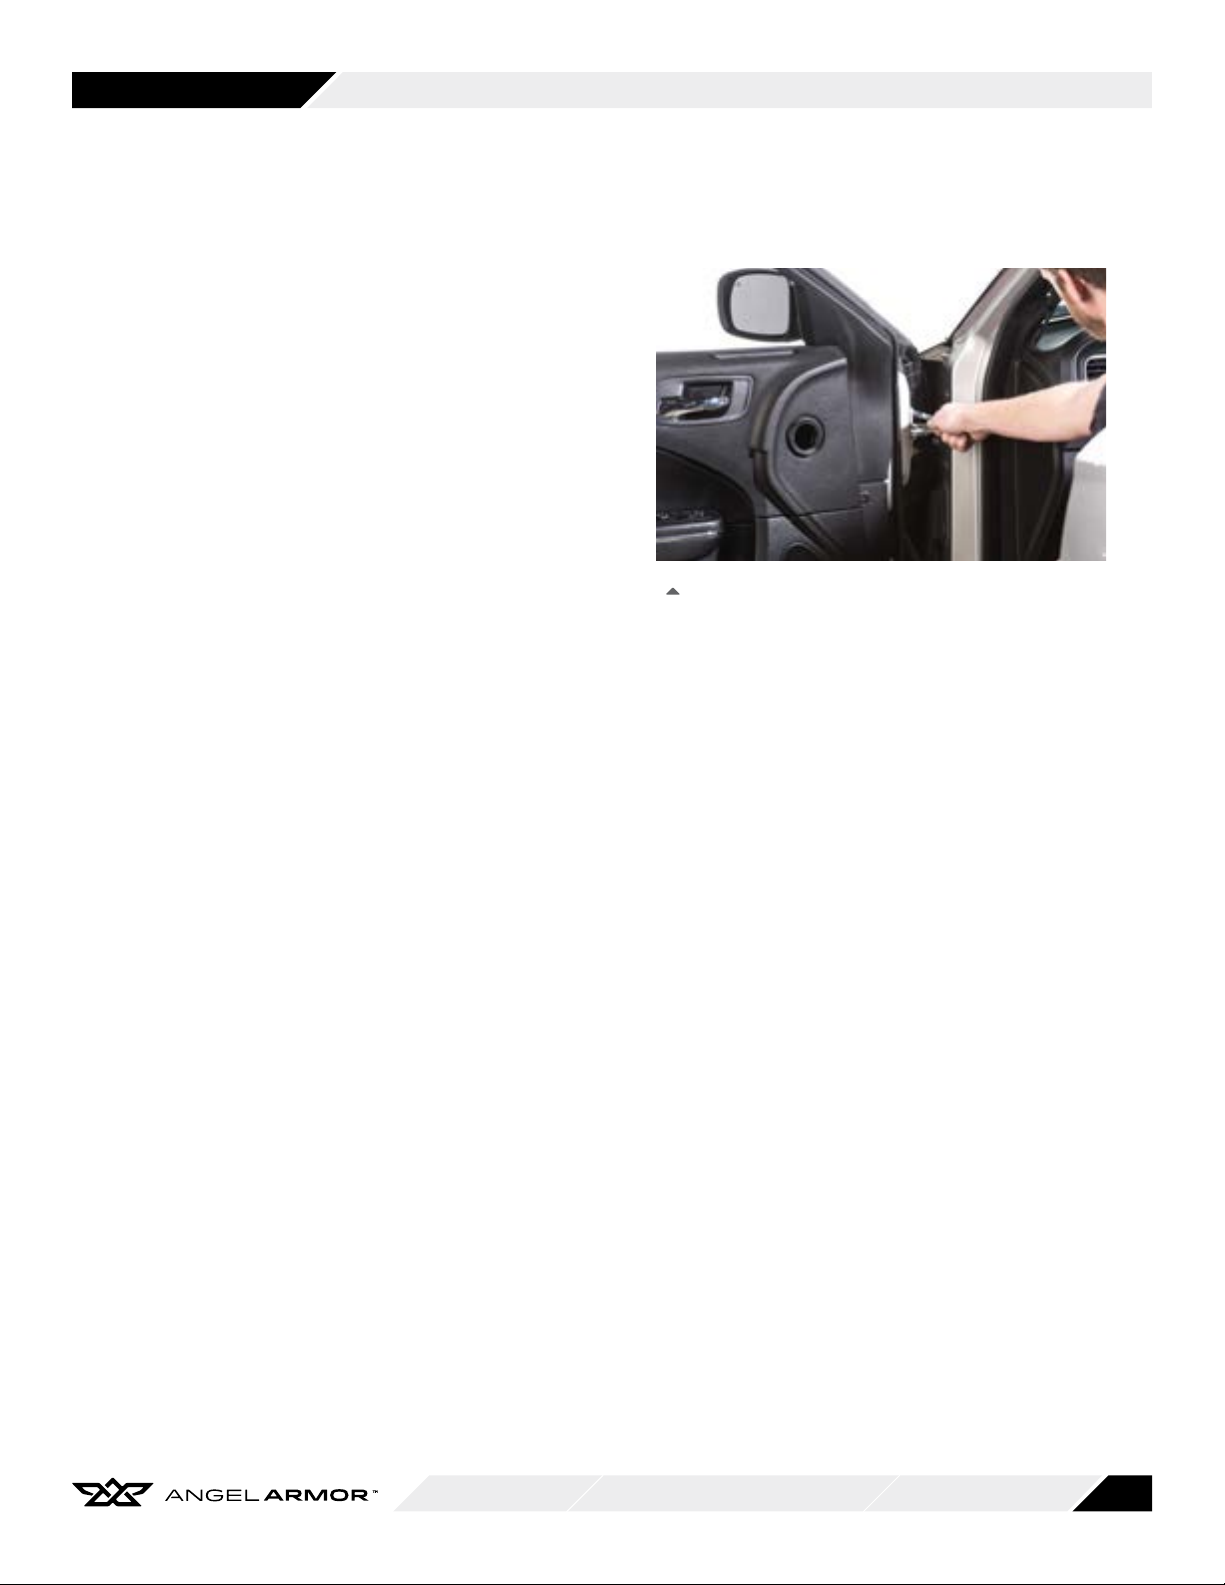
Installation Overview
The ballistic door panel installation shown in
this guide was performed on the front driver-
side door of the Dodge Charger Pursuit (2011
& Newer Models). The installation process is
the same for front passenger-side doors of the
Charger Pursuit (2011 & Newer Models).
Avail Level III armor features a simple installation
starting with applying the OEM door hinge
reinforcements. Door disassembly is required to
install the crash bar brackets and door mounting
bracket. Once this is completed, the armor is
secured in place and the vehicle door panel is
reassembled. Installation takes approximately
2-3 hours per vehicle door. This includes the
cure time for the OEM door hinge reinforcement
adhesive.
Figure 1. Angel Armor Avail Ballistic Door Panel (Level III)
for Dodge Charger Pursuit (2011 & Newer Models)