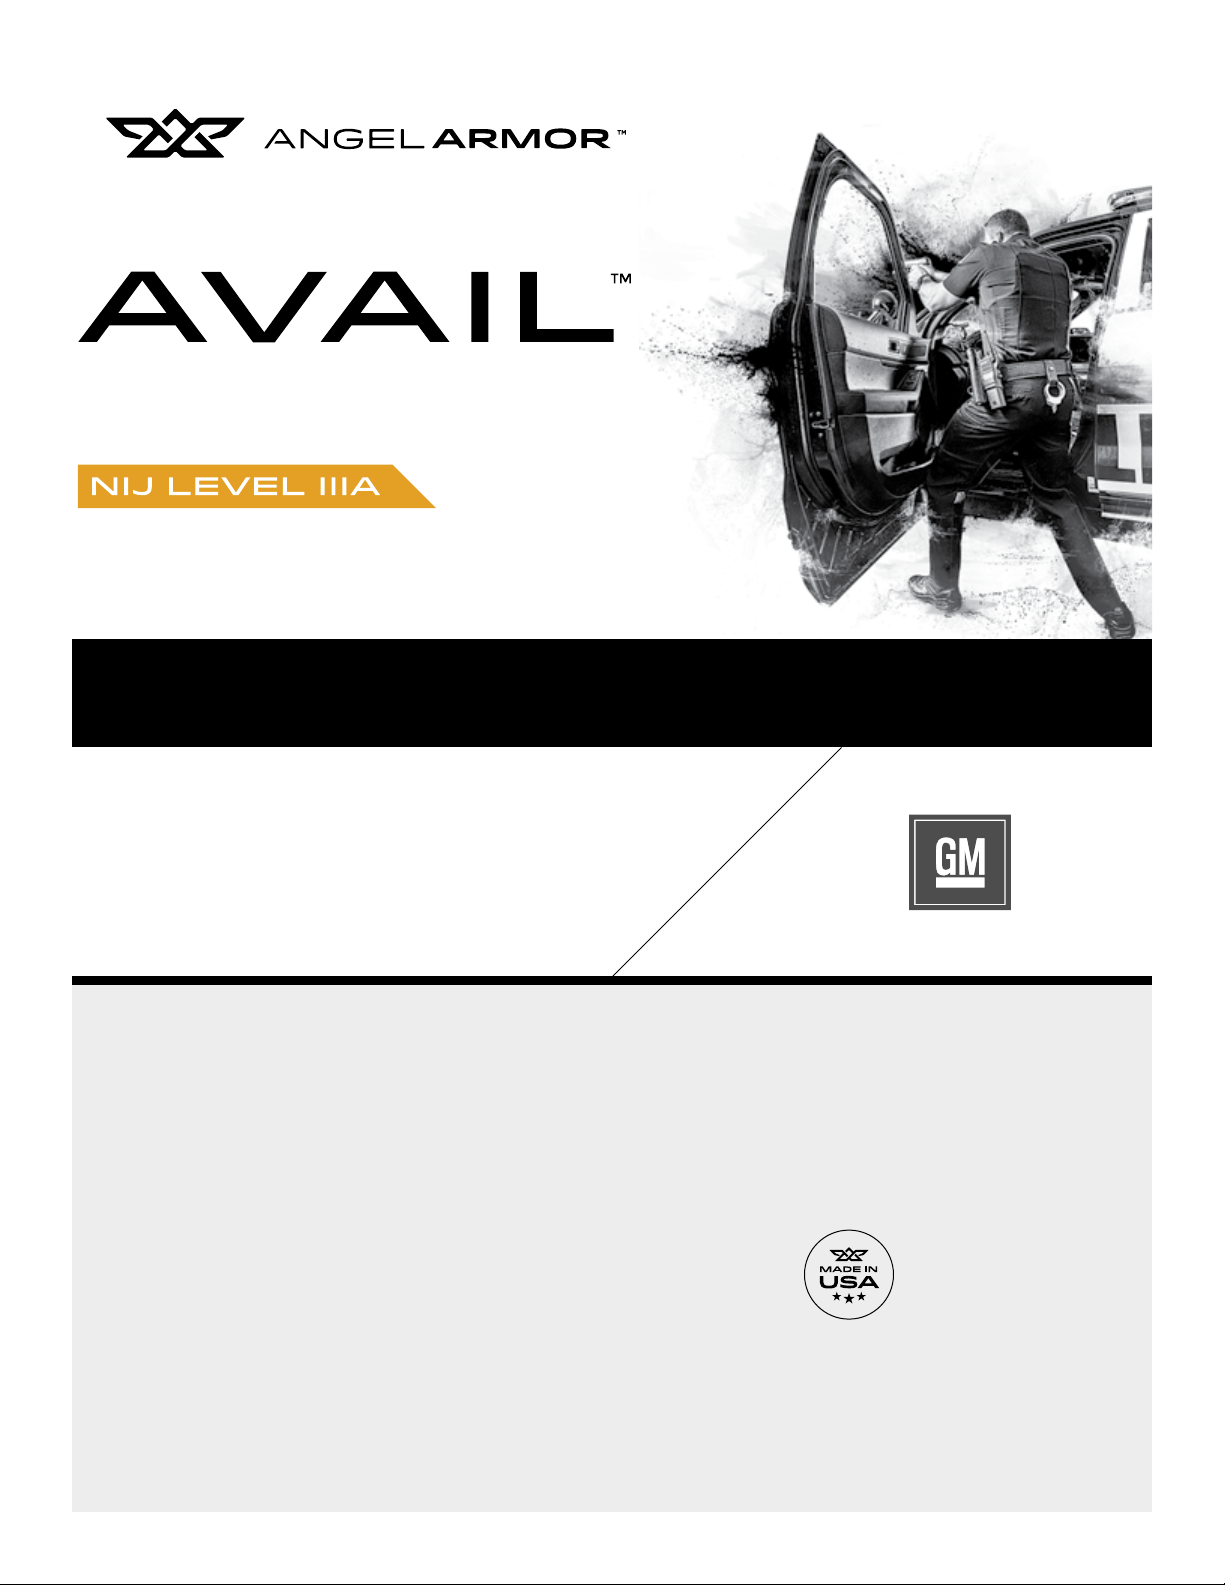
Installation Guide Angel Armor Ballistic Door Panel (Level IIIA) for Chevy® Tahoe PPV
970 235 2961 sales@angelarmor.com angelarmor.com 4
Warnings and Cautions
Please adhere to the following
guidelines to prevent personal
injury, equipment damage and
unnecessary difficulty during
installation.
DISCONNECT THE VEHICLE BATTERY
AFTER THE WINDOW IS ADJUSTED FOR
INSTALLATION TO AVOID ACCIDENTAL
AIRBAG DEPLOYMENT. ACCIDENTAL
DEPLOYMENT OF THE AIRBAG MAY CAUSE
SERIOUS PERSONAL INJURY.
Read this guide in its entirety before
beginning installation.
Wear appropriate protective gear, including
eye and foot protection.
Avoid excessive force when inserting
the ballistic door panel into the car door.
Excessive force may damage the ballistic
door panel or internal door components.
Avoid puncturing speakers with screws,
interior door trim retainers, fasteners or
other sharp pieces during door disassembly,
panel insertion and door re-assembly.
Do not drop screws or other assembly
components inside the door, as they may be
difficult to retrieve. If possible, use magnetic
tools during installation.
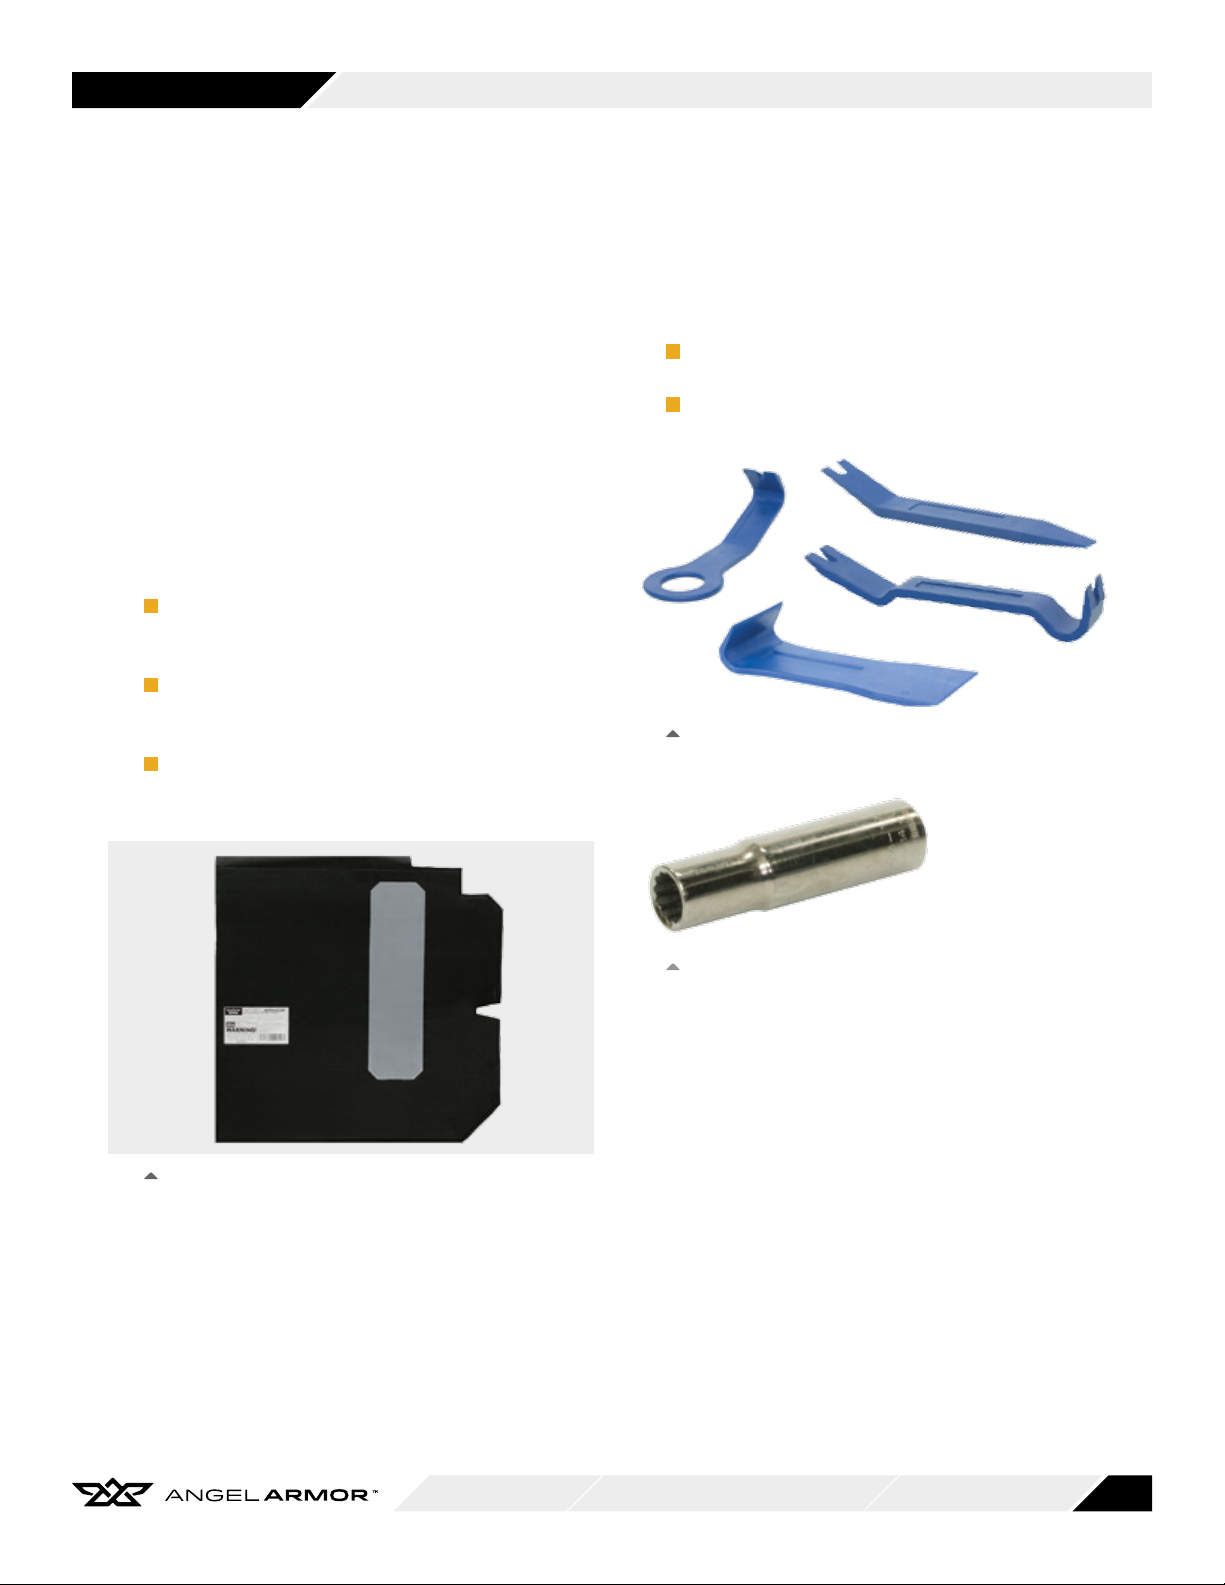
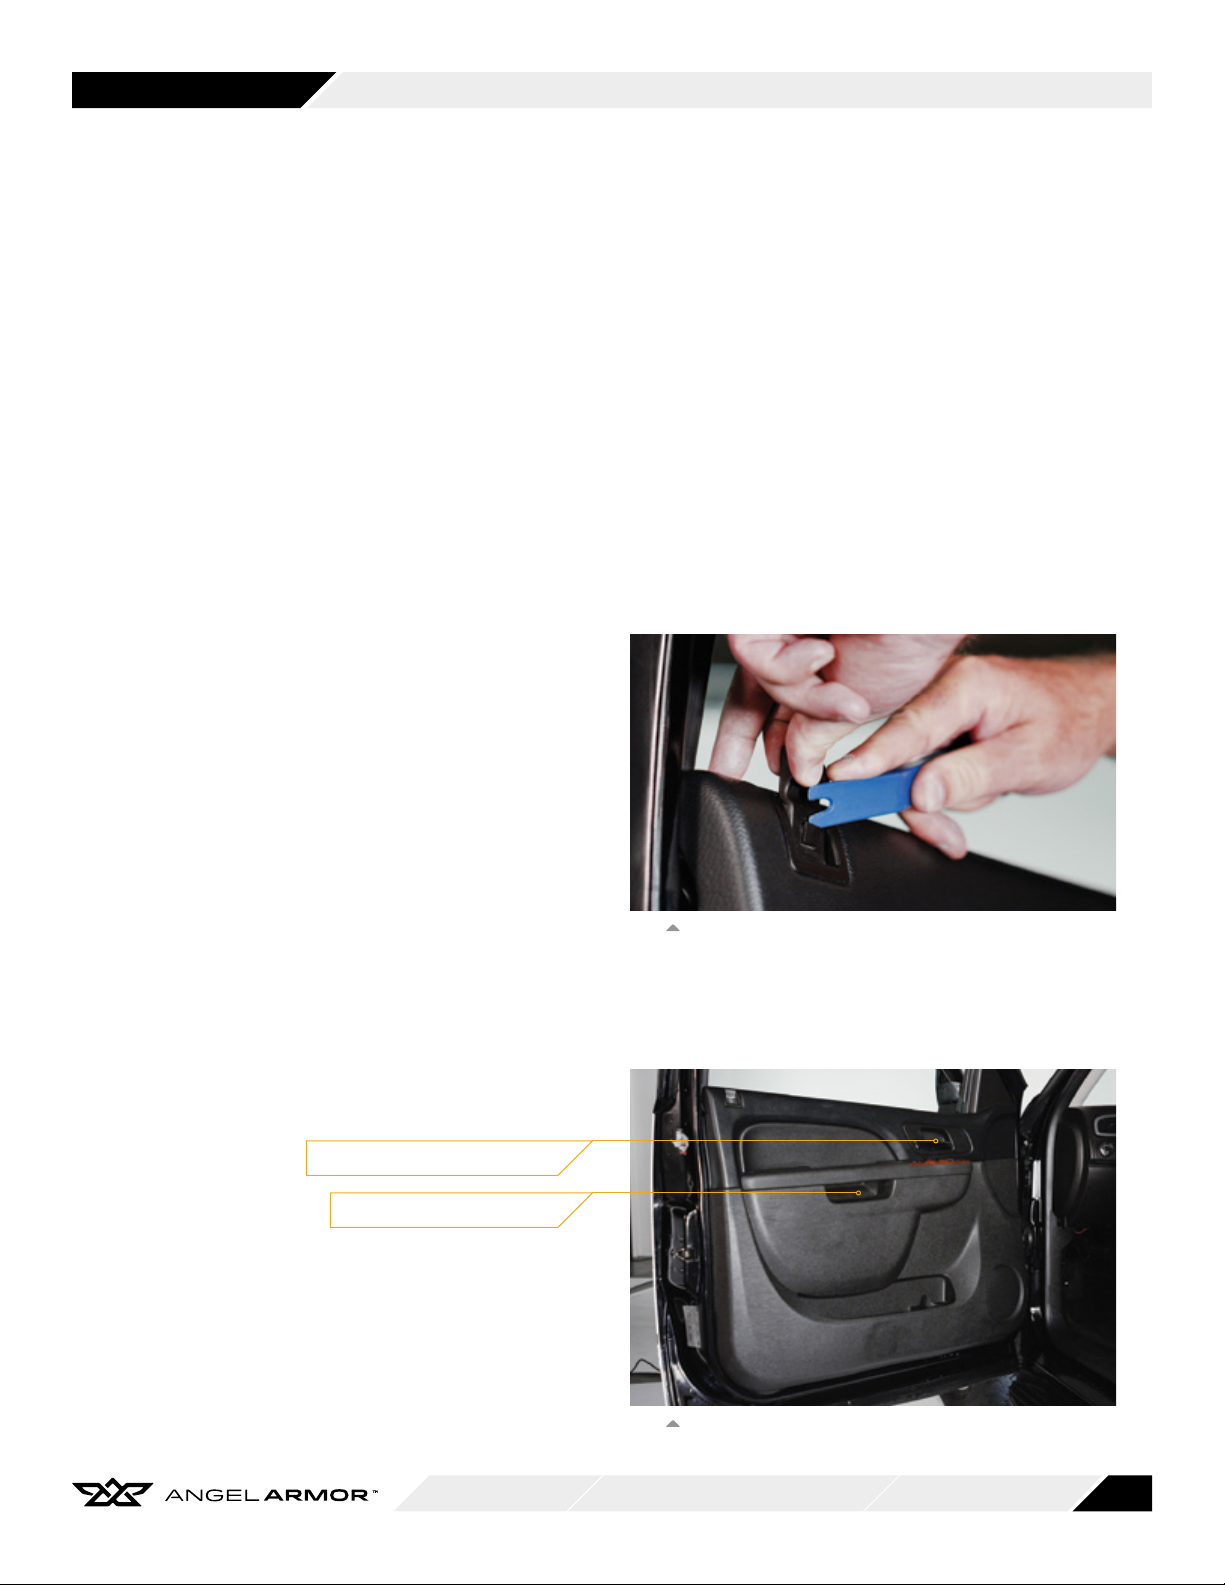
Use only plastic trim removal/prying tools on
finished surfaces to prevent scratching.
Avoid tearing the weatherproof cover on the
‘teeth’ inside of the door when removing the
ballistic panel by pushing the panel toward
the interior of the door before lifting it out
of the door.
Discard and replace any door components
that are inadvertently damaged during the
installation process, such as the moisture
barrier. Proper installation according to the
instructions in this guide should not cause
damage to any vehicle or ballistic door panel
parts or components.
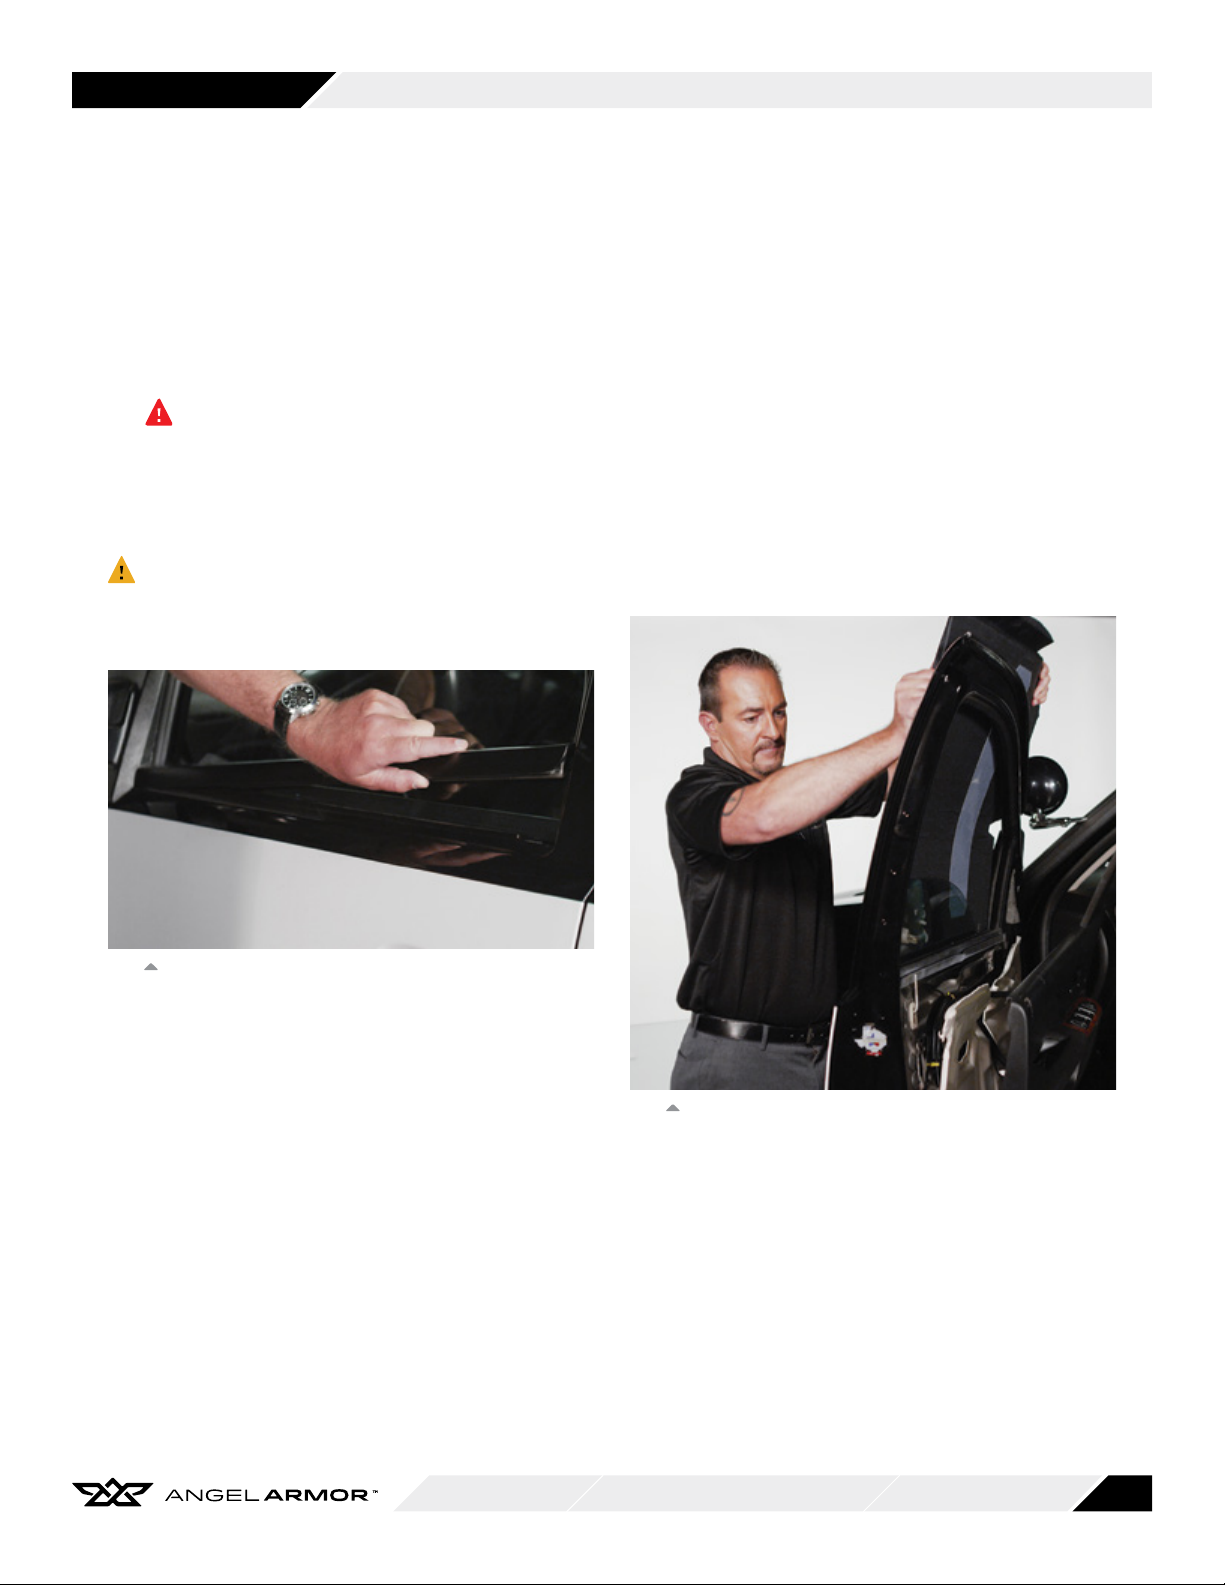
Use caution when removing parts that may
have sharp edges, such as the exterior
window weatherstrip, to avoid scratching the
paint.
Legal Statements
See supplied Warranty and Terms and
Conditions for important legal information.
These instructions are provided for your
convenience only, and Angel Armor
expressly disclaims any liability for any
damage to personal property or personal
injury that occurs as a result of either
installation or removal of panels.