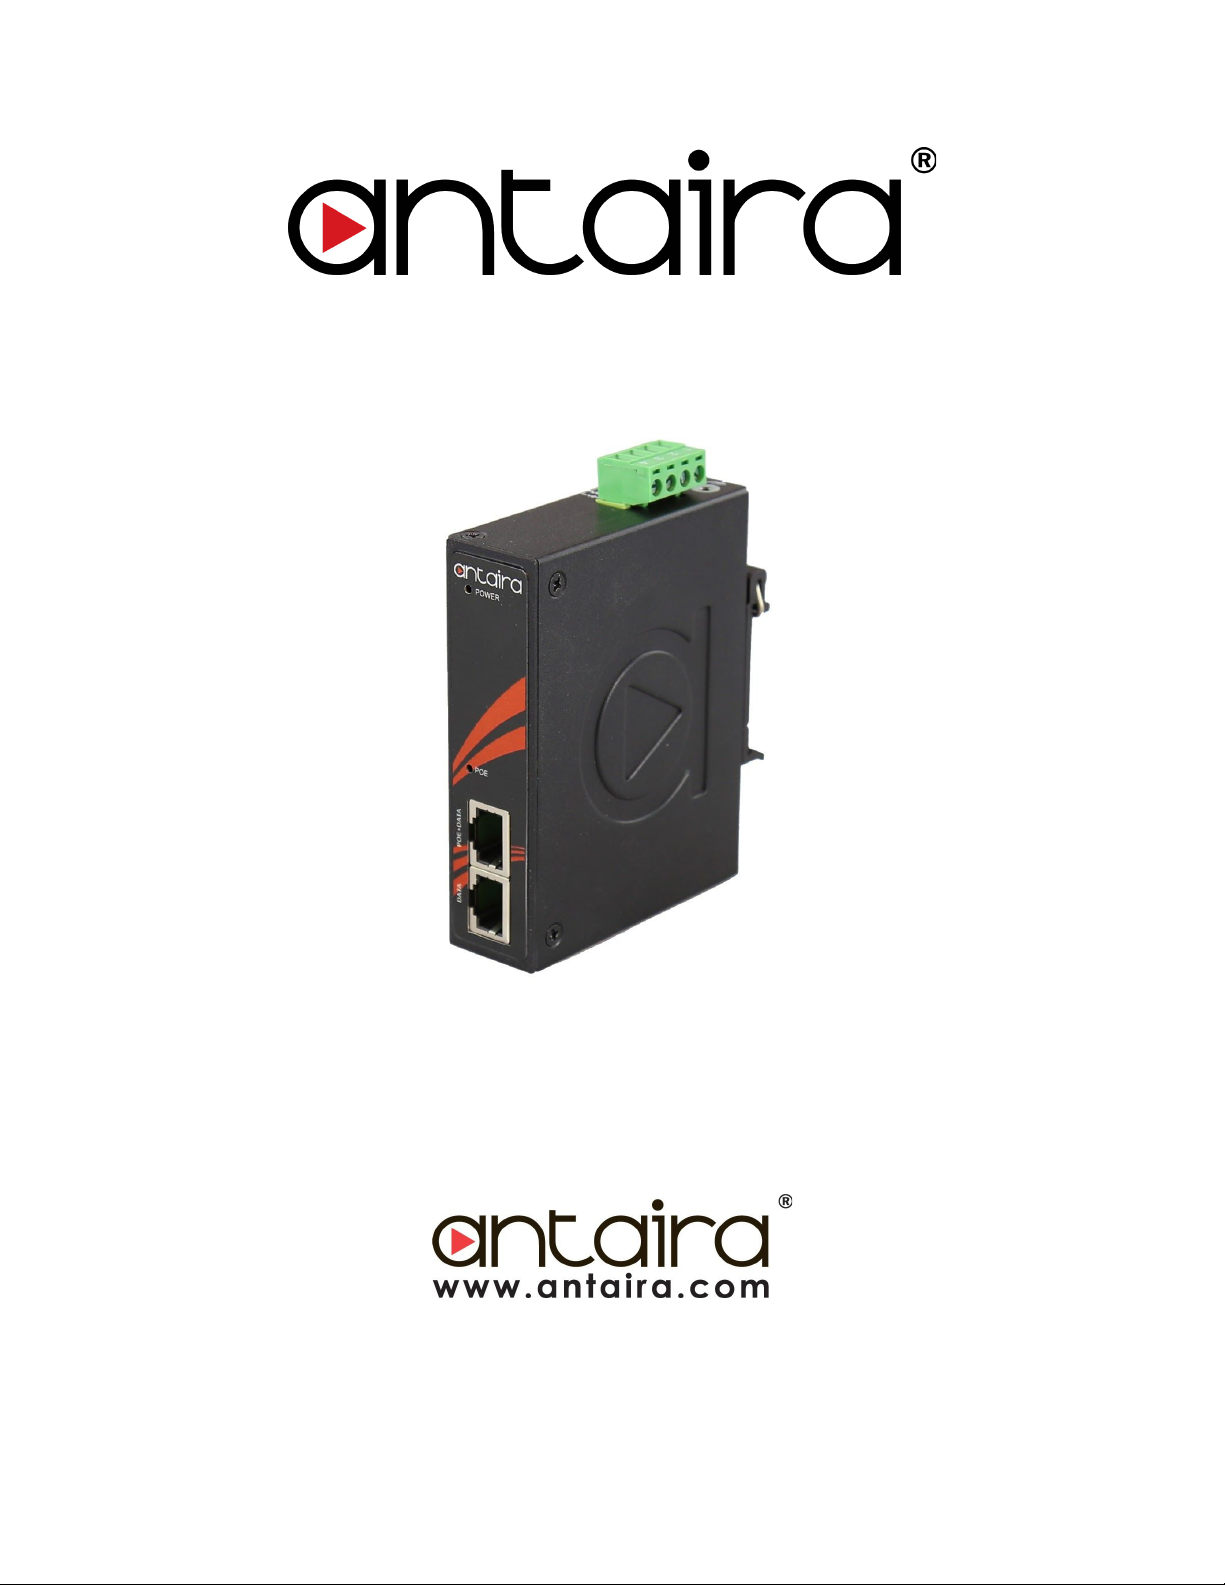
Antaira Technologies - Industrial PoE Injector
INJ-C200G-bt-T - Hardware Manual - v1.0
© Copyright 2020 Antaira Technologies, LLC
All rights reserved
This document contains information, which is protected by copyright. Reproduction, adaptation, or
translation without prior permission is prohibited, except as allowed under the copyright laws.
Trademark Information
Antaira is a registered trademark of Antaira Technologies, LLC, Microsoft Windows, and the Windows
logo are the trademarks of Microsoft Corp. NetWare is the registered trademark of Novell Inc. WMM and
WPA are the registered trademarks of Wi-Fi Alliance. All other brand and product names are trademarks
or registered trademarks of their respective owners.
Notice: Copyrights © 2020 by Antaira Technologies, LLC. All rights reserved. Reproduction, adaptation, or
translation without prior permission of Antaira Technologies, LLC is prohibited, except as allowed under
the copyright laws.
Disclaimer
Antaira Technologies, LLC provides this manual without warranty of any kind, expressed or implied,
including but not limited to the implied warranties of merchantability and fitness for a particular purpose.
Antaira Technologies, LLC may make improvements and/or changes to the product and/or specifications
of the product described in this manual, without prior notice. Antaira Technologies, LLC will not be liable
for any technical inaccuracies or typographical errors found in this guide. Changes are periodically made
to the information contained herein and will be incorporated into later versions of the manual. The
information contained is subject to change without prior notice.
FCC Warning
This equipment has been tested and found to comply with the limits for a Class-A digital device,
according to Part 15 of the FCC rules. These limits are designed to provide reasonable protection against
harmful interference in a residential installation. This equipment generates, uses, and can radiate radio
frequency energy. It may cause harmful interference to radio communications if the equipment is not
installed and used following the instructions. However, there is no guarantee that interference will not
occur in a particular installation. If this equipment does cause harmful interference to radio or television
reception, which can be determined by turning the equipment off and on, the user is encouraged to try to
correct the interference by one or more of the following measures: