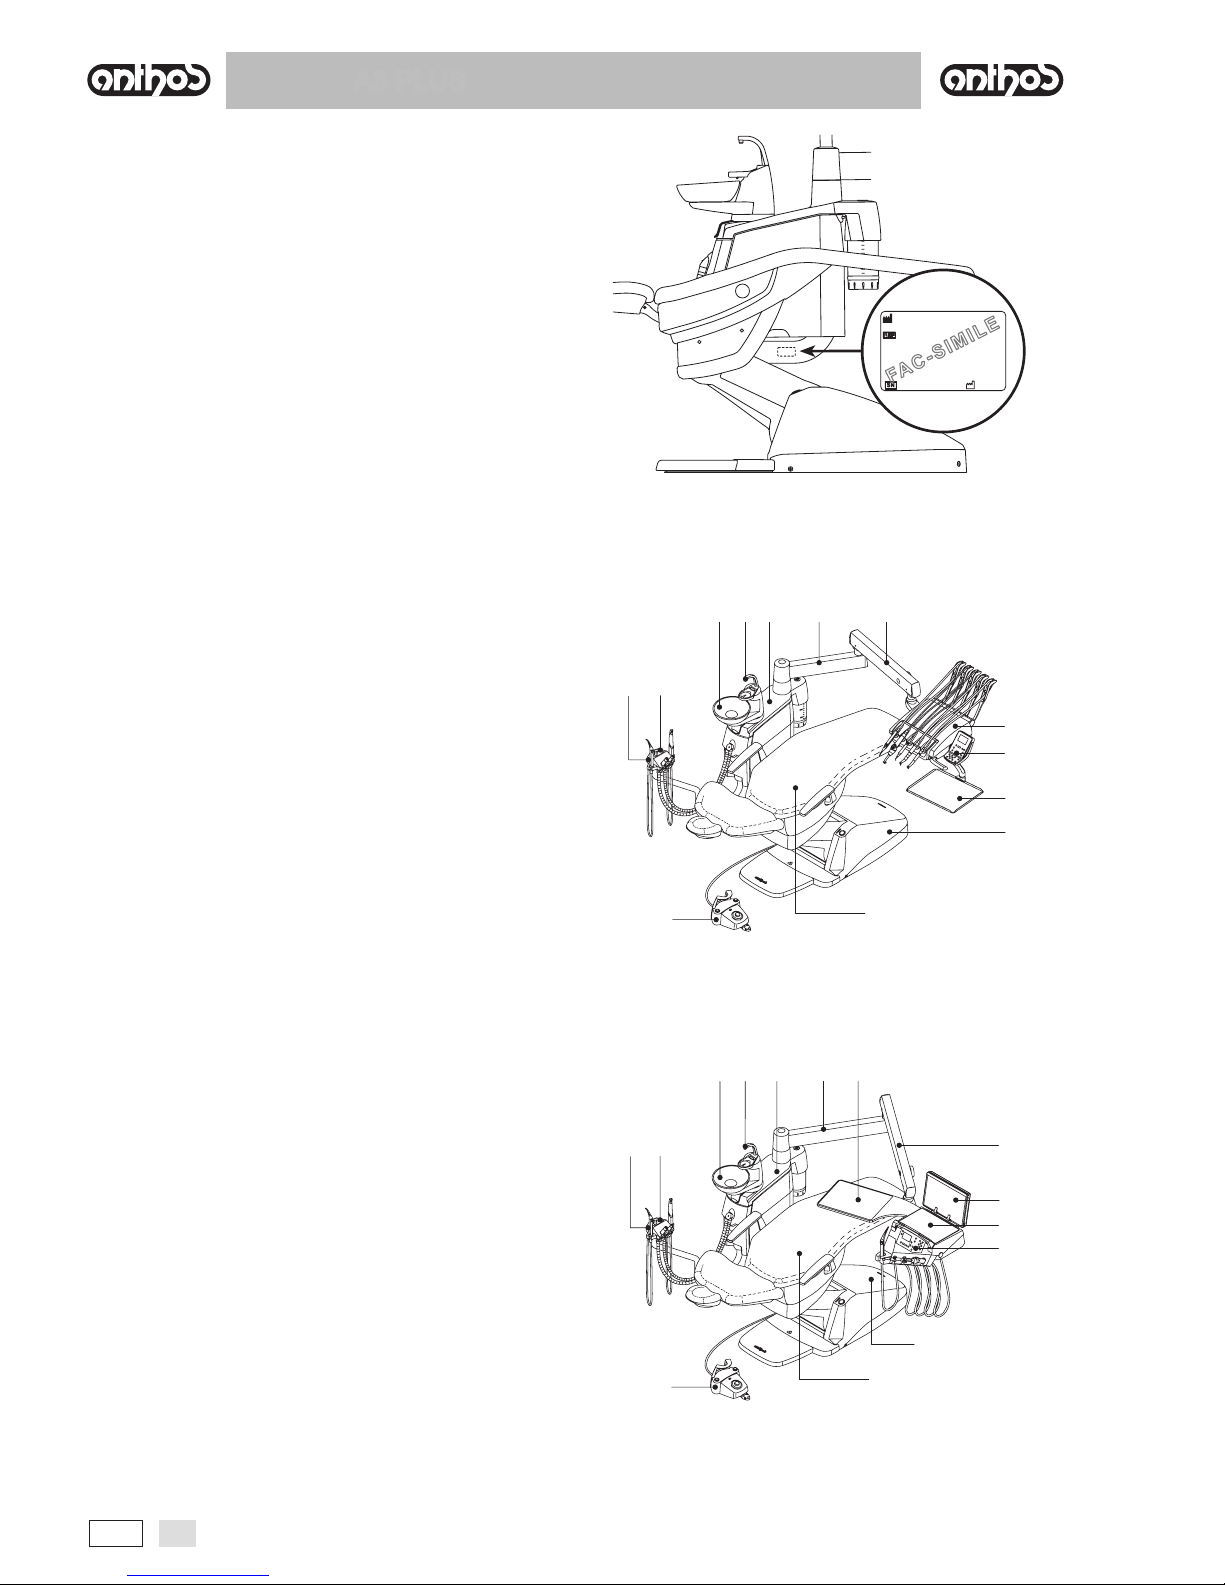
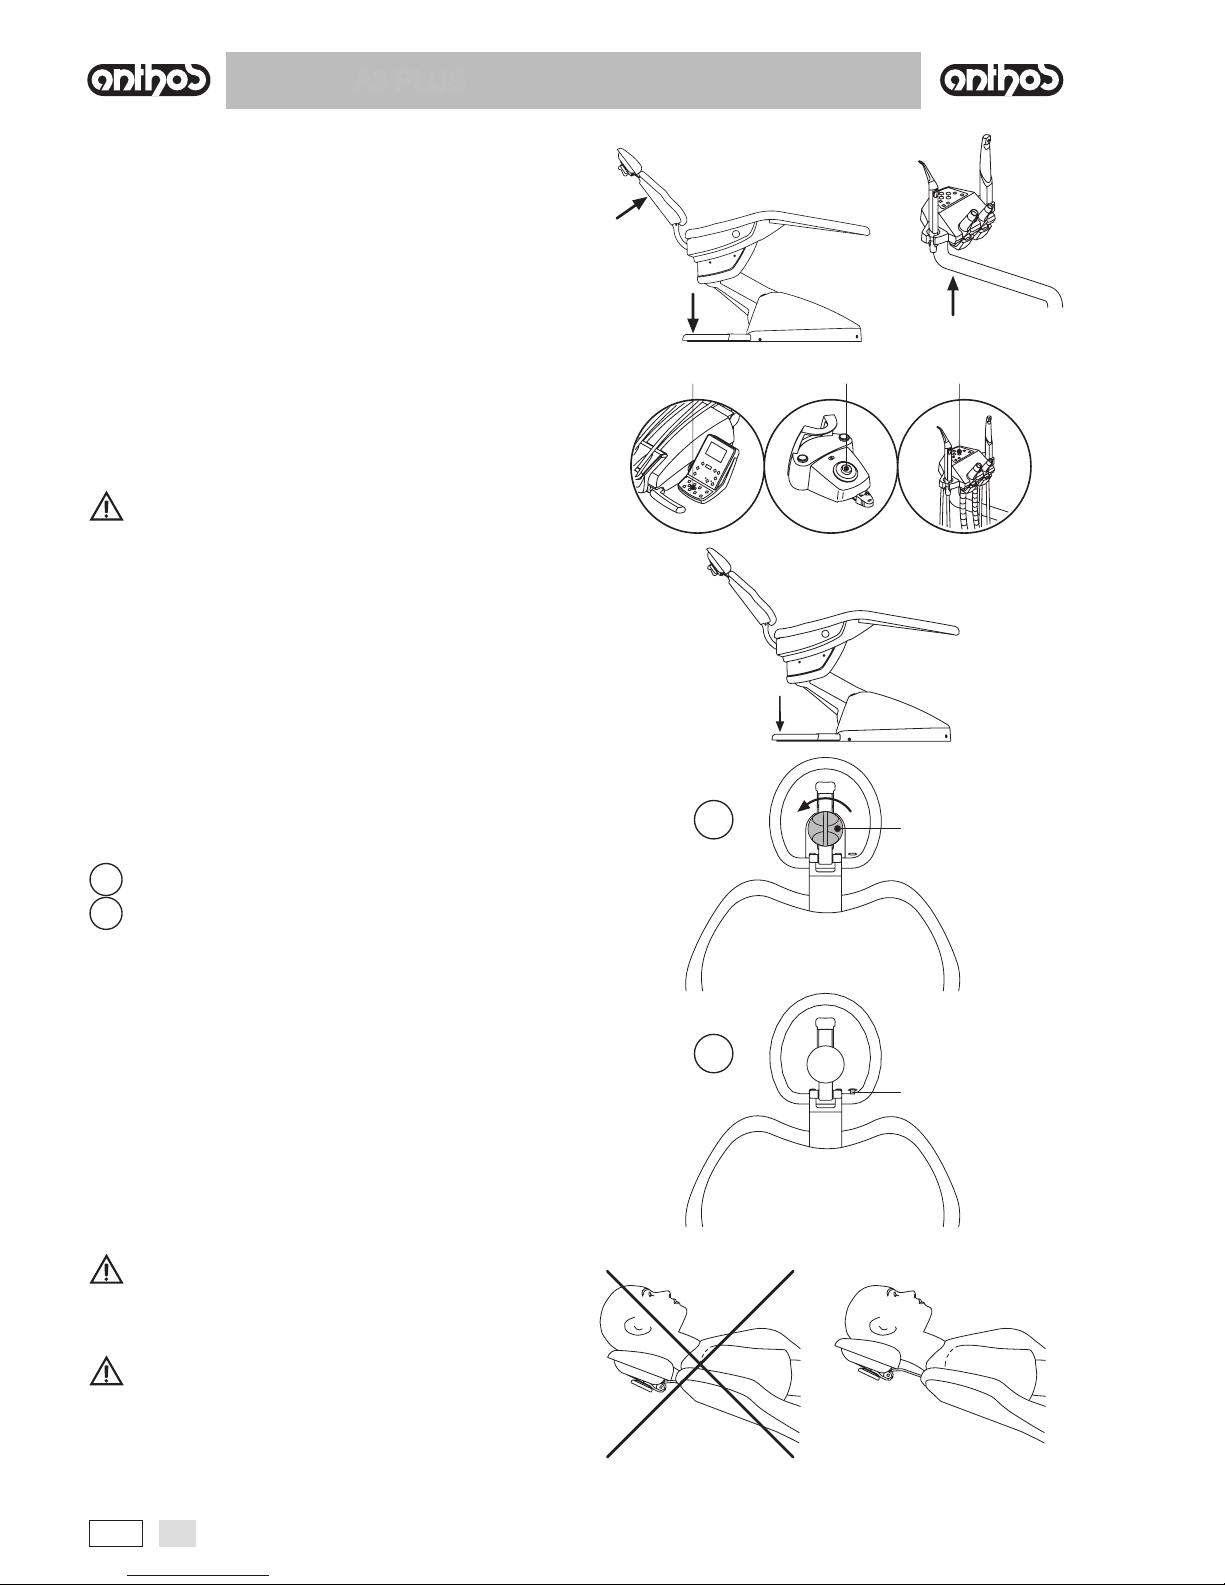
Anthos A3 Plus User manual

A3 PLUS
2013
97050578
Rev.005
2016/10
EN


3
L
3
I
3
EN
A3 PLUS
-
OPERATING INSTRUCTION
CONTENTS
1. Safety guidelines ...............................................................4
.................................................................4
........................................................................4
1.2.1. ........................................................................4
.....................................................5
....................................5
..............................................................................5
1.2.4. .................... 5
..........................................................................5
.....................................................7
2. Description of the equipment ...........................................8
...........................................................................8
..........................................................................8
..........................................................................9
3. Turning on the dental operatory.......................................9
4. Dental chair operation ......................................................9
...................................................................10
...........................................................10
...........................................................10
..............................................11
5. Instrument board operation............................................11
....................................................13
..............................................14
.............................................................................14
....................14
......................................................14
........................................................................15
5.2.1. .................................................15
5.2.2. ...................................................16
5.2.3. .................................................18
..........................................................19
5.3. S..............................................................................21
...............................................................................22
.........................................................................23
.................................................................................24
..............................................................25
...........................................................28
5.9. .................................................31
6. Assistant’s board operation ...........................................31
..........................................................32
.............................................32
......................................32
6.4. ..................32
.....................................................................33
6.6. ......................................................34
7. Hydrogroup operation.....................................................34
................................................................34
7.2. S.H.S. ..........36
...............37
.................................................................38
......................39
......................40
8. Accessories......................................................................41
8.1. ................................................................41
.........................................................41
.............................................41
.............................41
9. Maintenance ....................................................................42
....................................................42
..........................................................42
.....................................42
.................................................................43
..............................................44
................................44
...................................45
..........................................45
................................................45
........................................................................45
..................................................................46
....................................................................47
....................................................................48
11. Dental operatory maintenance plan...............................49

4
L
4
I
4
EN
A3 PLUS
-
OPERATING INSTRUCTION
1. Safety guidelines
• These instructions explain how to correctly use the following dental units:
A3 PLUS CONTINENTAL, A3 PLUS INTERNATIONAL
Carefully read and become familiar with the content of this manual before using the equipment.
1.2. Intended use
non-continuous operation
1.2.1.
•
•
Class I - Type B.
•
•
Class I.

5
L
5
I
5
EN
A3 PLUS
-
OPERATING INSTRUCTION
1.2.2. Environmental conditions
1.2.2.1. Transport and packaging conditions
1.2.3. Warranty
2
WARNING!
The color of the three wires (POWER, NEUTRAL and EARTH) should satisfy the requirements of current standards.
1.2.4. Disposing the equipment when no longer used
WARNING!
The crossed out wheeled bin placed on the equipment indicates that the waste equipment must be collected separately from other waste.
1.3. Safety rules
WARNING!
• All equipment is permanently installed.
• Floor conditions.
CEFLA s.c. shall not be held liable for any personal injury or equipment damage resulting from failure to heed the precaution given above.
• Dental chair
• Tray holders
• Connections to external instruments
• Electromagnetic interferences.
• Replacing the chucks
• Patients with pace makers and/or hearing aids.

6
L
6
I
6
EN
A3 PLUS
-
OPERATING INSTRUCTION
• Implants.
2
• Quality of the water delivered by the dental unit.
NOTE: contact your local dealer or Dental association for more detailed information about national laws and requirements.
• Applied Parts.
• WARNING! Moving the dental chair.

7
L
7
I
7
EN
A3 PLUS
-
OPERATING INSTRUCTION
1.4. Cleaning and disinfecting
STER 1 PLUS
• Coated surfaces and plastic parts.
• Upholstery.
WARNING!
The VISCOELASTIC upholstery will stain when splashed with mordant acid. Immediately rinse with plenty of water if acid spatters on
the upholstery.
• Uncoated metal surfaces.
STER 1 PLUS
• Ethanol.
• 1-propanol (N-propanol, propyl alcohol, N-propyl alcohol).
• Combination of ethanole and propanole.
WARNING!
• Do not use products containing isopropyl alcohol (2-propanol,iso-propanol).
• Do not use products that contain sodium hypochlorite (bleach).
• Do not use cleaners that contain phenol.
• Do not spray the selected products directly on the surfaces.
• All products must be used as directed by the manufacturer.
• Do not mix the STER 1 PLUS disinfectant with other products.
WARNING!
The products suggested are compatible with the materials of the equipment, however damages may occur to surfaces and materials re-
Cleaning and disinfecting instructions.
WARNING!
• All material used to clean and disinfect must be thrown away.

8
L
8
I
8
EN
A3 PLUS
-
OPERATING INSTRUCTION
2. Description of the equipment
2.1. Nameplate
Dental operatory
2.2. Dental units
A3 PLUS CONTINENTAL version
Description of equipment:
a
b
c
d
e
f
g
h
i
l
m
n
z
A3 PLUS INTERNATIONAL version
Description of equipment:
a
b
c
d
e
f
g
h
i
l
m
n
r
z

9
L
9
I
9
EN
A3 PLUS
-
OPERATING INSTRUCTION
3. Turning on the dental operatory
f
•
• “POWER” led (g) (A3P) on
2.3. Dental chair
Description of the chair
Operating times
work 25 sec. - rest 10 min.
Maximum weight capacity.
WARNING!
Do not exceed this value.
Warnings for use.
WARNING: FOOT CRUSHING HAZARD
.
4. Dental chair operation
a
b
c

10
L
10
I
10
EN
A3 PLUS
-
OPERATING INSTRUCTION
4.1. Safety devices
l
m
•
4.2. Emergency devices
WARNING!
Use the devices below when movement of the equipment needs to
be blocked:
• Dental chair control buttons ( a ) or ( c ).
• Foot control ( b ).
• Foot board ( i )
4.3. Adjustable headrest
1
2
Adjusting headrest height.
• 1
• with pneumatic locking 2
u
u
Adjusting the cushion:
1 k
2 u
u
Proper positioning of the headrest.
WARNING!
Important information.
WARNING!
• Maximum on-headrest load: 30 Kg.
• Do not attempt to move cushion while patient is resting against it.
•
releasing the lock mechanism.
• The pneumatic locking device is active only when the air circuit is
pressurized and the dental unit is on.

11
L
11
I
11
EN
A3 PLUS
-
OPERATING INSTRUCTION
4.4. Movable armrests (optional)
WARNING!
• Maximum weight supported by armrest: 68 kg.
5. Instrument board operation
Layout of instruments
Starting the instruments.
Simultaneous use of the instruments
Positioning the instrument board.
a
NOTE (only for pantograph arm with pneumatic brake): to
adjust the height of the dentist’s instrument board, you rst need to press
the brake release button .
Pantograph arm.
Adjusting the pantograph arm with manual brake.
b

12
L
12
I
12
EN
A3 PLUS
-
OPERATING INSTRUCTION
Instrument return arm stopping device (only for CONTINENTAL ver-
sion dentist’s instrument boards).
A
Tray holder module for CONTINENTAL version dentist’s instrument board.
f
WARNING!
Maximum permitted load on the tray holder module ( f ): 2 kg distri-
buted.
Tray holder module for INTERNATIONAL version dentist’s instrument board.
WARNING!
Maximum permitted load on the tray holder module ( e ): 2 kg distri-
buted.
Cleaning the instrument board handle.
Cleaning the dentist’s instrument board.
NOTE for CONTINENTAL version dentist’s instrument boards:
the instrument holder ( x ) can be removed to facilitate the cleaning ope-
rations; to remove it, simply pull it out of its seat as it is only secured with
magnets.
The silicone instrument holder ( u) can also be sterilized in an autoclave
at 121°C (rubber cycle).
Instrument cords.

13
L
13
I
13
EN
A3 PLUS
-
OPERATING INSTRUCTION
5.1. Doctor’s control console
Description of the buttons:
Indicator lights:
NOTE: operation of dental chair buttons:
•
•

14
L
14
I
14
EN
A3 PLUS
-
OPERATING INSTRUCTION
5.1.1. Turning on the negatoscope
NOTE: negatoscope shut o is timed and takes place 2 minutes
after it was turned on.
5.1.2. Setting the dental chair "automatic return” and "rinse posi-
tion”
NOTE: hold down button "SAVE" for at least 2 seconds to quit
without saving the changes made.
NOTE: the number for the selected button lights up on the display
to conrm the position has been saved.
5 = AUTOMATIC RETURN
6 = RINSE POSITION
NOTE: the "RINSE POSITION” button brings the chair back into
the rinse position without changing the position of the chair seat. When
the button is pressed again, the back goes back to the previous position.
5.1.3. Programming the chair positions A, B, C and D
NOTE: hold down button "SAVE" for at least 2 seconds to quit
without saving the changes made.
NOTE: The number of the button selected (e.g. 3) will be shown
on the console display to conrm that it has been stored.
5.1.4. Emergency stop button
NOTE: the Trendelemburg position is already set and cannot be
changed.

15
L
15
I
15
EN
A3 PLUS
-
OPERATING INSTRUCTION
5.2. Foot control
1"Multifunction” foot control.
2"Push-pedal” foot control.
3"Power Pedal" foot control.
NOTE: the "multifunction" and "pressure" foot controls can also be
supplied in wireless version.
5.2.1. "Multifunction” foot control
Description of the parts.
1
2
3
4
5
6
7
Control pedal ( 2 ).
With instrument removed
NOTE: at the end of work, air is automatically blown to eliminate
any drops of liquid remaining in the spray ducts.
With instruments in place
NOTE: if the pedal is pushed fully left again, the dental chair moves
back to the work position.
WARNING!
These dental chair functions are activated by keeping the pedal at the
end of the travel for at least 2 seconds.
Joystick for dental chair movement (3).
NOTE: all the buttons used to move the dental chair are inoperative
when an instrument is removed and the foot control pedal is actuated.

16
L
16
I
16
EN
A3 PLUS
-
OPERATING INSTRUCTION
Left-hand button operation ( 4 ).
• Key held down (at least 2 seconds) with the instrument removed:
NOTE: press the key again to bring the chair back to the work
position.
Right-hand button operation ( 5 ).
• Key held down (at least 2 seconds) with the instrument removed:
• Key held down (at least 2 seconds) with the instruments in place:
Wireless version.
Protection against liquid penetration.
Cleaning.
NOTE: if the foot control slips on the oor, dust the slip-proof rubber found under the base with a dry cloth.
5.2.2. "Push-pedal” foot control
Description of the parts
1
2
3
4
5
6
7
Control pedal ( 2 ).
a
NOTE: the control pedal adjusts the speed/power of the instrument
from the minimum to the maximum value set from the instrument board.
a
NOTE:with the spray active, at the end of the operation a blast
of air is automatically activated to remove any residual drops of liquid in
the spray ducts.
WARNING!
Instrument spray is activated and deactivated by pressing the but-
tons ( 4 ) or ( 5 ).
A beep sounds to signal the operating status has been changed.
When the LED ( 6 ) is on, it indicates operation with spray.

17
L
17
I
17
EN
A3 PLUS
-
OPERATING INSTRUCTION
Joystick for dental chair movement (3).
NOTE: all the buttons used to move the dental chair are inoperative
when an instrument is removed and the foot control pedal is actuated.
Left-hand button operation ( 4 ).
•
NOTE: pressing the button a second time returns the dental chair
into working position.
•
NOTE: the control works only when the turbine and micromotor
are in working position.
•
WARNING!
A short acoustic signal warns of the switch.
When the LED ( 6 ) is on, it indicates operation with spray.
Right-hand button operation ( 5 ).
•
•
•
WARNING!
A short acoustic signal warns of the switch.
When the LED ( 6 ) is on, it indicates operation with spray.
Wireless version.
Protection against liquid penetration.
Cleaning.
NOTE: if the foot control slips on the oor, dust the slip-proof rubber found under the base with a dry cloth.

18
L
18
I
18
EN
A3 PLUS
-
OPERATING INSTRUCTION
5.2.3. "Power Pedal" foot control
Description of the parts.
1.
2
3
4
5
6
7
8
Foot control operation ( 2 ).
• With instrument removed
NOTE: the foot control adjusts the speed/power of the instrument
from the minimum to maximum value set from the instrument board.
NOTE:with the spray active, at the end of the operation a blast
of air is automatically activated to remove any residual drops of liquid
in the spray ducts.
• With instrument in place
Dental chair movement joystick operation ( 3 ).
•
•
•
•
NOTE:all dental chair movements are blocked when an instrument
is being used or the BIOSTER system is running.
Left-hand button operation ( 4 ).
•
•
WARNING!
A short acoustic signal warns of the switch.
When the LED ( 8 ) is on, it indicates operation with spray.
Right-hand button operation ( 5 ).
•
5
•
WARNING!
A short acoustic signal warns of the switch.
When the LEDs ( 8 ) are on, they indicate operation with spray.

19
L
19
I
19
EN
A3 PLUS
-
OPERATING INSTRUCTION
Right lever operation ( 6 ).
NOTE: the lever functions only with the instruments in their rest
position.
•
•
Left lever operation ( 7 ).
NOTE: the lever functions only with the instruments in their rest
position.
•
NOTE: when the switch is actuated the second time, the dental
chair reaches its work position.
•
Protection against liquid penetration.
Cleaning.
NOTE: if the foot control slips on the oor, dust the slip-proof rubber found under the base with a dry cloth.
5.2.4. Wireless foot control
Warnings for use.
WARNING!
• Avoid keeping the wireless foot control in proximity of other RF sources, such as wireless LAN cards, other radio devices, home RF de-
vices, microwave ovens. The recommended distance is at least 2 metres in the case of microwave ovens and 1 metre in all other cases.
-
port equipment (e.g. pacemakers or heart stimulators) and hearing aids. Before using any electronic device in health facilities, always
ascertain that it is compatible with the other equipment present.
• Exclusively use the dental unit to charge the battery of the WIRELESS foot control.
WIRELESS foot control operation.
7
LED ( 7 ) indications.
RED

20
L
20
I
20
EN
A3 PLUS
-
OPERATING INSTRUCTION
Battery characteristics.
NOTE: the exact battery model number might vary at the discretion of the manufacturer.
NOTE: when the battery eciency is so far reduced as to be deemed unsatisfactory to support the daily usage requirements, have it replaced
by a qualied technician (original spare part no. 97901336).
WARNING!
Do not attempt to replace the battery yourself.
Limited battery warranty.
Recharging the battery.
NOTE: the battery is fully recharged in about 6 hours.
WARNING!
Exclusively use the dental unit to charge the battery of the WIRE-
LESS foot control.
Natural battery discharge.
Maintenance and disposal
Other manuals for A3 Plus
1
Table of contents
Other Anthos Medical Equipment manuals
Popular Medical Equipment manuals by other brands

SSCOR Duet
SSCOR Duet 2314 series Operating Instructions & Maintenance Manual

Pegasus
Pegasus TRINOVA Quick reference guide

bort medical
bort medical 104 800 quick guide

Breg
Breg S.T.K. Shoulder Therapy Kit Instruction booklet

Dictum Health
Dictum Health eVER-HOME Instructions for use

Olympus
Olympus EndoCapsule instruction manual