Anvil FDM-19F02 User manual

THANK YOU
We appreciate the trust and confidence you have placed in Anvil through the purchase of this spray foam dispensing gun. We strive to
continually create quality products designed to enhance your home. Visit us online to see our full line of products available for your home
improvement needs. Thank you for choosing Anvil!
USE AND CARE GUIDE
SPRAY FOAM DISPENSING GUN
Questions, problems, missing parts? Before returning to the store,
call Anvil Customer Service
8 a.m. - 7 p.m., EST, Monday – Friday, 9 a.m. – 6 p.m., EST, Saturday
1-877-527-0313
HOMEDEPOT.COM
Item #1005 967 607
Model #FDM-19F02

2
Table of Contents
Table of Contents ...................................2
Safety Information ..................................2
Pre-Installation.....................................3
Planning Installation ...............................3
Package Contents .................................3
Installation ........................................4
Operation. . . . . . . . . . . . . . . . . . . . . . . . . . . . . . . . . . . . . . . . . . 5
Maintenance .......................................6
Care and Cleaning ..................................6
Service Parts.......................................7
Safety Information
Read the label and Material Safety Data Sheet carefully before use.
1. The foam dispensing gun products contain isocyanate and a
ammable blowing agent. Vapor may travel to other rooms.
Ensure adequate ventilation. Shut off all pilot lights and
extinguish open ames; eliminate all sources of ignition before
use. Do not smoke or use lighters or matches while dispensing
foam.
2. Do not breathe vapor or mist. Use in well-ventilated areas or
wear proper respiratory protection. Isocyanate is irritating to the
eyes, skin and respiratory system, and may cause sensitization
by inhalation or skin contact.
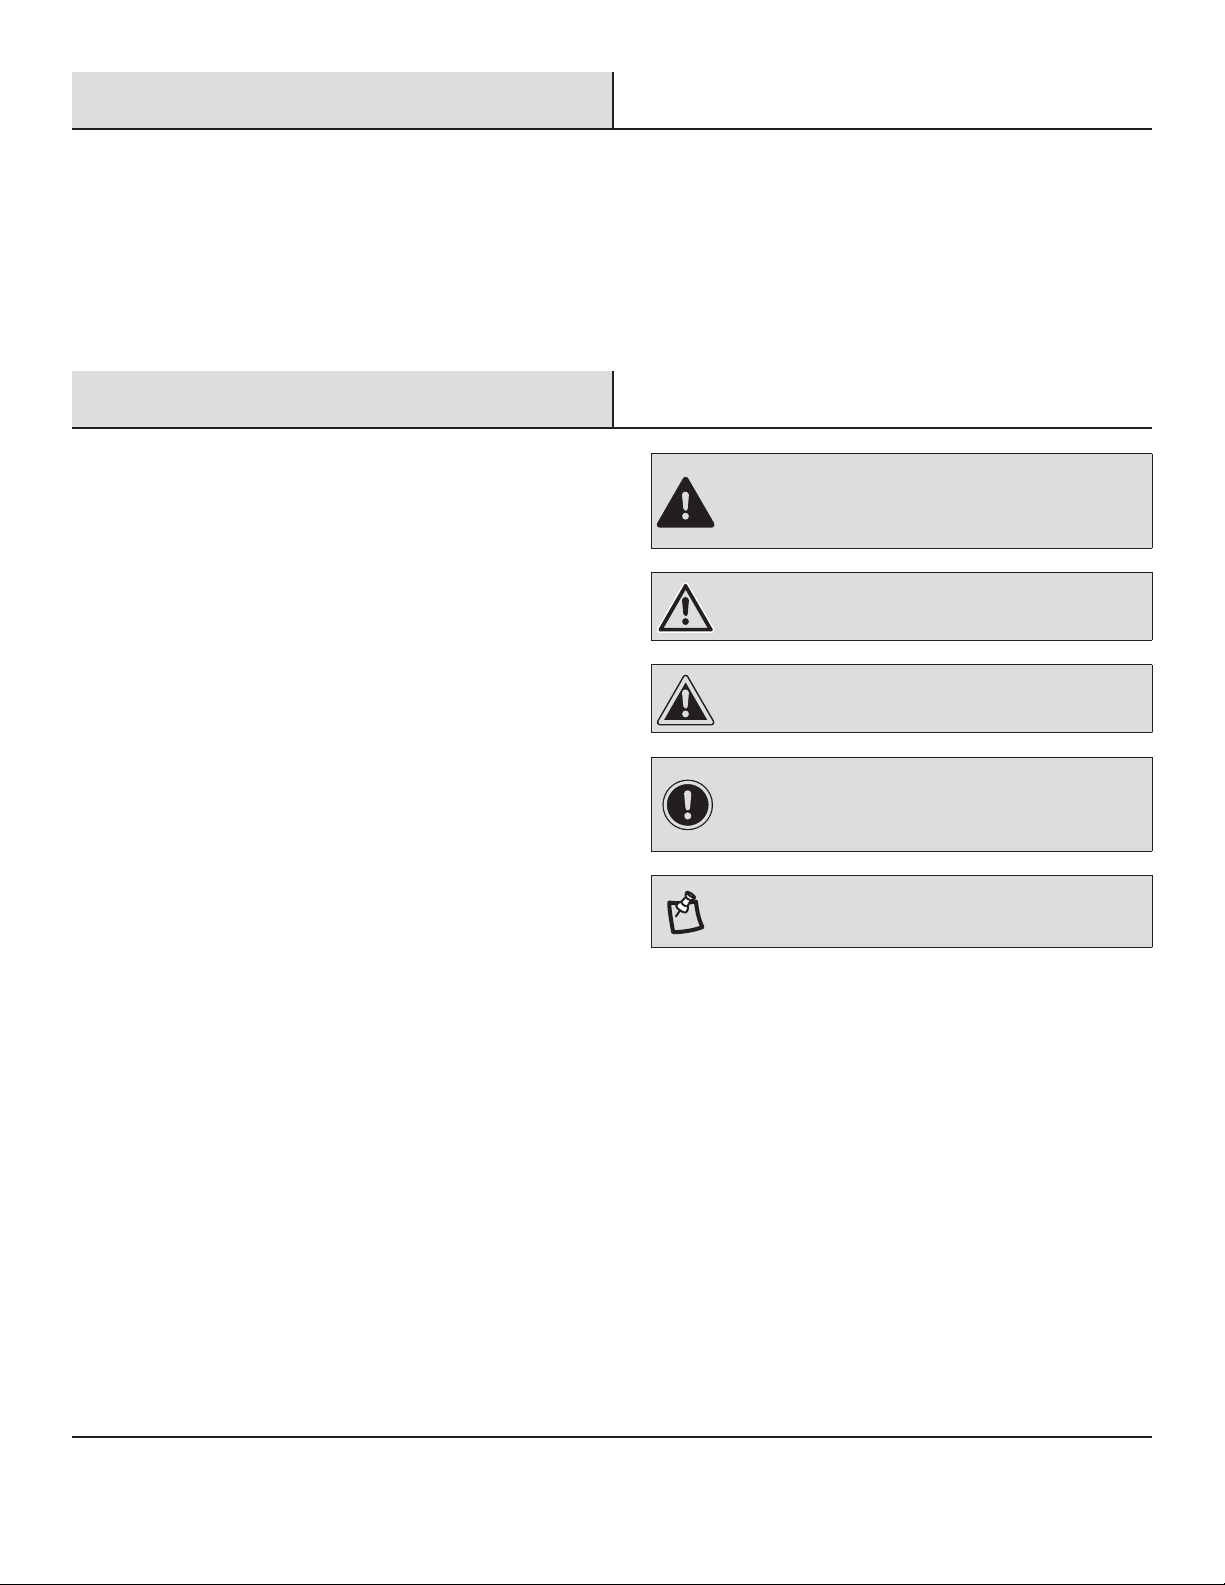
DANGER: Many foam products contain highly
inammable chemicals. Do not use in the proximity of any
open ames, cigarettes or any other potential cause of
combustion.
WARNING: Never point the gun at humans or animals and
do not discharge unless in use.
CAUTION: Keep the gun out of the reach of children.
IMPORTANT: Always wear approved safety clothing and
personal protection equipment: gloves, goggles for eye
protection, a mask with the appropriate activated carbon
lters when working with the foam gun.
NOTE: Always read the foam manufacturer’s instructions
when handling and using their product in conjunction with
this gun.

3 HOMEDEPOT.COM
Please contact 1-877-527-0313 for further assistance.
Pre-Installation
PLANNING INSTALLATION
This gun has been designed for use with polyurethane foams and should not be used for any other application. This gun is used for various
repair and building works, such as door and window replacement, joining various frame constructions, silencing and sealing gaps in walls.
NOTE: Only use the gun in adequately ventilated rooms
with the correct respiratory protection equipment.
PACKAGE CONTENTS
A
B
Part Description Quantity
A Spray Foam Dispensing Gun 1
BTip 1

4
Installation
1 Loading a can of product
□Shake can vigorously for 30 seconds prior to installing can
on to foam gun.
□Make sure the can housing is perfectly clean and apply some
Vaseline or light grease to the inside of the can housing
area. This helps prevent foam from curing to the can housing
and gluing the can on to the gun.
□To load a can of Insulating Foam Sealant or Adhesive to a
foam dispensing gun, make sure that the threads on the can
align with the threads on the gun. Crossthreading the can
to the gun can cause the foam to dispense under the valve.
Screw the can onto the gun rmly, but do not overtighten.
DANGER: Shut off all pilot lights and extinguish open
ames; eliminate all sources of ignition before use. Do not
smoke or use lighters or matches while dispensing foam.
CAUTION: The sealant and adhesive products are very
sticky and will adhere to most surfaces and skin. Do not get
foam on skin. Wear gloves, and goggles or safety glasses.
Cured foam must be mechanically removed or allowed to
wear off in time.
2 Control Bead Size With Flow Control
Knob
□Use the ow control knob on the back of the gun to vary
bead size. Unscrewing the knob enables additional “play” in
the trigger. Bead size can be controlled.
Foam

5 HOMEDEPOT.COM
Please contact 1-877-527-0313 for further assistance.
Operation
1 Trigger Control
□The foam dispensing gun trigger can be metered so the
harder it is pulled, the faster the foam will be dispensed. To
apply foam to smaller gaps, pull on the trigger less. Close
the ow control knob when not in use to prevent premature
discharge.
NOTE: Release the trigger and tighten the ow control
knob to lock the needle in the closed position to prevent
accidental discharge when the gun is not in use.
2 Changing a Can of Foam
□After emptying a can of Insulating Foam Sealant or Adhesive,
tighten the ow control knob to close it, then remove the
empty can by unscrewing it from the can housing.
□Clean the can housing with professional Gun Cleaner and
immediately load a new can. Foam dispensing guns include
a ball valve in the can housing to prevent foam coming out
of the top. Uncured foam on other surfaces can be removed
with Gun Cleaner.
CAUTION: Leaving an empty can on a foam dispensing
gun will allow foam to cure inside the gun. Always remove
empty cans and clean the gun when nished.
Foam
Foam

6
Maintenance
□If the gun is not to be reloaded it must be cleaned as soon as possible after the cartridge has been removed to avoid hardening of the
foam inside the gun.
Care and Cleaning
□Always ensure all foam is released from the gun before cleaning.
□To clean the foam dispensing gun, unscrew the can of the Insulating Foam Sealant or Adhesive and attach a can of professional
Cleaner, making sure the threads are straight. Pull the trigger and dispense contents into a covered container lined with a disposable
bag, e.g., a trash can with a lid, and dispose per local, state/provincial and federal regulations. Dispense cleaner until there are no
signs of residual foam. This usually requires about half a can of Gun Cleaner. When detaching the cleaner, continue to pull trigger while
unscrewing the cleaner from the gun to help prevent spray back.
□Leave the solvent in the gun for 2 minutes. Release the solvent by pressing the trigger and repeat this process until the solvent runs
clear and shows no trace of foam. Unscrew the ow control knob and remove the long nozzle, and clean the long nozzle with non-
abrasive cleaning solvent.
NOTE: hardened foam will damage the needle. Remove the front nozzle with a set screw wrench and
check the nozzle for hardened foam. Clean as necessary with an appropriate solvent.
□Make sure the foam dispensing gun is thoroughly cleaned. If not, foam residue may build up and cause foam to stick inside the gun.
Cleaner
Red spray
nozzle
Cleaner
Cleaner with red spray nozzle attached Remove uncured
foam from gun
Cleaner
Cleaner
Foam
Remove uncured foam from gun
adapter on can

7 HOMEDEPOT.COM
Please contact 1-877-527-0313 for further assistance.
Service Parts
13
12
10
22
19
20
14
21
23
24
25
15
16
17
8
11
18
26
9
7
6
5
4
21
3
Part Description Quantity Part Description Quantity
1 Long nozzle 1 14 Spring 1
2 Nut 1 15 Plastic bushing 1
3 Nozzle 1 16 Plastic bead 1
4 Seal ring 1 17 Seal ring 1
5 Needle 1 18 Paper gasket 1
6 Connecting sleeve 1 19 Can housing 1
7 Gasket 3 20 Flow control knob 1
8 O-ring 1 21 Pin 1
9 Spring 1 22 Handle 1
10 Gun barrel 1 23 Screw 1
11 Connecting nut 1 24 Rivet 1
12 Gun body 1 25 Trigger 1
13 Screw 1 26 Circlip 1

Questions, problems, missing parts? Before returning to the store,
call Anvil Customer Service
8 a.m. – 7 p.m., EST, Monday – Friday, 9 a.m. – 6 p.m., EST, Saturday
1-877-527-0313
HOMEDEPOT.COM
Retain this manual for future use.
This manual suits for next models
1
Table of contents