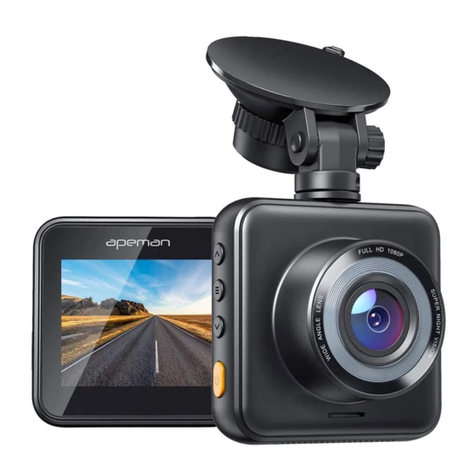
Apeman C420 User manual

1
APEMAN C420 Detailed Operation Instruction
Contents
Part 1- Something about Installation……………..…….........................................................................….2
1.Something needs to be prepared before use…………………...........................................................................…2
2.Official Installation Video……………………………..........................................................................................………3
Part2 - Something About Settings.............................................................................................................4
1. Instruction of 4 buttons of the camera..................................................................................................................4
2. Instruction of the icons of the camera...................................................................................................................4
3.How to Set the MENU.....................................................................................................................................................5
4.How to switch mode of the camera..........................................................................................................................6
5.Other Settings....................................................................................................................................................................6
(1) How to manually lock a video ....................................................................................................................................................6
(2) How to delete a locked video.......................................................................................................................................................7
(3) How to set date/time........................................................................................................................................................................8
Part3 - Warm Tips...........................................................................................................................................9

2
Part 1- Something about Installation
1. Something before Installation
(1)Attention!!
a. Please use a pin to reset first
b. Please prepare a Class 10 microSD card (NOT INCLUDED) with a capacity of 32GB and format it before first
use. If you use more than 32 GB SD card, please format it to FAT32 format on computer and format it again
on dash cam before use.
(2)How to format the SD card on computer?
There are two ways to format the sd card on computer.
Option 1:
Please connect this cam with the computer via USB cable.
Option 2:
A.Take out of the SD card from this cam and insert this SD card into a card reader.
B. Insert the card reader with the SD card to computer.
C. Enter into “computer” and click the right mount button once and then click “Format”
D. Please click “FAT32”to finish the format.

3
(3)How to format the SD card on dash cam?
A.Long press “Orange” Button to turn on this cam.
B.Press “menu” button twice (between up button and down button) to enter into the menu mode.
C.Find “Format” and press orange button to confirm “format” to format the SD card.
2. Official Installation Video
(1) Official installation on the product page
(2) Official installation video on Youtube

4
Part2 - Something About Settings
(1) Instruction of 4 buttons of the camera:
Up button (up forward the menu);
Menu button; Lock button (lock the video if you press it during recording);Back button (return to
previous menu);Switch button
Down button; Audio button
Power button; Stop recording button; Confirm button
(2) Instruction of the icons of the camera

5
(3) How to Set the MENU(Camera Settings&System Settings)
A. Please button to stop recording in the recording mode.
B. Press to enter camera settings mode.
C. Please press again to enter into system settings mode.
Example: How to set Video Resolution
①Press to enter “Video Resolution setting.
② Press / to select the setting you prefer and press to confirm it. Then press to return
to previous page.

6
(4) How to switch mode of the cam
1Press turn on this cam to the recording mode.
2Long press to picture mode.
PS1:In the picture mode, pressing button can enter into the picture camera settings.
PS2:How to take continuous shooting?
Find “continuous shooting” and press button to click “on” option.
Long press again to the playback mode to watch recorded videos;
(5) Other Settings
A. How to manually lock a video?
1Turn on this cam and press button to start recording.

7
2Press button to lock video. You will find there will be a key in this screen.
B. How to delete the locked files?
1In the recording mode, long press button twice to the playback mode.
2Press button to the playback setting mode.
3Find the “Protection” option and press to confirm it.
4Select “unlock one” or “unlock all” and press to unlock file.
5Find the “delete” option and press to confirm it to delete it.

8
C. How to set date/time
1Stop recording in the recording mode, and press to the camera system to find the timestamp.
2Press and select “on” to turn on this feature.
3Press button to date/time.
4Press / button to select the number time.
5Press to the previous recording mode.

9
Part3 - Warm Tips
(1)Please prepare a max 32 GB Class 10 or above Micro SD card. Remember to format SD card on the
camera before the first using.This dash camera support 64-128 GB SD card. But please remember to
format it to FAT32 Format on computer and then format it in the dash cam.
(2)The screen will be black after 1 min but the camera is still recording. Red light flashing means the
camera is recording. If you want the screen always on, please enter into menu to turn off the
“screensaver”.
(3)To prevent the SD card from being full and avoid this camera easily showing “please format the SD
card”, please set cyclic record to 3 min(loop recording) and set G-sensor to “low”. This cam comes
with loop recording. Loop recording can overwrite the unlocked files when the SD card is full.
The locked files created by g-sensor can be saved and will not be covered. This SD card will
still be full when turn on loop recording with gravity sensor and parking guard.
(4)The parking guard is mainly used in parking. Please turn off the parking guard when driving.
(Reason: If you use this dash camera with parking guard when driving, it will make this SD card
easily have more locked files created by g-sensor.)Because the dash cam battery is the built-in
battery with small power capacity,which makes the cam record about 15 minutes.
Large battery will cause the security affairs like battery explosion. All the dash cameras will do the
same. If you would like to get a long time monitoring, we suggest you to buy a APEMAN CH50
hardwire kit for power supply
(5)This cam has the starlight sensor. It will adjust the light automatically based on environment. If
you do not like this feature or think the night vision does not fit your requirement, we will send a
firmware to you to improve this brightness.
(6)If you think the sound of powering-on or off is so noise, we will send a f1irmware to you to turn
off it.
Any advice would be appreciated!
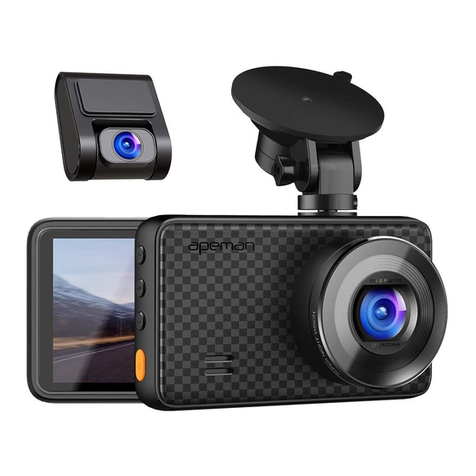
Table of contents
Other Apeman Dashcam manuals

Apeman
Apeman C770 Operating and installation instructions

Apeman
Apeman C450 A Series User manual

Apeman
Apeman C550 User manual

Apeman
Apeman C420D Operating and maintenance manual

Apeman
Apeman C370 Operating and maintenance manual

Apeman
Apeman C560 User manual

Apeman
Apeman SS200 User manual

Apeman
Apeman C860 User manual

Apeman
Apeman C570 User manual

Apeman
Apeman C860 User manual