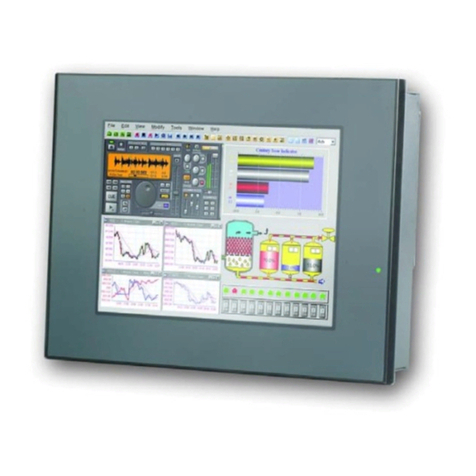
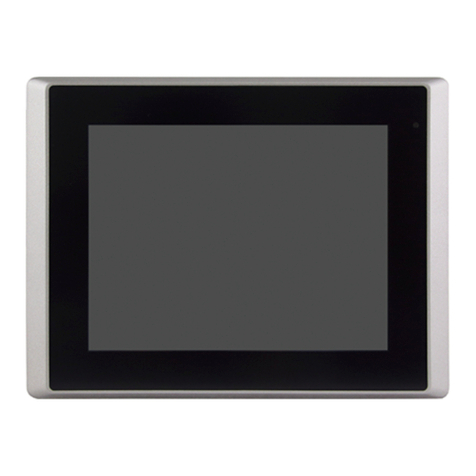
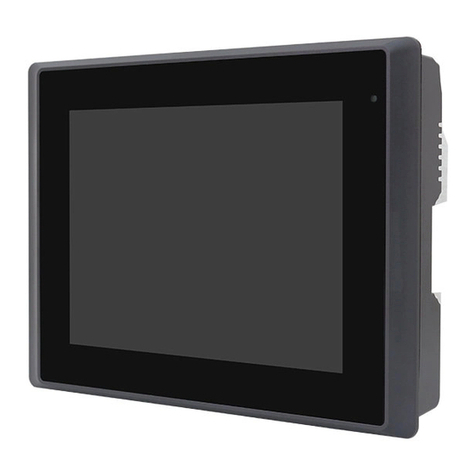
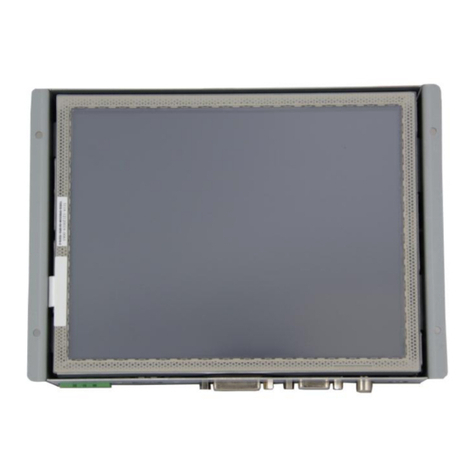
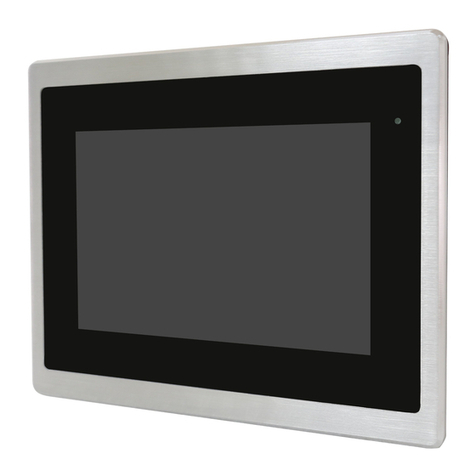
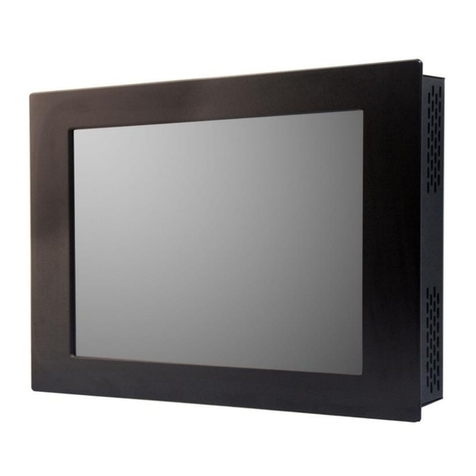
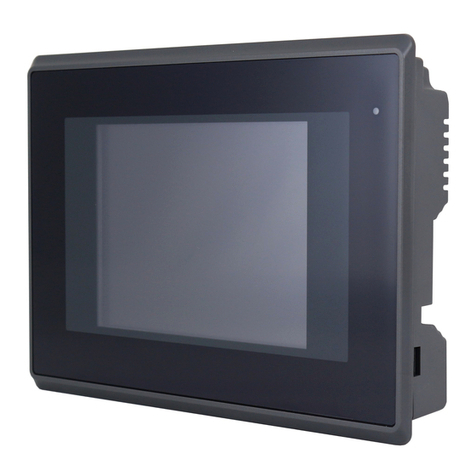
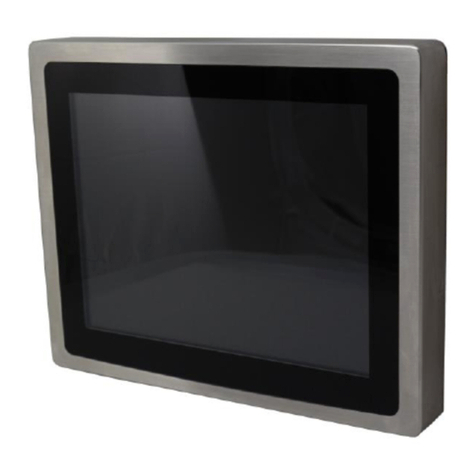
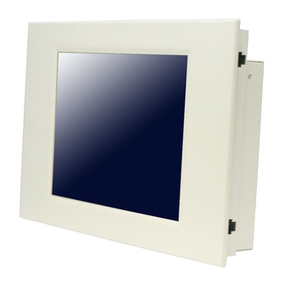
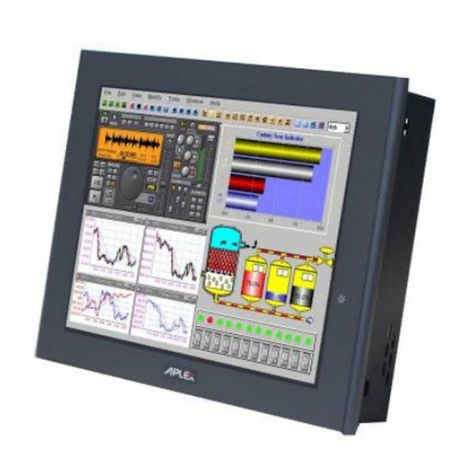
Aplex ADP-1174 User manual

ADP-1174 User Manual 1
ADP-1174 Display Monitor
User Manual
ReleaseDate Revision
Oct. 2007 V0.1
®2005 Aplex Technology, Inc. All Rights Reserved. Published in Taiwan
Aplex Technology, Inc.
9F-5, No. 2, Jian Pa Road, Chung Ho City, Taipei County, Taiwan

ADP-1174 User Manual 2
Warning!___________________________________
This equipment generates, uses and can radiate radio frequency energy and if not installed and
used in accordance with the instructions manual, it may cause interference to radio communications.
It has been tested and found to comply with the limits for a Class A computing device pursuant to
FCC Rules, which are designed to provide reasonable protection against such interference when
operated in a commercial environment. Operation of this equipment in a residential area is likely
to cause interference in which case the user at his own expense will be required to take whatever
measures may be required to correct the interference.
Disclaimer
This information in this document is subject to change without notice. In no event shall Aplex Technology
Inc. be liable for damages of any kind, whether incidental or consequential, arising from either the use or
misuse of information in this document or in any related materials.
Electric Shock Hazard – Do not operate the machine with its back cover removed. There are
dangerous high voltages inside.

ADP-1174 User Manual 3
Table of Contents______________________
Warning!…………………………………………………………………………….……..….2
Disclaimer………………………………………………………………….…………………2
Chapter1 GettingStarted
1.1 Features………………………………………………..………….………….5
1.2 Specifications…………………………………………....……………...….5
1.3 Dimensions…………………………………...………………………….…6
1.4 Brief Description...................................................................................7
1.5 Display Mode……………………………………………………………….8
Chapter2 OSD
2.1 Front Panel Controls……………………………………………….…..…….9
2.2 OSD Controls…………………..……………………………………………..9
2.3 Main Menu…..………..……………………………………………………..10
2.4 AD Board (TB-6020) OSD Functions…….………………………………13
Chapter3 ControlBoard
3.1 Introduction to PenMount Control Board………………………………..14
3.2 Features…………………………………………………………………….15
3.3 Electrical Specifications…………………………………………………...15
3.4 Installation of Control Board……………………………………………...16
Chapter4 Installation
4.1 Windows 2000/XP Driver Installation…………………………………….17
4.2 Configuring PenMount Windows 2000/XP Driver………………………21
4.3 Uninstall PenMount Windows 2000/XP Driver………………………….31
Chapter5 Software
5.1 Software Functions………………………………………………………..32
5.2 Software Function Descriptions……………………………………….…33

ADP-1174 User Manual 4
Appendix A: Board Description & Specifications………………….40
Appendix B: Controller IC Specifications………………………………42
Figures
Figure 1.1: Dimensions of ADP-1174….……………………………………..6
Figure 1.2: Front View of ADP-1174………………………………………….7
Figure 3.1: Bird Eye’s View of Control Board………………………………14
Figure 3.2: Mechanical Drawing of Control Board…………………………14
Figure A: Panelmounting……………………………………………………43
Figure B: VESA 100 mounting………………………………………….….44
Appendix
Panelmounting…..…………………………………………………………….43
VESA 100 mounting…………………………………………………………..44

ADP-1174 User Manual 5
Chapter 1_____________________________
1.1 Features
● 17” SXGA color TFT LCD monitor
●Heavy-duty steel chassis
●NEMA 4/IP65-compliant aluminum front panel
●OSD on the front panel
●Long backlight lifetime of 50,000 hours
● Panel or VESA 100 mount
● DVI, composite video and S-video input (optional)
● Power Input: 100~240V AC
● Resistive touch screen (optional)
1.2 Specifications
Display
● Display: 17” SXGA color TFT LCD monitor
● Maximum resolution: 1600 x 1200 with auto phase and auto position
● Maximum colors: 256K
● Dot size (mm): 0.264 x 0.264
● Luminance: 250 cd/m²
● Viewing angle: 150 degrees(H), 140 degrees(V)
● Backlight life: 50,000 hours
● Control: OSD on the front panel
● Touch screen: resistive (optional)
● Power Supply: Internal Universal AC/DC adapter
Mechanical
● Construction: heavy-duty steel chassis
● NEMA 4/IP65-certified front panel
● Mounting type: panel or VESA 100 mount
● Auto recognition of input signal
● Dimensions(WxHxD): 439 x 64.7 x 348mm

ADP-1174 User Manual 6
Environmental
● Operating temperature: 0 to 45℃ (32 to 113℉)
● Storage temperature: -20 to 60℃(-4 to 140℉)
●Relative humidity: 10 to 95% @40℃, non-condensing
●Vibration: 1G peak, 10~150Hz
●Shock: 10G peak acceleration (11 msec.duration)
●Certification: Meet CE, FCC Class A
Ordering Information
ADP-1174 17” SXGA industrial display monitor
ADP-1174T 17” SXGA industrial display monitor with Resistive touch screen (Optional)
1.3 Dimensions
Figure 1.1: Dimensions of the ADP-1174

ADP-1174 User Manual 7
1.4 Brief Description of the ADP-1174
The ADP-1174 is a 17" SXGA color TFT LCD monitor that comes with a dot size of 0.264 x 0.264mm,
viewing angle of 150 (H) degrees and 140 (V) degrees, and more outstanding features, thus giving
you the best in monitoring and control applications.
The front panel of the display monitor is sealed with gasket for NEMA 4/IP 65 rating when it is
panel-mounted in a NEMA rated cabinet or enclosure. It can also be VESA 100-mounted. It is optional
to be equipped with a resistive touch screen.
Figure 1.2: Front View of the ADP-1174

ADP-1174 User Manual 8
1.5 Display Mode
Display Mode Hori. Sync (KHz) Vert. Sync. (Hz)
31 60
VGA 640 x 480 38 72
38 75
35 56
SVGA 800 x 600 38 60
48 72
47 75
48 60
XGA 1024 x 768 56 70
60 75
1152 x 864 68 75
64 60
SXGA
1280 x 1024 80 75

ADP-1174 User Manual 9
Chapter 2_____________________________
2.1 Front Panel OSD Functions
Auto Adjust Up/Left Down/Right Power
Menu/Entry Power Indicator
Power switch: To turn ON or OFF the power
Shift the icon to the right side or shift it up
Shift the icon to the left side or shift it down
Menu: To enter OSD menu for related icon and item.
Auto Button: One-touch auto adjustment
1.) Getting into Burn-in Mode
Before setting into a burn-in mode, first disconnect the AC power cord. Then press (don’t let them go)
the buttons until the AC power cord is connected and the “RGB” appears on the top left corner
of your screen. Now it can be put into the burn-in mode for changing colors.
2.) Getting Out of Burn-in Mode
Before getting out of the burn-in mode, please first disconnect the AC power cord. Then press the
button (If not workable, press the button and don’t let them go) until the AC power cord is
connected. Please don’t let your fingers go until the AC power cord is connected again and the
wording of “RGB” appears on the top left corner of your screen, and wait for 3 seconds. Under the
non-signal entry situation, if is seen, exit is thus successfully made.
Cable Not Connected

ADP-1174 User Manual 10
2.2 OSD Controls
To make any adjustment, select the following:
1. Press (Menu) to show the OSD menu or disable the OSD menu.
2. Select the icon that you wish to adjust with the ( / or +/-) key in the menu.
3. Press (Menu) and then choose the item with the ( / or +/-) key.
4. Press (Menu) and then adjust the quality with the ( / or +/-) key.
1.) If the “RGB” is still on the top left corner of the screen, press to enter “Miscellaneous” and
choose “Reset”, and then Yes, and press . When the screen goes black, disconnect power
and repeat the above steps.
2.) If the “RGB” is not found, disconnect the AC power cord first. Then press the buttons
(don’t let them go) until the AC power cord is connected, and wait for 2 to 3 seconds. When
“RGB” appears, repeat the above steps.
3.) Functions of OSD Keys

ADP-1174 User Manual 11
2.3 Main Menu
In the Main menu, there are the following items:
zColor
zImage Setting
zPosition
zOSD Menu
zLanguage
zMisc
zExit
For Color, check out the following:
zContrast
zBrightness
zColor Adjust
zColor Temp
zBack
For Image setting, check out the following:
zClock
zPhase
zGamma
zSharpness
zBack

ADP-1174 User Manual 12
In the Position, there are the following:
zH. Position
zV. Position
zBack
In the OSD menu, there are:
zOSD H. Pos.
zOSD V. Pos.
zOSD Timer
zBack
In the Language menu, there are:
zEnglish
zFrances
zGermany
zSpanish
zTraditional Chinese
zSimplified Chinese
zJapanese
In the Misc menu, there are:
zSignal Source
Select VGA: Analogue VGA Input
Select DVI: Digital DVI-D Input
Select AV: Composite Video Input
Select SV: S-Video Video Input
zReset
zBack

ADP-1174 User Manual 13
2.4 AD Board (TB-6020) OSD Functions
2.) Getting into Burn-in Mode
Before setting into a burn-in mode, first disconnect the AC power cord. Then press (don’t let them go)
the buttons until the AC power cord is connected and the “RGB” appears on the top left corner
of your screen. Now it can be put into the burn-in mode for changing colors.
2.) Getting Out of Burn-in Mode
Before getting out of the burn-in mode, please first disconnect the AC power cord. Then press the
button (If not workable, press the button and don’t let them go) until the AC power cord is
connected. Please don’t let your fingers go until the AC power cord is connected again and the
wording of “RGB” appears on the top left corner of your screen, and wait for 3 second. Under the
non-signal entry situation, if is seen, exit is thus successfully made.
When the Burn-in Mode is Unable to Eradicate…
4.) If the “RGB” is still on the top left corner of the screen, press to enter “Miscellaneous” and
choose “Reset”, and then Yes, and press . When the screen goes black, disconnect power and
repeat the above steps.
5.) If the “RGB” is not found, disconnect the AC power cord first. Then press the buttons
(don’t let them go) until the AC power cord is connected, and wait for 2 to 3 seconds. When
“RGB” appears, repeat the above steps.
6.) Functions of OSD Keys
Auto Adjust Up/Left Down/Right Power
Menu/Entry Power Indicator
Cable Not Connected

ADP-1174 User Manual 14
Chapter 3_____________________________
3.1 Introduction to the PenMount 9036 Controller Board
The PenMount 9036 control board is configured for use with the RS-232 interface. It connects to the
touch screen, power supply and computer system’s RS-232 port, and supports 4-, 5- and 8-wire touch
screens. The control board has some advanced functions, such as PnP and non-PnP mode adjustable
baud rate, thus making easy for customers to select different touch screens without changing the
control board. The size of the board is 25 by 60mm, and it has two connectors and one dipswitch
on-board.
Figure 3.1: Bird’s Eye View of PenMount 9036
Figure 3.2: Mechanical Drawing of PenMount 9036

ADP-1174 User Manual 15
3.2 Features
zRS-232 interface
zTouch controller is DMC9000
zDesign for the best touch performance and easy configuration
zPnP or Non-PnP mode selectable
zDesign for best cost arrangement
zSupporting 2048x2048 pen device resolution
z19200 or 9600 baud rate transmission selectable
zUpgraded noise handling mechanism (3 level scheme)
zFixed and high-speed sampling rate
z4-, 5- and 8-wire touch screen supported
zTouch screen cable, RS-232 with power cable connectors onboard
z5V to 12V power input
zCircuit protection for input voltage
zTouch-activated LED indicator onboard
3.3 Electrical Specifications
Touch Screen:
4-, 5- and 8-wire analog resistive type
Touch Screen Controller:
DMC9000
Communications:
RS-232
Baud Rate:
19200 and 9600 baud rate selection
Resolution:
1024x1024 (10-bit A/D converter inside)
Power Input:
5V ~ 12V DC
Power Consumption:
12V: 24mA+ i where (i=v/touch screen sheet R)
5V: 20mA+ i where (i=v/touch screen sheet R)

ADP-1174 User Manual 16
Board Size:
6.0 x 2.5cm
Portrait:
Support 90∘to 279∘screen rotation
Static Protection:
ESD device (optional)
3.4 Installation of the 9036 Controller Board
Follow the steps below to install the 9036 control board:
1. Power down your computer and display, and open your display or system case. Find space on your
system and attach the control board to your system with screws. The control board has industry
standard 3φscrew holes.
2. Find the white 6-pin right-angle connector (on the left in the image above [see Figure 3.1]). The
power cable is pin 1 and pin 2. Solder the power and ground wire to the system. The RS-232 cable
is for pins 3 to 6. Attach the RS-232 cable’s D-sub connector to a COM port at the back of the
computer.
3. Find the white 9-pin right-angle connector (on the right in the image above [see Figure 3.1]). Attach
the female end of the touch screen cable to this connector. If you attach the cable of a 4-/5-/8-wire
touch screen to pins 1~5/1~6/1~9, attach the male end of the cable to the touch screen tail.
4. Mount your touch screen to the display.
5. Find the onboard DIP switch (on the upper right of the image above [see Figure 3.1]). This switch
selects baud rate, PnP or non-PnP mode, and touch screen type. Set the DIP switch to configure
your control board according to the definitions and settings of the table below:
Switch Definition ON OFF
S1 Baud Rate Adjustment 9600 19200
S2 PnP enable or disable Disable Enable
S3 Touch screen type 5-wire 4-, 8-wire
S4 Touch screen type 4-, 8-wire 5-wire
6. Turn on power to the computer and the display.
7. Install the software drivers and utilities and calibrate the touch screen.

ADP-1174 User Manual 17
Chapter 4_____________________________
4.1 Windows 2000/XP Driver Installation for 9036 Control Board
Before installing the Windows 2000/XP driver software, you must have the Windows
2000/XP system installed and running on your computer. You must also have the 9036
PenMount Serial Interface controller board installed. Contents of the PenMount
Windows 2000/XP driver folder are listed below:
DMC9000.inf
DMC9000.sys
DMC9000.cat
SETUP.EXE
If you have an older version of the PenMount Windows 2000/XP driver installed in your
system, please remove it first. Follow the steps below to install the PenMount Windows
2000/XP driver.
1. When the system first detects the controller board, a screen appears that shows
“Unknown Device”. Do not use this hardware wizard. Press Cancel.

ADP-1174 User Manual 18
2. Insert the PenMount Driver CD-ROM. Go to the Windows 2000-XP Driver folder.
Click setup.exe.
3. The screen displays the installation wizard for the PenMount software. Click “Next”.

ADP-1174 User Manual 19
3. A License Agreement appears. Click “I accept…” and “Next”.
4. The “Ready to Install the Program” screen appears. Select “Install”.

ADP-1174 User Manual 20
5. The next screen is “Hardware Installation”. Select “Continue Anyway”.
6. The “InstallShield Wizard Completed” appears. Click “Finish”.
Table of contents
Other Aplex Monitor manuals

Aplex
Aplex OPD-1086B User manual

Aplex
Aplex ARCDIS-112APRG User manual

Aplex
Aplex ARCDIS-132AP User manual

Aplex
Aplex FABS-107P User manual

Aplex
Aplex OPD-1086 User manual

Aplex
Aplex FABS-1 Series User manual

Aplex
Aplex ADP-1080 User manual
Aplex
Aplex ARCDIS-118A User manual

Aplex
Aplex VIPAC-8 Series User manual

Aplex
Aplex ADP-1153 User manual

Aplex
Aplex ADP-1156 User manual

Aplex
Aplex OPD-1086 User manual

Aplex
Aplex ADP- 11x6 User manual

Aplex
Aplex ADP-1XX8P User manual

Aplex
Aplex OPD-1086C User manual

Aplex
Aplex ADP-1122A User manual

Aplex
Aplex ADP-1224A User manual

Aplex
Aplex ADP-1081A User manual

Aplex
Aplex ADP-1XX0A Series User manual
Aplex
Aplex ADP-1120 User manual