manuals.online logo
Brands
  1. Home
  2. •
  3. Brands
  4. •
  5. Apollo
  6. •
  7. Control Unit
  8. •
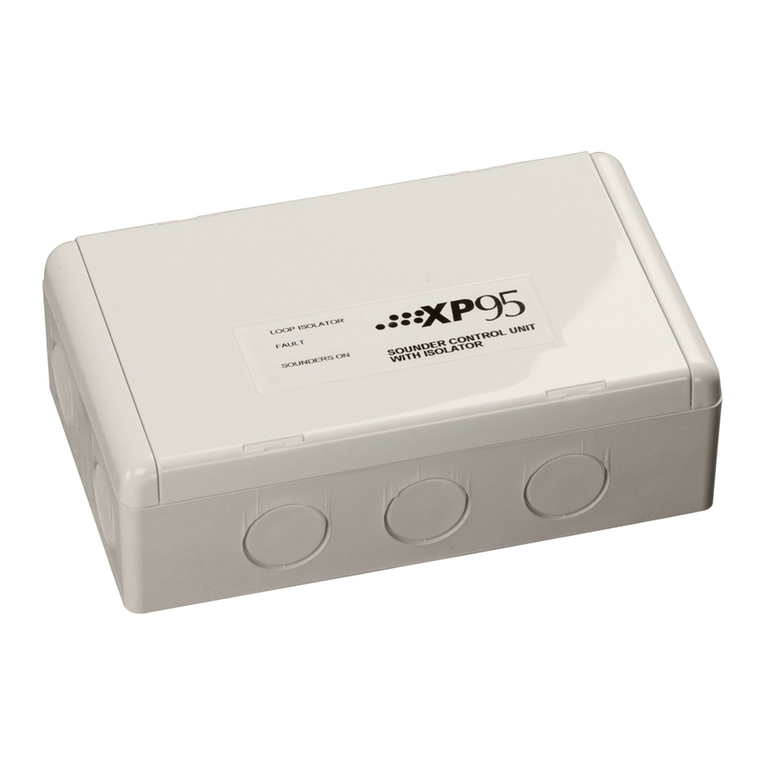
  9. Apollo 55000-849 User manual

Apollo 55000-849 User manual

© Apollo Fire Detectors Limited 2011
Apollo Fire Detectors Limited, 36 Brookside Road, Havant, Hants, PO9 1JR, UK
Tel +44 (0)23 9249 2412 Fax +44 (0)23 9249 2754
Email: techsales@apollo-fire.co.uk Website: www.apollo-fire.co.uk
4 1
Output Unit
Installation Guide
General
The Output Unit, part no 55000-849, provides a volt-free, double pole, change-over relay
output. It is supplied with a backbox for surface mounting and has an integral isolator as
standard.
Note: The Output Unit is not designed for outdoor use unless it is mounted in a suitable
weatheproof enclosure.
Installation
1. Mount the backbox as required and install all cables for termination. Ensure that earth
continuity is maintained.
2. Remove the cover plate (if secured) from the Output Unit assembly by inserting the blade
of a terminal screwdriver into each of the four securing clips in turn, gently prising the
outer edge of the cover plate over the clips underneath. DO NOT USE EXCESSIVE FORCE.
3. Terminate all cables.
4. Gently push the completed assembly towards the backbox until the mounting holes are
aligned and secure with the two mounting screws provided. DO NOT OVERTIGHTEN.
5. Set the address of the unit as shown on page 3.
6. Finally, when commissioning is complete, fit the cover plate by placing it in position,
observing the correct orientation (LEDs on the PCB must be aligned with viewing holes)
Apply pressure to the cover plate until all four clips are holding it in position.
Functional Test Data
Output bit Function Input bit Function
2 not used 2 not used
1 not used 1 not used
0 operates relay 0 not used
1 = on
0 = off
For further information on protocol bit usage refer to the Output Unit PIN sheet, PP2093.
Troubleshooting
Before investigating individual units for faults, it is very important to check that the system wiring
is fault free. Earth faults on a data loop or any ancillary zone wiring may cause communication
errors. Many fault conditions are the result of simple wiring errors. Check all connections to the
unit and make sure that the correct value resistors are fitted where necessary.
Fault finding
Problem Possible Cause
No response or missing Incorrect address setting
Incorrect loop wiring
Relay fails to operate Incorrect wiring
Control panel has incorrect cause and effect
programming
Relay energised continuously Incorrect loop wiring
Incorrect address setting
39214-134/2011/Issue 5
2 3
Wiring Details
All wiring terminals will accept solid or stranded cables up to 2.5mm² Address Setting
The address of the Output Unit is set using the lower seven segments of the DIL switch. Each
segment of the switch must be set to “0” or “1”, using a small screwdriver or similar tool. A
complete list of address settings is shown below.
DIL switch DIL switch DIL switch DIL switch DIL switch
addr setting addr setting addr setting addr setting addr set-
ting
1234567 1234567 1234567 1234567 1234567
1 1000000 11 1101000 21 1010100 31 1111100 41 1001010
2 0100000 12 0011000 22 0110100 32 0000010 42 0101010
3 1100000 13 1011000 23 1110100 33 1000010 43 1101010
4 0010000 14 0111000 24 0001100 34 0100010 44 0011010
5 1010000 15 1111000 25 1001100 35 1100010 45 1011010
6 0110000 16 0000100 26 0101100 36 0010010 46 0111010
7 1110000 17 1000100 27 1101100 37 1010010 47 1111010
8 0001000 18 0100100 28 0011100 38 0110010 48 0000110
9 1001000 19 1100100 29 1011100 39 1110010 49 1000110
10 0101000 20 0010100 30 0111100 40 0001010 50 0100110
51 1100110 61 1011110 71 1110001 81 1000101 91 1101101
52 0010110 62 0111110 72 0001001 82 0100101 92 0011101
53 1010110 63 1111110 73 1001001 83 1100101 93 1011101
54 0110110 64 0000001 74 0101001 84 0010101 94 0111101
55 1110110 65 1000001 75 1101001 85 1010101 95 1111101
56 0001110 66 0100001 76 0011001 86 0110101 96 0000011
57 1001110 67 1100001 77 1011001 87 1110101 97 1000011
58 0101110 68 0010001 78 0111001 88 0001101 98 0100011
59 1101110 69 1010001 79 1111001 89 1001101 99 1100011
60 0011110 70 0110001 80 0000101 90 0101101 100 0010011
101 1010011 111 1111011 121 1001111
102 0110011 112 0000111 122 0101111
103 1110011 113 1000111 123 1101111
104 0001011 114 0100111 124 0011111
105 1001011 115 1100111 125 1011111
106 0101011 116 0010111 126 0111111
107 1101011 117 1010111
108 0011011 118 0110111
109 1011011 119 1110111
110 0111011 120 0001111
Commissioning
It is important that the Output Unit be fully tested after installation. An XP95 Test Set, part no
55000-870, may be used to carry out functional testing of individual units. It can also be used to
perform data integrity tests of an entire loop.
Note: If this product has been subjected to excessive shock during transportation, it may be
received with the relay contacts in the ‘set’ position. Reset the relay by subjecting it to one
operating cycle before commissioning the system.
LED Indicators
Isolator Illuminated yellow when a short circuit on the loop causes the
integral isolator to operate
Relay On Illuminated red when relay is energised
The use of the red LED can be disabled by setting the ‘LED ENABLE’ segment of the DIL switch
to ‘0’.
Current consumption at 28V (no protocol)
LED Enabled
switch-on surge 160ms 4mA
quiescent 500μA
relay operated 1.8mA
relay operated (LED disabled) 600μA
For a full technical specification of the Output Unit, please refer to the Output Unit PIN Sheet,
PP2093. For further information on isolators, please refer to PP2090.
N/O
N/C
COM
N/C COM N/O
-
+
+
-
– +
– +
X
P95 LOOP
RELAY CONTACT 1
1A at 30V MAX 30V AC or DC
L1 L2
L1 L2 L1 and L2 are polarity sensitive
RELAY
CONTACT 2
1A at 30V
MAX 30V AC
or DC

Other Apollo Control Unit manuals

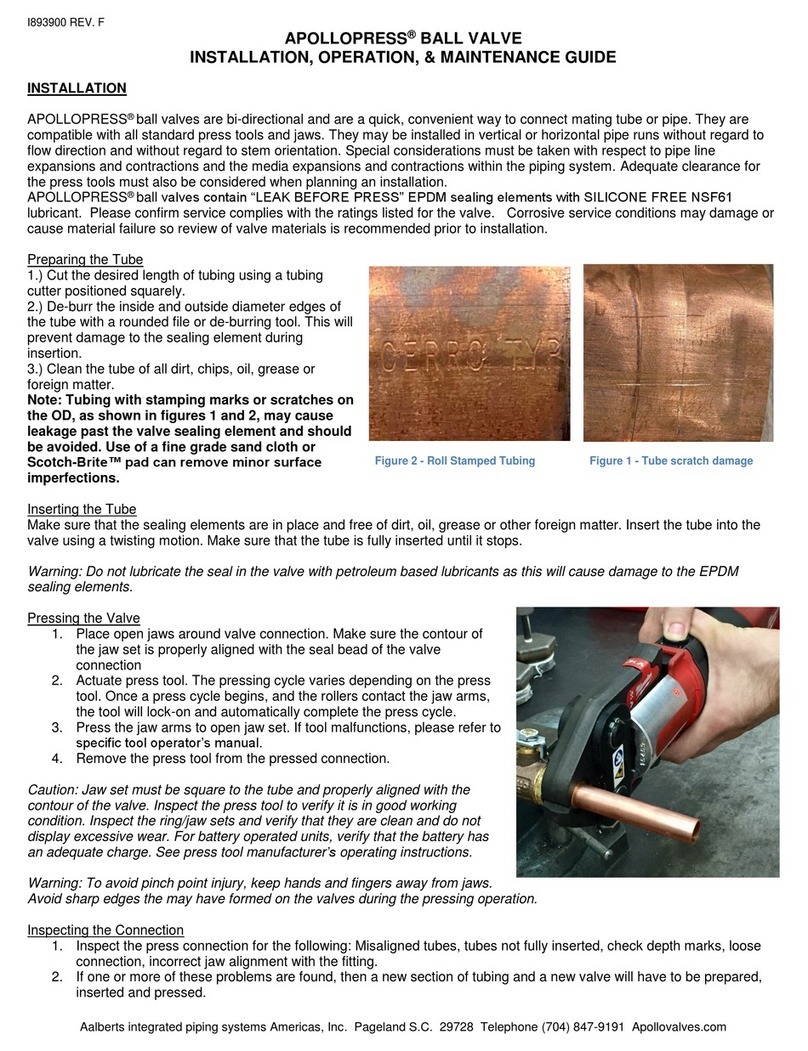
Apollo ApolloPress APL77V10711 Owner's manual

Apollo

Apollo ApolloPress APL77V10711 Owner's manual

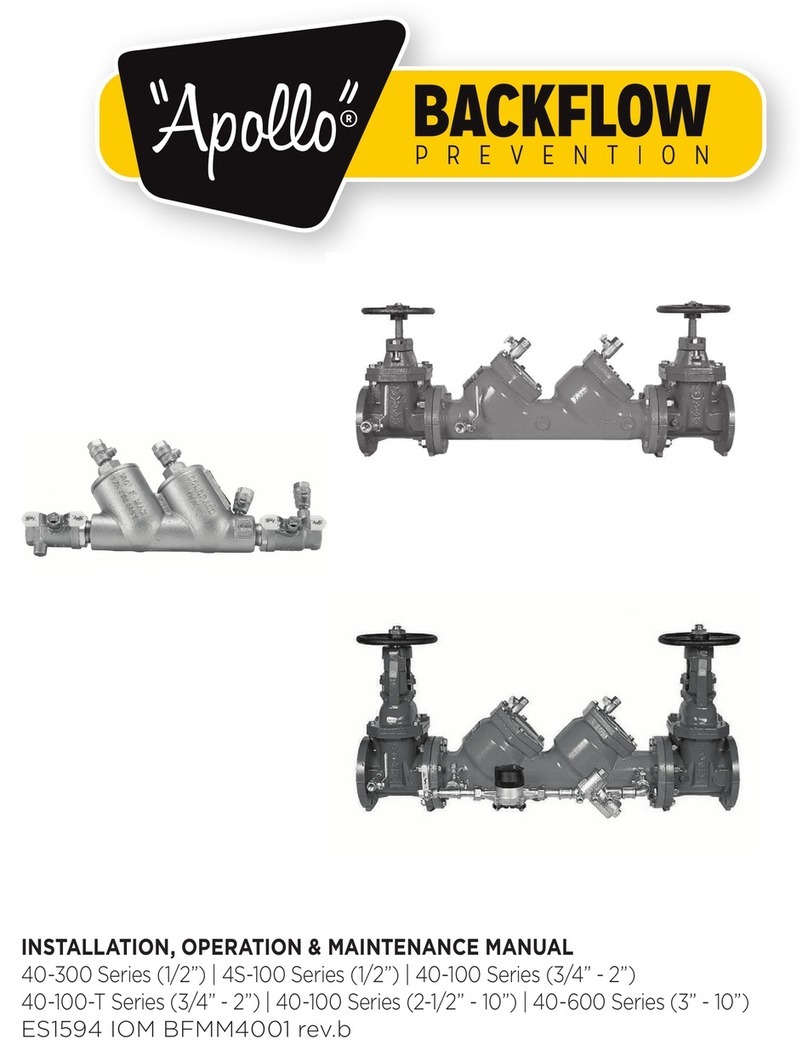
Apollo 40-300 Series (1/2") Instruction manual

Apollo

Apollo 40-300 Series (1/2") Instruction manual

Apollo 55000-852 User manual

Apollo

Apollo 55000-852 User manual

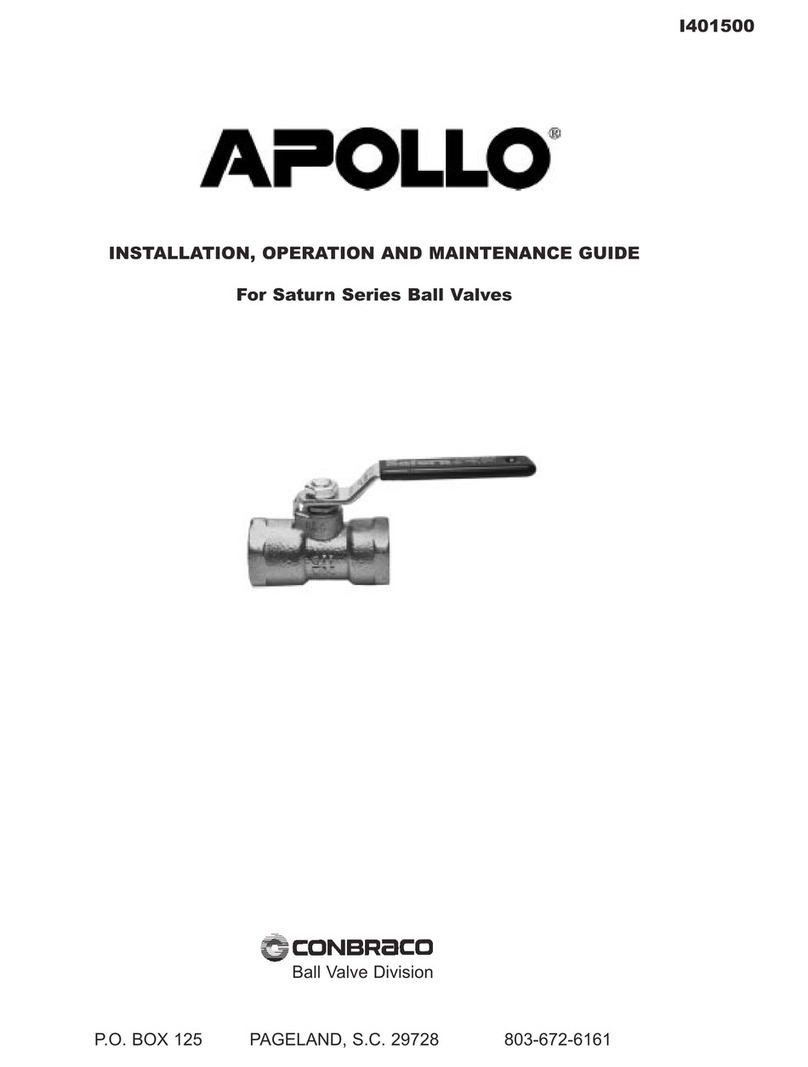
Apollo Saturn Series Technical Document

Apollo

Apollo Saturn Series Technical Document

Apollo RP4A Instruction manual

Apollo

Apollo RP4A Instruction manual

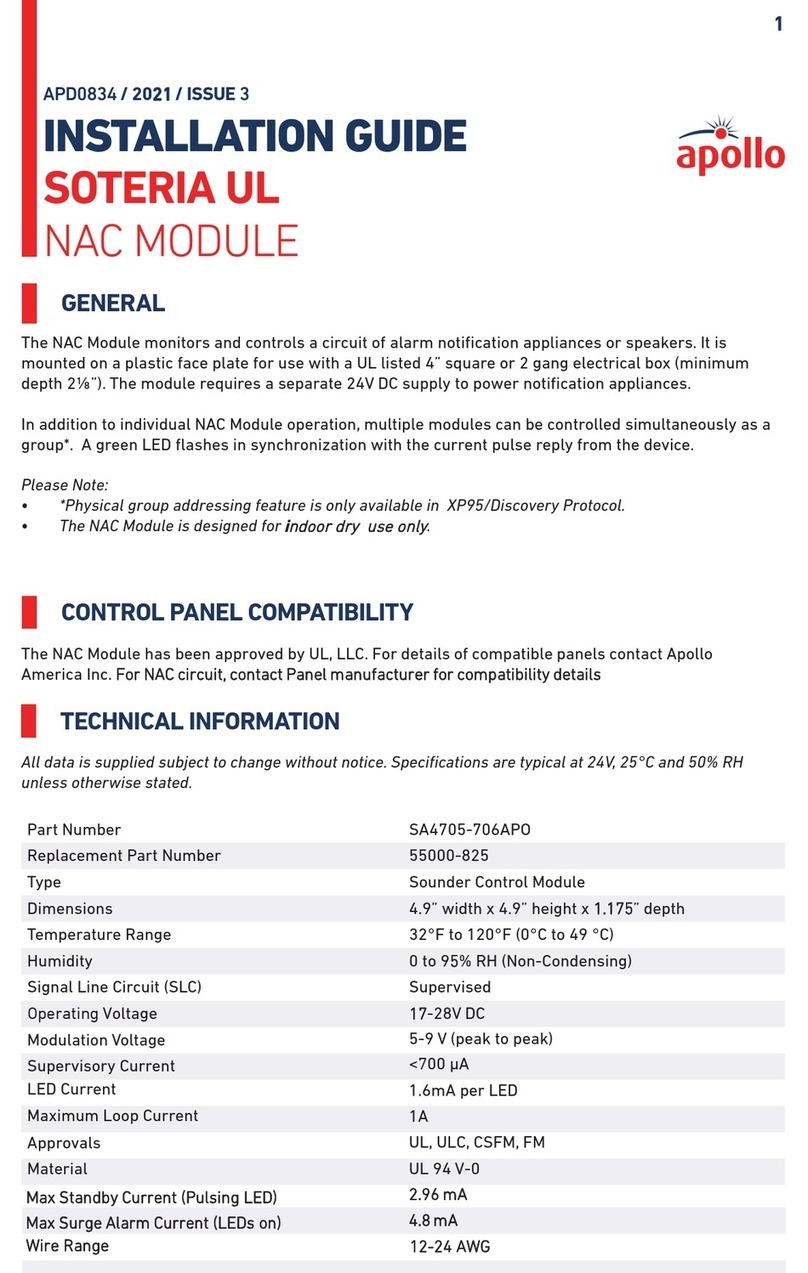
Apollo SOTERIA UL User manual

Apollo

Apollo SOTERIA UL User manual

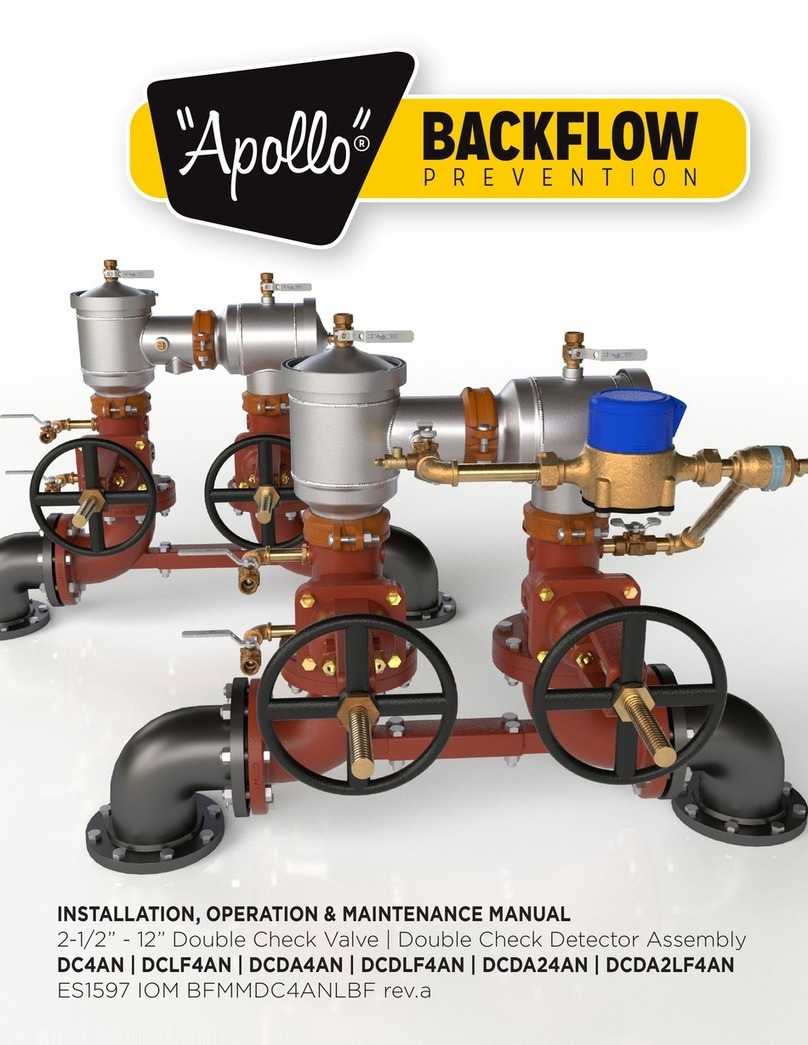
Apollo DCLF4AN Instruction manual

Apollo

Apollo DCLF4AN Instruction manual

Apollo 55000-852 User manual

Apollo

Apollo 55000-852 User manual

Popular Control Unit manuals by other brands

Taco Comfort Solutions ZVC406 instruction sheet

Taco Comfort Solutions

Taco Comfort Solutions ZVC406 instruction sheet

MonkMakes 00063 instructions

MonkMakes

MonkMakes 00063 instructions

ECTIVE SUNBOARD MSP operating instructions

ECTIVE

ECTIVE SUNBOARD MSP operating instructions

EverFocus EMV400SSD Quick installation guide

EverFocus

EverFocus EMV400SSD Quick installation guide

Audio Technica AT8351 Operation and maintenance instruction

Audio Technica

Audio Technica AT8351 Operation and maintenance instruction

National Instruments FieldPoint FP-1001 user manual

National Instruments

National Instruments FieldPoint FP-1001 user manual

Danfoss ESMD installation guide

Danfoss

Danfoss ESMD installation guide

White Rodgers 50T35-743 installation instructions

White Rodgers

White Rodgers 50T35-743 installation instructions

INOXPA INNOVA S Installation, service and maintenance instructions

INOXPA

INOXPA INNOVA S Installation, service and maintenance instructions

Behringer 961 Interface quick start guide

Behringer

Behringer 961 Interface quick start guide

MBW M300DP Installation & user manual

MBW

MBW M300DP Installation & user manual

Honeywell 4286 Set up and Troubleshooting

Honeywell

Honeywell 4286 Set up and Troubleshooting

FALCOM A2 Series User manual and command reference

FALCOM

FALCOM A2 Series User manual and command reference

Bosch ETT 223 operating instructions

Bosch

Bosch ETT 223 operating instructions

Acksys WLg-LINK-OEM manual

Acksys

Acksys WLg-LINK-OEM manual

Control Techniques EMERSON SPM installation guide

Control Techniques

Control Techniques EMERSON SPM installation guide

Roughneck 27893 owner's manual

Roughneck

Roughneck 27893 owner's manual

Hansen HS7 Specifications, Applications, Service Instructions & Parts

Hansen

Hansen HS7 Specifications, Applications, Service Instructions & Parts

manuals.online logo
manuals.online logoBrands
  • About & Mission
  • Contact us
  • Privacy Policy
  • Terms and Conditions

Copyright 2025 Manuals.Online. All Rights Reserved.