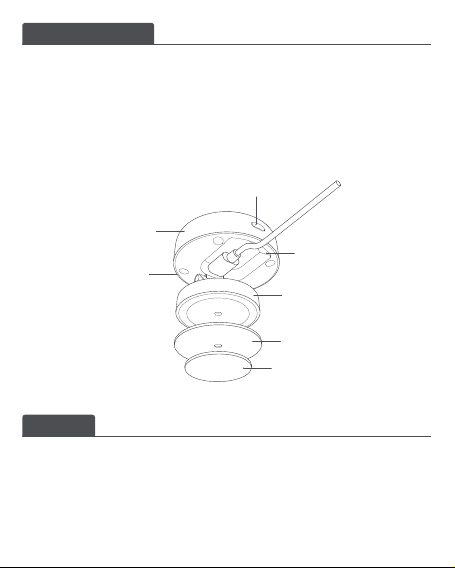
Device installation and power-on
Choose between wall-mounted or ceiling-mounted positions for the FP2 based on the detection
range. For heights under 2 meters, use metal plate and sticker; for heights over 2 meters, use
screws.
Connect the FP2 with the Type-C sensor power cord, then insert the sensor cord into the USB-A
port of an adapter, outlet or other power supplying device. Long press the reset button for 10
seconds to reset FP2. Click 10 times to restore the factory settings, which shall clear all settings
and network data.
2
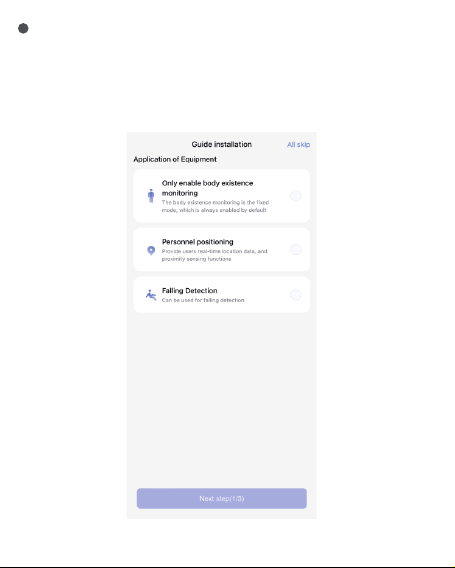
Download the app
Download the Aqara Home app: Search for "Aqara Home" in the Apple App Store, Google Play,
Xiaomi GetApps, Huawei App Gallery, or scan the following QR code to download the Aqara Home
app.(QR Code)Device Binding & Initialization
* Due to upgrades and updates of the Aqara Home app, the actual operations may differ from the above description. Please
operate it according to the instructions of the Aqara Home app.
3
For fall detection, the ceiling-mounted method is advised:
at an installation height of 2.8 meters, it can cover a fall
detection area with a radius of 2 meters.
Select an installation method
Based on the actual application scenario, determine the appropriate
installation method and required detection range for the FP2.
For zone detection, the wall-mounted method is recommended: it
offers a horizontal detection angle of 120 degrees, with blind spots
appearing beyond 120 degrees; the radial detection distance is 8
meters and the detection width is 6 meters.
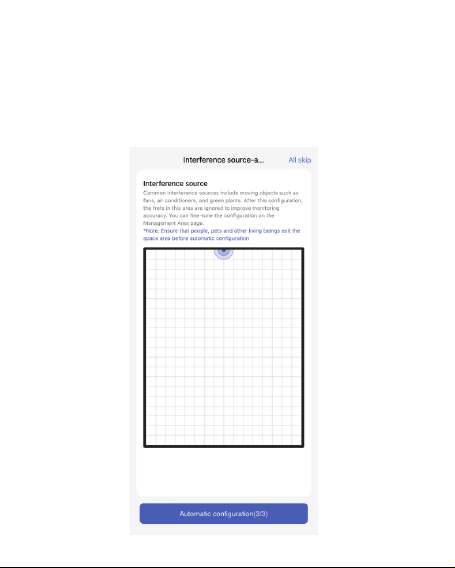
Device Binding & Initialization
1