7
SPA LIFTTM 40 USERS (MA UAL-ROTATE)
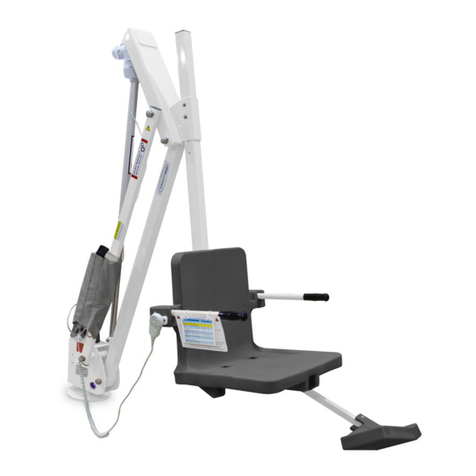
Now ake he handheld con roller and press he “up” arrow a he op of he con roller. The lif
should s ar o move up smoo hly. Con inue holding he “up” arrow bu on un il you have
cleared he pool/spa wall. Once he user has cleared he pool/spa wall ver ically, i will be
necessary for an assis an o manually ro a e he user over he pool/spa. This may be done by
pushing he sea arm and sea un il he sea arm begins o ro a e. Once he user is loca ed above
he pool/spa, press he “down” arrow o lower he user in o he pool/spa. Release he “down”
arrow bu on once you have reached he desired dep h.
Now release he lap bel by ugging gen ly on he op flap of he lap bel . Lif up he flip-up arm-
res and exi he sea in o he pool/spa. The handheld con roller can simply res on he sea arm
when you are no using he lif . If desired, you can send he lif chair up and ou of he pool/spa
so ha he chair is no a hindrance while you are in he pool/spa. If his is desired, you mus
keep he con roller in an accessible loca ion in order o call he lif back. The a endan /assis an
should s and bye in case you need o ge ou of he pool/spa quickly.
When you are ready o re urn o he lif sea and exi he pool or spa, make sure ha he chair is
lowered (submerged) sufficien ly o allow you o easily slide in o he chair. You will no wan o
a emp o “lif ” or raise yourself in o he chair. Posi ion your legs on o he leg-res (if equipped
wi h leg-res ). Nex , re-secure he adjus able lap bel snugly around your wais . Now ake he
handheld con roller and apply pressure o he “up” arrow. Main ain pressure on he up bu on
un il he lif has cleared he pool/spa wall ver ically. I will now be necessary for an assis an o
push he sea arm un il i ro a es over he deck a he desired exi posi ion. Press he “down
arrow” un il he lif comes o a s op. Finally, release he safe y bel , flip up he arm res , and exi
he chair.
OPERATI G I STRUCTIO S SPA LIFTTM 40 LEG REST
OTE: CHECK ALL NUTS & BOLTS FOR TIGHTNESS AND FOR WORN PARTS
BEFORE EACH USE
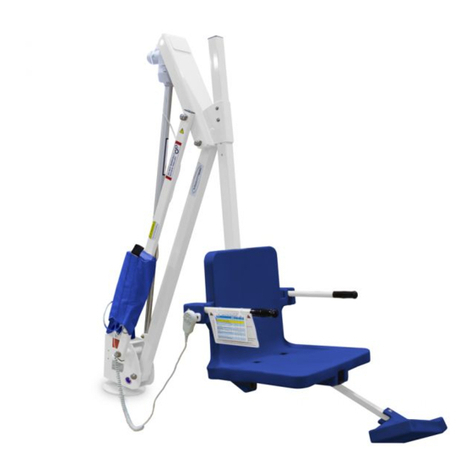
If your lif is equipped wi h a pullou leg-res i will be
necessary o have he leg-res engaged in he ex ended posi ion
wi h he leg-res flipped up for pool/spa walls higher han 36”.
For pool/spa walls shor er han 36”, he leg-res may be
flipped up or down. To ex end he leg-res , simply pull he
leg-res ou o he desired posi ion. Nex , grip he fron of he
leg-res , and flip i up so ha he leg res is in he horizon al
posi ion, as shown in figure 4. The leg-res pla e should hen
“lock” in o place. To disengage he leg-res , simply lif he
leg-res pla e un il you feel i slip ou of he locked posi ion,
hen allow he pla e o fall in o he lowered posi ion. Finally,
push he leg-res back in o he sea ube un il i reaches a s op
in he “s owed away” posi ion.
OTE: It will be necessary for an assistant to operate the
lift.
Figure 6
