AQUA EL GLOSSY MARINE 100 User manual

GLOSSY MARINE
aquarium tank
User manual
AQUAEL Sp. z o. o.
16-400 Suwałki, Dubowo II 35, Poland

GLOSSY MARINE
aquarium tank
Thank you for purchasing our product. We are confident that you will be satisfied with its
operation. Prior to using the device, please read carefully the following instructions to avoid
Thank you for purchasing our product. We are confident that you will be satisfied with its
operation. Prior to using the device, please read carefully the following instructions to avoid
any possible problems.
DESIGNATION AND PROPERTIES
GLOSSY MARINE is a partially equipped set designed for setting up a marine aquarium that
can be further expanded using separately purchased equipment. The set includes a tank with an
overflow box. The front and side walls of the tank are made of high-transparency glass. The set
also includes a strengthened rack cabinet containing a partially equipped filtration system (a
sump with plumbing components). Inside the cabinet, there also are power sockets for
connecting electrical devices.
The filtration system consists of a sump plumbed to the main tank through the apertures in the
overflow box. In the sump, there is room for installing a circulator pump and a protein skimmer.
SPECIFICATIONS
Voltage/frequency ~ 230 V • 50/60 Hz
GLOSSY MARINE
100
120
Dimensions of the main
tank [cm]
100x50x50
120x55x53
Capacity of the main tank
[l]
250
350
Dimensions of the
cabinet [cm]
100x61x85
120x66x85
Sump capacity [l]
87
87
Voltage • frequency:
~ 230 V • 50/60 Hz
Suggested lighting units*
3 x LEDDY SLIM MARINE 36 W
1 x LEDDY SLIM ACTINIC 36 W
4 x LEDDY SLIM MARINE 36 W
2 x LEDDY SLIM ACTINIC 36 W

Suggested circulating
pump*
AQUAJET PFN 6000 ECO
AQUAJET PFN 8000 ECO
Suggested circulator
pumps*
4000, 6000, 8000
4000, 6000, 8000
*to be purchased separately; not included in the set!
LIST OF PARTS (Fig. 1)
The package should contain the following (Fig. 1):
a) a GLOSSY MARINE aquarium set including the lid of the overflow box
b) a protective mat to protect the bottom of the tank (sticked to the cabinet)
c) a strengthened rack cabinet
d) a sump (placed inside the cabinet) with a protective mat
e) piping unions for the main draining unit (during transport, the fittings are stored inside the
set)
f) piping unions for the emergency (backup) draining unit (during transport, the fittings are
stored inside the set)
g) in-piping unions (during transport, the fittings are stored inside the set)
h) user manual of the GLOSSY MARINE set

Fig. 1. Components of the GLOSSY MARINE set
SAFETY PRECAUTIONS
The device has been manufactured in full accordance with the currently binding EU safety
standards. To ensure safe operation and a long lifecycle of this product, carefully read the
following safety rules:
1. The device should only be connected to the mains system whose rated voltage corresponds
to that indicated on the device.
2. Do not use a damaged device or a damaged power cord.
3. The power cord is not replaceable. If the cord is damaged, the device must be discarded.
4. The device is meant for use exclusively for the intended purpose and indoors only.
5. CAUTION: Before performing maintenance on a device placed in an aquarium unplug or
turn off the device.
6. This device can be operated by children who are at least eight years of age, by persons with
reduced physical or mental capabilities or persons with no prior experience with the device only
a
b
c
d
f
e
g

under supervision or following an instruction on the safe operation of the device to ensure that
the person is aware of any associated risks. The device is not a child's toy! Do not let children
to clean or perform maintenance on the device without supervision.
ASSEMBLY AND START-UP
PREPARATION
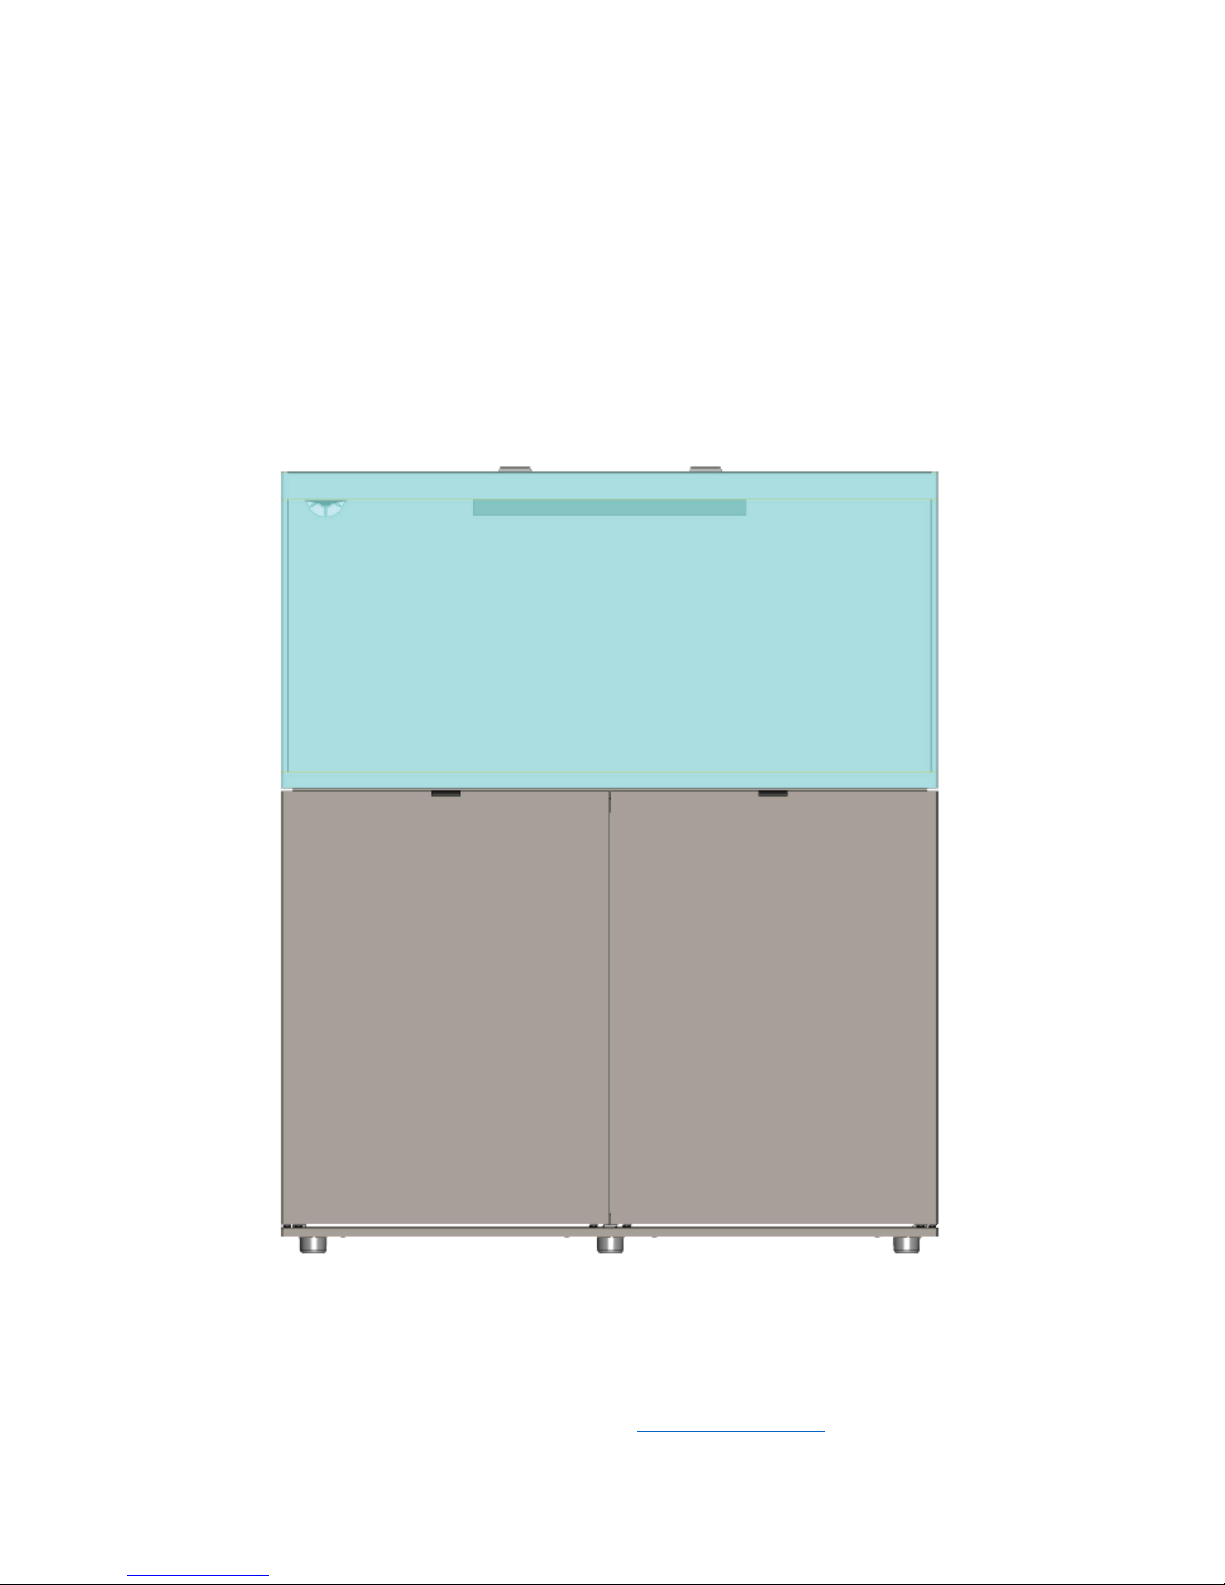
The GLOSSY MARINE aquarium set is delivered to the customer packaged in a cardboard box
placed on a wooden Euro-pallet. After the set has been delivered to the room where it will be
installed:
1. Carefully remove the outer cardboard box and the protective film.
2. Take the box off the Euro-pallet. Since both the tank with the lid and the cabinet with its
contents are quite heavy, at least two strong men are required for this task. Take the aquarium
tank off the cabinet. Next, take the cabinet off the Euro-pallet and place it in the desired location.
Do not move it too close to the wall, since you will require free access to the rear part of the
tank until the plumbing components have been installed.
3. Place the aquarium on top of the cabinet.
4. Carefully remove the protective foil and padding off the sump. Inside the sump, you will find
a protective mat stored there during transport. Put the protective mat under the sump. Place the
sump on the left side of the aquarium cabinet (as viewed from the front of the tank), as close to
its left wall as possible. A small shelf is pasted in the upper part of the rear wall of the sump. In
the shelf, there are two apertures for the plumbing of the main and emergency drains.
5. Proceed to the installation of the plumbing components. For this purpose, stand behind the
aquarium and take the lid off the overflow box.
The set includes three plumbing units. They are the feeding, draining, and emergency draining
units.
The feeding unit consists of a piping union that is passed through the aperture in the upper part
of the rear wall of the aquarium tank (on the right side of a person standing behind the aquarium)
and a flexible LOCK-LINE directional nozzle. In order to screw the piping union into place,
unscrew the nut and pass the piping union through the aperture in the rear wall of the tank so
that the black gasket touches the wall from the inside of the tank. Next, screw the piping union
into place.
Finally, screw the LOCK-LINE directional nozzle into the piping union from the inside of the
aquarium tank. Note! You are not recommended to disassemble the nozzle for the purpose of
installation, since its reassembly would require the application of considerable force, which –

with the nozzle screwed into the piping union –may result in damage to the rear wall of the
tank, rendering the set unusable. When screwing the LOCK-LINE nozzle into the piping union,
it is best to carefully bend it towards the inside of the tank.
The draining unit consists of a piping union that is passed through the left (bigger) aperture
drilled in the bottom of the overflow box at the back of the aquarium (on the left side of a person
standing behind the aquarium) and a ball valve mounted on the right (far) side of the sump (as
viewed from the front of the tank). In order to screw the piping union into place, unscrew the
nut and pass the union through the left aperture in the bottom of the overflow box so that the
black gasket touches the upper surface of the bottom wall. Next, screw the piping union into
place.
The ball valve must be installed in the sump in the right (bigger) aperture of the shelf pasted
into the upper part of the rear wall of the sump (as viewed from the front of the tank). In order
to screw theball valve to the holder, unscrew the coupler and pass the valve through the aperture
in the holder so that the black gasket touches the upper surface of the holder. Next, screw the
piping union into place.
The emergency draining unit consists of a piping union that is passed through the right (smaller)
aperture drilled in the bottom of the overflow box at the back of the aquarium (on the left side
of a person standing behind the aquarium). In order to screw the piping union into place,
unscrew the nut and pass the piping union through the right aperture in the bottom of the
overflow box so that the black gasket touches the upper surface of the bottom wall, and the
white gasket touches its bottom surface. Next, screw the piping union into place.
NOTE! Only use your hands to tighten the pipe unions. Under no circumstances should
spanners or any other tools be used for this purpose! Over-tightening of a piping unit may cause
damage to the unit and/or the tank, resulting in leaks and flooding!
Note! The assembly of couplers (used in the feeding, draining, and emergency draining units)
is shown in Figure 3.

Fig. 2. The assembly of plumbing components (viewed from the back of the aquarium).

Fig. 3. The assembly of couplers (used in the feeding and draining units)

Note! All works related to plumbing and consisting in the tightening of piping units and the
installation of pipe couplers should be performed slowly, carefully, and in conformity with
plumbing requirements. During assembly, threaded connections should be sealed with a teflon
tape or other type of sealer for this purpose. Any errors made at this stage of assembly may
result in leaks and flooding!
Persons who have no prior experience in plumbing installation are recommended to use
professional plumbing services.
NOTE! THIS SET DOES NOT INCLUDE TUBES REQUIRED TO PLUMB THE SUMP
INTO THE AQUARIUM. THESE SHOULD BE PURCHASED SEPARATELY
DEPENDING ON YOUR PERSONAL NEEDS AND PREFERENCES.
6. Run the power supply cord through the slot in the back wall of the aquarium cabinet and
connect it to the mains.
7. Carefully move the cabinet together with the aquarium up to a wall. Now the set is assembled
and ready for expansion according to your preferences.
SUGGESTED ADDITIONAL EQUIPMENT
In order to ensure the proper operation of the aquarium and to provide optimum living
conditions for its inhabitants, additional equipment is required. AQUAEL suggests the
following devices to be used with the aquarium set:
GLOSSY MARINE
100
120
Circulating pump
AQUAJET PFN 3500
AQUAJET PFN ECO 6000
Circulator pumps
REEF CIRCULATOR 4000,
6000, 8000
REEF CIRCULATOR
4000, 6000, 8000
Lighting fixtures
3 x LEDDY SLIM MARINE 36
W
1 x LEDDY SLIM ACTINIC 36
W
4 x LEDDY SLIM MARINE 36
W
1 x LEDDY SLIM ACTINIC 36
W
Skimmer
any, at the user's option.
AQUARIUM START-UP
In order to start up a GLOSSY MARINE aquarium set:
1. Fill the main tank with sea water until the water overflows, filling the overflow box and the
sump up to the upper edge of the separating glass in the sump.

2. Start the circulating pump. Use the adjusting knob to change the pump capacity so that there
is a continuous flow of water between the sump and the main tank (the recommended pump
capacity is approx. 60% of its maximum capacity). If the flow of water is accompanied by
excessive noise, adjust the rate of its flow from the tank and into the sump using the large valve
located on the plumbing of the draining unit above the sump.
3. Start the circulator pumps. Place the pumps in such a way that the water current they create
circulates through the entire aquarium.
4. Start the protein skimmer in accordance with its user manual.
5. Switch on the lighting unit in accordance with the respective user manual.
MAINTENANCE
The GLOSSY MARINE aquarium set does not require special maintenance. Regularly clean
the walls of the main tank and the sump (e.g. using a magnetic cleaner) and take care that the
plumbing components do not get clogged. Perform maintenance of the other devices following
the instructions contained in the respective user manuals.
DISASSEMBLY AND DISPOSAL
It is forbidden to dispose of used electric and electrical equipment in a trash bin. Segregating
and proper utilization of this kind of waste leads to conserving the resources of natural
environment. The user is responsible for delivering the used product to a specialized collection
point where it will be accepted free of charge. You can obtain information about such a facility
at the local authorities at the product seller.
WARRANTY CONDITIONS
The manufacturer grants a 24 month guarantee beginning on the date of purchase. The
guarantee covers defects arising from manufacturer fault i.e. defective materials or assembly
errors. It does not cover damage due to user’s fault caused by improper handling of the device
or using the device for purposes discordant its destination. Attention: any modification or
disassembly attempt exceeding normal usage and maintenance cause the guarantee void. In case
of noticing improper operation of the device send it with filled out warranty card to the
distributor address. The conformity of the production date stamped on the product and written
in the guarantee card is a prerequisite for accepting the guarantee. The following warranty
conditions do not exclude, limit or suspend user’s rights derived from discrepancy of the

merchandise with the agreement. The guarantee is limited to repair or replacement of the unit
only and does not cover consequential loss or damage to animate or inanimate objects.
___________________________________________________________________________
___________________________________________________________________________
___________________________________________________________________________
___________________________________________________________________________
___________________________________________________________________________
AQUAEL Sp. z o. o.
16-400 Suwałki, Dubowo II 35, Poland
This manual suits for next models
1
Table of contents
Other AQUA EL Other manuals