GUARANTEE TERMS AND CONDITIONS.
AQUA-SZUT Sp. z o.o. with permanent establishment ul. Opolska 11/19 in Wrocław (52-010) is offering to the buyer a guarantee of correct ope-
ration of the device, for which this guarantee card has been issued, under the condition that it is used according to the intended use and the rules
specied in the User’s Manual delivered to the Buyer together with this item. The unit is covered by 24-month guarantee (from the date of purchase).
and it includes the products bought in any part of Europe. The guarantee excludes defects resulting from improper operation. It is conned to the
unit itself, covers material and workmanship defects, but excludes any consequential damages. The guarantee is effected by repair or replacing
the defective unit. To effect guarantee repair, please deliver the unit with its guarantee card to the retail outlet. The repair will be completed within
14 days of delivering the unit and raising the claim. The guarantee for the sold consumer goods does not exclude, limit or suspend the rights of the
buyer following from goods contrary to the agreement.
FILTER FÜR GARTENTEICHE - EXTREME 12/16
Filtrierung:
Das Wasser ießt vom Regner [15] durch die Einsätze, die Verschmutzungen und Bodenablagerungen herausltern. Die
Bürsten fangen die größten Verschmutzungen und die Blätter auf. Weiter kommt es zur biologischen Wasserreinigung. Die
Schwämme und der poröse BIO-Einsatz bilden einen perfekten Grund (große Fläche) für das Wachstum der Bakterienkul-
turen, die für die Wasserreinigung verantwortlich sind. Hier kommt es zu der wichtigsten Filtrationsetappe Beseitigung von
toxischen Stoffen (Ammoniak und Nitrit).
Filtercharakteristik:
Die Serie EXTREME und EXTREME UV Filter dienen zu der mechanischen und biologischen Wasserltration in Garten-
teichen. Die Filter arbeiten am besten in Verbindung mit Gartenpumpen AQUA-SZUT. Das Wasser ießt durch folgende
Abteilungen und wird in verschiedenen Phasen geltert. Die mechanischen Verschmutzungen bleiben auf den Einsätzen
und die giftigen Substanzen werden reduziert. Die Filter sichern perfekte Bedingungen für Wachstum der Mikroorganismen
wie zum Beispiel der Einzellern, Bakterien und anderen Mikroben, die gewöhnlich in Weiher und Gartenteichen leben. Die
Innenseite des Filters gibt perfekte Bedingungen für das Wachsen der Organismen in großen Kolonien. Beim ständigen
Zuuss vom Sauerstoff und Ernährung reinigen diese Organismen das durch den Filter strömende Wasser.
Die Serie EXTREME Filter sollen außerhalb des Teichs installiert werden um Zugang vom Sauerstoff zur Innenseite des
Filters zu sichern aber auch zum Zwecke der Bequemlichkeit der Wartung
Filterbetrieb:
EXTREME Filter muss das ganze Jahr lang arbeiten, außer während der Frostzeit, wenn die Möglichkeit des Wassersein-
frierens besteht. Es wird empfohlen einen Vorlter auf dem Einuss der Versorgungspumpe zu installieren (am besten den
Filter 100). Die Verbesserung der Qualität des Filters ist schon nach 2-3 Monaten des Betriebs sichtbar.
Montage:
1. Öffnen Sie die Filterverschlusse [2] und nehmen Sie den Deckel [16] ab.
2. Nehmen Sie alle Filterschichten zusammen mit den Separationswänden aus dem Gehäuse heraus.
3. Montieren Sie den Wasseraususs [3] mit den Dichtungen [4] in den Ausussöffnungen des Filtergehäuses. Gebrauchen
sie Öl, um die Dichtungen [4] schneller zu montieren.
4. Montieren Sie die Aususskörbe [6] auf den Ausüssen [3] von der Innenseite des Filters.
5. Montieren Sie alle Schichten in der richtigen Reihenfolge wie auf der Abbildung 1. Pressen Sie alle Separationswände
fest (sie müssen dicht an den Gehäusewänden liegen).
6. So wie den Aususs [3] montieren sie auch den Wassereinuss [17] auf dem Deckel.
7. Montieren Sie den Regner auf dem Wassereinuss [17] von der Innenseite des Filterdeckels.
8. Sie werden die Versorgungspumpe und den entsprechenden Schlauchsatz zur weiteren Montage benötigen. Bereiten
Sie die Versorgungspumpe vor und montieren Sie sie folgend der Bedienungsanleitung. Setzen Sie den Wasserschlauch
(4m) auf den Wasseraususs ein. Das andere Ende des Schlauches verbinden Sie mit dem Einuss [17] auf dem Filter-
deckel.
9. Wählen Sie den richtigen Platz für den Filter, er soll gerade und waagerecht sein.
10. Stellen Sie den Filter so, dass die Wasseraususse über der Wasseroberäche sind oder so, dass sie einen Wasserfall
anfangen. Wenn der Platz weit vom Rand ist, vergewissern Sie sich, dass alle Schlauchteile, die vom Wasseraususs
führen, den Teich hinunter laufen oder einen Wasserfall anfangen.
Der Filter soll auf solchem Platz montiert werden, bei denen der Wartungszugang gesichert ist.
Die beste Lösung ist es, wenn die Pumpe und der Wasseraususs aus dem Filter gegenüber stehen.
11. Schalten Sie die Pumpe ein und kontrollieren Sie, ob das ganze Verbindungssystem richtig funktioniert.
Wartung:
Vor dem Beginn der Arbeiten am Gartenteich vergessen Sie nie alle Vorrichtungen, die sich im Teich benden, von der
Stromversorgung zu trennen!
Falls der Wasserdurchuss durch den Filter beträchtlich abnimmt, kontrollieren Sie ob:
- die Wasserversorgungsschläuche nicht gebogen sind.
- der Vorlter der Pumpe sauber ist. Falls der Pumpenlter schmutzig ist, folgen Sie der Bedienungsanleitung der Pumpe.
- die Pumpe richtig funktioniert.
Falls keines der oben erwähnten Lösungspunkte das Problem gelöst hat, müssen Sie die Filtrationseinsätze von der In-
nenseite des Filters reinigen.
Vergessen Sie nicht: SIE SOLLTEN NICHT alle Einsätze auf einmal reinigen, auf diese Weise werden die nützlichen Mi-
kroorganismen zerstört.
Filterreinigung:
2. Unfasten the locks [2] and take the lter cover [16] off.
3. Remove the brushes and rinse them in a container with water from the pond. Tap water will kill the benecial cleaning
bacteria.
4. Put the lter together in the correct order and make sure that they t tight the walls of the lter.
BIO INSET
The most important stage of water cleaning takes place on lowest level. All insets are perfect basis for growth of bacteria
responsible for biological cleaning, and especially for the elimination of ammonia and nitrite from water.
To keep the microorganism, which developed on it, it is recommended to rinse the sponges not more often than 2-4 times
a year, and to clean the BIO insets (BIO-Balls, porous BIO inset) not more often than once a year off season preferable.
The sponges should be rinsed in a container with water from the pond. Tap water will kill the benecial cleaning bacteria.
Put the lter together in the correct order.
Problems, which can occur while lter is operating:
You should be able to see and improvement in the water quality after 2-3 months of continuous lter work, if it didn’t occur,
check:
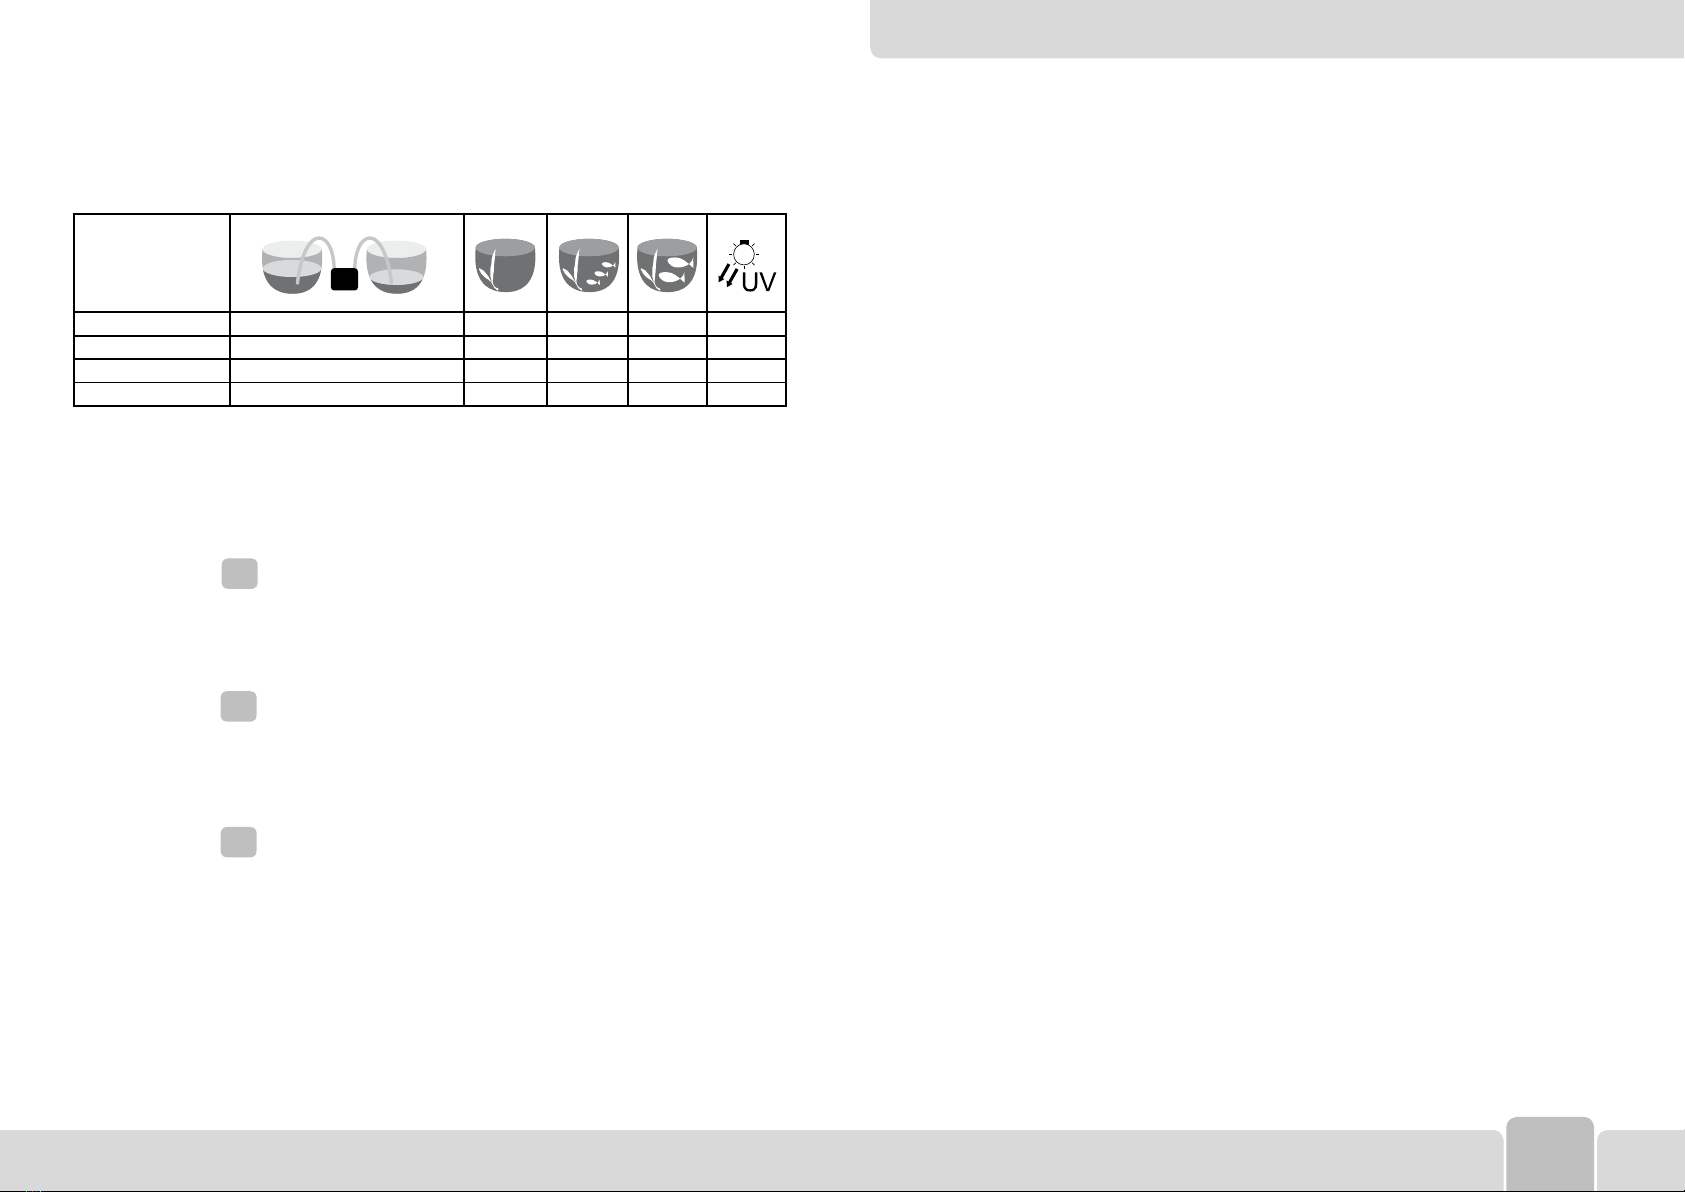
- Have you chosen the correct lter size for your garden pond? See Table 1.
Garden pond size [l] = average length (m) x average width (m) x average depth (m) x 1000
- Have you chosen the correct pump with an adequate output? See Table 1.
- Is the lter working 24 hours a day, throughout the year, except for the days when water could freeze? Has the lter
been turned off in the last time?
- Are your sh eating the food you’re giving them? Remember, the sh should eat their food within not more than 2-3
minutes
- Aren’t there to many sh in your garden pond?
- Are there enough plants and shade in your pond? It’s recommended to plant around 5 bunches of plants on every m2
of the surface. It is important to have plants, which shade efciently the garden pond surface water lilies and marginal
plants in sunny places are ideal.
- Have you used grass and water plants fertilizers lately and have you been using chemicals to ght algae? Remember,
all chemicals destroy bacteria cultivation, which work for the water quality in your garden pond!
- Doesn’t your garden pond need some partial water replacements?
If you checked everything already, you can proceed as follows:
Raise the lter water supply at least 20 cm above the bottom surface.
Control the chemical balance in the garden pond water with too much alkali or too much acid can decrease the organism
activity in the lter.
Disassembly and withdrawal from use:
„The producer of waste” - that is the user of the lter, at the moment of liquidating the product or replacing the worn-out
parts, shall take the following actions:
- parts that are good for further use shall be subjected to reclaiming or stored,
- rubber, plastic elements, etc. shall be delivered to the recycling centers,
or handled according to the local prescriptions on treating metallic, inorganic, organic or mixed waste.
NOTE: The manufacturer, that is the company AQUA-SZUT Sp. z o.o. having its ofces in Wroclaw, reserves the right to
modify the engineering parameters of the unit.
78
D
GB