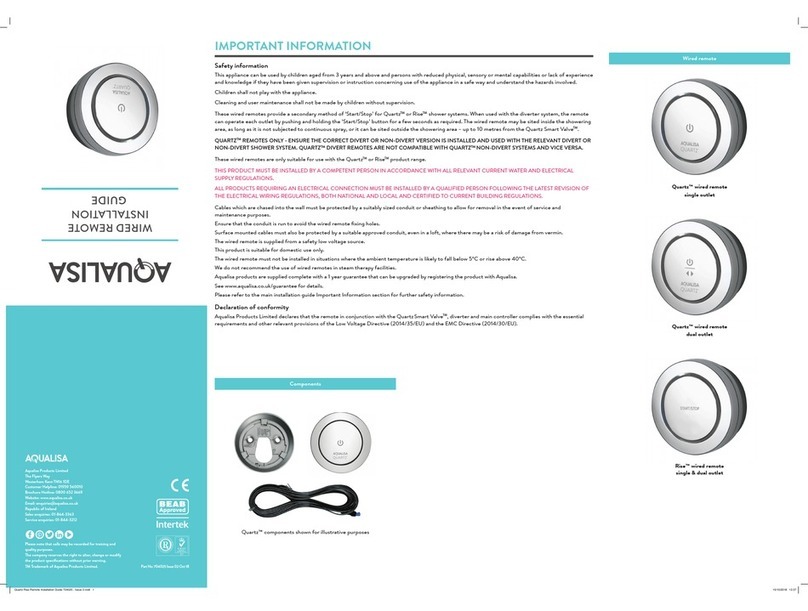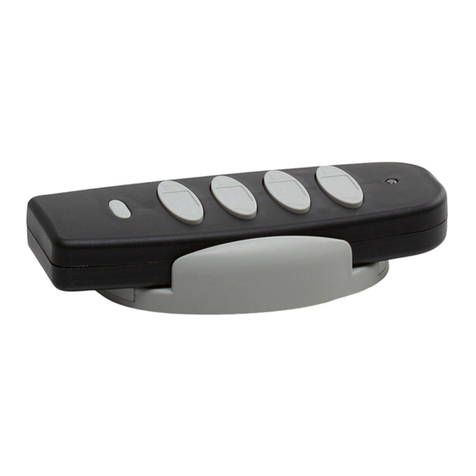
Before you use the remote control for the first time, you will need to
charge the battery.
CHARGING THE BATTERY
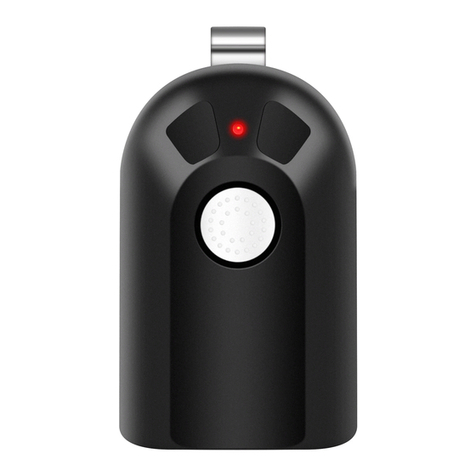
The remote control is supplied with a micro USB charging cable. This is
suitable for use with any CE marked USB mains charger.
Whilst charging, a red LED
light will be illuminated.
A green LED light indicates
that the battery is fully charged.
The battery should last about
90 days, depending on usage.
LOW BATTERY WARNING
When the battery is low a red LED light
will illuminate when the button is pressed.
Using your remote control
We recommend charging the battery prior to
pairing the remote. When you are ready to pair
your remote control, wake up the controller
and navigate to the Settings menu. Move the
lever to navigate to Pair a remote.
Push the lever to enter. You will be
prompted to press the remote button
until the LED flashes.
Press the button on the remote until
the blue, white and red LED lights flash
to confirm the pairing.
On the controller a message will
appear to confirm the pairing, it will then
return to the Settings menu. To return to
Home rotate the temperature bezel.
Pairing your remote control
Battery chargedBattery charging
Charging the battery
Low battery
SWITCHING SHOWER ON
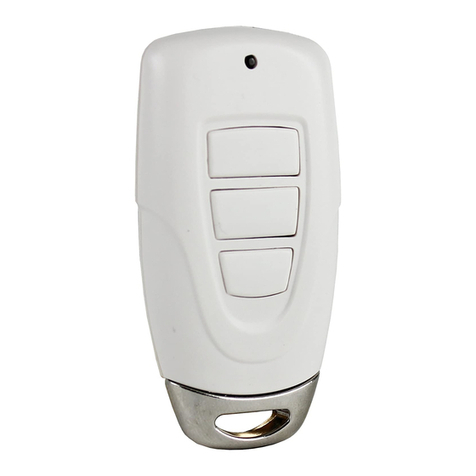
To switch on your shower, press the button on the
remote control. The white LED light will light up
and start to flash. It will continue to flash until the
water has reached temperature. Once the water has
reached temperature, the white LED light will stop
flashing and remain on for a further 5 seconds. Sudden
temperature change or disruption of signal can aect
this function and LED status.
SELECTING OUTLET
If you have a divert model, you can switch outlets with
the remote control by pressing and holding the button
until the blue LED lights up to indicate an alternative
outlet has been selected.
OUT OF RANGE
Your remote will display white and red LED lights to
indicate a weak signal, when the button is pressed.
Shower ready
Shower warming up
Diverting shower
Out of range
