Base plate :476×178mm
Working space to the right of the needle :265×128mm
Needle throw and sewing speed
4.5mm 2800 stitches per minute
6.0mm 2800 stitches per minute
8.0mm 2600 stitches per minute
12.0mm 2200 stitches per minute
Machines with cam- device for utility and decorative stitches, stitches per minute for
decorative -utility stitch
6.0mm 2,300 2,800
8.0mm 2,100 2,800
12.0mm 1,800 2,600
Machines with other extra attachments such as:
Puller as basic model
displacement left-centre-right
Stitch length forward and reverse: 5.5mm
Max. presser foot lift: 8.5mm
Needle system: 12.0mm needle throw =134R,
No.70-120
Shuttle system: continuous double rotation,
transverse position
Thread tension: double thread tension
Raising presser foot: knee lever with extra upper holding
position.
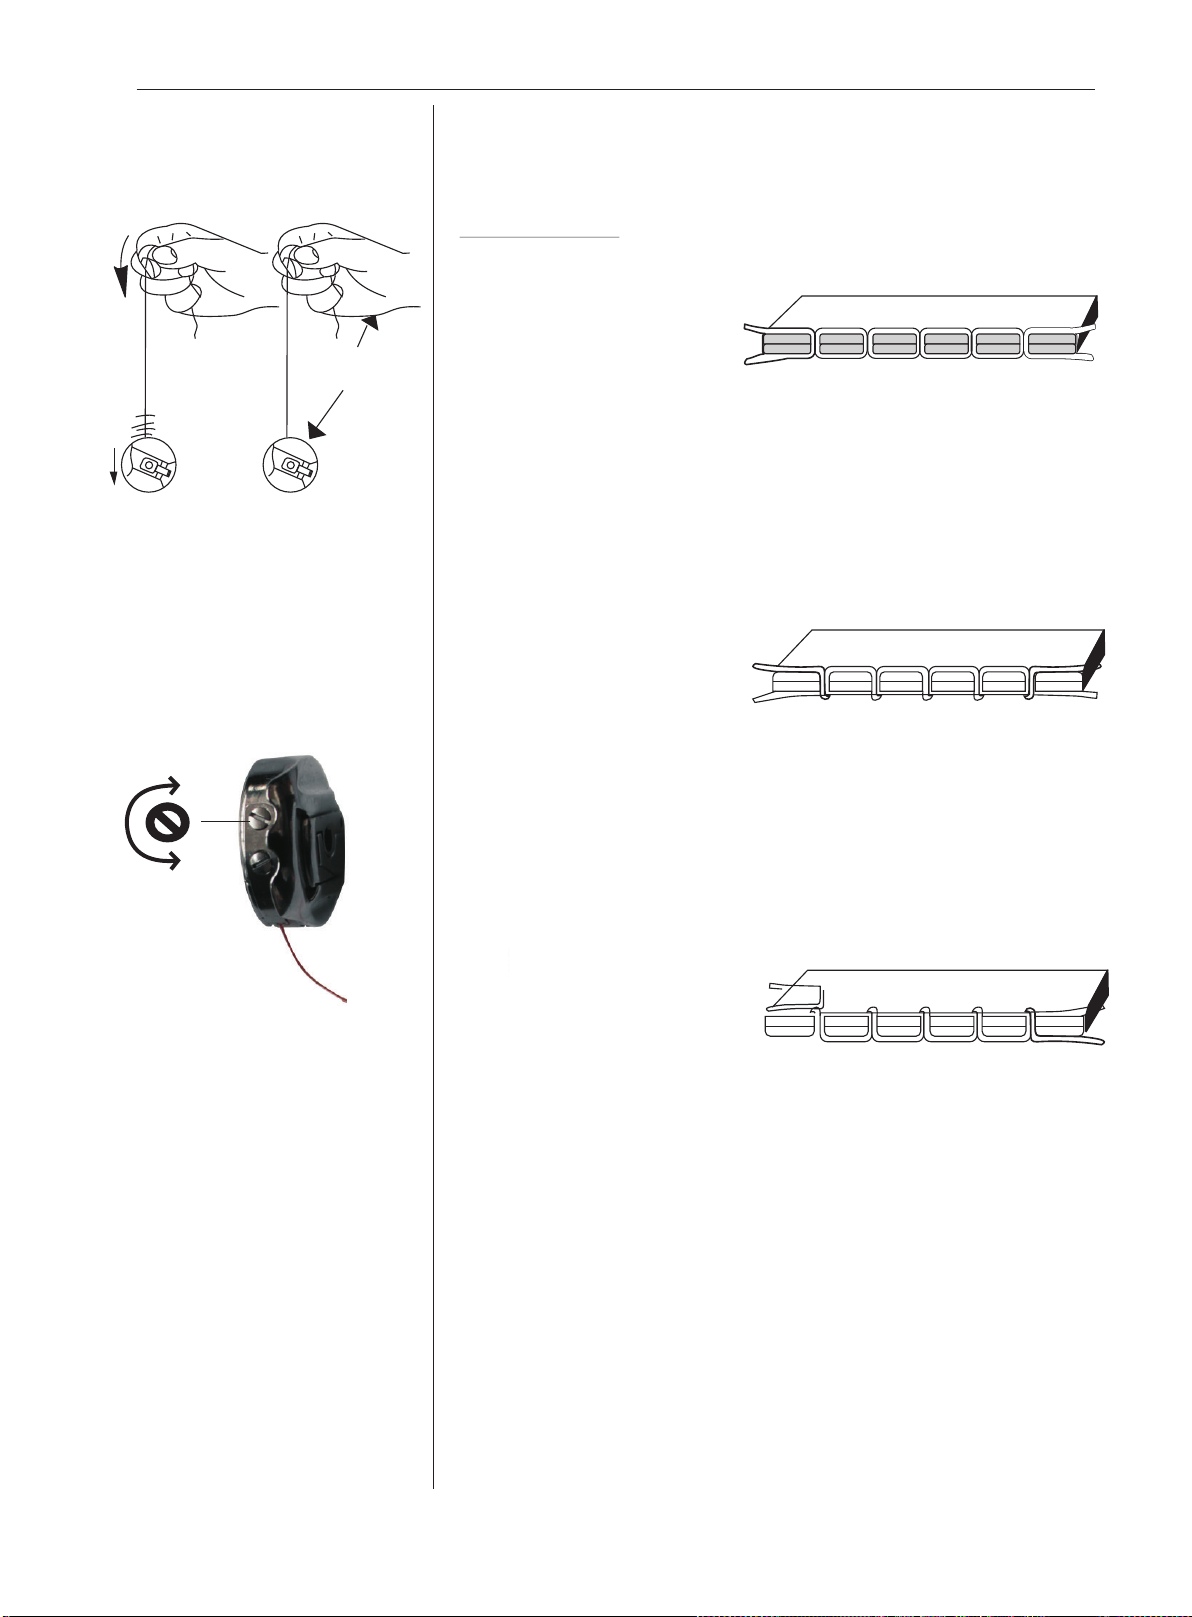
Stitch
Important points to note:
· Oil machine thoroughly before
using for first time.
●When doing so, strictly observe
instructions.
●Check that the mains voltage
corresponds to the voltage given on
the motor ,if the voltages are not the
same, do not on any account
operate the machine.
● Check the guards for finger, take-
up lever and belt are all present.
● When the machine is running the hand
wheel should turn anti-clockwise , if it
dose not reverse the terminals on the
motor.
●Use only recommended needle
system.
● Clean machine regularly.
● Do not start machine until the fabric
is in position under the presser foot.
● When removing fabric always bring
thread take-up lever at highest
position.
● For the first 2 weeks, run machine
at only 3/4 of its maximum speed.
●The presser foot can be raised either
with the hand lever or with the knee
lever.
●When making adjustments to the
machine and when sewing is finished
the machine and when sewing is
finished the motor should be switched
off or disconnected at the mains.
When using a clutch motor , wait
until it has stopped.
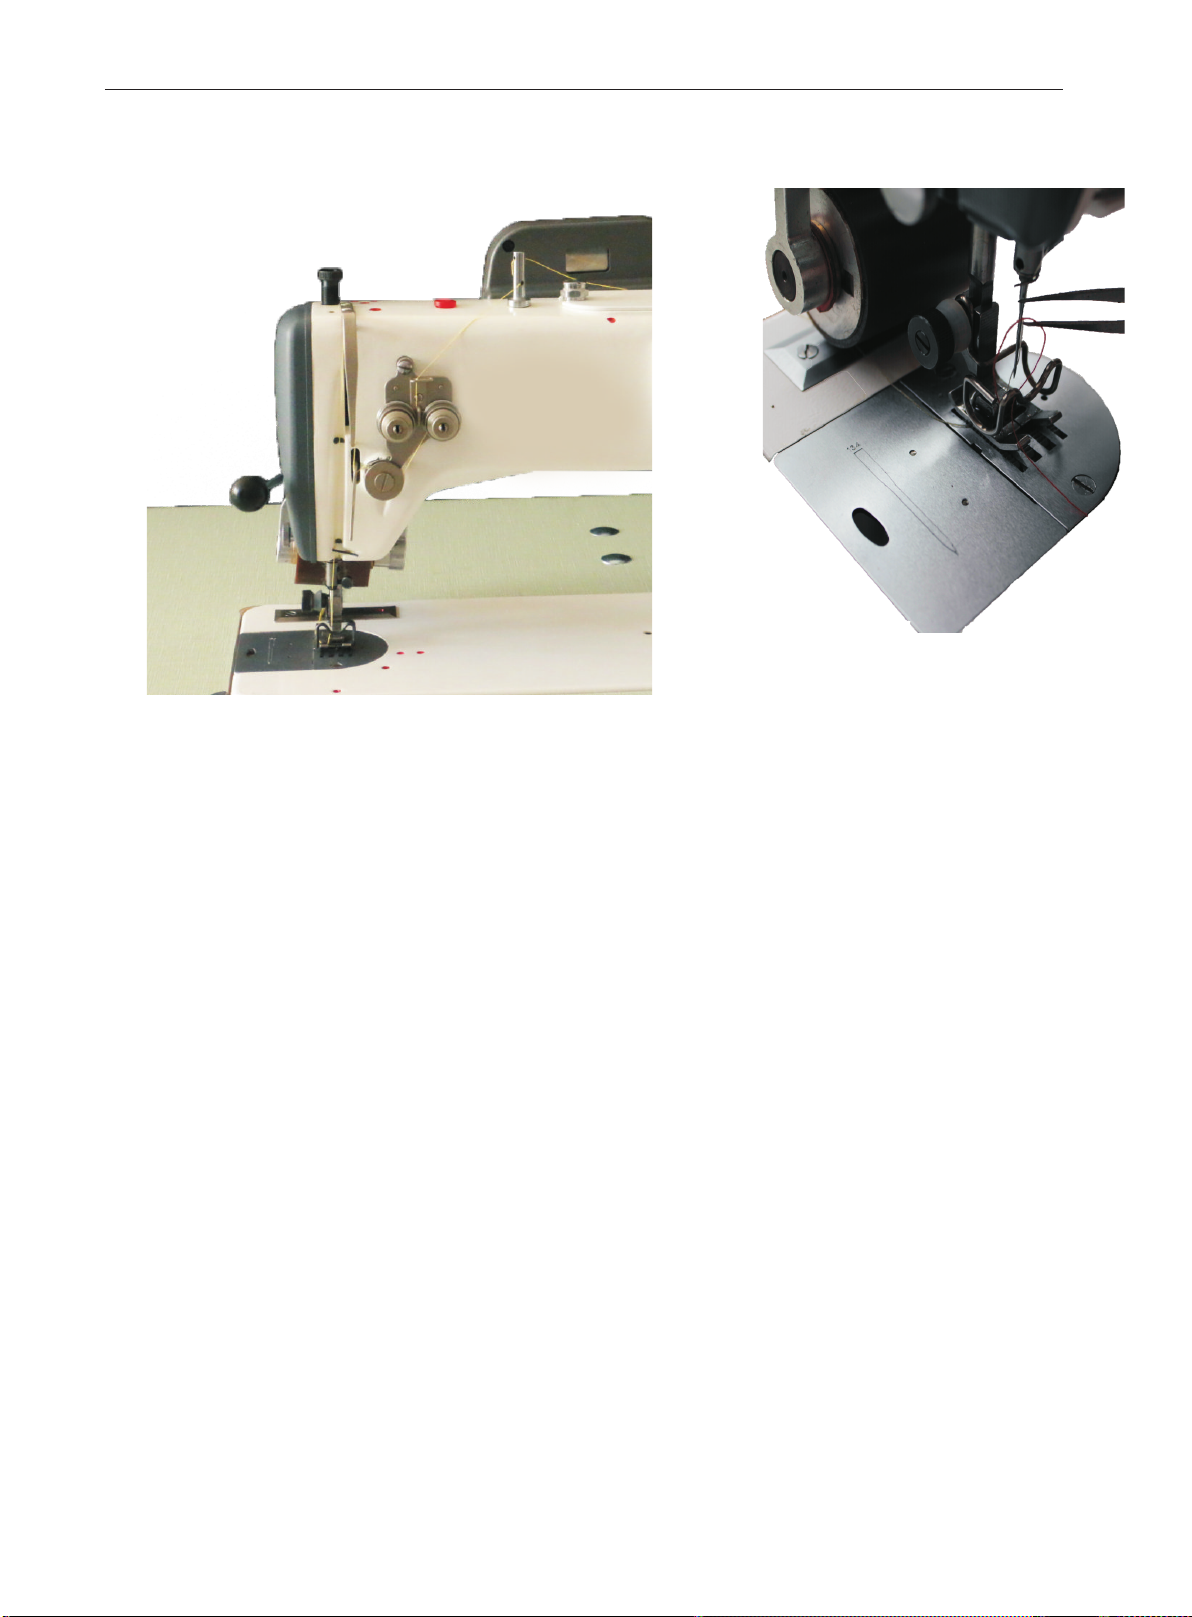
1 Base plate
2 Base plate slide
3 Needle plate
4 Presser foot screw and thread cutter
5 Needle holder
6 Thread regulator
7 Double thread tension
8 Front cover
9 Thread take-up lever
10 Regulating screw for presser foot
pressure
11 Thread guide pin Embroidery
machine: thread draw-off
12 Am cover
13 Lever for needle position
14 Lever for stitch width
15 Stops for limited stitch width
16 Belt guard
17 Hand wheel
18 Hub for synchroniser
19 Lever for stitch length
20 knob for fine setting of stitch length for
sewing satin stitch
21 Buttonhole density stop
22 Bobbin winder
23 Thred stand
Technical lnformation List of parts
476
63
128
265
1
23
4
5
6
7
8
9
10 11 12
13
14
17
16
15
19
21
20
18
22
23
23