manuals.online logo
Brands
  1. Home
  2. •
  3. Brands
  4. •
  5. Artweger
  6. •
  7. Bathroom Fixture
  8. •
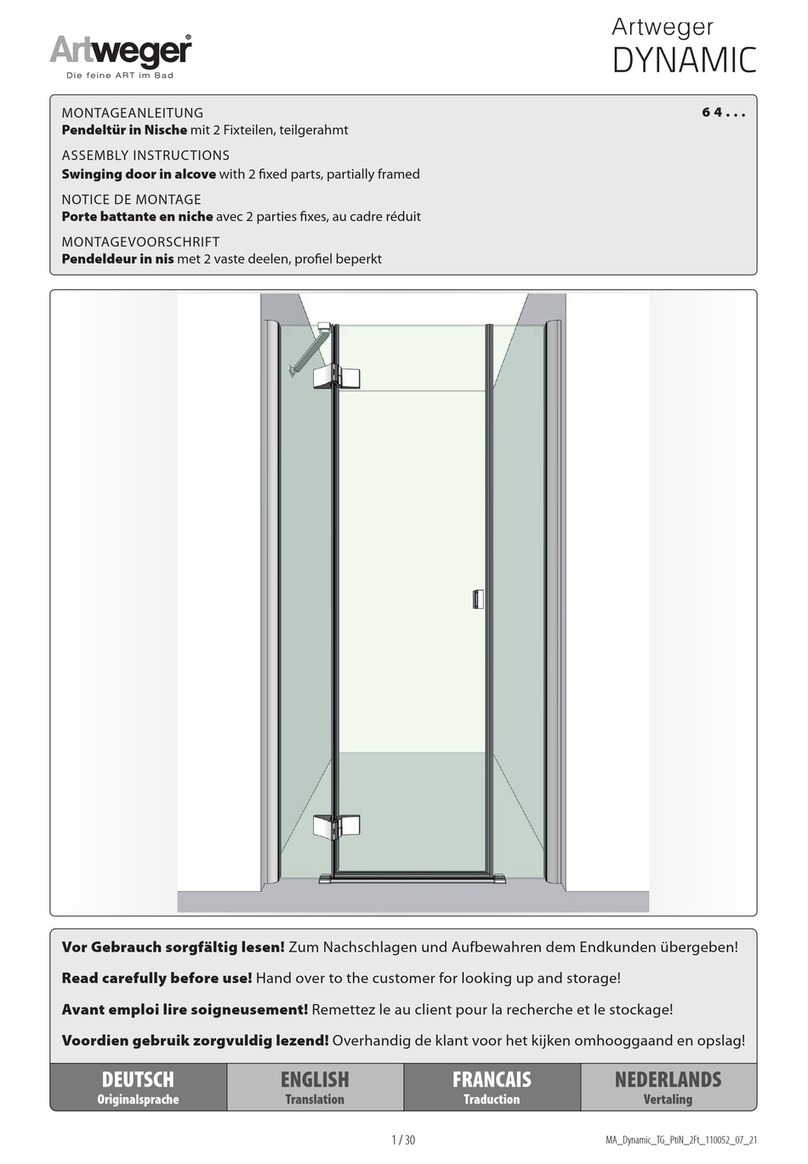
  9. Artweger Temptation XL User manual

Artweger Temptation XL User manual

| IT | Istruzioni Di Montaggio | GB | Mounting Instructions | FR | Instructions de montage | DE |Montageanweisungen | ES | Instrucciones de montaje
CHROMOTHERAPY
| E044109 |
| E044110 |
| E044111 |
| IT | Alimentazione elettrica
| GB | Mains
| FR | Alimentation électrique
| DE | Elektrische Strömung
| ES | Conexión eléctrica
| IT | Litri d’acqua al minuto
| GB | Liters of water per minute
| FR | Litres d’eau par minute
| DE | Liter Wasser pro Minute
| ES | Litros de agua por minuto
| IT | Diagramma di usso
| GB | Flow rate
| FR | Le débit
| DE | Flussdiagramm
| ES | Diagrama de caudal
| IT | Indossare protezioni
| GB | Wear protection
| FR | Porter une protection
| DE | Schütze anziechen
| ES | Usar protección
| IT | Pressione d’uso
| GB | Operating pressure
| FR | Pression d’utilisation
| DE | Betriebsdruck
| ES | Presión de uso
| IT | Temperatura dell’acqua
| GB | Water temperature
| FR | Température de l’eau
| DE | Wassertemperatur
| ES | Temperatura del agua
2
| IT | Si consiglia di operare insieme ad un altra persona
| GB | We recommend to work with another person
| FR
| Il est fortement recommandé de travailler avec une autre personne.
| DE | Wir empfehlen mit einer anderen Person zu arbeiten
| ES | Recomendamos trabajar en conjunto con otra persona
| IT | Caratteristiche idrauliche
| GB | Plumbing specications
| FR | Caracteristiques hydrauliques
| DE | Hydarulische Eigenschaften
| ES | Caracteristicas hidráulicas
Pack
Contenuto confezione
Package contents
Contenu de l’emballage
Packungsinhalt
Contenido del paquete
E044109 E044110 E044111
X1 X1 X1
X1 X1 X1
X2 - -
X3 X4 X4
X1 X2 X2
- X1 X1
X4 X6 X6
- - X1
- - X1
- - X1
- - X1
X1 X1 X1
- - X1
| IT | Istruzioni di montaggio
| GB | Mounting istructions
| FR | Instructions de montage
| DE | Montageanweisungen
| ES | Instrucciones de montaje
| IT | Istruzioni di montaggio Telecomando
| GB | Remote control mounting instructions
| FR | Instructions de montage télécommande
| DE | Fernsteuerung Montageanweisungen
| ES | Instrucciones de montaje mando a distancia
KIT
BAR
0
5
10
15
20
25
30
35
40
45
(l/min)
170
min.220 max 240
| IT | Portata l/m cascata
| GB | l/m waterfall ow
| FR | Débit l/m cascade
| DE | l/m Wasserfalluss
| ES | Caudal l/m cascada
| IT | Portata l/m pioggia
| GB | l/m rain ow
| FR | Débit l/m pluie
| DE | l/m Regenuss
| ES | Caudal l/m lluvia
Pressione Dinamica (bar) / Portata (Litri/min)
Bar 0,50 1,00 1,50 2,00 2,50 3,00 3,50 4 4,5 5
6,8 9,5 10,8 12,3 13,3 14,1 14,3 14,5 14,4 14,8
9 12,2 13,7 14,2 13,9 13,7 13,9 14,3 14,6 14,3
0,5 1,0 1,5 2,0 2,5 3,0 3,5 4,0 4,5 5,0
| E044109 |
Temptation XL
3
MIN 1 Bar
MAX 5 Bar
BEST 3 Bar
MAX 70° C
BEST 38°/40° C
BAR
| E044110 | Temptation XXL
170
min.220 max 240
4
| IT | Portata l/m cascata
| GB | l/m waterfall ow
| FR | Débit l/m cascade
| DE | l/m Wasserfalluss
| ES | Caudal l/m cascada
| IT | Portata l/m pioggia
| GB | l/m rain ow
| FR | Débit l/m pluie
| DE | l/m Regenuss
| ES | Caudal l/m lluvia
MIN 1 Bar
MAX 5 Bar
BEST 3 Bar
MAX 70° C
BEST 38°/40° C
MIN 20 l/m
BAR
0
5
10
15
20
25
30
35
40
45
50
Pressione Dinamica (bar) / Portata (Litri/min)
Bar 0,50 1,00 1,50 2,00 2,50 3,00 3,50 4 4,5 5
10,7 16,5 19,9 23 25,8 27,5 28,8 28,1 28,3 28,4
9 12,2 13,7 14,2 13,9 13,7 13,9 14,3 14,6 14,3
0,5 1,0 1,5 2,0 2,5 3,0 3,5 4,0 4,5 5,0
0
5
10
15
20
25
30
35
40
45
50
| E044111 |
Temptation XXL Colour
170
min.220 max 240
| IT | Telecomando
| GB | Remote control
| FR | Télécommande
| DE | Fernsteuerung
| ES | Mando a distancia
5
Pag.10
| IT |
Portata l/m cascata
| GB | l/m waterfall ow
| FR | Débit l/m cascade
| DE | l/m Wasserfalluss
| ES | Caudal l/m cascada
| IT | Portata l/m pioggia
| GB | l/m rain ow
| FR | Débit l/m pluie
| DE | l/m Regenuss
| ES | Caudal l/m lluvia
MIN 1 Bar
MAX 5 Bar
BEST 3 Bar
MAX 70° C
BEST 38°/40° C
MIN 20 l/m
BAR
Pressione Dinamica (bar) / Portata (Litri/min)
Bar 0,50 1,00 1,50 2,00 2,50 3,00 3,50 4 4,5 5
10,7 16,5 19,9 23 25,8 27,5 28,8 28,1 28,3 28,4
9 12,2 13,7 14,2 13,9 13,7 13,9 14,3 14,6 14,3
0,5 1,0 1,5 2,0 2,5 3,0 3,5 4,0 4,5 5,0
A B
A B
C
6
codice A B C
E044109 55,0 cm 55,0 cm min. 9,0 cm
E044110 77,0 cm 45,0 cm min. 10,0 cm
E044111 77,0 cm 45,0 cm min. 11,0 cm
2
5
1
4
3
7
7
6solo / only : E044109
8 9
24
24
19
4
8
7
6solo / only : E044110
8 9
TEFLON
24
24
4
CHROMOTHERAPY
9
| IT | L’apparecchio deve essere installato correttamente da personale abilitato ai sensi e per effetto delle leggi in vigore.
L’apparecchio non è destinato ad essere usato da persone (bambini compresi) che non hanno ricevuto istruzioni adeguate riguardanti l’uso dell’apparecchio a
garantirne la propria sicurezza. I bambini devono essere sorvegliati per sincerarsi che non giochino con l’apparecchio.
Prima di qualsiasi operazione togliere sempre la tensione dall’impianto.
Predisporre un alimentatore Classe 2 - 12 Vac +/- 3% - Min. 35 VA nella posizione indicata nella gura 1 zona A conforme alle distanze di sicurezza previste dalle normative CEI
Predisporre il telaio di ssaggio e l’uscita dell’impianto elettrico e dell’impianto idraulico come indicato.
Installare l’apparecchio seguendo le gure indicate.
Prima di effettuare il collegamento elettrico vericare la tenuta del collegamento idraulico.
La sostituzione dei cavi elettrici se danneggiati e dei pezzi di ricambio deve essere eseguita solo da personale specializzato. Il produttore declina ogni responsabilità per il mancato
rispetto del suddetto obbligo.
| GB | The appliance has to be properly installed by qualied staff pursuant to the current laws.
The device is not intended to be used by people (including children) who have not received appropriate instructions regarding the use of the unit to ensure their
own safety. Children should be supervised to ensure they do not play with the appliance.
Before performing any operation, always unplug the system from the mains.
Place a power supplier Class 2 - 12 Vac +/- 3%- Min. 35 VA in the position shown in picture 1 zone A complying with the safety distances provided for by IEC regulations
Arrange the outlet of the wiring and of the plumbing in the shown area.
Install the appliance following the shown pictures .
Before connecting the system to the mains, check the tightness of the plumbing.
Replacement of the wiring, when damaged, and of the spare parts has to be performed by qualied personnel only. The producer declines all responsibility in case of non-
compliance with the above-said obligation.
| FR | L’appareil doit être installé correctement par du personnel qualié au sens et par effet des lois en vigueur.
L’appareil n’est pas conçu pour être utilisé par des personnes (enfants y compris) qui n’ont pas reçu une formation adéquate concernant le mode d’emploi de
l’appareil, à n de garantir la propre sécurité. Les enfants doivent étre surveillés pour s’assurer qu’ils ne jouent pas avec le dispositif.
Avant toute opération toujours mettre l’installation hors tension.
Préparer un alimentateur de Classe 2 - 12 Vac +/- 3%- Min. 35 VA dans la position indiquée sur la gure 1 zone A en respectant les distances de sécurité prévues par les normes CEI
Préparer la sortie du circuit électrique et du circuit hydraulique dans la zone indiquée.
Installer l’appareil en suivant les gures indiquées.
Avant d’effectuer le raccordement électrique vérier l’étanchéité du raccordement hydraulique.
Le remplacement des câbles électriques endommagés et des pièces détachées doit être exécuté uniquement par du personnel spécialisé.Le producteur décline toute responsa-
bilité en cas de non respect de la norme sus-décrite.
| DE | Das Gerät muss korrekt installiert werden und zwar durch Fachpersonal, dass im Sinne der einschlägigen Bestimmungen zugelassen ist.
Das Gerät ist nicht dafür bestimmt, durch Personen (einschließlich Kinder), die nicht angemessene Anweisungen hinsichtlich der Benutzung des Gerätes, ihre
eigene Sicherheit zu gewährleisten erhalten haben werden. Kinder sollten beaufsichtigt werden, um sicherzustellen, dass sie nicht mit dem Gerät spielen.
Vor jedem Eingriff immer Stromversorgung der Anlage abschalten.
Das Netzteil Klasse 2 - 12 Vac +/- 3%- Min. 35 VA in der in Abbildung 1 angegebenen Position in Bereich A mit den Sicherheitsabständen gemäß CEI-Bestimmungen (des
elektrotechnischen Komitees Italien) vorbereiten.
Stromanschlusspunkt und Ausgang der Brauchwasseranlage im angegebenen Bereich vorbereiten.
Gerät entsprechend den anliegenden Abbildungen installieren.
Vor dem Anschluss an das Stromnetz prüfen, dass die Wasseranschlüsse dicht sind.
Das Auswechseln beschädigter Elektrokabel und der Ersatzteile darf nur von qualiziertem Fachpersonal ausgeführt werden. Der Hersteller lehnt jede Haftung ab, wenn diese
Vorschrift nicht eingehalten wird.
| ES | El aparato debe ser instalado correctamente por técnicos cualicados con arreglo a las leyes en vigor.
El dispositivo no está destinado a ser utilizado por personas (incluidos niños) que no han recibido las instrucciones adecuadas sobre el uso de la unidad para
garantizar su propia seguridad. Los niños deben ser supervisados para asegurarse de que no jueguen con el aparato.
Antes de cualquier operación corte siempre la tensión de la instalación eléctrica.
Monte un alimentador Clase 22 - 12 Vac +/- 3%- Min. 35 VA en la posición que se indica en la gura 1 zona A de conformidad con las distancias de seguridad impuestas por
las normativas CEI
Disponga la salida de la instalación eléctrica y del circuito hidráulico en la zona indicada.
Instale el aparato siguiendo las guras indicadas.
Antes de efectuar la conexión eléctrica verique la estanqueidad de la conexión hidráulica.
La sustitución de los cables eléctricos, si estuvieran estropeados, y de las piezas de recambio la podrá realizar exclusivamente personal especializado.El productor no se asume
responsabilidad alguna en caso de encumplimento de obligación.
| E044111 |
Temptation XXL Colour
10
7
6solo / only : E044111
8 9
12 Volts
NERO
BLACK
ROSSO
RED
TEFLON
4
24
24
11
ø 6 mm
10 11 12
solo / only : E044111
240
60
60
240
225 cm
0
1
2
3123
| IT | Zona di installazione dell’alimentatore
| GB | Zone of installation of power source
| FR | Zone d’installation de l’alimentateur
| DE | Installationsort Starkstromleitungen
| ES | Zona de instalación de alimentador
| IT | Consumo di energia
| GB | Power consumption
| FR | Consommation d’énergie
| DE | Energieverbrauch
| ES | Consumo de energía
| IT | Alimentatore switching
Classe2 12 Vac +/- 3% Min. 35VA A
| IT | Vietato installare l’alimentatore
| GB | Forbidden power installation
| FR | Il est interdit de brancher l’alimentation
| DE | Verboten Starkstromleitungen
| ES | Prohibida instalación de alimentador
B
B
A
35
Watt
max
MV-Z 5/11
Cleaning
Suggerimenti per la pulizia
Cleaning Tips
Conseils de nettoyage
Reinigung Tipps
Consejos de limpieza
1
2
3
10 min.
Calcare
Limestone
Calcaire
Kalkstein
Piedra caliza
C083053.-

This manual suits for next models

5

Other Artweger Bathroom Fixture manuals

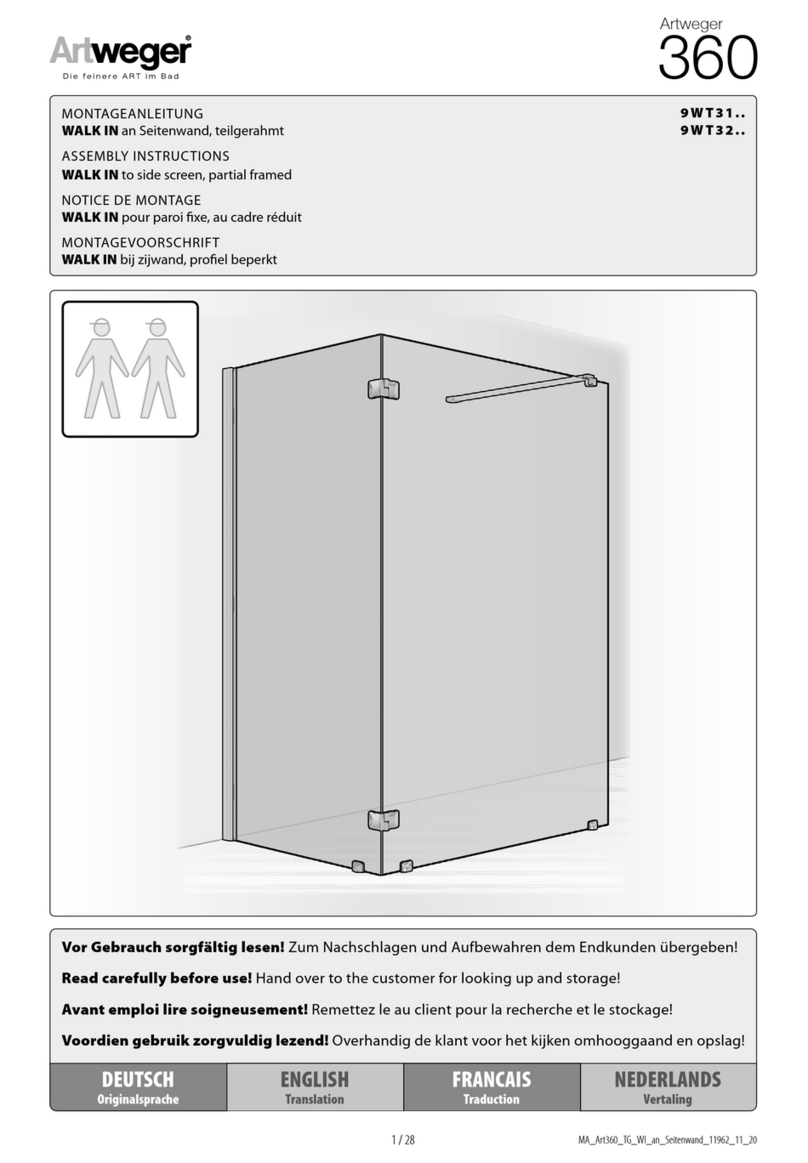
Artweger TWIST LINE 5F5.4H User manual

Artweger

Artweger TWIST LINE 5F5.4H User manual

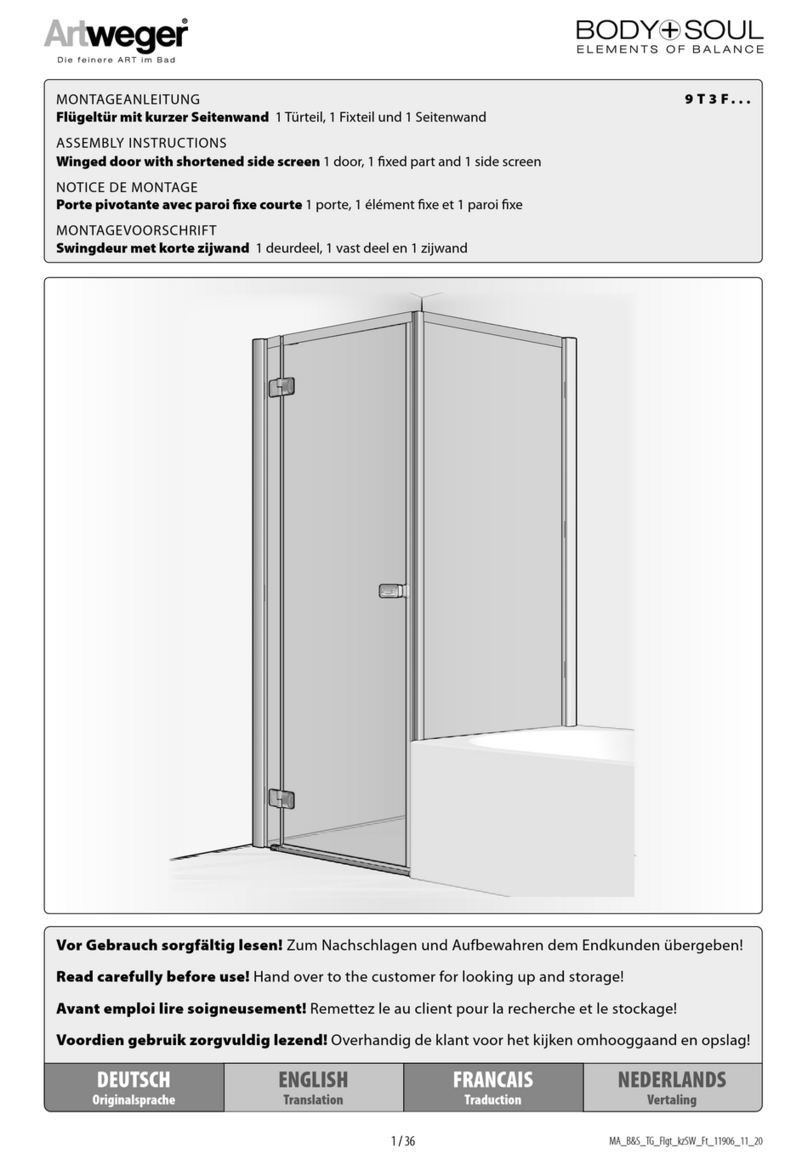
Artweger BODY+SOUL 9T3F Series User manual

Artweger

Artweger BODY+SOUL 9T3F Series User manual

Artweger DYNAMIC 6W0 Series User manual

Artweger

Artweger DYNAMIC 6W0 Series User manual

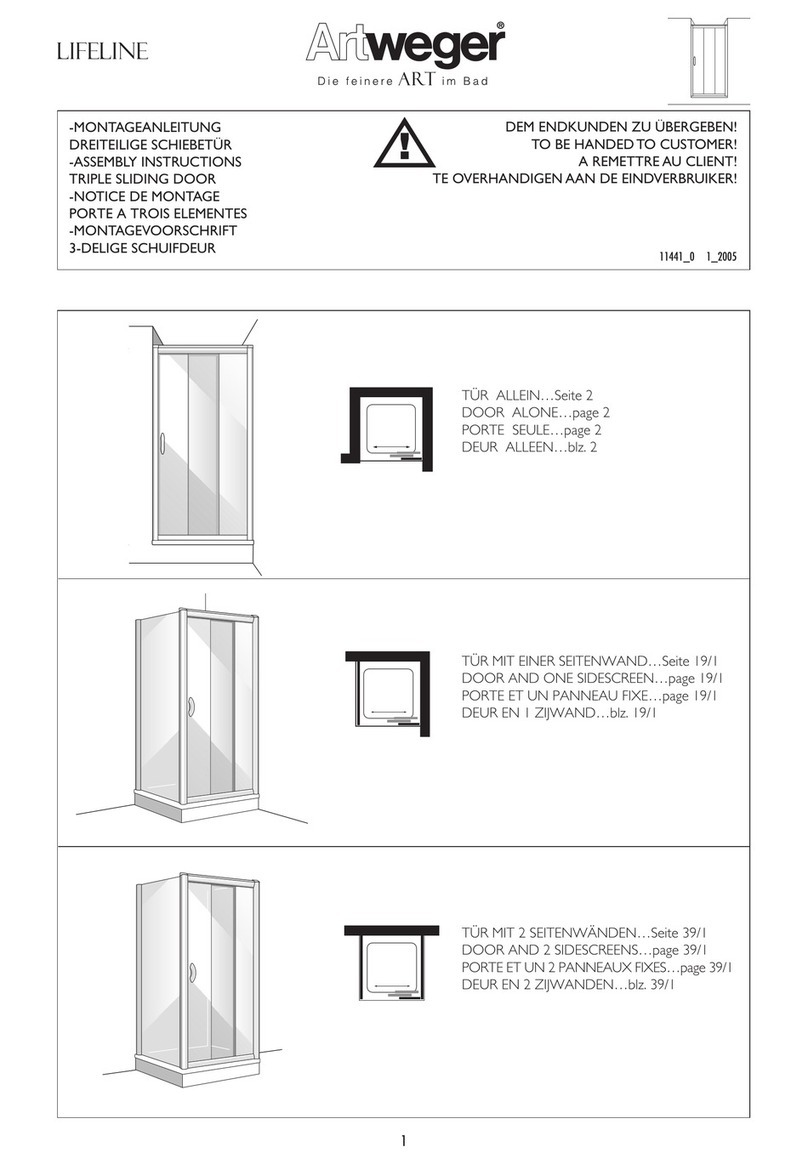
Artweger LIFELINE Series User manual

Artweger

Artweger LIFELINE Series User manual

Artweger 360 9RRP Series User manual

Artweger

Artweger 360 9RRP Series User manual

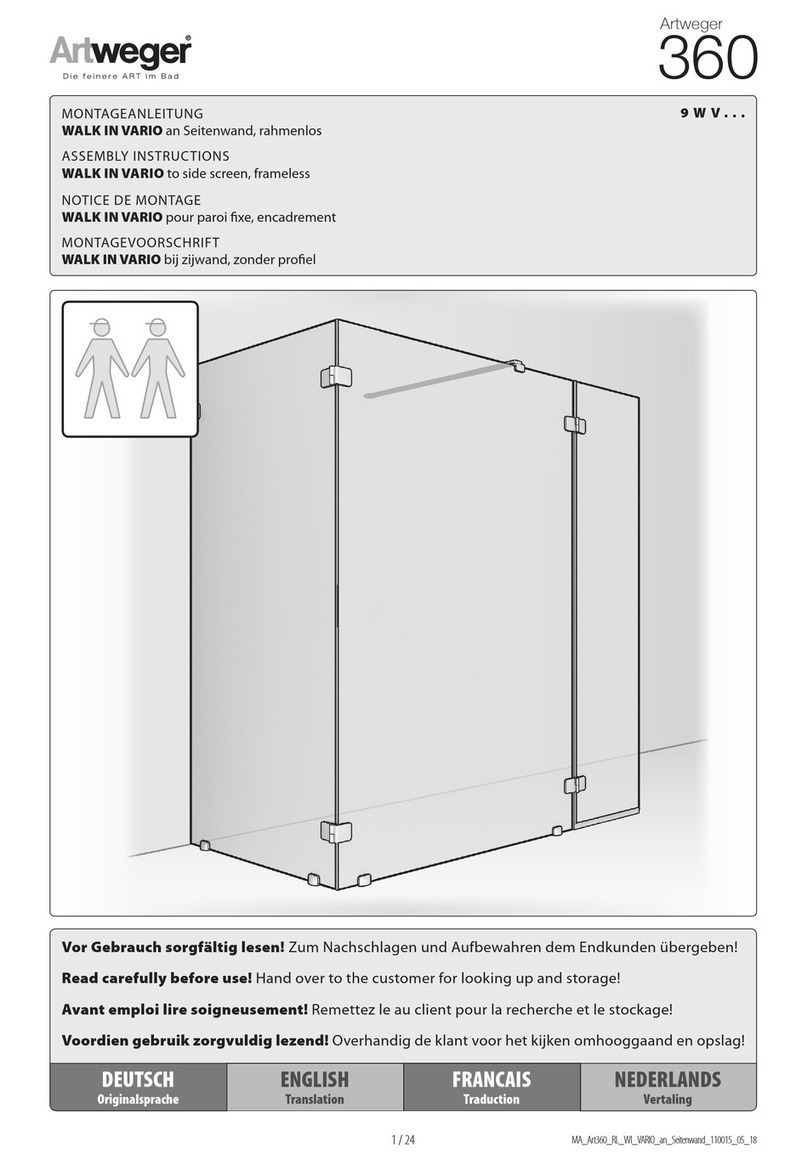
Artweger 360 9WV Series User manual

Artweger

Artweger 360 9WV Series User manual

Artweger ARTLIFT Troubleshooting guide

Artweger

Artweger ARTLIFT Troubleshooting guide

Artweger BODY+SOUL User manual

Artweger

Artweger BODY+SOUL User manual

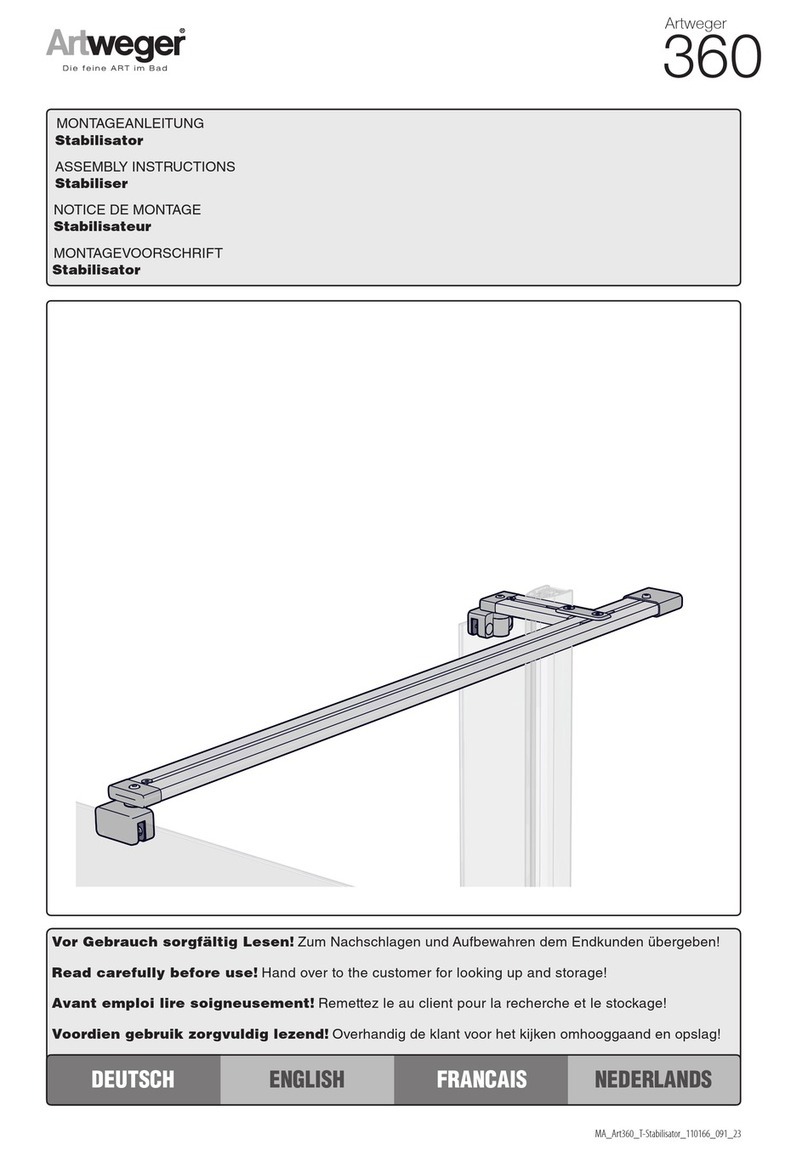
Artweger 360 User manual

Artweger

Artweger 360 User manual

Artweger DYNAMIC 6E0 Series User manual

Artweger

Artweger DYNAMIC 6E0 Series User manual

Artweger 360 9WTS Series User manual

Artweger

Artweger 360 9WTS Series User manual

Artweger WALK IN 9WR D9 Series User manual

Artweger

Artweger WALK IN 9WR D9 Series User manual

Artweger Baseline User manual

Artweger

Artweger Baseline User manual

Artweger DYNAMIC 6R0 Series User manual

Artweger

Artweger DYNAMIC 6R0 Series User manual

Artweger Dynamic 6 4 Series User manual

Artweger

Artweger Dynamic 6 4 Series User manual

Artweger 360 User manual

Artweger

Artweger 360 User manual

Artweger BODY+SOUL User manual

Artweger

Artweger BODY+SOUL User manual

Artweger 360 9R5F Series User manual

Artweger

Artweger 360 9R5F Series User manual

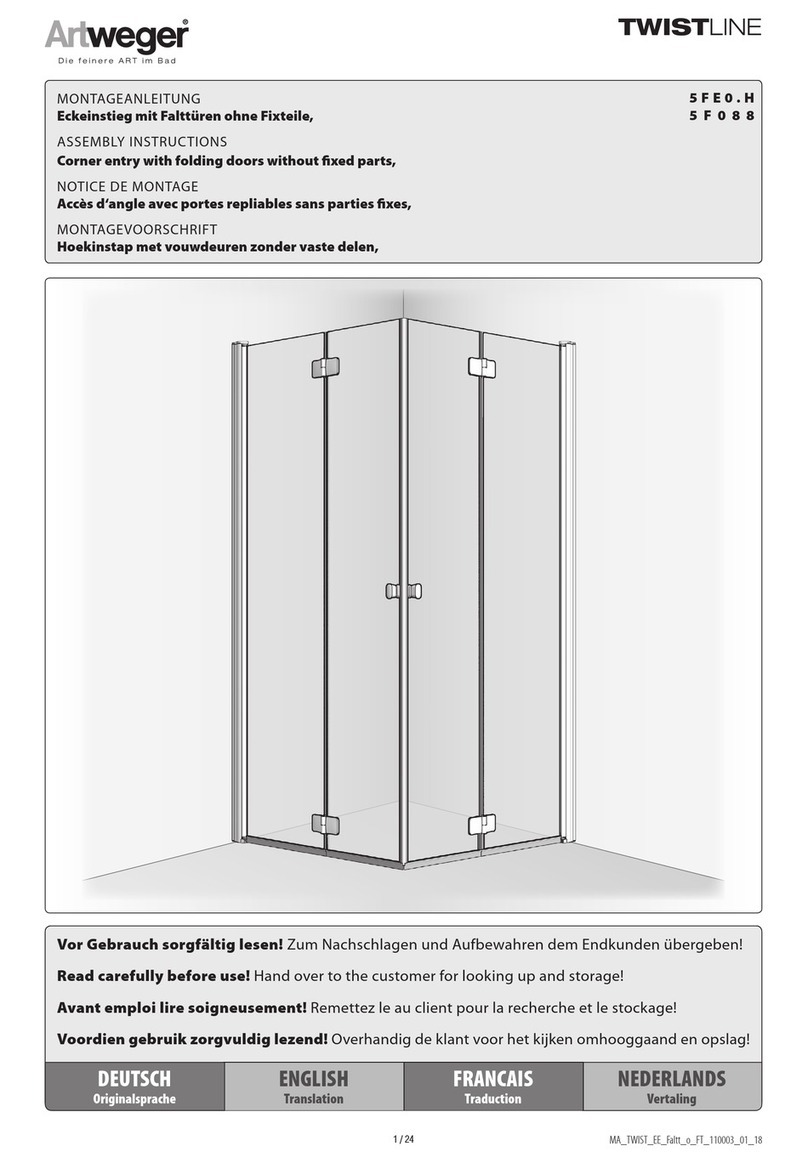
Artweger Twistline 5FE0.H User manual

Artweger

Artweger Twistline 5FE0.H User manual

Artweger DYNAMIC 62 Series User manual

Artweger

Artweger DYNAMIC 62 Series User manual

Artweger FREEWAY User manual

Artweger

Artweger FREEWAY User manual

Artweger 9WT31 Series User manual

Artweger

Artweger 9WT31 Series User manual

Artweger 9R2P Series User manual

Artweger

Artweger 9R2P Series User manual

Artweger 9WTV1 Series User manual

Artweger

Artweger 9WTV1 Series User manual

Popular Bathroom Fixture manuals by other brands

CIFIAL 1966034 Mounting instructions

CIFIAL

CIFIAL 1966034 Mounting instructions

Peerless Faucet P62410 Series manual

Peerless Faucet

Peerless Faucet P62410 Series manual

Tuscany 672-4150 installation instructions

Tuscany

Tuscany 672-4150 installation instructions

SANYone MARS 38976 installation guide

SANYone

SANYone MARS 38976 installation guide

BERNSTEIN DX906 FLEX Assembly instructions

BERNSTEIN

BERNSTEIN DX906 FLEX Assembly instructions

Triton Tyne installation instructions

Triton

Triton Tyne installation instructions

United Care B.V. ABW6 user guide

United Care B.V.

United Care B.V. ABW6 user guide

Toto TTSH301A Installation and owner's manual

Toto

Toto TTSH301A Installation and owner's manual

Lefroy Brooks C1-5006 Installation, operating,  & maintenance instructions

Lefroy Brooks

Lefroy Brooks C1-5006 Installation, operating, & maintenance instructions

Kohler Mira Sport Max J03G Installation and user guide

Kohler

Kohler Mira Sport Max J03G Installation and user guide

Franke PRTR0006 Installation and operating instructions

Franke

Franke PRTR0006 Installation and operating instructions

Voda Plumbingware Pro 3 Series quick start guide

Voda Plumbingware

Voda Plumbingware Pro 3 Series quick start guide

KEUCO IXMO SOLO 59552 019501 Mounting instruction

KEUCO

KEUCO IXMO SOLO 59552 019501 Mounting instruction

Hamwells e-Shower quick start guide

Hamwells

Hamwells e-Shower quick start guide

Ergonomic products N3A Series Specification and installation guide

Ergonomic products

Ergonomic products N3A Series Specification and installation guide

Luxier SP32-SS manual

Luxier

Luxier SP32-SS manual

Sunshower DUO WHITE user manual

Sunshower

Sunshower DUO WHITE user manual

Bradley 500 Series Installation

Bradley

Bradley 500 Series Installation

manuals.online logo
manuals.online logoBrands
  • About & Mission
  • Contact us
  • Privacy Policy
  • Terms and Conditions

Copyright 2025 Manuals.Online. All Rights Reserved.