manuals.online logo
Brands
  1. Home
  2. •
  3. Brands
  4. •
  5. Artweger
  6. •
  7. Bathtub
  8. •
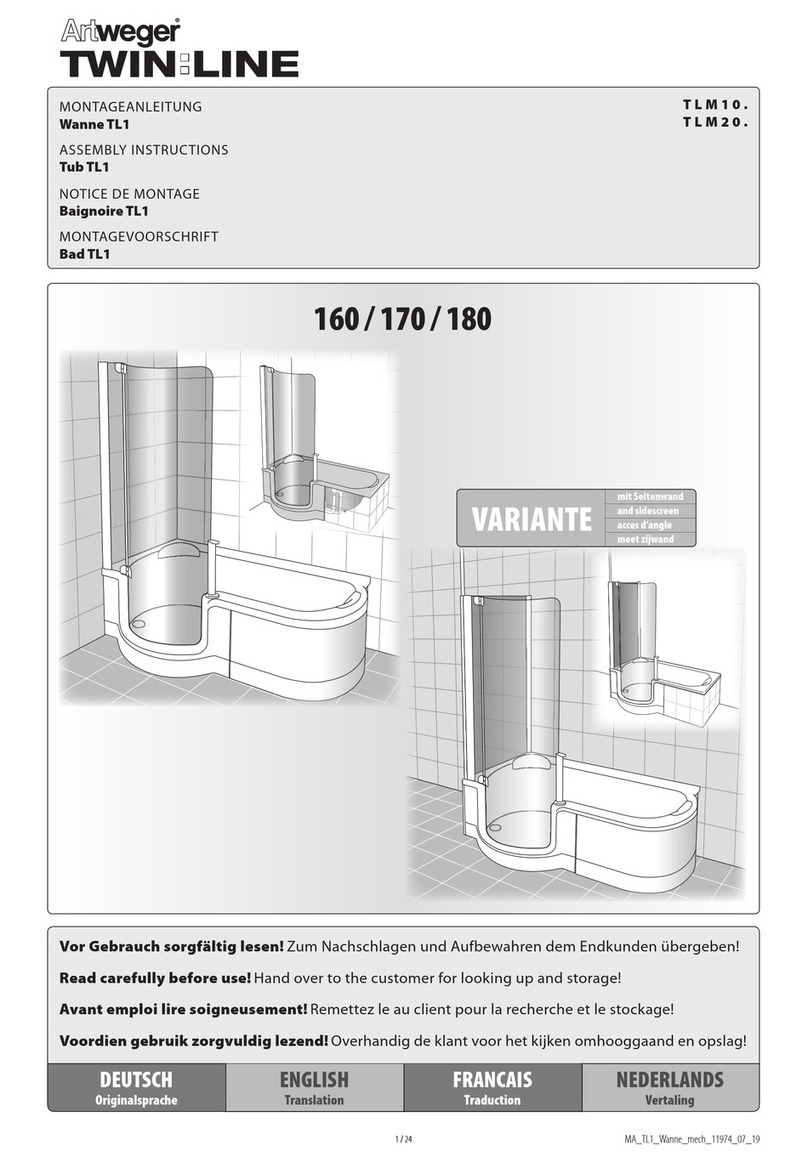
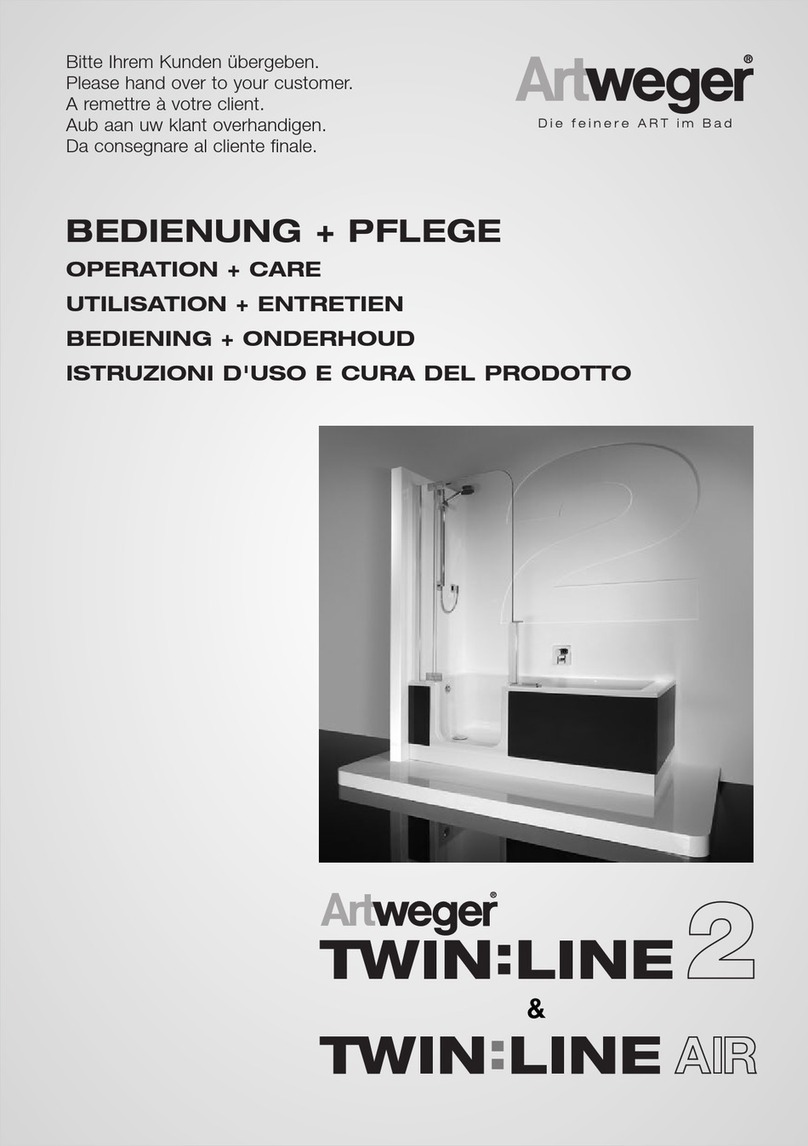
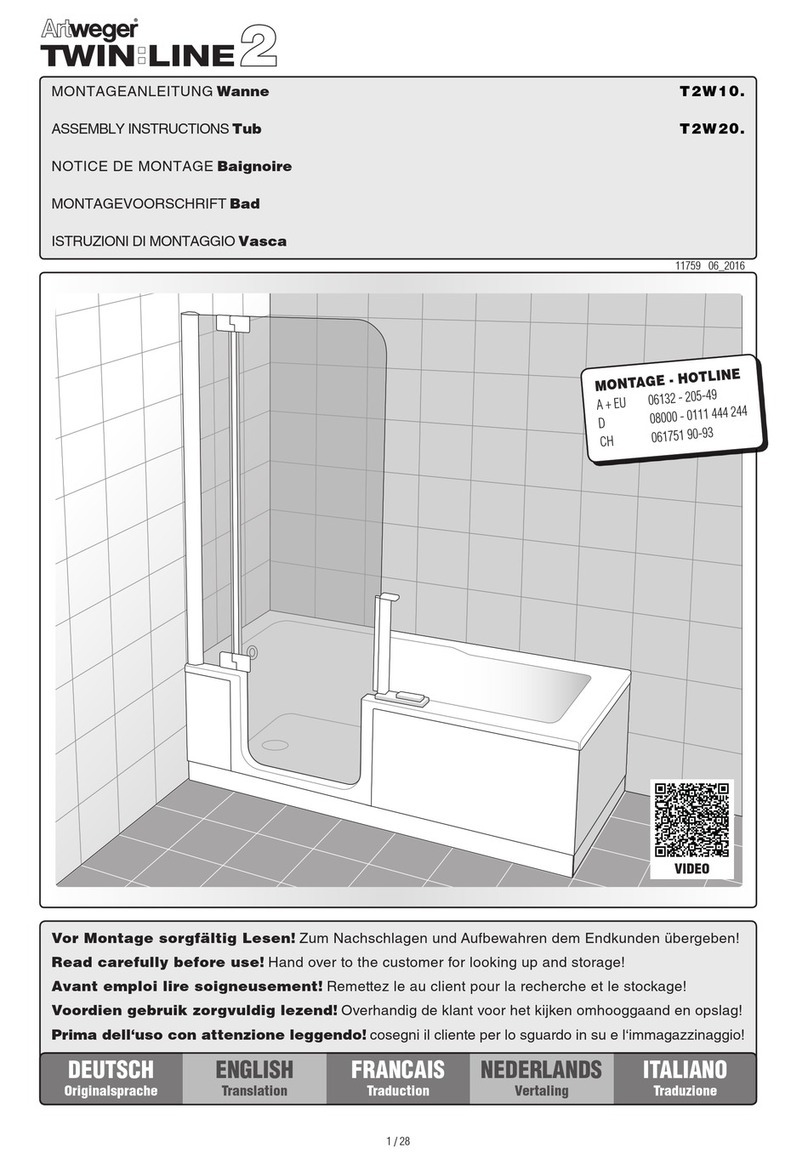
  9. Artweger Twinline 2 User manual

Artweger Twinline 2 User manual

DEUTSCH ENGLISH FRANCAIS NEDERLANDS ITALIANO
MONTAGEANLEITUNG
Sitz
ASSEMBLY INSTRUCTIONS
Tub and shower door
NOTICE DE MONTAGE
Strapontin
MONTAGEVOORSCHRIFT
Klapstoel
ISTRUZIONI DI MONTAGGIO
Sedile ribaltabile
Dem Endkunden zu übergeben!
To be handed to customer!
A remettre au client!
Te overhandigen aan de
eindverbruiker!
Da consegnare al cliente!
11726 01_2011
Seite 3
page 3
page 3
blz. 3
pagina 3
Seite 4
page 4
page 4
blz. 4
pagina 4
SW 12
Ø 6 mm
Ø 10 mm
When drilling holes do not damage hidden pipes and wiring !EN Attention:
Faites attention en persant les trous de ne pas endommager les
tuyauteries (câbles, électriques, canalisations de gaz, d'eau, etc.) !
FR Attention:
Let er bij het boren van gaten op, dat u geen leidingen
(elektriciteit, gas of water) beschadigt !
NL Let op:
Beachten Sie beim Bohren der Löcher, dass Sie keine Leitungen
(Elektro, Gas, Wasser) beschädigen !
DE Achtung:
Forando fate attenzione di non danneggiare le tubazioni nella
muratura!
IT Attenzione:
2
48
2,5
45
38,5
20
61
Alle Maße
in cm!
57 cm
Belastbarkeit
bis 130kg
min.20
OPTIONAL OPTIONAL EN OPTION OPTIONEEL OPTIONAL
FR Contrôle des positions de montage
* … Distances par rapport à la position debout, avec
une hauteur d’assise de 57 cm!
Surface dégagée.
Zone de fixation pour les sièges.
La solidité du mur est important pour la fixation du siège !
NL Controle van de montageposities
* … Maten vanaf stelplaats bij zithoogte 57 cm!
Vrij oppervlak.
Bevestigingsgebied voor zittingen.
De muur die dient voor de bevestiging van het zitje moet
voldoende draagvermogen hebben!
IT
Controllo della posizione di montaggio
*....misura dal fondo vasca con una seduta a 57 cm
superficie libera
Posizione per il montaggio del sedile
la muratura deve essere in modo tale da garantire un
fissaggio stabile del sedile.
DE Kontrolle der Montagepositionen
* ..... Maße ab Standfläche bei Sitzhöhe 57 cm!
Freie Fläche
Befestigungsbereich für Sitze.
Tragfähige Wand für Sitzbefestigung muss gegeben sein!
EN Checking the assembly positions.
* ..... dimensions from standing surface with
seat height 57 cm!
Free surface
Mounting area for seats.
A load-bearing wall must be present for attaching the seat!
2,5 cm
3
DE Kontrolle der Montagepositionen
* ..... Maße ab Standfläche bei Sitzhöhe 47,5 cm!
Freie Fläche
Befestigungsbereich für Sitze.
Tragfähige Wand für Sitzbefestigung muss gegeben sein!
EN Checking the assembly positions.
* ..... dimensions from standing surface with
seat height 47.5 cm!
Free surface
Mounting area for seats.
A load-bearing wall must be present for attaching the seat!
4
47,5 cm
Belastbarkeit
bis 130kg
90*
45
38,5
51,5*
90*
45
38,5
2042*
FR Contrôle des positions de montage
* … Distances par rapport à la position debout, avec
une hauteur d’assise de 47,5 cm!
Surface dégagée.
Zone de fixation pour les sièges.
La solidité du mur est important pour la fixation du siège !
NL Controle van de montageposities
* … Maten vanaf stelplaats bij zithoogte 47,5 cm!
Vrij oppervlak.
Bevestigingsgebied voor zittingen.
De muur die dient voor de bevestiging van het zitje moet
voldoende draagvermogen hebben!
IT
Controllo della posizione di montaggio
*....misura dal fondo vasca con una seduta a 47,5 cm
superficie libera
Posizione per il montaggio del sedile
la muratura deve essere in modo tale da garantire un
fissaggio stabile del sedile.
OPTIONAL OPTIONAL EN OPTION OPTIONEEL OPTIONAL
Alle Maße
in cm!
115 mm
57 cm
3x
Ø 6 mm
3x
Ø 6 mm
ø10mm
4,2x38mm
3x
3x
7x90mm
4x
4x
2x
4,2x38mm
3x
3x
2x
DE Montage Sitz.
Bei speziellen Wänden (wie zB. Porenbeton) muss geeignetes, von den Herstellern empfohlenes, Befestigungsmaterial verwendet werden!
EN Assembly kit tip-up seat.
Suitable fastening materials recommended by the manufacturers must be used for
special walls (e.g. aerated concrete).
FR Set de montage strapontin.
Dans le cas de cloisons spéciales (par ex. de type béton alvéolé) il est impératif
d‘utiliser le matériel de fixation conseillé par le fabricant.
NL Gaten aftekenen en boren met een ø van 6 mm.Pluggen
aanbrengen.Montageplaat klapstoel monteren.
IT Segnare la posizione dei fori e forare con punta da 6 mm.
Inserire i tasselli e montare la piastra di supporto del sedile.
DE Löcher anzeichnen und ø 6mm bohren.Dübel setzen.
Montageplatte Sitz montieren.
EN Mark and drill ø 6mm holes.Insert dowels.
Mount the seat assembly plate.
FR Dessiner les trous et percer au diamètre 6 mm.Poser les chevilles.
Monter la platine de montage du strapontin.
NL Montageset klapstoel.
Bij speciale wanden (zoals bijvoorbeeld gasbeton)
moet daarvoor geschikt, door de producent aanbevolen,
bevestigingsmateriaal worden gebruikt.
IT
Montaggio del sedile.
Se la muratura è di materiale poroso o cartongesso bisogna utilizzare tasselli speciali (non in dotazione).
1
2
5
115 mm
4,2x38mm
3x
4x
ø 10mm
ø 10mm
3
4DE Beilage einschieben.Löcher anzeichnen und ø10mm bohren. Dübel setzen. Beilage einschieben.
EN Slide in the shims. Mark and drill ø10mm holes. Insert dowels. Slide in the shims.
FR Insérer les cales. Dessiner les trous et percer au diamètre 10 mm.
Poser les chevilles. Insérer les cales.
NL Hulpstukken inschuiven. Gaten aftekenen en boren met een ø van 10 mm. Pluggen aanbrengen.
Hulpstukken inschuiven.
IT Posizionare l´inserto, segnare i fori e forare con una punta da 10 mm. Inserire i tasselli e applicare l´inserto.
6
1.
2. 3.
5
6
NL Elastiek verwijderen.
Beide consoles naar boven klappenen verwijderen.
IT Togliere l‘elastico.
Aprire e togliere i supporti.
DE Gummiband entfernen.
Beide Konsolen aufklappenund abnehmen.
EN Remove the rubber band.
Fold up and remove both panels.
FR Enlever l’élastique.
Déplier les deux consoles et les enlever.
7x90
2x
7x90
SW 12
DE Erste Konsole anschrauben.
EN Screw the first panel down.
FR Visser la première console.
NL Eerste console vastschroeven.
IT
Fissare il primo supporto.
7
7
7x90
2x
SW 12
1.
2.
NL Zitting erop steken.
Tweede console erop steken envastschroeven.
IT Inserire il sedile.
Inserire e fissare il secondo supporto.
DE Sitzblatt aufstecken.
Zweite Konsole aufstecken undanschrauben.
EN Fit the seat.
Fit the second panel andscrew down.
FR Enficher le siège.
Enficher la deuxième console etla visser.
8
8
9
DE Rückenlehne aufschieben. Sitzfläche aufklappen.
EN Push on the back. Fold the seat up.
FR Enfiler le dossier. Déplier le siège.
NL Rugleuning opschuiven. Zitting naar boven klappen.
IT
Inserire lo schienale e aprire il sedile
DE Funktionskontrolle, Belastbarkeit bis 130 kg!
EN Functional check, Load capacity 130 kg!
FR Contrôle du fonctionnement, Poids limite à 130 kg!
NL Functiecontrole, Draagvermogen tot 130 kg!
IT
Controllate la funzione del sedile, carico massimo 130 kg!
Twinline2_Sitz_MA_TB/STÖ 11726_01_2011
9
8

Other manuals for Twinline 2

2

Other Artweger Bathtub manuals

Artweger TWINLINE 1 AIR mechanical User manual

Artweger

Artweger TWINLINE 1 AIR mechanical User manual

Artweger Twinline 2 User manual

Artweger

Artweger Twinline 2 User manual

Artweger TWINLINE 1 AIR mechanical User manual

Artweger

Artweger TWINLINE 1 AIR mechanical User manual

Artweger TWINLINE TL1 Series User manual
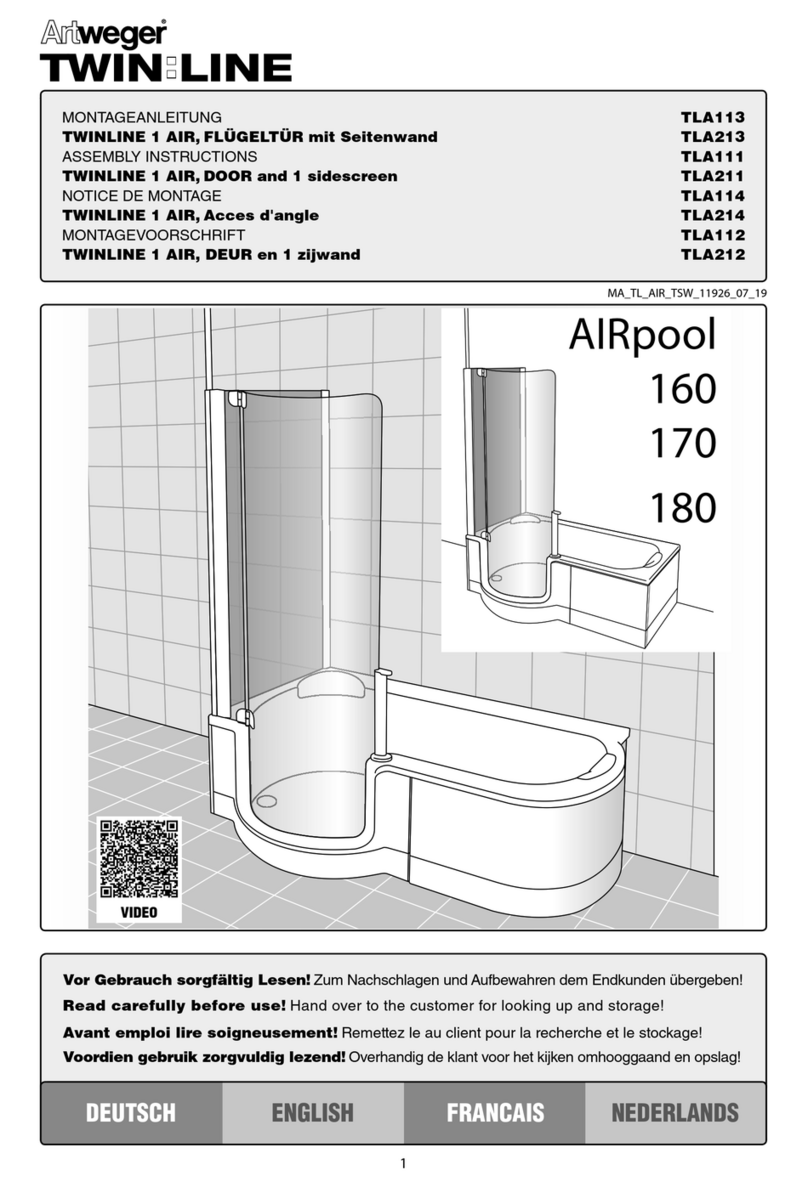
Artweger

Artweger TWINLINE TL1 Series User manual

Artweger TWINLINE TL1 Series User manual

Artweger

Artweger TWINLINE TL1 Series User manual

Artweger ARTLIFT Installation guide

Artweger

Artweger ARTLIFT Installation guide
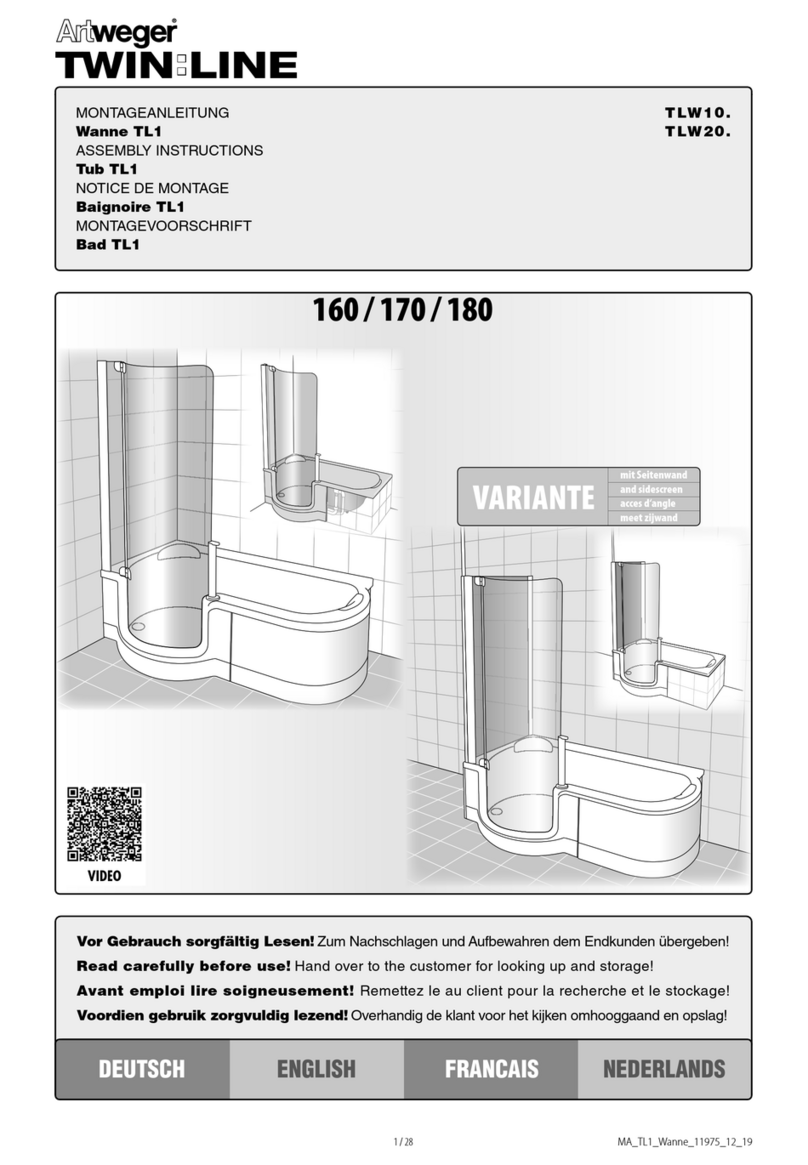
Artweger T2W10 Series User manual

Artweger

Artweger T2W10 Series User manual
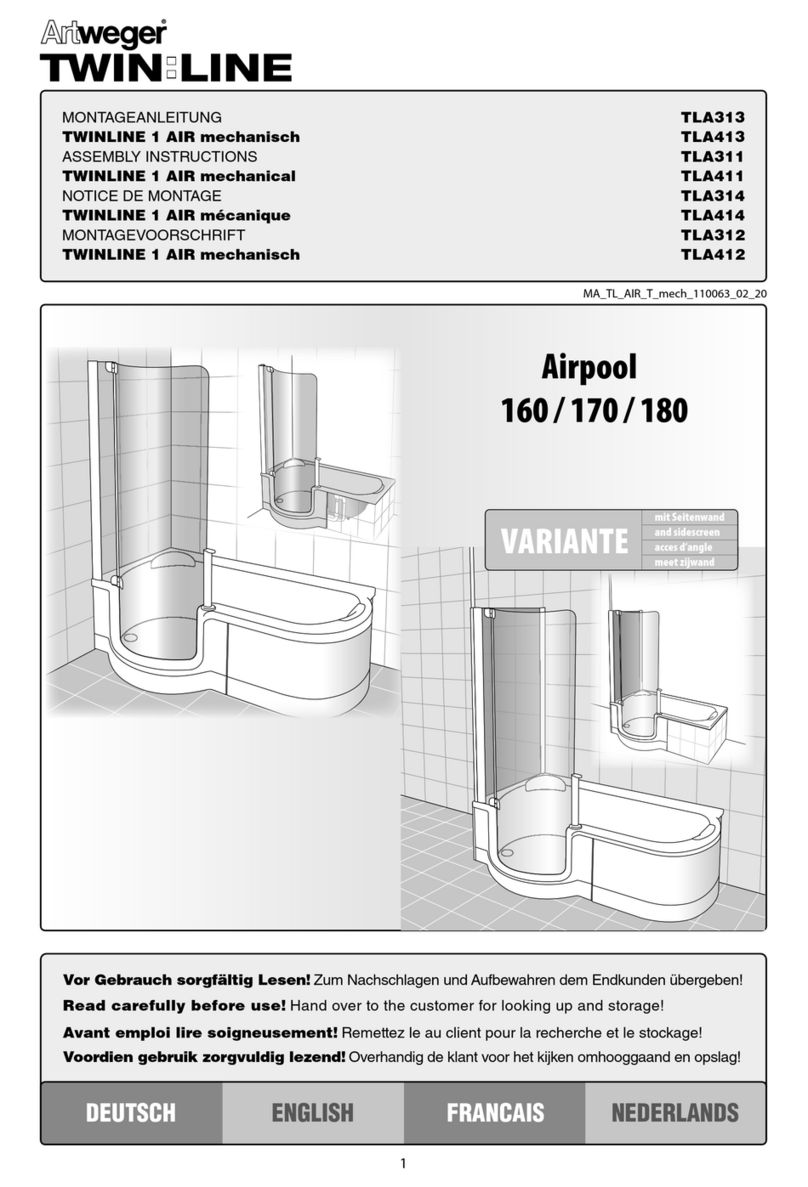
Popular Bathtub manuals by other brands

Signature Hardware BAXTER 929440-AIR manual

Signature Hardware

Signature Hardware BAXTER 929440-AIR manual

Morris Whitehall Podiatry P-10-S user manual

Morris

Morris Whitehall Podiatry P-10-S user manual

Teuco Hydroline T70 Pre-Installation Chart

Teuco

Teuco Hydroline T70 Pre-Installation Chart

glass 1989 Astor 160x71-42 installation instructions

glass 1989

glass 1989 Astor 160x71-42 installation instructions

Schonberg Leipzig Instructions of instalation and use

Schonberg

Schonberg Leipzig Instructions of instalation and use

Bravat B25712W-6 Products Installation Instructions

Bravat

Bravat B25712W-6 Products Installation Instructions

Kohler K-1227 Installation and care guide

Kohler

Kohler K-1227 Installation and care guide

Jacuzzi Santorini Pro Instructions for preinstallation

Jacuzzi

Jacuzzi Santorini Pro Instructions for preinstallation

DURAVIT D-Code 700095 Mounting instructions

DURAVIT

DURAVIT D-Code 700095 Mounting instructions

American Standard DXV LYNDON D12536-004 installation instructions

American Standard

American Standard DXV LYNDON D12536-004 installation instructions

Mirolin Beacon CF2001 installation guide

Mirolin

Mirolin Beacon CF2001 installation guide

Apollo ReGen instruction manual

Apollo

Apollo ReGen instruction manual

Meditub 2953WCA Installation & operating instructions

Meditub

Meditub 2953WCA Installation & operating instructions

Universal Tubs 2953WCA operating instructions

Universal Tubs

Universal Tubs 2953WCA operating instructions

JASON Hydrotherapy AirMasseur Madeline MA635P owner's manual

JASON Hydrotherapy

JASON Hydrotherapy AirMasseur Madeline MA635P owner's manual

Kohler Memoirs K-723 Roughing-In Guide

Kohler

Kohler Memoirs K-723 Roughing-In Guide

American Standard Virtuoso Whirlpool 7236.028 parts list

American Standard

American Standard Virtuoso Whirlpool 7236.028 parts list

Kohler Escale K-11343-G Specification sheet

Kohler

Kohler Escale K-11343-G Specification sheet

manuals.online logo
manuals.online logoBrands
  • About & Mission
  • Contact us
  • Privacy Policy
  • Terms and Conditions

Copyright 2025 Manuals.Online. All Rights Reserved.