4
English
Operating instructions
Note: TheLED display shows theapproximate temperature of thewarmer/cooler. Several factors
affect thetemperature, such as theambient temperature, how much is stored in thebox, and
how it is packed.
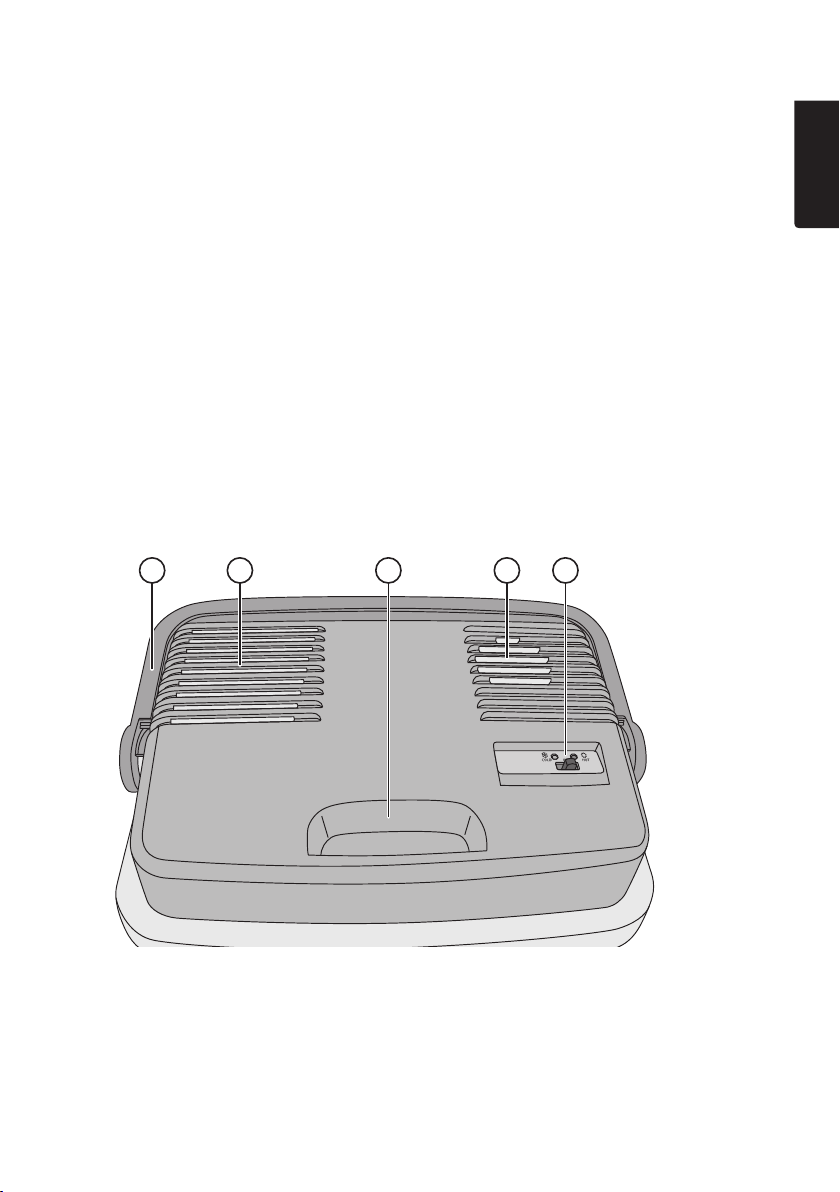
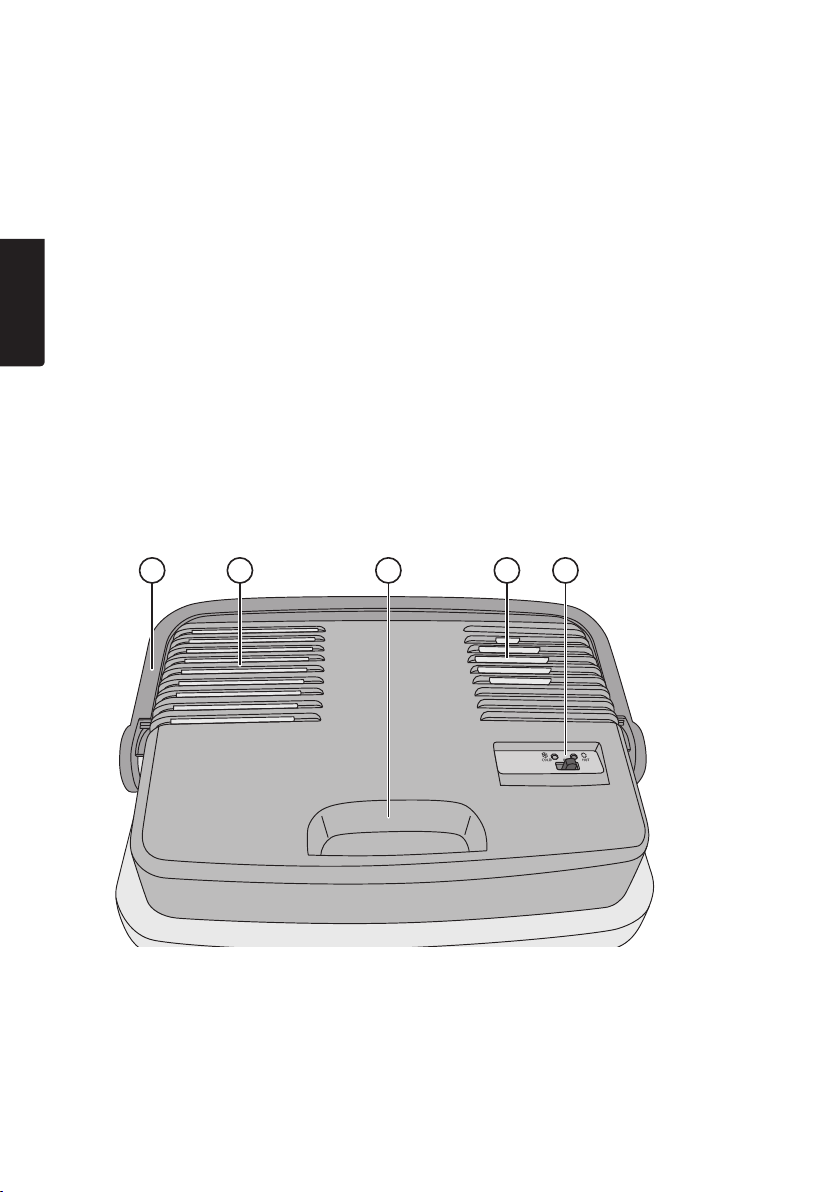
1. Connect thewarmer/cooler to a12 V socket.
2. Select thedesired function, (HOT) or (COLD) using thefunction switch (5). Thereare LED
indicators above each of thetwo functions. Green = cooler, red = warmer.
3. Turn theselector switch to OFF to turn thewarmer/cooleroff.
Note:
• Turn off thewarmer/cooler off and let it rest for 5 min before changing functions from either
heat to cold or viceversa.
• Thewarmer/cooler has anautomatic fan which turns on and off automatically during heat
mode to regulate thetemperature.
Care and maintenance
• Always turn off thewarmer/cooler and make sure it is unplugged from the12 V socket
beforecleaning.
• Never pour water directly into thewarmer/cooler during cleaning. Wipetheinterior and
exterior with adampcloth. Useamild cleaningagent. Neveruse solvents or corrosive
cleaning products.
• Turn off thewarmer/cooler and remove thecable from the12 V socket in thecar/caravan
when it is not beingused.
• Once cleaned, thewarmer/cooler should be stored in adry, dust-free environment and out of
children’sreach.
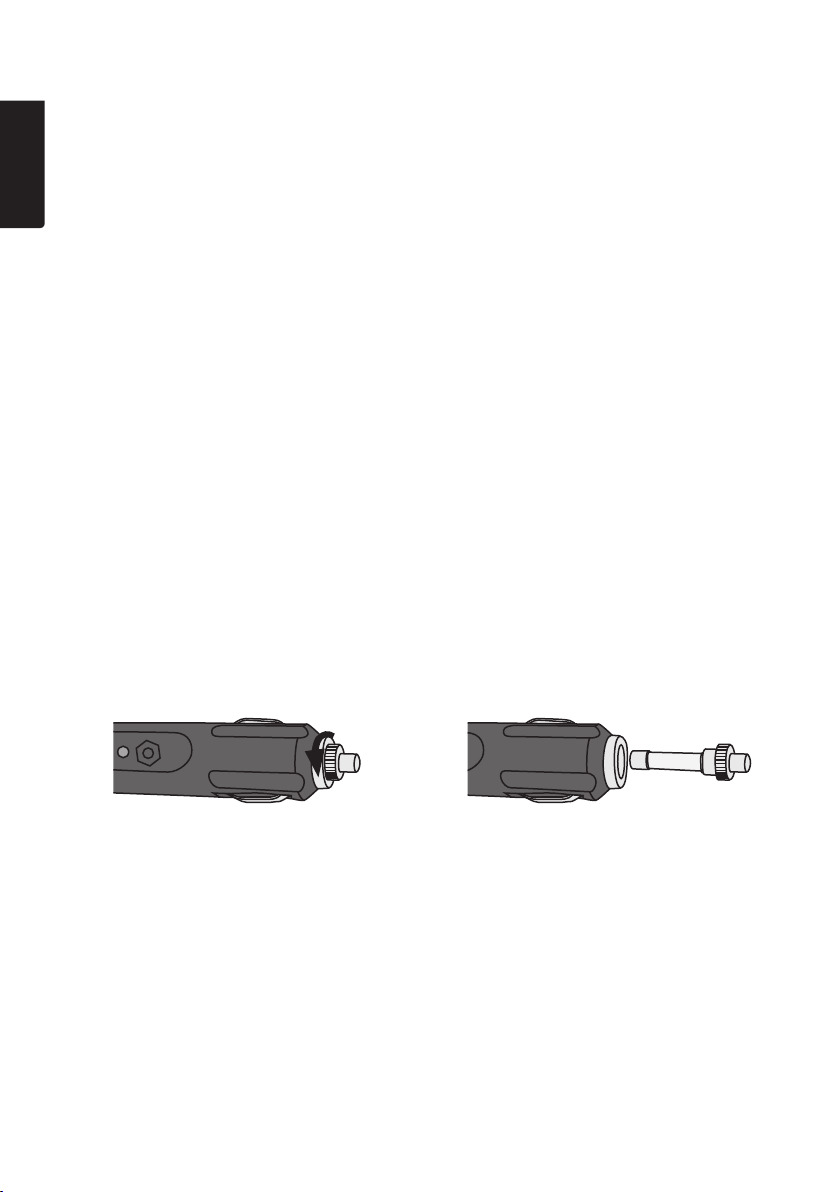
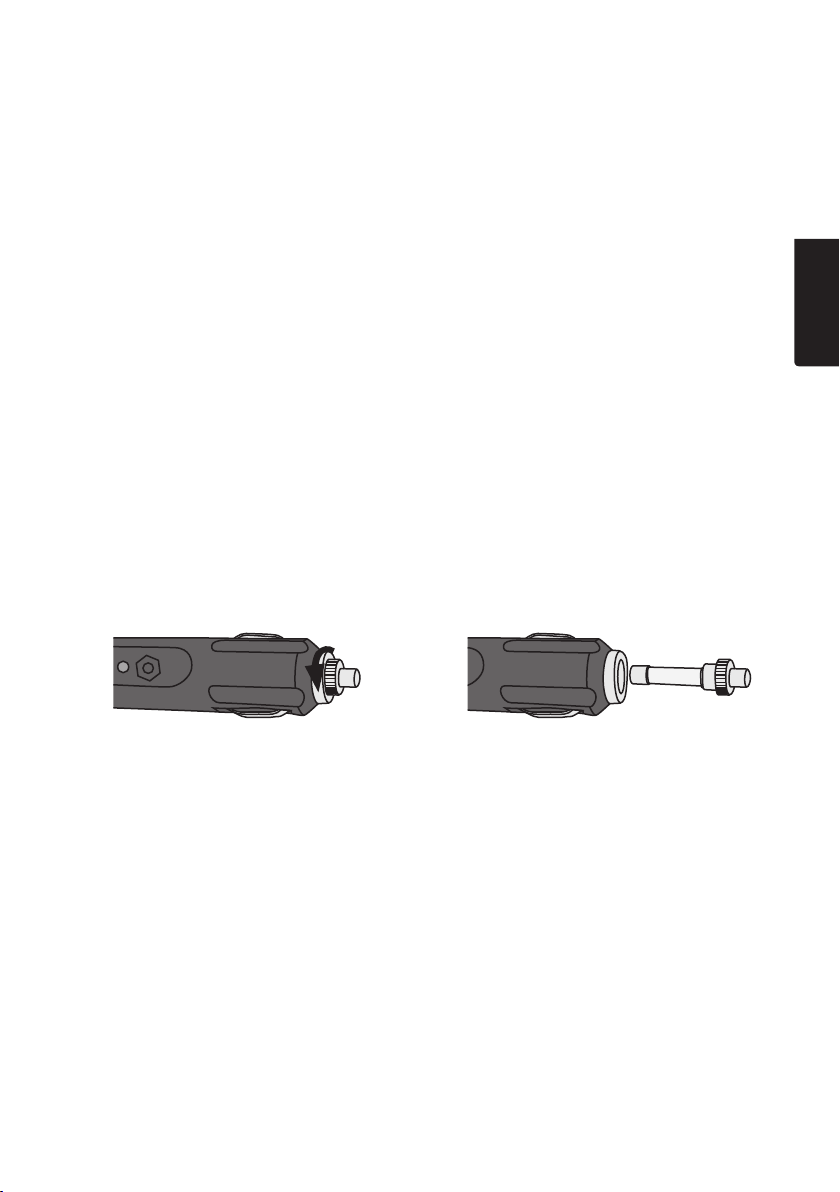
Replacing the fuse
Theplug also doubles as afuse holder. Forfuse replacement, do thefollowing:
1. Unscrew thetip of theplug where
thefuse holder is located.
2. Pull out thefuse holder and replace
thedamaged fuse (8 A, 6×32 mm) when
necessary. Screwthefuse holder back
into place to complete theprocedure.