Aspace Tessera 9201 User manual
Care of your Product
Product Safety
Care of your Product
Welcome
Care of your Product
About ASPACE
PLEASE READ CAREFULLY & KEEP FOR FUTURE REFERENCE
Product Care
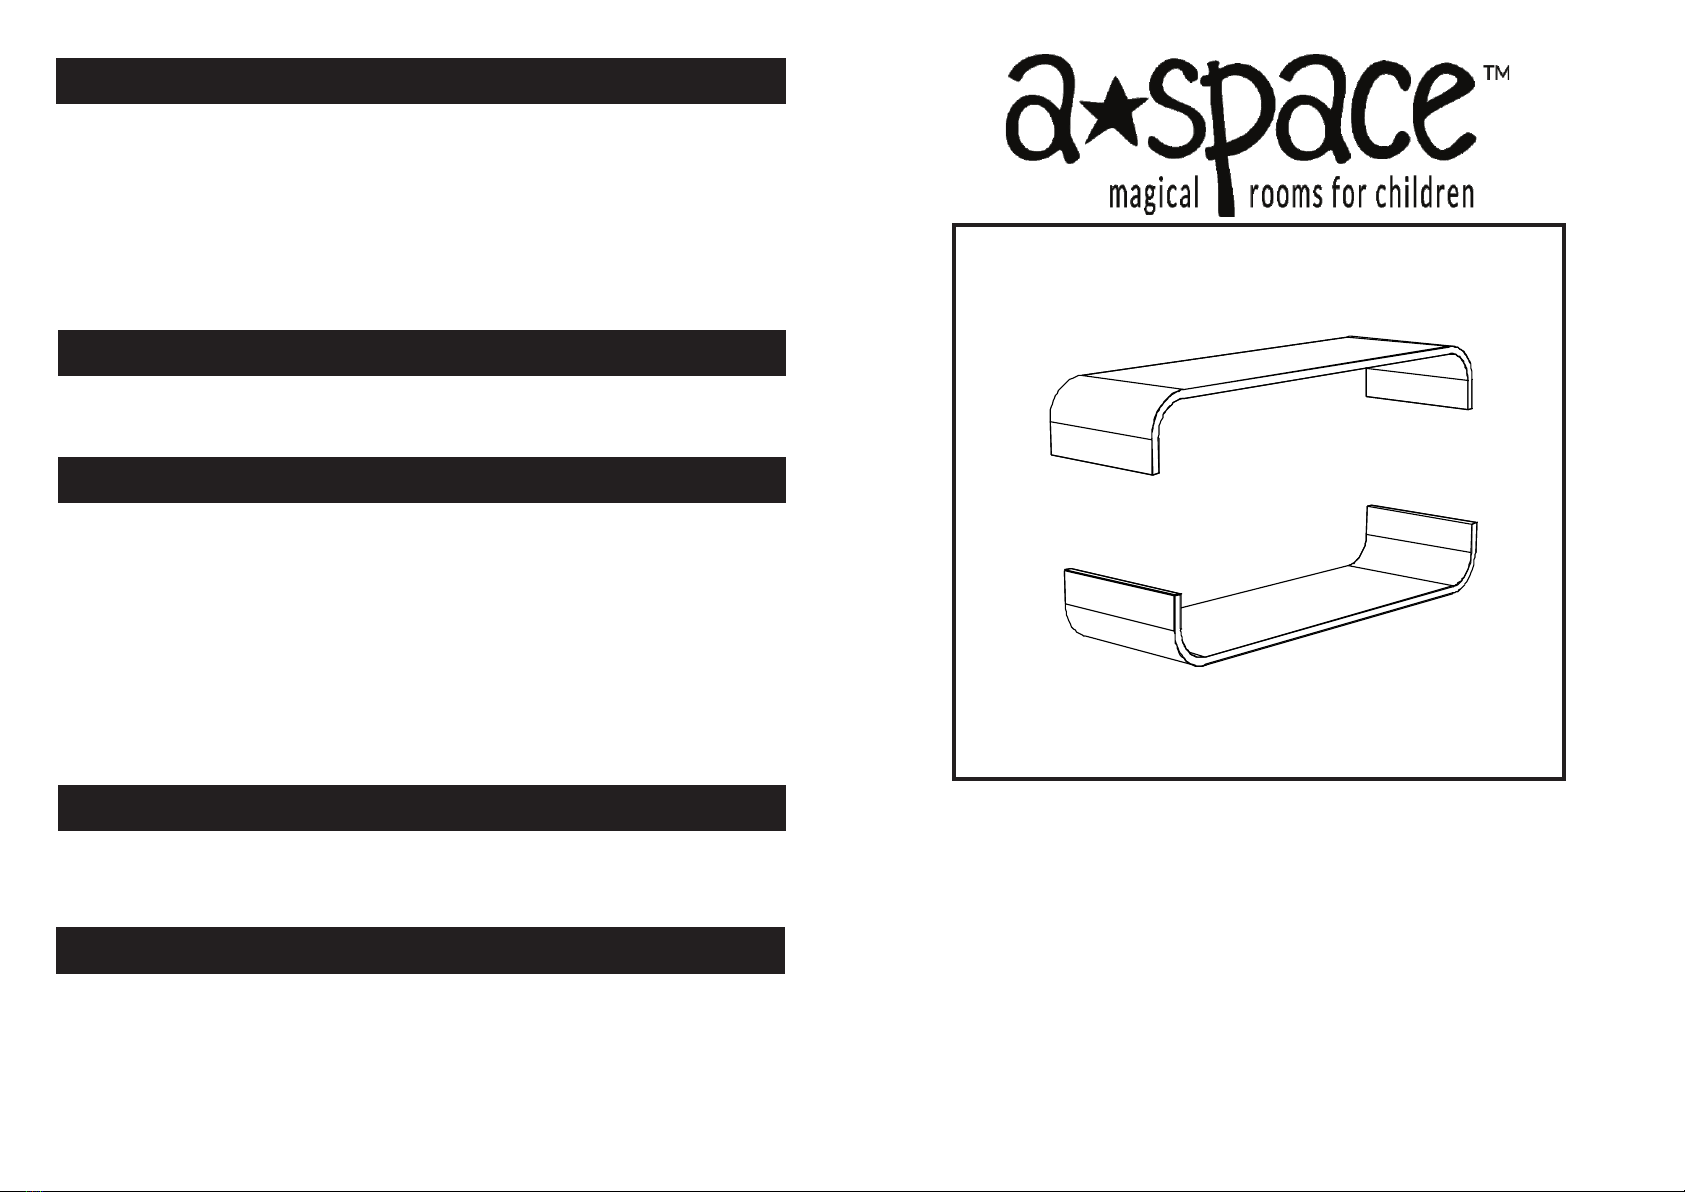
Thank you for buying the Tessera Curved Shelf.
Before beginning assembly, please take a few minutes to read these instructions.
Lay the product out on a clean, soft surface such as a carpeted floor and check that the
condition of the product is as expected. Do not throw away any packaging until you are
sure that you have all the parts.
If for any reason you wish to return the product, please use the original packaging.
The product must be installed by an adult. There are small parts: keep small children
clear of the assembly area.
Some stages of installation may be easier with more than one person.
If you have a problem with this product please call our Customer Service Team, who will
be glad to help.
We can usually provide replacement and / or spare parts promptly; it will help us if you
can identify the specific part using the check list in the next section.
ŸPeriodically check all fittings to ensure that none have come loose.
ŸThe shelf should always be secured to a stable structure.
Ÿ Aspace do not supply specific wall fixings with this product. Always use appropriate
fixings for the specific wall you intend to hang the shelf.
ŸWarning: This work should only be carried out by a competent person or a
professional. Failure to fit the shelf correctly could cause damage to the shelf and
wall and serious injury to your child.
ŸKeep away from direct sources of heat, such as electric, gas or coal fires.
ŸChildren must never hang or climb on the shelf.
ŸUsing this furniture other than for its intended purpose could cause damage to the
structure or serious injury to your child.
ŸDo not overload the shelf. We recommend a maximum weight limit per shelf of 10kg.
however this is dependant on the specific wall fixing used.
ŸClean your shelf by wiping with a damp cloth & drying with a soft cloth.
ŸNever clean with abrasives, chemical cleaners or household polishes.
ŸCareless handling can damage wooden furniture. Try to always lift rather than drag.
Tessera
Code: 9201
CR
Curved Shelf
Customer Service 0345 872 2400
Most of us at ASPACE are parents too, so we know how important it is to give children a
ladder, wardrobe door and bookshelf designed by our team in the UK.
ASPACE bedrooms are packed with creativity, fun and inspiration; from gorgeous bedroom
sets and beautiful bedding, to clever storage and creative accessories, we make sure
everything we sell is built to last, and delivered with love.
Most of us at ASPACE are parents too, so we know how important it is to give children a
comfortable, secure and individual space where they can sleep, learn and play. We’ve been
kitting out children’s bedrooms with clever furniture ideas for over 20 years, with every bunk
ladder, wardrobe door and bookshelf designed by our team in the UK.

Assembly Assembly You will need:
Tessera Shelf
Supplied
Tape Measure
Drill
Spirit Level
Wall Fittings
Pencil
2x Number 4 Screws
(Images are not to scale)
Measure the exact distance between the
centres of the keyhole shaped brackets on the
back of each shelf. Please note: Individual
shelves may be slightly different
shapes/lengths, therefore each individual
shelf should be measured separately to
ensure the distances are correct.
1 2 3
4 5 6
Once you have accurately measured the shelf,
apply the same measurements to a structurally
sound wall. Mark out the required distance on
your chosen wall with a pencil. Accurately
mark the position where the first hole is
required, then using a spirt level, mark out the
second position. Ensure the line between the
two hole positions is horizontally level.
Select the correct type of wall fixing for your
wall. Aspace do not supply wall fixings with this
product. Always use appropriate fixings for the
specific wall you intend to hang the shelf.
Please seek professional advice if you are
unsure. Please Note: We recommend that a
number 4 sized screw is used to ensure that
the head of the screw fits into the bracket
holes. Please check that your screws fit the
brackets before continuing any further.
Once you have correctly drilled the holes and
fitted an appropriate wall fixing, tighten each
Screw into the fixings so that approximately
10mm (one finger width) of screw is protruding
from the wall as shown.
#4 Screw
Once the Screws have been secured to the
wall, fit the shelf in position. Carefully align the
brackets on the back of the shelf with the
exposed heads of the Screws. Push the shelf
flush against the wall and lower the brackets
onto the screws. If the shelf is not as tight to
the wall as you desire, remove the shelf and
tighten each screw accordingly.
Wall Fixings
Examples Only
CAUTION: Please check for hidden
electrical cables or plumbing before
proceeding!
Once you are confident that you have
measured and marked out the positions for the
holes correctly and selecting the correct wall
fixing, drill holes to the correct depth and width
using an appropriate drill-bit for the type of wall
and wall fixing you have selected.
drill-bit
Use an appropriate
Not Supplied
Other Aspace Indoor Furnishing manuals


Popular Indoor Furnishing manuals by other brands

Niche
Niche NDS6128 Assembly instructions

Organized Living
Organized Living freedomRail Doors for GOLocker Assembly instructions

Furniture of America
Furniture of America CM7716F Assembly instructions

Costway
Costway JV11598 manual

Loll Designs
Loll Designs SALMELA LUSSI ASSEMBLY INSTRUCTIONS & PRODUCT INFO

Schulte
Schulte Classica Series manual


Decoro
Decoro TILBURY Instruction guide

Core Products
Core Products Corona Grey CRG914 Instruction leaflet

Forte
Forte Ricciano RCQL1184 Assembling Instruction

American Standard
American Standard 670 Specification sheet

Extreme Networks
Extreme Networks VX-RPS-CH3 quick reference

Forte
Forte Corel LRCV711LB Assembling Instruction