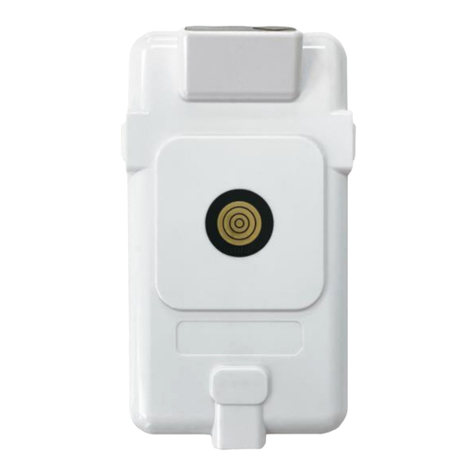
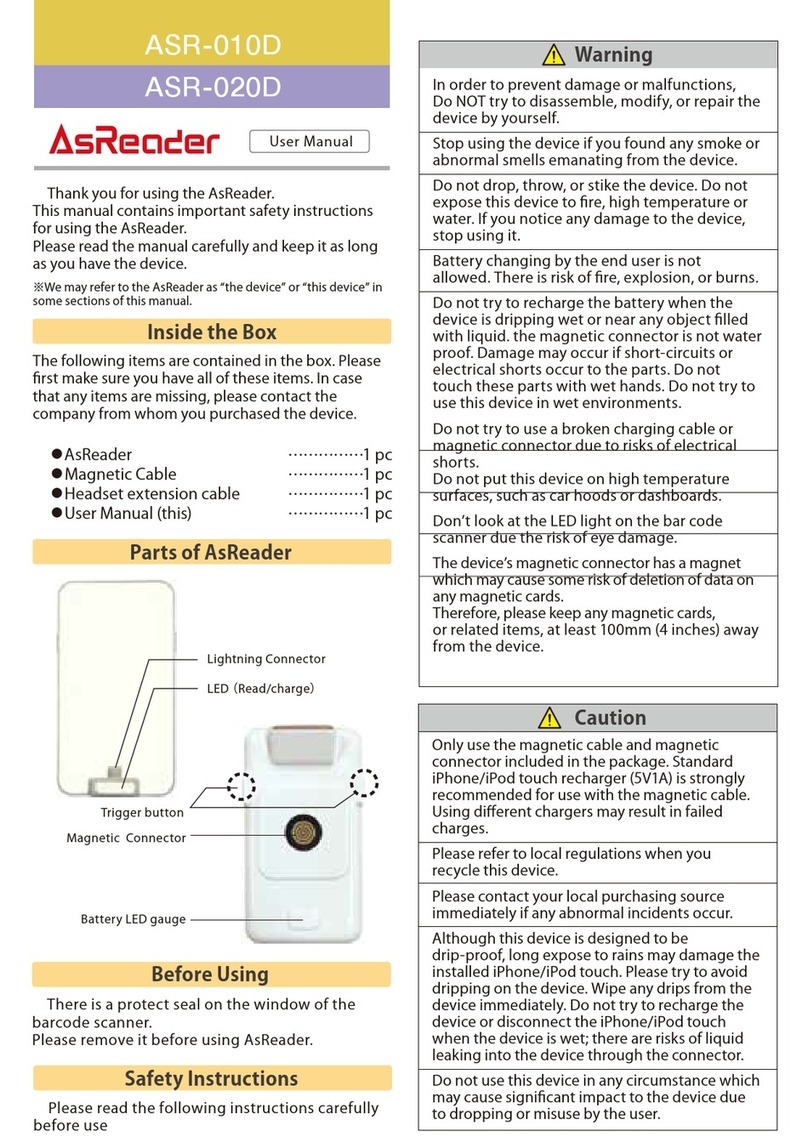
AsReader ASR-010D User manual

AsReader Scan
User Manual
Copyright © 2022 Asterisk Inc. All Rights Reserved.
AsReader® is a registered trademark of Asterisk Inc.
iTunes is a registered trademark of Apple® Inc.
The contents of this manual are subject to change without notice.

2
Contents
Preface ...............................................................................................................................1
About AsReader Scan.........................................................................................................2
1.Screen Description ........................................................................................................3
2.How to Connect.............................................................................................................4
3.How to Read .................................................................................................................5
4.More Settings ..............................................................................................................20
5.AsReader Information..................................................................................................31
6.RFID RFM Sensor (RED4S/Magnus S3) .....................................................................32

1
Preface
This document describes the correct operation method of the demo app “AsReader
Scan”. Be sure to read this document carefully before using the app.
If you have any comments or questions about this manual, please contact us:.
AsReader, Inc. (USA)
Toll Free (US+Canada): +1 (888) 890 8880 / Tel: +1 (503) 770 2777
920 SW 6th Ave., Suite 1200, 12th Fl., Portland, OR 97204-1212 U.S.A.
https://asreader.com

2
About AsReader Scan
The “AsReader Scan” demo app is an application that customers can use together with
our company's SLED/DOCK-Type barcode scanner and RFID reader/writer devices
(hereinafter referred to as "AsReader").
Please download this application from the AppStore using the search keyword
"AsReader Scan". Alternatively, you can scan the following QR code to download it:

3
1.Screen Description
Table‐1 List of read modes supported by each model
Mode
Model
Barcode (1D,
2D)
UHF RFID
NFC+HF
DUAL※2
LF
ASR-010D(V2/V3/V4)
〇※1
ASR-020D(V2/V3/V4)
ASR-022D(V3/V4)
〇
ASR-03xD(V2/V3/V4)
〇
ASR-023xD
〇
〇
ASR-023xD-V2(V4)
〇
〇
〇※3
ASR-0240D(V4)
〇
〇
ASR-L70D
〇
Export data as .csv files
Connection status of AsReader
Number of different/unique barcodes or RFID tags
Settings
AsReader model
Remaining battery of AsReader
Mode switch: BAR (Barcode 1D/2D)
RFID (UHF / Ultra-High Frequency RFID)
NFC (NFC + HF / High Frequency RFID)
DUAL (Barcode & UHF RFID)
LF (Low Frequency RFID)
Barcode and RFID data list
Engage Module toggle switch (used for both Barcode and RFID Modules)
Start reading
Clear the data list
Stop reading
Number of times each barcode/RFID read
Connection method switch: USB / BLE

4
※1 The Barcode mode of ASR-010D supports only 1D barcode scanning.
※2 DUAL mode: Both barcodes (1D/2D) and UHF RFID tags can be read without switching modes.
※3 Only the - V2 & higher versions of AsReader support DUAL mode.
2.How to Connect
Start the AsReader Scan app on the iOS device. (Screen shown below in image ①.)
Plug the iOS device into the AsReader. After the screen ② is displayed for a short
time, the screen ③ will be displayed, indicating that the connection is successful.
①Disconnected
②AsReader power on
③Connected
In screen ③, if the “Engage module toggle switch” is turned off, the barcode engine or
RFID module will be disengaged as shown in the figure below, displaying “Disconnected”.
※Disengaging the barcode engine or RFID module reduces power consumption.

5
3.How to Read
3-1 Operation Steps:
1) In the screen ③, select the read mode.
・Barcode: Reads 1D/2D barcodes.
・RFID: Reads UHF (Ultra-High Frequency) RF tags.
・NFC: Reads HF (High Frequency) RF tags, including NFC.
・DUAL: Reads both 1D/2D barcodes and UHF RF tags simultaneously.
・LF: Reads LF (Low Frequency) RF tags.
※How to switch read modes
For example: Switch Barcode mode to RFID mode
・Tap “RFID”.
・Turn on the Engage module toggle switch.
If the screen displays "Connected", the reading mode switch is complete.
※The same operation applies for switching to NFC, DUAL, or LF mode.
Engage Module
Toggle Switch

6
2) Point the AsReader towards a 1D/2D barcode or RF tag & press the hardware trigger
button to read.
3) You can also scan by tapping the “Read” button on the screen.
4) When reading 1D/2D barcodes, press the trigger button or tap the "Read" button to
illuminate the LED/laser aimer. Depending on the parameter settings, if the AsReader
does not read any barcodes for a certain period of time, or right after reading a barcode,
the LED/laser will stop illuminating. (AsReader can be set to read continuously by
adjusting the barcode parameter settings using the Parameter Settings Manuals, which
can be found on our website and are different for different models).
5) When an AsReader reads RF tags with the “Read” button on the screen, it continues
reading until the set conditions are met, or the "Stop" button is tapped. Also, pressing
and holding the trigger button(s) continuously allows for continuous reading. In this case,
the AsReader continues reading until you release the trigger buttons.
Tap
Turn on
Tap

7
3-2 The Read Data
When reading 1D/2D barcodes /RF tags, the read data is displayed in the data list on
the screen.
①Please tap one of the 1D/2D barcode data to see the barcode details.
Barcode data list
RF tag data list
Tap

8
②For RFID tags with the encoding format of "SGTIN-96", the UPC/JAN code and serial
numbers are displayed in the reading results. For tags in other encoding formats, the
sentence "No UPC/JAN Decoded" is displayed.
③For UHF RF tags, tap the tag data in the list to read and write the tag.
See ③-1
See ③-2
See ③-3
Tap any RF data
SGTIN-96
Other encoding
formats

9
③-1 Read/Write: RFID Read/Write
Operating Steps:
1) Tap the target tag to read/write to from the tag data list.
2) Tap to select Read or Write.
3) Enter the start address in the “Start Address” text box.
⚫When the target memory is PC or EPC, the start address cannot be entered.
⚫The fixed value for PC is 1. The fixed value for EPC is 2.
4) Enter the Length of data to be modified in the "Length" text box.
⚫If the target memory is PC or EPC, the length is not allowed to change.
⚫The fixed value for PC is 1. EPC has a fixed value of 0. "0”indicates automatic
length adaptation.
5) Enter the Access Password in the “Access Password” text box. The default password
is “00000000” (eight zeros).
6) Select the target memory to read or write.
7) If you want to write data to a memory bank, you need to enter the data to write to the
memory bank in the “Data (Hex)” text box.
8) Tap “Done” to perform/save the action.
⚫If the read succeeds, the tag data information will be displayed at “Data (Hex)”.
⚫After the writing succeeds, “Finished Writing” will be displayed.
Note:
Select to read or to write
Target tag
Access password
Offset
Data length to read or write
Target memory bank to read or write
Data to write
Save/perform the selected action

10
When reading, please make sure that there is only one tag in the readable range of
the antenna.
When writing, please make sure that the target tag is 10 to 30cm (4 to 12”) away from
the AsReader.
Target Memory
RFU: Reserved memory
Can be read or written.
The first two words 0 through 1 (8 bits for every word) indicate the kill password.
The two words 2 through 3 indicate the access password.
The default value for both is “00000000” (eight zeros).
※If the tag is locked, an access password is required to read or write to it.
※To read or write only to the kill password area, enter
0 for the Start Address and 2 for the Length.
※To read or write only to the access password area, enter
2 for the Start Address and 2 for the Length.
PC: Protocol Control
Define the length of EPC, etc.
EPC: Electric Product Code
Can be read or written.
※When writing to a locked tag, you need to enter an access password.
TID: Tag Identifier
Can only be read
USER: User Area
Can be read or written to
※When writing to a locked tag you need to enter an access password.

11
※How to change passwords
Procedure for changing the access password or the kill password:
1) Tap the target tag in the tag data list.
2) Select the “RFU” memory bank.
3) To change the access password, enter 2 for the Start Address.
To change the kill password, enter 0 for the Start Address.
4) Enter 2 for the Length.
5) Enter the current access password. (The default value is "00000000" (eight zeros);
if the password has been changed, you need to enter the current access password.)
6) Fill in the new access or kill password to the "Data (Hex)" text box.
7) Select “Write” and tap “Done”.
If the password is changed successfully, you will see the message “Done Write”.
③-2 Lock or Unlock
Operating Steps:
1) Tap the target tag in the tag data list.
2) Select a target memory.
3) Select an action to perform.
Unlock: Unlock
PUnlock: Permanently unlock
Lock: Lock
PLock: Permanently lock
4) Enter the access password. (The default password “00000000” is not allowed. Please
change the access password. For details about how to change a password,
see “※ How to change passwords” in ③-1 Read/Write: RFID Read/Write.

12
5) Tap “Done” to save your work and perform the action.
Actions to Memory Banks
Kill: Kill password area
Can be unlocked/permanently unlocked/locked/permanently locked.
It cannot be read or written after being locked/permanently locked. Especially if it is
permanently locked, it can never be changed.
Acs: Access Password
Can be unlocked/permanently unlocked/locked/permanently locked.
It cannot be read or written after being locked/permanently locked. Especially if it is
permanently locked, it can never be changed.
EPC: Electric Product Code
Can be unlocked/permanently unlocked/locked/permanently locked.
After being locked/permanently locked, the memory bank can be read without
entering the access password, but writing to it requires entering the correct access
password.
TID: Tag Identifier
This memory bank is permanently locked when the tag is produced.
User: User
Can be unlocked/permanently unlocked/locked/permanently locked.
After being locked/permanently locked, the memory bank can be read without
entering the access password, but writing to it requires entering the correct access
password.
③-3 Kill: Deactivate the tag to make it unreadable.
Operating Steps:
1) Tap the target tag in the tag data list.
2) Enter the kill password in the “Kill Password” text box.

13
Note: The default password “00000000” is not allowed. Please change the kill password.
For details about how to change a password,
see “※ How to change passwords” in ③-1 Read/Write: RFID Read/Write.
3) Tap “Done” to perform the “Kill” action.
If the tag is killed successfully, you will see the message “Killed Tag”.
④ For HF RF tags, tap the tag data in the list to read and write the tag.
※Only ISO15693 tags are supported.
Tap
See ④-1
See ④-2

14
④-1 Read Multi Block: Read and display by block
Operating Steps:
1) Tap the target tag in the tag data list.
2) In the “Block Index” text box, enter the number of blocks to read from. The value
ranges from 0 to 255. The maximum value that can be entered varies depending on the
number of blocks contained in the target tag.
3) Enter the number of blocks to read in the “Block Count” text box.
4) Tap “Read” to perform.
If the data is successfully read, the following information will be displayed:
The number of blocks to read from
The number of blocks
Perform the “Read” action
Display tag data by block

15
Note:
When reading, ensure that there is only one tag in the readable range of the antenna.
④-2 Write to Blocks:
(1) Write Single Block
Write data to the specified block. Please enter data of the same length as the target block.
(2) Write Bytes
Writes data to the specified block. If the length of the data to be written (in bytes) is less
than the length of the target block, the remaining blocks are automatically filled with zeros.
Operating Steps:
1) Tap the target tag in the tag data list.
2) In the “Block Index” text box, enter the number of blocks to write from. The value
ranges from 0 to 255. The maximum value that can be entered varies depending on the
number of blocks contained in the target tag.
3) Enter the data to write to the “Write Data(HEX)” text box.
4) Select “Write Single Block” or “Write Bytes”.
5) Tap “Write” to perform.
Target tag
The number of blocks to write from
Data to write to
Perform the “Write” action
(2)
(1)

16
If the data is successfully written, the following information will be displayed:
Note:
When writing, ensure that the target tag is isolated and 10 to 30cm (4 to 12”) away from
the AsReader.
⑤When reading an LF RF tag, tap the tag data in the list to display its details.
3-3 Export
Tap

17
The read data can be saved as CSV files or Excel files in the application and can be
exported through iTunes.
Operating Steps:
1) Tap [Export] on the main screen.
2) Select the file format you want to save to. To save the data as a CSV file, tap “CSV
Export”. To save the data as an Excel file, tap “Excel Export”. The file will then be saved
to the application. In addition, tap the Excel List to view the “Excel files” saved in the
application.
After successful exports, messages that indicate successful file exports is displayed as
shown in the figure below.
Tap
Save the data
as a CSV file.
Save the data
as an Excel file.
List of the Excel
files.

18
The messages allows you to choose whether to send the generated files to a server.
If you do not wish to send them, please tap "Cancel".
※ For sending the data file to the server, please refer to the following instruction:
3) Connect your smart device to your computer and launch iTunes. Retrieve the data
files saved in the application through iTunes.
※ Send the generated data file to the server
1) Tap the OK button in the message indicating that you wish export the data to a server.
Tap
Tap
Other manuals for ASR-010D
1
This manual suits for next models
7
Table of contents
Other AsReader Barcode Reader manuals

AsReader
AsReader ASR-L70D User manual

AsReader
AsReader ASR-A24D User manual

AsReader
AsReader ASR-R202G Series User manual

AsReader
AsReader ASR-R202G Series User manual

AsReader
AsReader ASX-520R User manual

AsReader
AsReader ASR-020D User manual

AsReader
AsReader ASR-023B User manual

AsReader
AsReader ASR-P35U-01 User manual

AsReader
AsReader ASR-L251G Series User manual

AsReader
AsReader ASR-A23D User manual