8
OPERATING THE
PRESSURE WASHER
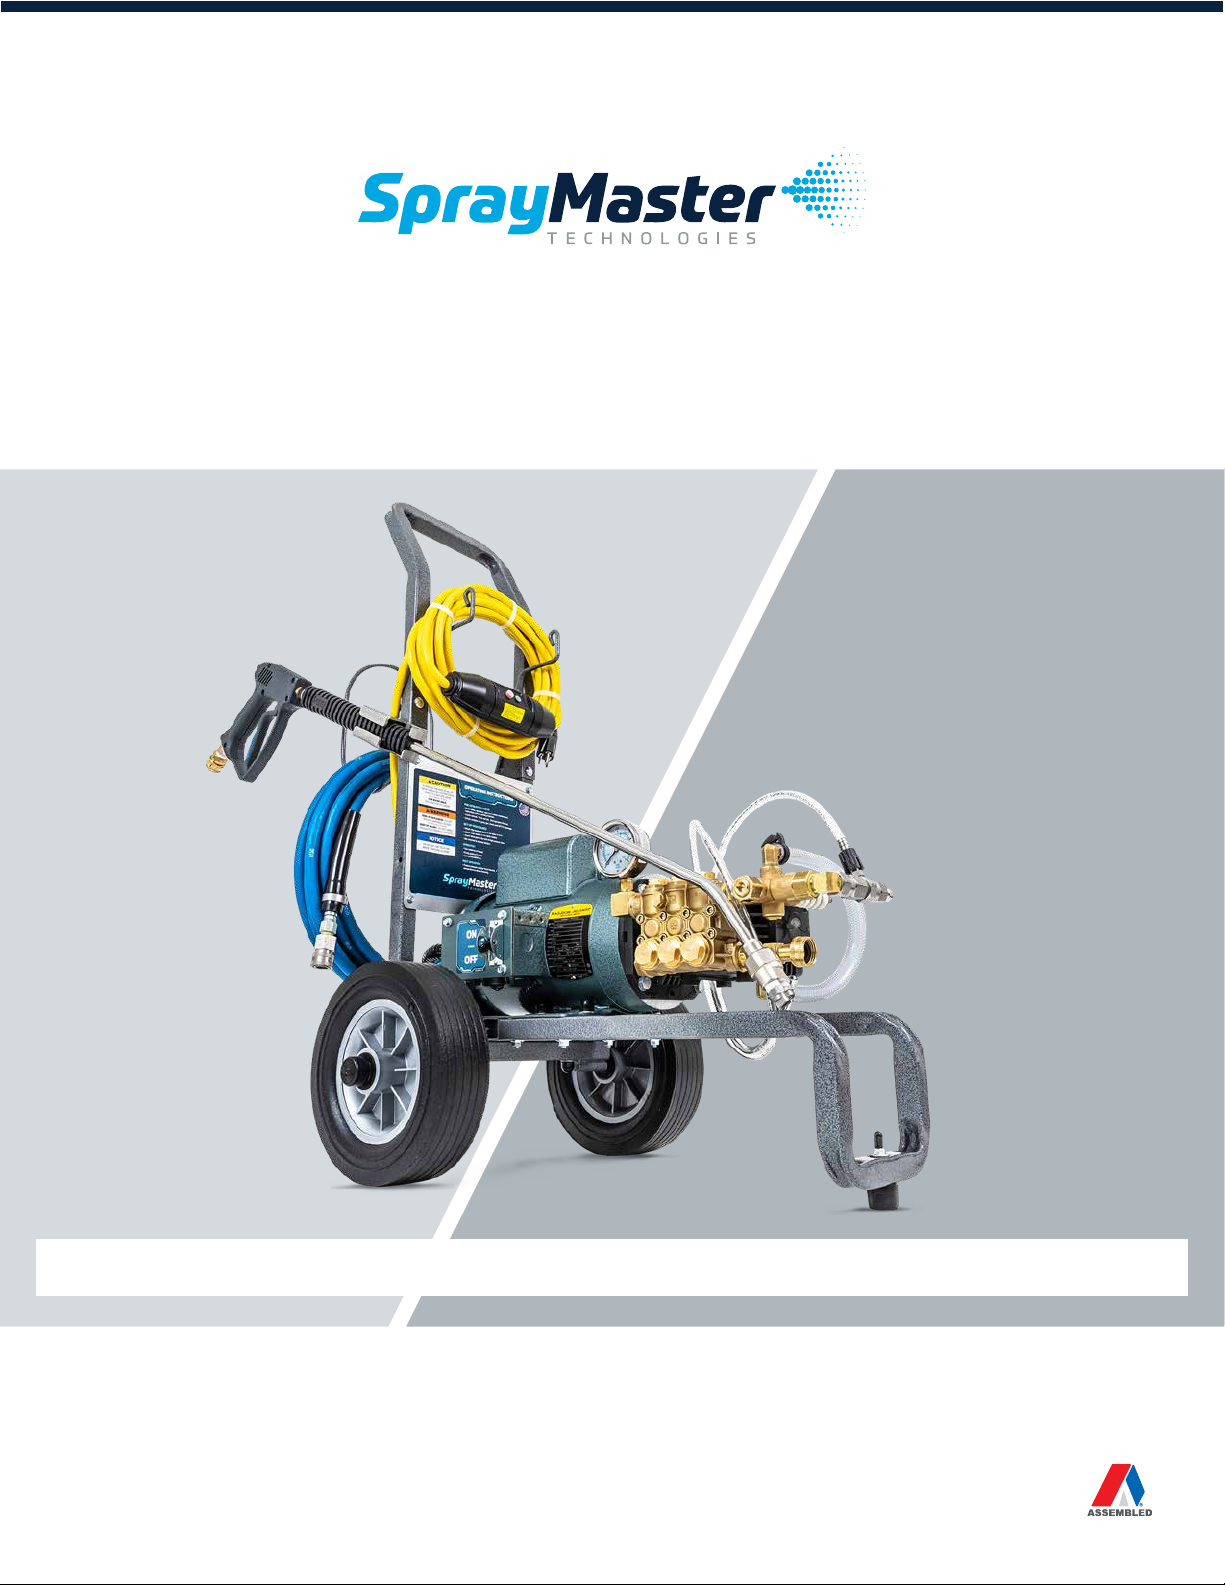
POWER CLEAN GO 1100SS OWNER’S MANUAL
USER OPERATED CONTROLS
OFF/ON Switch:The power OFF/ON Switch is used to turn
the pump motor on and off as necessary for operation. The
OFF/ON Switch is located on side of the machine.
Spray Gun: The spray gun assembly provides the
operator control of the flow, pressure, and pattern of the
high-pressure spray. Squeezing the gun trigger while
directing the spray nozzle toward the surface to be
cleaned operates the spray gun. Your spray gun may be
equipped with a dual nozzle or vari-nozzle.
»Dual Nozzle: The dual nozzle selector is used to select
either the low-pressure “soap” nozzle or the high
pressure “rinse” nozzle. Selection of the desired nozzle
must be made while the spray gun trigger is released.
To select the low-pressure nozzle, rotate the spray gun
90˚ counterclockwise so that the spray gun handle
is parallel to the ground with the hose connection
extending to the operators right, then squeeze the
trigger. To select the high-pressure nozzle, rotate the
spray gun 90˚ clockwise so that the spray gun handle
is parallel to the ground with the hose extending to
the operator’s left, then squeeze the spray gun trigger.
Once the nozzle has been selected and the spray gun
trigger held open, the spray gun may be rotated and
aimed at the surface.
»Vari-Nozzle: The vari-nozzle is used to select either
low-pressure “soap” or high-pressure “rinse”, and to
adjust the spray-pattern from a wide-angle spray to
a zero-degree stream. For high-pressure, pull the
nozzle-body firmly toward the spray-gun handle. To
select low-pressure, push the black nozzle body firmly
away from the spray gun handle. To vary the spray
pattern of the nozzle, twist the black nozzle body
clock ways to narrow pattern and counter clock ways
to widen the spray pattern.
Chemical Metering Knob:The chemical metering knob is
located at the front end of the spray washer on top of the
chemical injector where the chemical pick up occurs. The
chemical pickup line feeds into one end of the metering
knob. It is a black in color. Please refer to the Chemical
Dilution Chart at back of this Owner’s Manual.
PRE-OPERATION CHECK
»Perform the pre-operation daily maintenance check
prior to operating the unit to ensure safe operation
and prolonged equipment life.
»Read safety, operation, and maintenance instructions
before starting machine.
DAILY MAINTENANCE
»Check oil level. Fill to center of sight glass. See “Oil” in
General Maintenance Section.
»Check to see that the GFCI power cord is in good
condition. Replace complete GFC cord assembly if
either the GFCI, plug or cord is damaged, frayed or
worn. Test the GFCI circuit weekly by pressing the
TEST button on the GFCI. Reset the GFCI after test by
pressing the RESET button on the GFCI.
»Hoses – Check hoses for breaks and damaged fittings.
Replace as needed.
»Spray Gun – Check spray gun for damaged fittings,
nozzle, and trigger. Replace as needed.
PREPARATION FOR USE
»Verify that the surface or equipment to be cleaned can
withstand the high-pressure spray.
»Wear safety googles or other approved eye protection
when cleaning with high-pressure spray washers.
»Check with your Safety Representative for other
Personnel Protective Equipment (PPE) that may be
required for the job being performed.
»Clear area of slip or trip hazards. Keep area clear while
cleaning.
»Ensure the OFF/ON switch is set to the “OFF” position.
»Attach high-pressure hose to discharge nipple with
quick coupler. Lock quick coupler in place by pulling