1
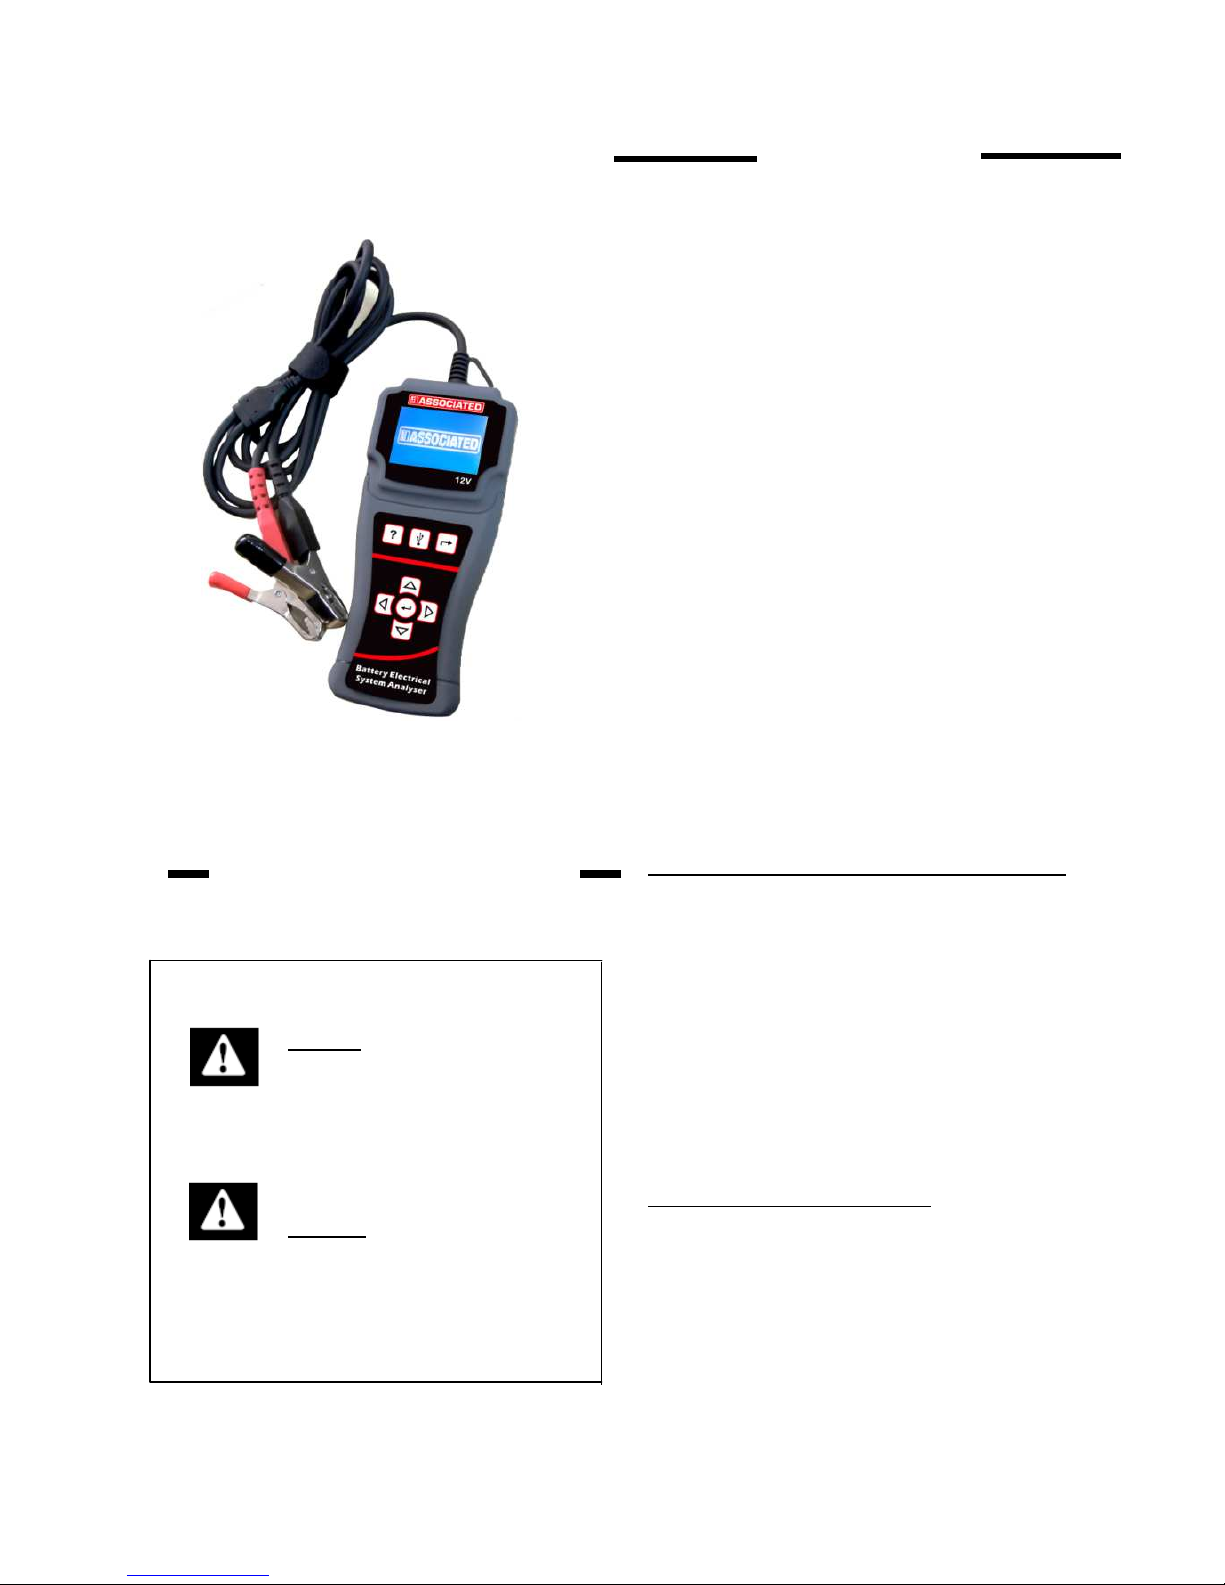
Battery Electrical System Analyser
(12-1012)
For testing all 12V automotive starting batteries
rated in CCA, DIN, IEC, JIS# and EN. Also for
testing vehicle Electric
al System.
Quick Start Guide
Caution: Never lay tools on the
battery top. You may short the
terminals together causing harm to
yourself, the tools or the battery.
Always follow Battery Council
International safety
recommendations.
Warning: Battery terminals contain
lead compounds which is
hazardous to our body if consumed.
Please wash your hand
immediately after handling.
LIMITED WARRANTY
This Battery Electrical System Analyser [12-1012] is
warranted to be free from defects in material and
workmanship for a period of 12 months from the date
of purchase and is subjected to the following terms
and conditions:
1. Within the warranty period, the manufacturer will
repair or replace, at their options, any defective
parts and return to the owner in good working
order.
2. Any repaired or replaced parts will be warranted
for the balance of the original warranty or 90 days
from the date of repair, whichever is longer.
3. Cost of delivery charges incurred for the repair of
the product (to and from the manufacturer) will be
borne by the owner.
4. The warranty covers only the defects arises as a
result of normal use and does not cover those
arise from:
•Unauthorized modification and repair
•Improper operation or misuse
•Accident or neglect such as dropping
onto hard surfaces.
•Contact with water, rain or extreme
humidity or heat.
•Physical damages such as cables
broken, surface cracks, etc.
Performing Battery Test while it is still in the car:
Vehicle that was running has to have its engine OFF
first and then switch ON the headlights for 30 seconds
to remove the surface charge. After the headlights
had switched OFF, let the battery rest for at least 1
minute to recover before testing commences.
The car engine and all other accessory loads must be
OFF during test in order to have an accurate result.
When attaching the analyser clips, make sure that the
battery posts were not oxidized or badly corroded.
Clean them first before clamping to it. Do not clamp
onto the steel bolts directly which may give inaccurate
and inconsistent results.
Testing on stand-alone batteries:
Clean the battery posts with a wire brush prior testing.
For side- post batteries, install stud adaptors. Do not
use steel bolts for better results.
1. Connect the tester clamps to the battery
posts, Red to the positive (+) terminal and
Black to the negative (-) terminal. Rock each
clamp back and forth for better contact.