ii
Table of Contents
Table of Contents
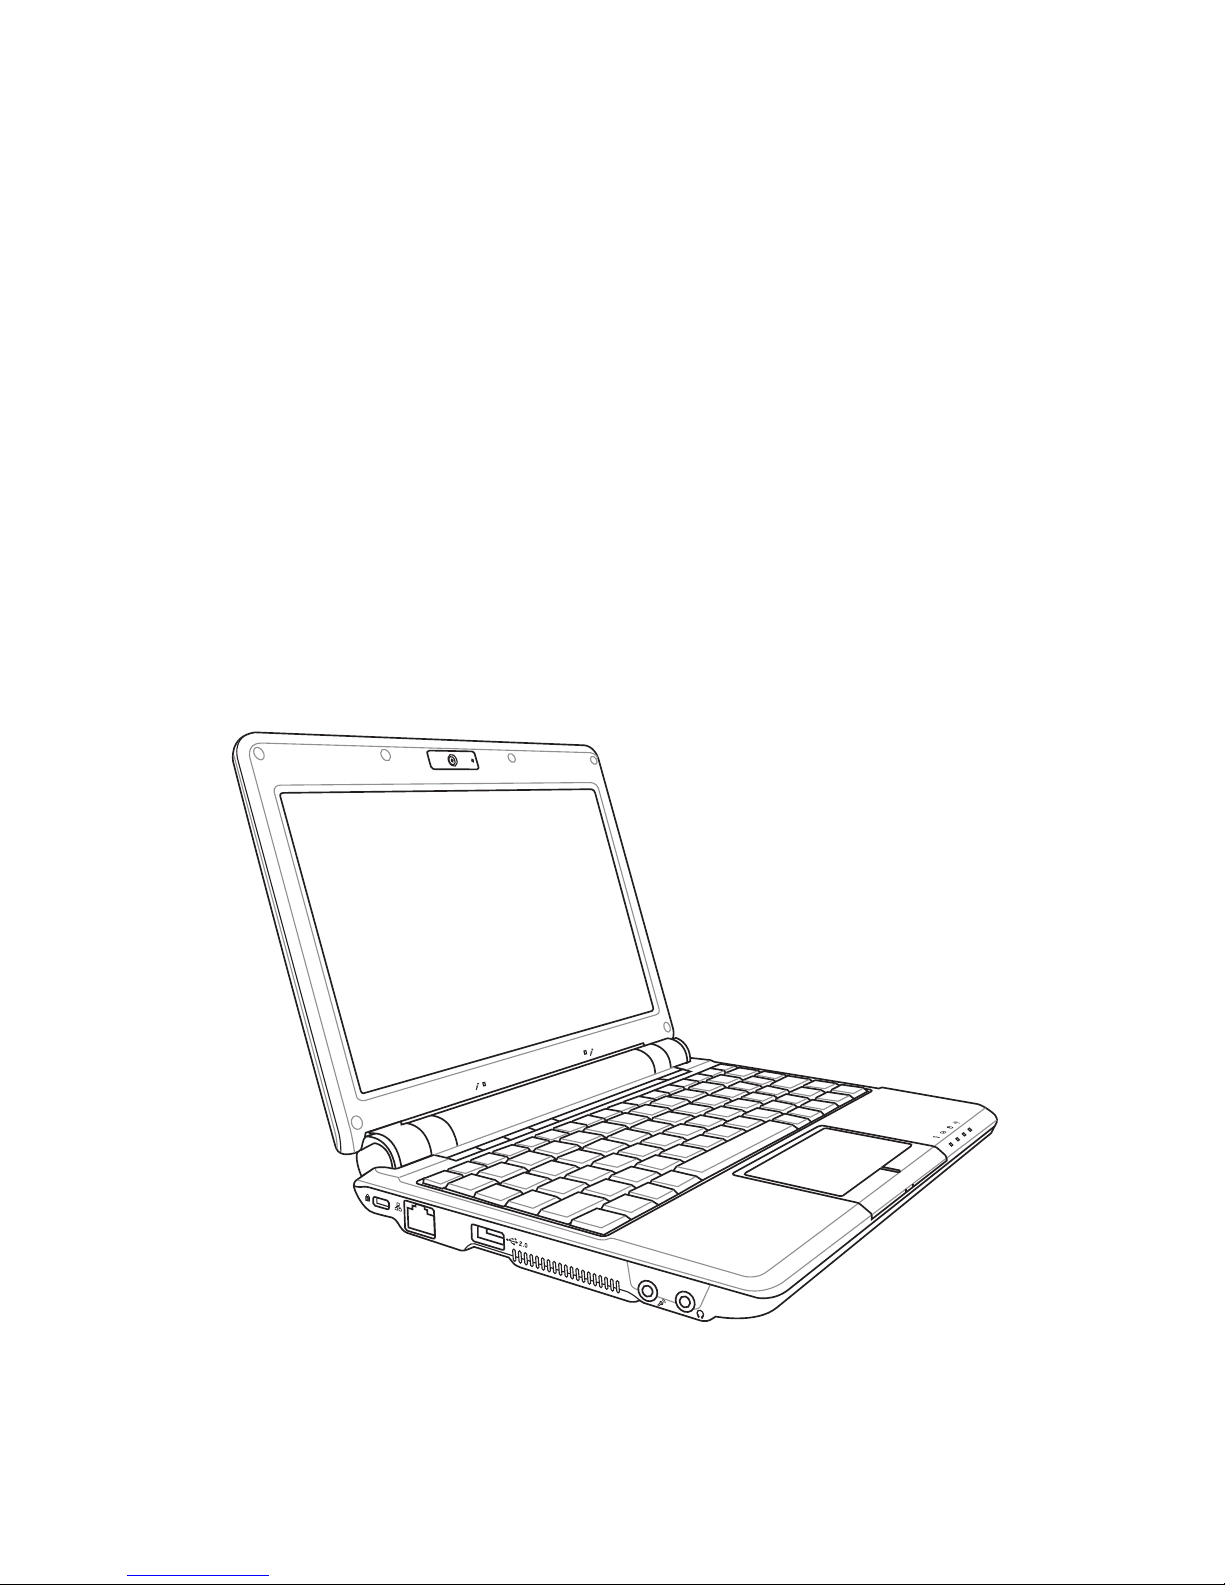
Chapter 1: Introducing the Eee PC
About This User’s Manual............................................................................ 1-2
Notes for This Manual ................................................................................... 1-3
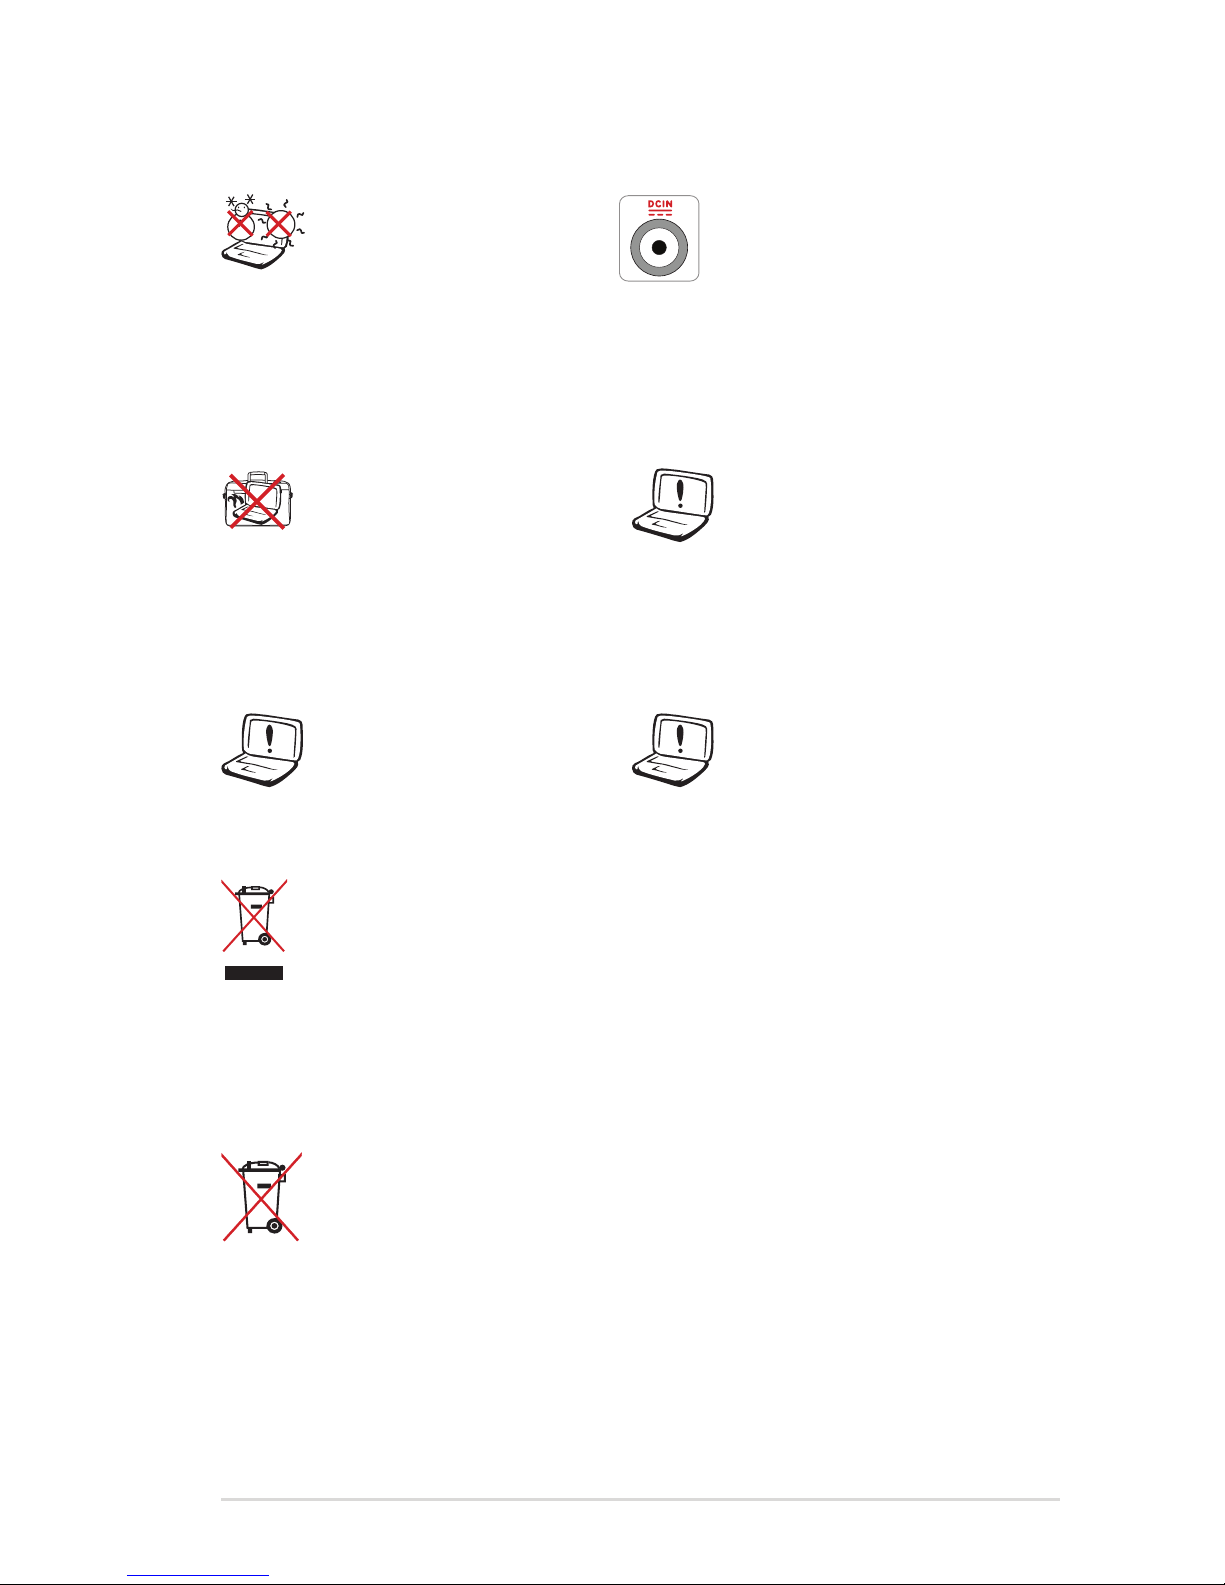
Safety Precautions ......................................................................................... 1-4
Transportation Precautions ...................................................................... 1-6
Charging Your Batteries.............................................................................. 1-6
Airplane Precautions ................................................................................... 1-6
Preparing your Eee PC.................................................................................. 1-7
Chapter 2: Knowing the Parts
Top Side ............................................................................................................. 2-2
Bottom Side...................................................................................................... 2-6
Right Side.......................................................................................................... 2-8
Left Side...........................................................................................................2-10
Rear Side..........................................................................................................2-11
Chapter 3: Getting Started
Power System .................................................................................................. 3-2
Using AC Power............................................................................................. 3-2
Using Battery Power .................................................................................... 3-3
Battery Care .................................................................................................... 3-4
Power Mode ................................................................................................... 3-4
Emergency Shutdown & Reset ................................................................ 3-5
Touchpad Usage............................................................................................. 3-6
Single-finger gesture input....................................................................... 3-6
Multi-finger gesture input......................................................................... 3-8
Keyboard Usage.............................................................................................. 3-9
Special Function Keys ................................................................................. 3-9
First-time Startup .........................................................................................3-14
Desktop............................................................................................................3-17
ASUS EeePC Tray Utility..............................................................................3-18
Enabling and Disabling Devices............................................................3-18
Adjusting the display resolution...........................................................3-19
Shutdown........................................................................................................3-20