(&'HFODUDWLRQRI&RQIRUPLW\
:HWKHXQGHUVLJQHG
0DQXIDFWXUHU ASUSTek COMPUTER INC.
$GGUHVV&LW\ No. 150, LI-TE RD., PEITOU, TAIPEI 112, TAIWAN R.O.C.
&RXQWU\ TAIWAN
$XWKRUL]HGUHSUHVHQWDWLYHLQ(XURSH ASUS COMPUTER GmbH
$GGUHVV&LW\ HARKORT STR. 21-23, 40880 RATINGEN
&RXQWU\ GERMANY
GHFODUHWKHIROORZLQJDSSDUDWXV
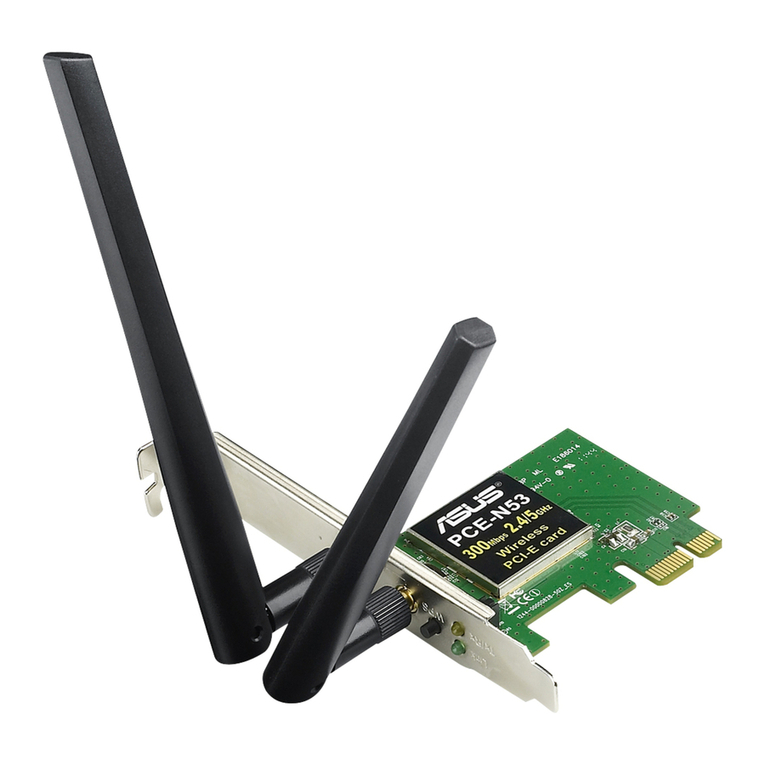
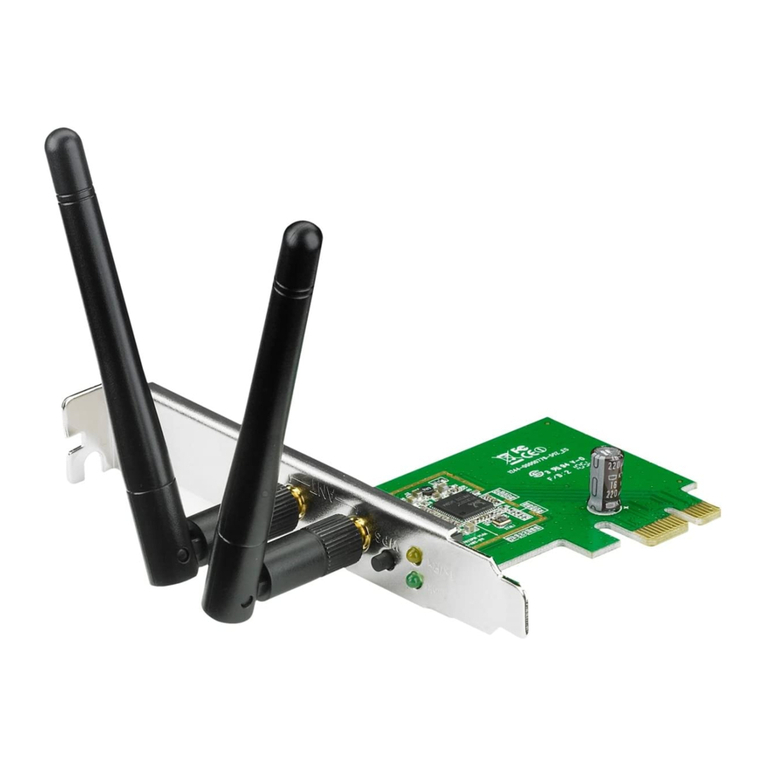
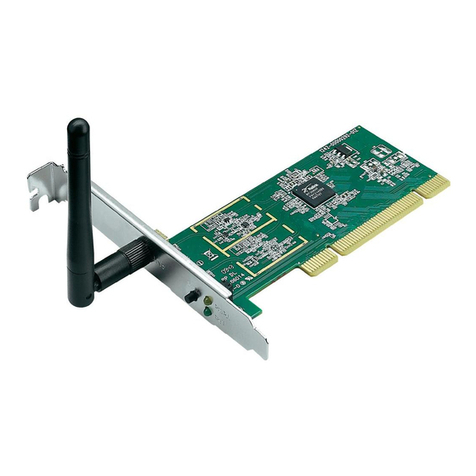
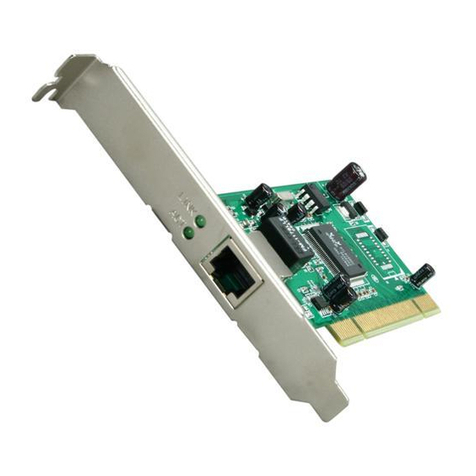
3URGXFWQDPH $6860ESVEJQ:LUHOHVV3&,(FDUG
0RGHOQDPH 3&(1
FRQIRUPZLWKWKHHVVHQWLDOUHTXLUHPHQWVRIWKHIROORZLQJGLUHFWLYHV
(&(0&'LUHFWLYH
EN 55022:2006+A1:2007
EN 61000-3-2:2006
EN 55013:2001+A1:2003+A2:2006
EN 55024:1998+A1:2001+A2:2003
EN 61000-3-3:2008
EN 55020:2007
(&577('LUHFWLYH
EN 300 328 V1.7.1(2006-05)
EN 300 440-1 V1.4.1(2008-05)
EN 300 440-2 V1.2.1(2008-03)
EN 301 511 V9.0.2(2003-03)
EN 301 908-1 V3.2.1(2007-05)
EN 301 908-2 V3.2.1(2007-05)
EN 301 893 V1.4.1(2005-03)
EN 302 544-2 V1.1.1(2009-01)
EN 62311:(2008-11)
EN 50371:2002
EN 50385:2002
EN 301 489-1 V1.8.1(2008-04)
EN 301 489-3 V1.4.1(2002-08)
EN 301 489-4 V1.3.1(2002-08)
EN 301 489-7 V1.3.1(2005-11)
EN 301 489-9 V1.4.1(2007-11)
EN 301 489-17 V2.1.1(2009-05)
EN 301 489-24 V1.4.1(2007-09)
EN 302 326-2 V1.2.2(2007-06)
EN 302 326-3 V1.3.1(2007-09)
EN 301 357-2 V1.3.1(2006-05)
EN 302 623 V1.1.1(2009-01)
(&/9''LUHFWLYH
EN 60950-1:2006
EN 60950-1:2006+A11:2009
EN 60065:2002+A1:2006+A11:2008
(&(U3'LUHFWLYH
Regulation (EC) No. 1275/2008
EN 62301:2005
Regulation (EC) No. 642/2009
EN 62301:2005
Regulation (EC) No. 278/2009
EN 62301:2005
Ver. 110101
&(PDUNLQJ
'HFODUDWLRQ'DWH0DU
<HDUWREHJLQDIIL[LQJ&(PDUNLQJ
Position : &(2
Name : -HUU\6KHQ
Signature : __________
!
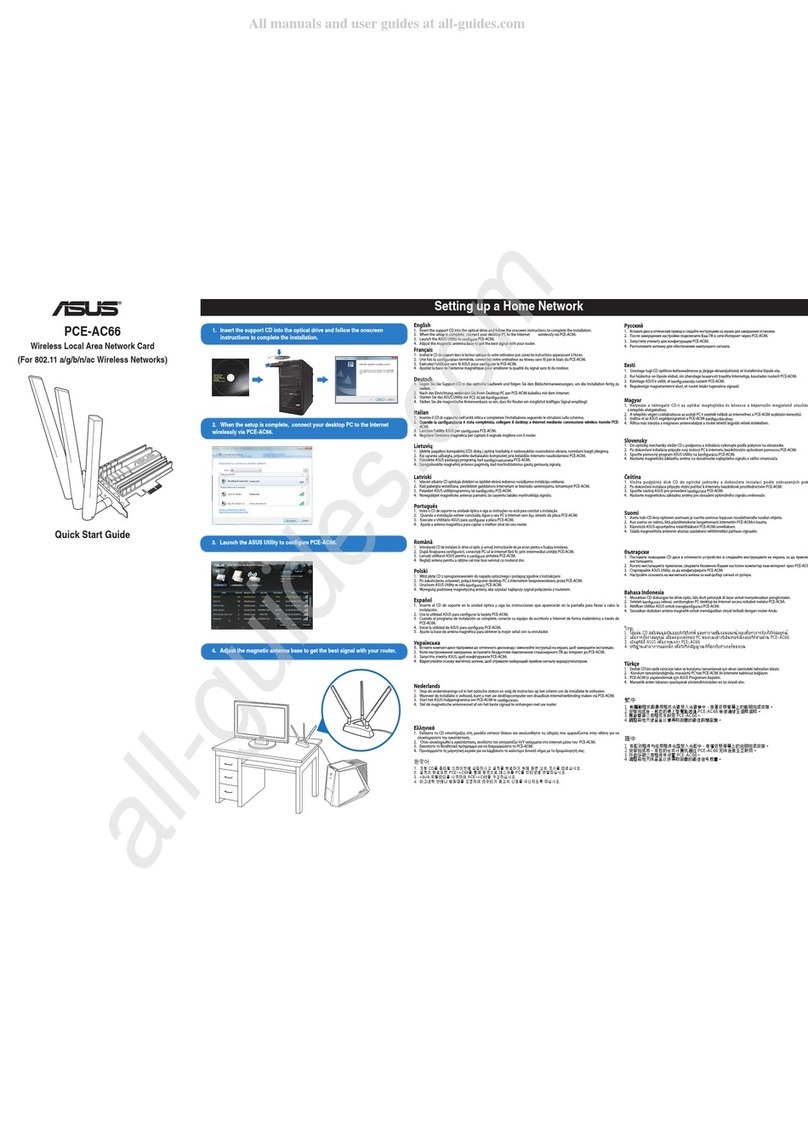
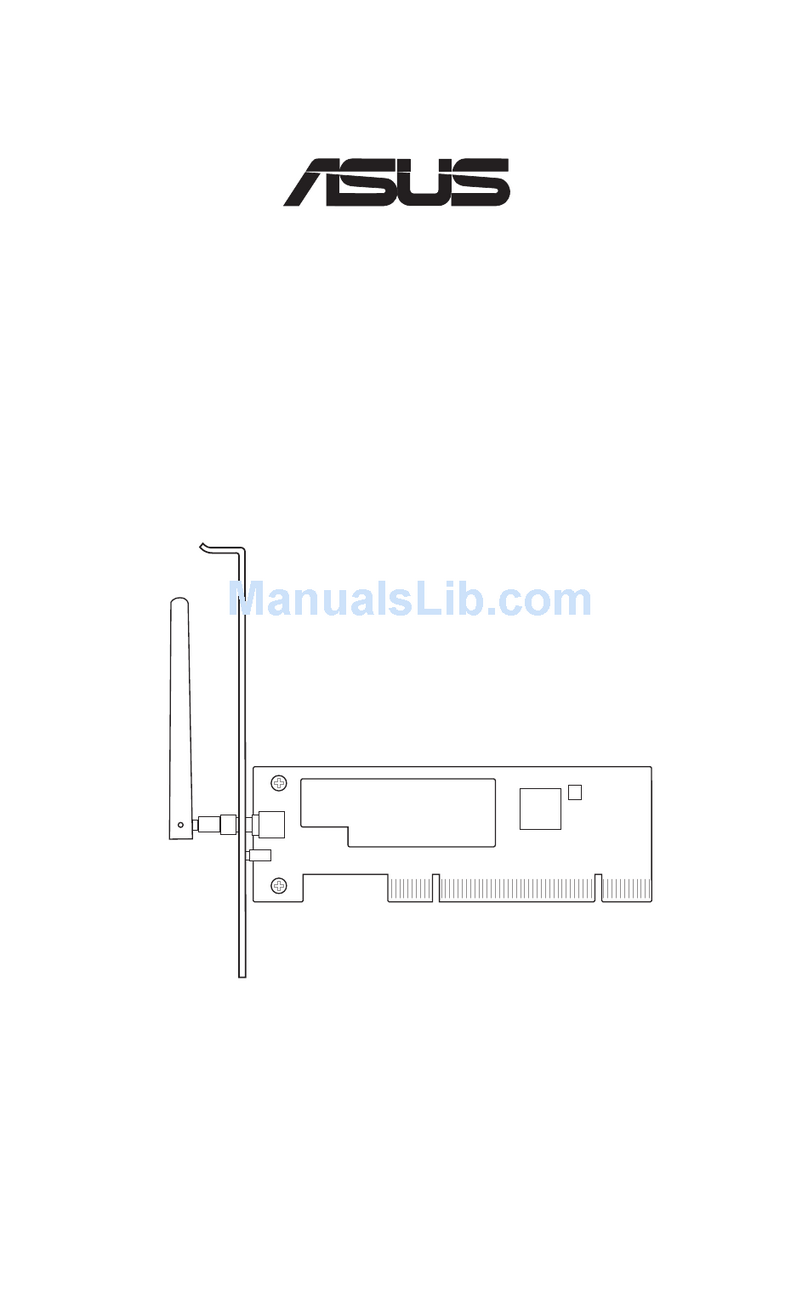
Setting up a Home Network
3. Setup is completed.
1. Insert the support CD into the optical drive and follow the onscreen
instructions to complete the installation.
2. Congure PCE-N15 using ASUS utility.
2.1 Connect to a wireless network manually.
2.2 Connect to a wireless network using WPS.
2.3 Switch to the Soft AP mode (Windows®XP/Vista/7).
English
1. Insert the support CD into the optical drive and follow the onscreen instructions to complete the
installation.
2. Congure PCE-N15 using ASUS utility.
2.1 Connect to a wireless network manually.
2.2 Connect to a wireless network using WPS
2.3 Switch to the Soft AP mode (Windows® XP/Vista/7).
3. Setup is completed.
Deutsch
1. Legen Sie die Support-CD in das optische Laufwerk und folgen Sie den Bildschirmanweisungen, um die
Installation fertig zu stellen.
2. Kongurieren Sie PCE-N15 mit Hilfe des ASUS-Hilfsprogramms.
2.1 Verbinden Sie sich manuell mit einem Wireless-Netzwerk.
2.2 Verbinden Sie sich mit WPS mit einem Wireless-Netzwerk.
2.3 Schalten Sie in den Soft AP-Modus (Windows® XP/Vista/7).
3. Die Einrichtung ist fertig.
Italian
1.
Inserire il CD di supporto nell’unità ottica e completare l’installazione seguendo le istruzioni sullo schermo.
2. Congurare PCE-N15 tramite l’utilità ASUS.
2.1 Effettuare manualmente la connessione alla rete wireless.
2.2 Effettuare la connessione alla rete wireless tramite WPS.
2.3 Passare in modalità Soft AP (Windows® XP/Vista/7).
3. Congurazione completata.
Lietuvių
1. Įdėkite pagalbos kompaktinį (CD) diską į optinę tvarkyklę ir vadovaukitės nuorodomis ekrane, norėdami
baigti įdiegimą.
2. PCE-N15 kongūravimas naudojant ASUS paslaugų programą.
2.1 Rankiniu būdu prijunkite bevielį tinklą.
2.2 Prijunkite bevielį tinklą naudodamiesi WPS
2.3 Perjunkite į “Soft AP” režimą
3. Sąranka baigta.
Latviski
1.
Ielieciet atbalsta CD optiskajā diskdzinī un izpildiet ekrānā redzamos norādījumus instalācijas veikšanai.
2. Kongurējiet PCE-N15, izmantojot ASUS utilītu.
2.1 Pievienojieties bezvadu tīklam manuāli.
2.2 Pievienojieties bezvadu tīklam, izmantojot WPS.
2.3 Pārslēdzieties uz Soft AP režīmu.
3. Iestatīšana ir pabeigta.
Português
1. Insira o CD de suporte na unidade óptica e siga as instruções no ecrã para concluir a instalação.
2. Congure a placa PCE-N15 com o utilitário ASUS.
2.1 Ligue manualmente a uma rede sem os.
2.2 Ligue a uma rede sem os através de WPS
2.3 Mude para o modo Soft AP
3. A conguração ca assim concluída.
Română
1. Introduceţi CD de instalare în drive-ul optic şi urmaţi instrucţiunile de pe ecran pentru a naliza instalarea.
2. Conguraţi PCE-N15 utilizând utilitarul ASUS.
2.1 Conectaţi-vă manual la o reţea wireless.
2.2 Conectaţi-vă la o reţea wireless utilizând WPS
2.3 Conectaţi-vă la modul Soft AP
3. Conectarea este nalizată.
Polski
1. Włóż płytę CD z oprogramowaniem do napędu optycznego i postępuj zgodnie z instrukcjami
2. Skonguruj PCE-N15 programem narzędziowym ASUS.
2.1 Połącz ręcznie z siecią bezprzewodową.
2.2 Połącz z siecią bezprzewodową poprzez WPS
2.3 Przełącz na tryb Soft AP (Programowy punkt dostępowy)
3. Konguracja została zakończona.
Español
1. Inserte el CD de soporte en la unidad óptica y siga las instrucciones que
aparecerán en la pantalla para llevar a cabo la instalación.
2. Use la utilidad ASUS para congurar la tarjeta PCE-N15.
2.1 Conéctese a una red inalámbrica manualmente.
2.2 Conéctese a una red inalámbrica empleando la función WPS.
2.3 Active el modo Soft AP (AP Software)
3. Ha nalizado la conguración.
Українська
1. Вставте компакт-диск підтримки до оптичного дисководу і виконуйте інструкції на
екрані, щоб завершити інсталяцію.
2. Конфігурація PCE-N15 за допомогою утиліти ASUS.
2.1 Підключіться до бездротової мережі вручну.
2.2 Підключіться до бездротової мережі за допомогою WPS
2.3 Перемкнутися на режим Soft AP (М’якої точки доступу)
3. Налаштування завершено.
Français
1.
Insérez le CD de support dans le lecteur optique de votre ordinateur puis suivez les instructions apparaissant à l’écran.
2. Congurez le PCE-N15 à l’aide de l’utilitaire ASUS.
2.1 Connectez-vous manuellement à un réseau sans l.
2.2 Connectez-vous à un réseau sans l à l’aide de la fonction WPS.
2.3 Congurez la carte réseau sans l en mode Point d’accès (Windows XP/Vista/7)
3. La conguration est terminée.
Nederlands
1. Stop de ondersteunings-cd in het optische station en volg de instructies op het scherm om de
installatie te voltooien.
2. Congureer PCE-N15 met ASUS-hulpprogramma.
2.1 Maak handmatig een verbinding met een draadloos netwerk.
2.2 Maak met WPS een verbinding met een draadloos netwerk.
2.3 Schakel naar de Soft AP-modus
3. De instelling is voltooid.
Ελληνικά
1. Εισάγετε το CD υποστήριξης στη μονάδα οπτικού δίσκου και ακολουθήστε τις οδηγίες που
εμφανίζονται στην οθόνη για να ολοκληρώσετε την εγκατάσταση.
2. Διαμορφώστε το PCE-N15 χρησιμοποιώντας το βοηθητικό πρόγραμμα της ASUS.
2.1 Συνδεθείτε μη αυτόματα σε ένα ασύρματο δίκτυο.
2.2 Συνδεθείτε σε ένα ασύρματο δίκτυο με χρήση του WPS
2.3 Αλλαγή σε λειτουργία Soft AP
3. Η εγκατάσταση έχει ολοκληρωθεί.
Русский
1.
Вставьте диск в оптический привод и следуйте инструкциям на экране для завершения установки.
2. Cконфигурируйте PCE-N15 с помощью утилиты ASUS.
2.1 Подключение к беспроводной сети вручную.
2.2 Подключение к беспроводной сети с помощью WPS
2.3 Переключение в режим Soft AP (Windows XP/Vista/7).
3. Настройка завершена.
Eesti
1. Sisestage tugi-CD optilisse kettaseadmesse ja järgige ekraanijuhiseid, et installimine lõpule viia.
2. Kongureerige seade PCE-N15, kasutades ASUS utiliiti.
2.1 Looge traadita võrguga käsitsi ühendus.
2.2 Looge ühendus traadita võrguga, kasutades funktsiooni WPS.
2.3 Lülituge režiimi Soft AP
3. Häälestus on lõpule viidud.
Magyar
1. Helyezze a támogató CD-t az optikai meghajtóba és kövesse a képernyőn megjelenő utasításokat
a telepítés elvégzéséhez.
2. Végezze el a PCE-N15 kongurálását az ASUS segédprogram használatával.
2.1 Csatlakozzon manuálisan egy vezeték nélküli hálózathoz.
2.2 Csatlakozzon egy vezeték nélküli hálózathoz WPS segítségével.
2.3 Váltson Soft-AP módra.
3. A beállítás befejeződött.
Slovensky
1 Do optickej mechaniky vložte CD s podporou a inštaláciu vykonajte podľa pokynov na
obrazovke.
2. Vykonajte konguráciu PCE-N15 pomocou nástroja ASUS.
2.1 Pripojte sa k bezdrôtovej sieti manuálne.
2.2 Pripojte sa k bezdrôtovej sieti pomocou WPS.
2.3 Prepnite na režim Soft AP.
3 Nastavenie je dokončené.
Čeština
1. Vložte podpůrný disk CD do optické jednotky a dokončete instalaci podle zobrazených pokynů.
2. Nakongurujte PCE-N15 pomocí nástroje ASUS.
2.1 Připojte se k bezdrátové síti ručně.
2.2 Připojte se k bezdrátové síti pomocí WPS
2.3 Přepněte do režimu softwarového přístupového bodu (AP)
3. Instalace je dokončena.
Suomi
1. Aseta tuki-CD-levy optiseen asemaan ja suorita asennus loppuun noudattamalla ruudun ohjeita.
2. Määritä PCE-N15 käyttämällä ASUS-apuohjelmaa.
2.1 Muodosta yhteys langattomaan verkkoon manuaalisesti.
2.2 Muodosta yhteys langattomaan verkkoon käyttämällä WPS:ää
2.3 Kytke Soft AP -tilaan
3. Asennus on valmis.
български
1. Поставете помощния CD диск в оптичното устройство и следвайте инструкциите на екрана,
за да приключите инсталацията.
2. Конфигуриране на PCE-N15 с помощта на помощната програма на ASUS.
2.1 Ръчно свързване към безжична мрежа
2.2 Свързване към безжична мрежа с помощта на WPS
2.3 Превключване на Soft AP режим
3. Конфигурирането приключи.
Bahasa Indonesia
1. Masukkan CD dukungan ke drive optic, lalu ikuti petunjuk di layar untuk menyelesaikan
penginstalan.
2. Kongurasikan PCE-N15 menggunakan utilitas ASUS.
2.1 Sambungkan ke jaringan nirkabel secara manual.
2.2 Sambungkan ke jaringan nirkabel menggunakan WPS.
2.3 Alihkan ke mode Soft AP.
3. Kongurasi selesai.
ไทย
1. ใส่แผ่นCDสนับสนุนลงในออปติคัลไดรฟ์และทำตามขั้นตอนบนหน้าจอเพื่อทำการติดตั้งให้สมบูรณ์
2. กำหนดค่าPCE-N15โดยใช้ยูทิลิตี้ASUS
2.1เชื่อมต่อไปยังเครือข่ายไร้สายแบบแมนนวล
2.2เชื่อมต่อไปยังเครือข่ายไร้สายโดยใช้WPS
2.3สลับไปยังโหมดซอฟต์AP
3. การตั้งค่าเสร็จสมบูรณ์
Türkçe
1. Destek CD’sini optik sürücüye takın ve kurulumu tamamlamak için ekran üzerindeki talimatları izleyin.
2. ASUS programını kullanarak PCE-N15’u yapılandırın.
2.1 Kablosuz bir ağa manüel bağlanın.
2.2 Kablosuz bir ağa WPS kullanarak bağlanın
2.3 Soft AP moduna geçin
3 Kurulum tamamlanır.
繁中
1.
將驅動程式與應用程式光碟放入光碟機中,接著依照螢幕上的說明完成安裝。
2.
使用華碩應用程式設定 PCE-N15。
2.1
手動連線到一個無線網路。
2.2
使用 WPS 連線到一個無線網路。
2.3
切換到軟體基地台模式
(Windows® XP/Vista/7).
3.
設定完成。
簡中
1.
將驅動程序與應用程序光盤放入光驅中,接著依照屏幕上的說明完成安裝。
2.
使用華碩應用程序設置 PCE-N15。
2.1
手動連接到一個無線網絡。
2.2
使用 WPS 連接到一個無線網絡。
2.3
切換到軟 AP 模式
(Windows® XP/Vista/7).
3.
設置完成。
한국어
1. 지원CD를옵티컬드라이브에삽입하시고설치를완료하기위해화면상의지시를따르십시오.
2. ASUS유틸리티를이용하여PCE-N15을설정하기.
2.1무선네트워크를수동으로연결하십시오.
2.2WPS를이용하여무선네트워크에연결하십시오.
2.3SoftAP모드로전환하십시오(Windows®XP/Vista/7).
3. 설치가완료되었습니다.
日本語
1. サポートCDを光学ドライブに挿入し、画面の指示に従ってインストールを実行します。
2. インストールされたASUSユーティリティを使用し、PCE-N15の設定を行います。
2.1 手動で無線ネットワークに接続する。
2.2 WPSで無線ネットワークに接続する。
2.3 ソフトAPモードに切り替えて接続する。(Windows® XP/Vista/7)
3. セットアップ完了です。
