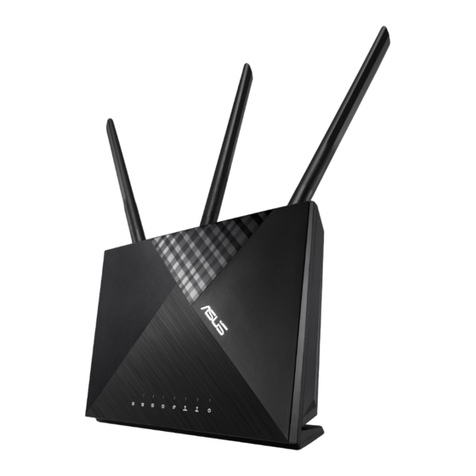
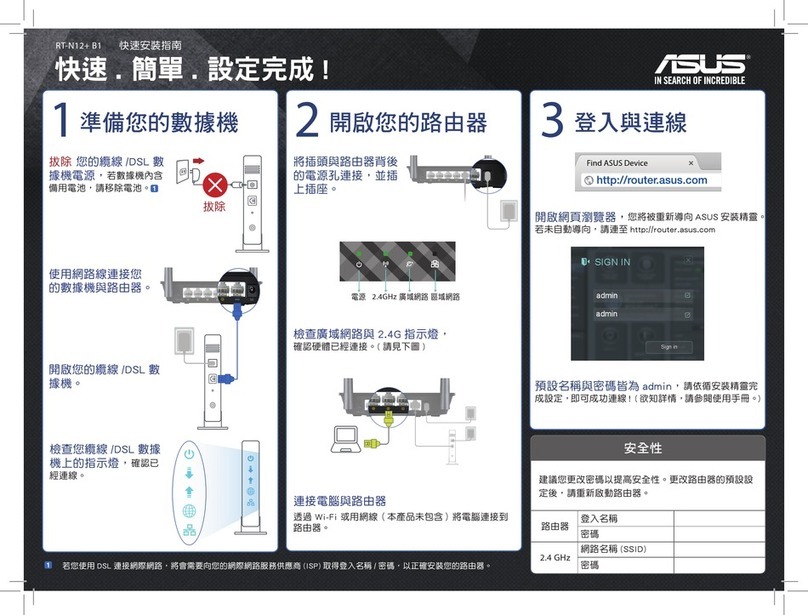
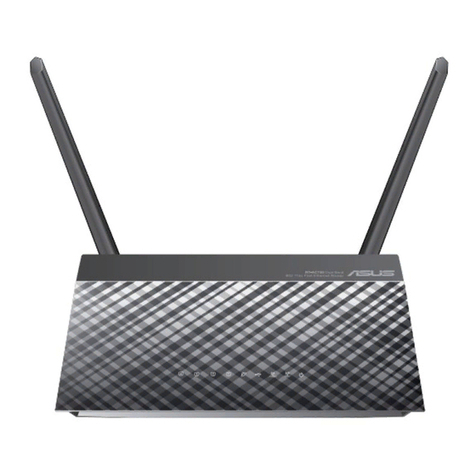
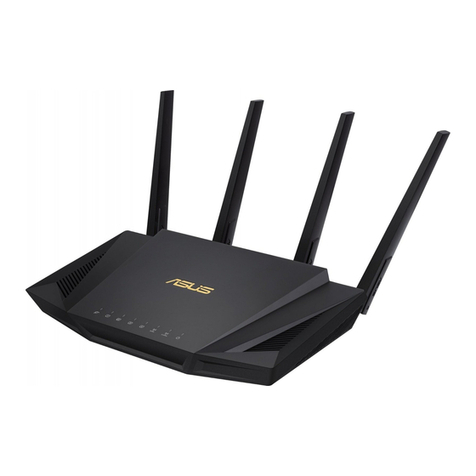
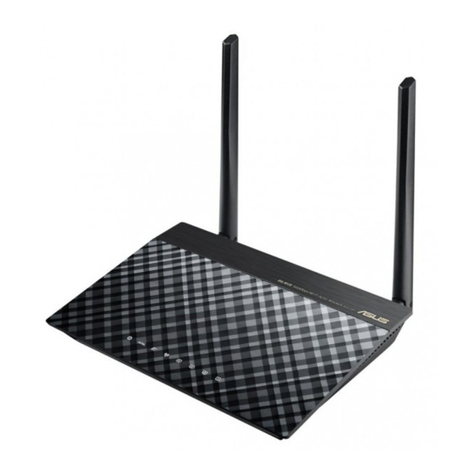
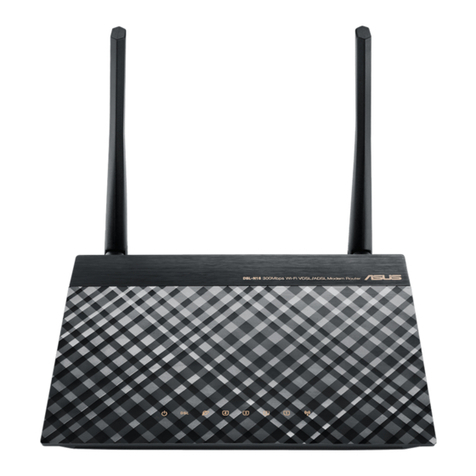
Asus DSL-N12HP User manual

DSL-N12HP
300Mbps Wi-Fi ADSL Modem Router
User Guide

2
Copyright © 2015 ASUSTeK Computer Inc. All Rights Reserved.
No part of this manual, including the products and software described
in it, may be reproduced, transmitted, transcribed, stored in a retrieval
system, or translated into any language in any form or by any means, except
documentation kept by the purchaser for backup purposes, without the
express written permission of ASUSTeK Computer Inc. (“ASUS”).
Product warranty or service will not be extended if: (1) the product is repaired,
modied or altered, unless such repair, modication of alteration is authorized
in writing by ASUS; or (2) the serial number of the product is defaced or
missing.
ASUS PROVIDES THIS MANUAL “AS IS”WITHOUT WARRANTY OF ANY KIND,
EITHER EXPRESS OR IMPLIED, INCLUDING BUT NOT LIMITED TO THE IMPLIED
WARRANTIES OR CONDITIONS OF MERCHANTABILITY OR FITNESS FOR A
PARTICULAR PURPOSE. IN NO EVENT SHALL ASUS, ITS DIRECTORS, OFFICERS,
EMPLOYEES OR AGENTS BE LIABLE FOR ANY INDIRECT, SPECIAL, INCIDENTAL,
OR CONSEQUENTIAL DAMAGES (INCLUDING DAMAGES FOR LOSS OF PROFITS,
LOSS OF BUSINESS, LOSS OF USE OR DATA, INTERRUPTION OF BUSINESS
AND THE LIKE), EVEN IF ASUS HAS BEEN ADVISED OF THE POSSIBILITY OF
SUCH DAMAGES ARISING FROM ANY DEFECT OR ERROR IN THIS MANUAL OR
PRODUCT.
SPECIFICATIONS AND INFORMATION CONTAINED IN THIS MANUAL ARE
FURNISHED FOR INFORMATIONAL USE ONLY, AND ARE SUBJECT TO CHANGE
AT ANY TIME WITHOUT NOTICE, AND SHOULD NOT BE CONSTRUED AS A
COMMITMENT BY ASUS. ASUS ASSUMES NO RESPONSIBILITY OR LIABILITY
FOR ANY ERRORS OR INACCURACIES THAT MAY APPEAR IN THIS MANUAL,
INCLUDING THE PRODUCTS AND SOFTWARE DESCRIBED IN IT.
Products and corporate names appearing in this manual may or may not be
registered trademarks or copyrights of their respective companies, and are used
only for identication or explanation and to the owners’ benet, without intent
to infringe.
E11002
First Edition
October 2015
3
Table of contents
1 Getting to know your ADSL modem router
1.1 Welcome! ........................................................................................6
1.2 Package contents.........................................................................6
1.3 Your ADSL modem router.........................................................7
1.4 Positioning your ADSL modem router .................................9
1.5 Setup Requirements ................................................................ 10
1.6 ADSL Modem Router Setup .................................................. 10
2 Getting started
2.1 Default settings.......................................................................... 12
2.2 IP conguration ......................................................................... 13
2.3 Logging into the Web GUI ..................................................... 16
2.4 Quick Internet Setup (QIS) Wizard with Auto-detection17
2.5 Connecting to your wireless network................................ 19
3 Conguring the General settings
3.1 Device Information .................................................................. 20
3.1.1 WAN ...........................................................................................21
3.1.2 Trac Statistics ......................................................................22
3.1.3 Route .........................................................................................30
3.1.4 Clients Status ..........................................................................31
3.1.5 DHCP..........................................................................................32
3.1.6 NAT Session.............................................................................33
3.1.7 IPv6.............................................................................................34
3.2 Basic Setup .................................................................................. 36
3.2.1 Layer 2 Interface ....................................................................37
3.2.1 Layer 2 Interface ....................................................................38
3.2.2 WAN Service Setup...............................................................38
3.2.3 LAN.............................................................................................40
3.2.4 IPv6 ............................................................................................43
3.2.5 Security.....................................................................................49

4
Table of contents
3.2.6 Parental Control ....................................................................55
3.2.7 Routing ...................................................................................58
3.3 Advanced Setup ........................................................................ 63
3.3.1 NAT .............................................................................................63
3.3.2 Quality of Service (QoS)......................................................71
3.3.3 UPnP ..........................................................................................79
3.3.4 DNS.............................................................................................80
3.3.5 DSL .............................................................................................85
3.3.6 DNS Proxy ................................................................................87
3.3.7 Interface Grouping ...............................................................88
3.3.7 IP Tunnel...................................................................................91
3.4 Wireless......................................................................................... 95
3.4.1 Basic ...........................................................................................96
3.4.2 Security.....................................................................................98
3.4.3 MAC Filter.............................................................................. 101
3.4.4 Wireless Bridge.................................................................... 102
3.4.5 Advanced.............................................................................. 103
3.4.6 Site Survey ............................................................................ 106
3.4.7 Station Info........................................................................... 107
4 Conguring the System settings
4.1 Diagnostics................................................................................108
4.1.1 Individual Tests.................................................................... 108
4.1.2 Uptime Status...................................................................... 109
4.2 Management ............................................................................110
4.2.1 Settings.................................................................................. 110
4.2.2 System Log ........................................................................... 113
4.2.3 Internet Time ....................................................................... 115
4.2.4 Access Control..................................................................... 116
4.2.5 Update Software ................................................................ 119
5 Logout & Reboot

5
Table of contents
Appendix A - Firewall
Appendix B - Pin Assignments
Appendix C – Specications
Appendix D - SSH Client
Appendix E - Connection Setup
E1 Layer 2 Interfaces ....................................................................132
E1.1 ATM Interfaces..................................................................... 132
E1.2 ETHERNET WAN Interfaces.............................................. 135
E2 WAN Connections...................................................................137
E2.1 PPP over ETHERNET (PPPoE) .......................................... 139
E2.2 IP over ETHERNET (IPoE) .................................................. 145
E2.3 Bridging................................................................................. 151
E2.4 PPP over ATM (PPPoA)...................................................... 153
E2.5 IP over ATM (IPoA).............................................................. 158
Appendix F - WPS OPERATION
F1 Add Enrollee with Pin Method ...........................................162
F2 Add Enrollee with PBC Method..........................................163
Appendix G
Notices .....................................................................................................164
ASUS Contact Information..................................................................178
Networks Global Hotline Information.............................................179

6
1 Getting to know your ADSL
modem router
NOTES:
• Ifanyoftheitemsaredamagedormissing,contactASUSfor
technical inquiries and support. Refer to the ASUS Support Hotline
list at the back of this user manual.
• Keeptheoriginalpackagingmaterialincaseyouwouldneedfuture
warranty services such as repair or replacement.
1.1 Welcome!
Thank you for purchasing an ASUS DSL-N12HP Wi-Fi ADSL Modem
Router!
DSL-N12HP is an 802.11n (300Mbps) Wireless ADSL2+ router
comprising four 10/100 Base-T Ethernet ports, a Wi-Fi Protected
Setup (WPS)/ Wi-Fi switch button, and is backward compatible
with existing 802.11b (11Mbps) and 11g (54bps) equipment.
The DSL-N12HP ADSL2+ router provides state of the art security
features such as 64/128 bit WEP encryption and WPA/WPA2
encryption, Firewall, and VPN pass through.
1.2 Package contents
DSL-N12HP Wireless Modem Router
2 detachable antennas
Antenna holder
Power adapter
Network cable (RJ-45 cable)
DSL/phone cable (RJ-11 cable)
Quick Start Guide
Warranty card
Splitter

7
1.3 Your ADSL modem router
Power LED
O: No power.
Solid green: Device is ready.
Flashing green: Upgrade is in process.
Solid red: POST (Power On Self Test) failure (not bootable) or device
malfunction.
NOTE: A malfunction is any error of internal sequence or state that will
prevent the device from connecting to the DSLAM or passing customer
data. This may be identied at various times such after power on or during
operation through the use of self testing or in operations which result in a
unit state that is not expected or should not occur.
ADSL LED
O: No ADSL link or unable to establish ADSL link.
Solid green: ADSL link is established.
Flashing green: ADSL is attempting to connect to a DSLAM.
Internet LED
O: IP connected and no trac detected (the device has a WAN IP address
from IPCP or DHCP is up or a static IP address is congured, PPP
negotiation has successfully complete.
If the IP or PPPoE session is dropped due to an idle timeout, the light
will remain Blue.
Solid green: Modem power o, modem in bridged mode or WAN
connection not present.
The light will turn o when it attempts to reconnect and
DHCP or PPPoE fails.
Flashing green: IP connected and IP Traffic is passing through the device.
4. 3. 2. 1.
DSL-N12HP 300Mbps
Wi-Fi ADSL Modem Router

8
NOTE: Use only the adapter that came with your package. Using other
adapters may damage the device.
Wi-Fi LED
O: No Wi-Fi signal.
Solid green: Wireless system is ready.
Flashing green:Transmitting or receiving data via wireless connection.
LAN 1~4 LED
O: No power or no physical connection.
Solid green: Has physical connection to an Ethernet network.
Flashing green:Transmitting or receiving data via wireless connection.
WPS and Wi-Fi on/o button
Press and hold this button more than 5 seconds to activate WPS. Ensure
that the WPS is enabled in Wireless > Security page).
Press and hold this button 2~3 seconds to enable/disable Wi-Fi.
ADSL port
Connect to a splitter or to a telephone outlet via an RJ-11 cable.
LAN 1 ~ 4 ports
Connect network cables into these ports to establish LAN connection.
Reset button
Press this button for 10 seconds to reset or restore the system to its factory
default settings.
Power button
Press this button to power on or o the system.
Power (DC-IN) port
Insert the bundled AC adapter into this port and connect your router to a
power source.

9
1.4 Positioning your ADSL modem router
For the best wireless signal transmission between the ADSL
modem router and the network devices connected to it, ensure
that you:
• PlacetheADSLmodemrouterinacentralizedareafora
maximum wireless coverage for the network devices.
• Keepthedeviceawayfrommetalobstructionsandawayfrom
direct sunlight.
• Topreventsignalinterferenceorloss,keepthedeviceaway
from 802.11g or 20MHz only Wi-Fi devices, 2.4GHz computer
peripherals, Bluetooth devices, cordless phones, transformers,
heavy-duty motors, uorescent lights, microwave ovens,
refrigerators, and other industrial equipment.
• Alwaysupdatetothelatestrmware.VisittheASUSwebsite
at http://www.asus.com to get the latest rmware updates.
• Toensurethebestwirelesssignal,orientthetwodetachable
antennas using the bundled antenna holder as shown in the
drawing below.
90°90°

10
1.5 Setup Requirements
To set up your wireless network, you need a computer that meets
the following system requirements:
• EthernetRJ-45(LAN)port(10Base-T/100Base-TX)
• IEEE802.11b/g/nwirelesscapability
• AninstalledTCP/IPservice
• WebbrowsersuchasInternetExplorer,Firefox,Safari,or
Google Chrome
NOTES:
• Ifyourcomputerdoesnothavebuilt-inwirelesscapabilities,you
may install an IEEE 802.11b/g/n WLAN adapter to your computer to
connect to the network.
• TheEthernetRJ-45cablesthatwillbeusedtoconnectthenetwork
devices should not exceed 100 meters.
Wired connection
NOTE: You can use either a straight-through cable or a crossover cable
for wired connection.
1.6 ADSL Modem Router Setup
IMPORTANT!
• UseawiredconnectionwhensettingupyourADSLmodemrouter
to avoid possible setup problems.
• BeforesettingupyourASUSADSLmodemrouter,dothefollowing:
• IfyouarereplacinganexistingADSLmodemrouter,disconnectit
from your network.

11
To set up your ADSL modem router via wired connection:
1. Connect one end of the RJ-11 cable to the ADSL port of your
ADSL modem router, and connect the other end to the ADSL
port of your splitter.
2. Using a network cable, connect your computer to your ADSL
modem router’s LAN port.
3. Insert your ADSL modem router’s power adapter to the DC-IN
port and plug it to a power outlet.
IMPORTANT! After turning on your ADSL modem router, wait for a few
minutes for Internet connection.
4. 3. 2. 1.
Wall telephone outlet
Computer
Wall Power Outlet
Power
LAN
Splitter Phone
DSL

12
2 Getting started
2.1 Default settings
Your ASUS Wireless ADSL Modem Router comes with an intuitive
web graphical user interface (GUI) that allows you to easily
congure its various features through a web browser such as
Internet Explorer, Firefox, Safari, or Google Chrome.
NOTE: The features may vary with dierent rmware versions.
The factory default settings of this device are summarized below.
• LANIPaddress:192.168.1.1
• LANsubnetmask:255.255.255.0
• Administrativeaccess(username:admin,password:admin)
• Wi-Fiaccess:enabled
NOTE: During power on, the device initializes all settings to default
values. It will then read the conguration prole from the permanent
storage section of ash memory. The default attributes are overwritten
when identical attributes with dierent values are congured. The
conguration prole in permanent storage can be created via the Web
GUI or telnet user interface, or other management protocols. The factory
default conguration can be restored either by pushing the reset button
for more than ve seconds until the power indicates LED blinking or by
clicking the Restore Default Conguration option in the Restore Settings
screen.

13
2.2 IP conguration
DHCP MODE
When the DSL-N12HP powers up, the onboard DHCP server
will switch on. Basically, the DHCP server issues and reserves IP
addresses for LAN devices, such as your PC.
To obtain an IP address from the DCHP server, follow the steps
provided below.
NOTE: The following procedure assumes you are running Windows®
7. However, the general steps involved are similar for most operating
systems (OS). Check your OS support documentation for further details.
1. Click Start > Control Panel
> Network and Internet
> Network and Sharing
Center > Manage network
connections.
2. Select Internet Protocol
Version 4 (TCP/IPv4) or
Internet Protocol Version
6 (TCP/IPv6), then click
Properties.

14
3. To obtain the IPv4 IP
settings automatically,
tick Obtain an IP address
automatically.
To obtain the IPv6 IP
settings automatically,
tick Obtain an IPv6
address automatically.
4. Click OK when done.
If you experience diculty with DHCP mode, you can try static IP
mode instead.
STATIC IP MODE
In static IP mode, you assign IP settings to your PC manually.
Follow these steps to congure your PC IP address to use subnet
192.168.1.x.
NOTE: The following procedure assumes you are running Windows®
7. However, the general steps involved are similar for most operating
systems (OS). Check your OS support documentation for further details.

15
3. Change the IP address to
the 192.168.1.x (1<x<255)
subnet with subnet mask
of 255.255.255.0.
4. Click OK when done.
1. Click Start > Control Panel
> Network and Internet
> Network and Sharing
Center > Manage network
connections.
2. Select Internet Protocol
Version 4 (TCP/IPv4) or
Internet Protocol Version
6 (TCP/IPv6), then click
Properties.

16
2.3 Logging into the Web GUI
To log into the web GUI:
1. On your web browser, manually key in the ADSL modem
router’s default IP address: 192.168.1.1
NOTE: For local administration (i.e. LAN access), the PC running the
browser must be attached to the Ethernet, and not necessarily to the
device.
For remote access (i.e. WAN), use the IP address shown on the Device
Information screen and login with remote username and password.
2. On the login page, key in the default user name (admin) and
password (admin).
NOTE: For details on changing your ADSL modem router's login
username and password, refer to section 4.2.4 Access Control.
3. You can now use the Web GUI to congure various settings of
your ASUS ADSL modem router.
NOTE: If you are logging into the Web GUI for the rst time, you will be
directed to the Quick Internet Setup (QIS) page automatically.
Navigation
panel
QIS
Top command buttons
Information
banner

17
2.4 Quick Internet Setup (QIS) Wizard with
Auto-detection
The Quick Internet Setup (QIS) function guides you in quickly
setting up your Internet connection.
NOTE: When setting the Internet connection for the rst time, press
the Reset button on your ADSL modem router to reset it to its factory
default settings. For more details, refer to the section 4.2.5 Update
Software of this user manual.
To use QIS with auto-detection:
1. Log into the Web GUI. The QIS page launches automatically.
NOTES:
• Bydefault,theloginusernameandpasswordforyourADSLmodem
router's Web GUI is admin. For details on changing your ADSL
modem router's login username and password, refer to section 4.2.4
Access Control.
• TheADSLmodemrouter'sloginusernameandpasswordallows
you to log into your ADSL modem router's Web GUI to congure
your ADSL modem router's settings. The network name (SSID) and
security key allows Wi-Fi devices to log in and connect to your
wireless network.

18
2. After successfully logging in for the rst time, the Device Info
page displays.
3. Click the Quick Internet Setup tab on the left side of the
screen.
4. Key in the PPP username and PPP password that you obtained
from your Internet Service Provider (ISP), assign the network
name (SSID) and security key for your wireless connection,
select your local time zone from the drop-down menu, and
click Apply/Save when done.

19
5. Click Next to complete the setup and go to the Device Info
page.
NOTE: Change the router password to prevent unauthorized access to
your ASUS wireless router.
2.5 Connecting to your wireless network
After setting up your ADSL modem router via QIS, you can
connect your computer or other smart devices to your wireless
network.
To connect to your network:
1. On your computer, click the network icon in the
notication area to display the available wireless networks.
2. Select the wireless network that you want to connect to, then
click Connect.
3. You may need to key in the network security key for a secured
wireless network, then click OK.
4. Wait while your computer establishes connection to the
wireless network successfully. The connection status is
displayed and the network icon displays the connected
status.
NOTES:
• Refertothenextchaptersformoredetailsonconguringyour
wireless network's settings.
• Refertoyourdevice'susermanualformoredetailsonconnectingit
to your wireless network.

20
3 Conguring the General
settings
3.1 Device Information
You can reach this page by clicking on the Device Info icon
located on the left side of the screen.
The Device Info Summary screen displays at startup.
This screen shows hardware, software, IP settings and other
related information.
Table of contents
Other Asus Network Router manuals

Asus
Asus Republic of Gamers Rapture GT-AX11000 User manual

Asus
Asus RT-AC87U Dual Band User manual

Asus
Asus INET-810 User manual

Asus
Asus GigaX1016D User manual

Asus
Asus RT-AX95U User manual

Asus
Asus RT-ACRH13 User manual

Asus
Asus ROG Strix GS-AX5400 User manual

Asus
Asus AAM6000EV User manual

Asus
Asus RT-AC68U User manual

Asus
Asus RT-AC66U User manual