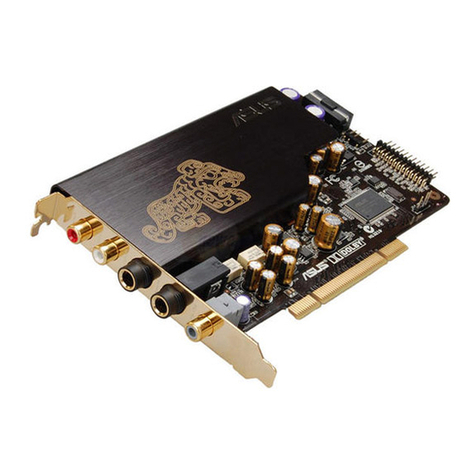
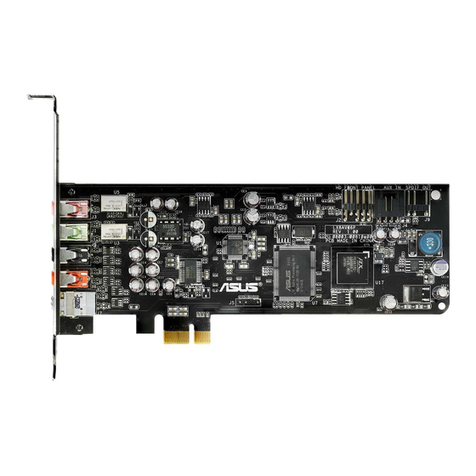
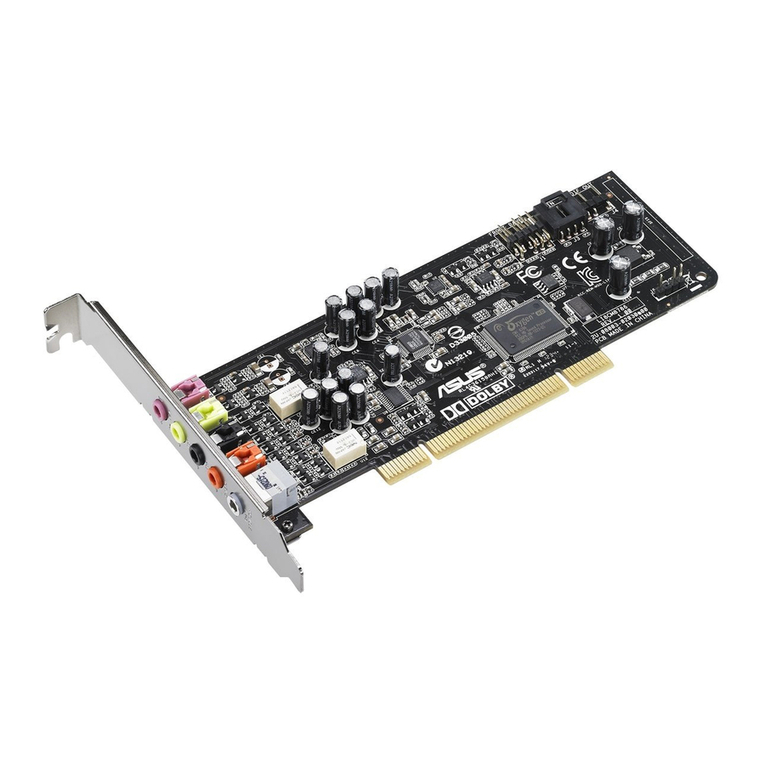
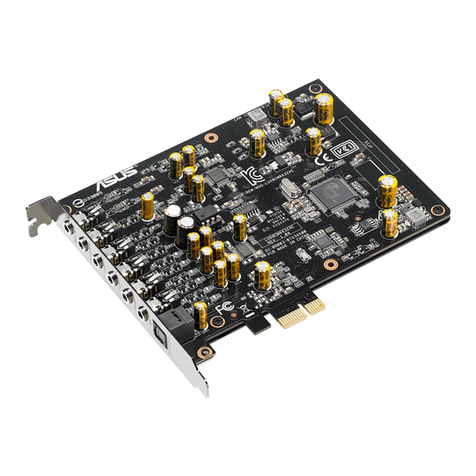
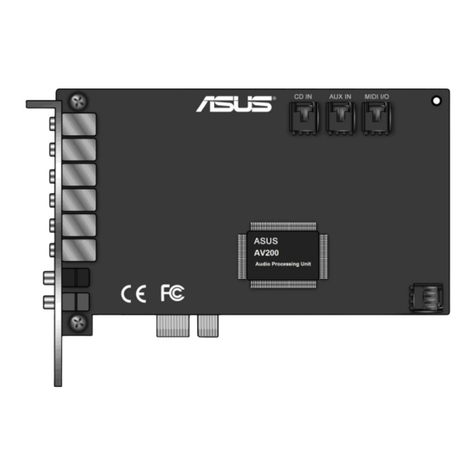
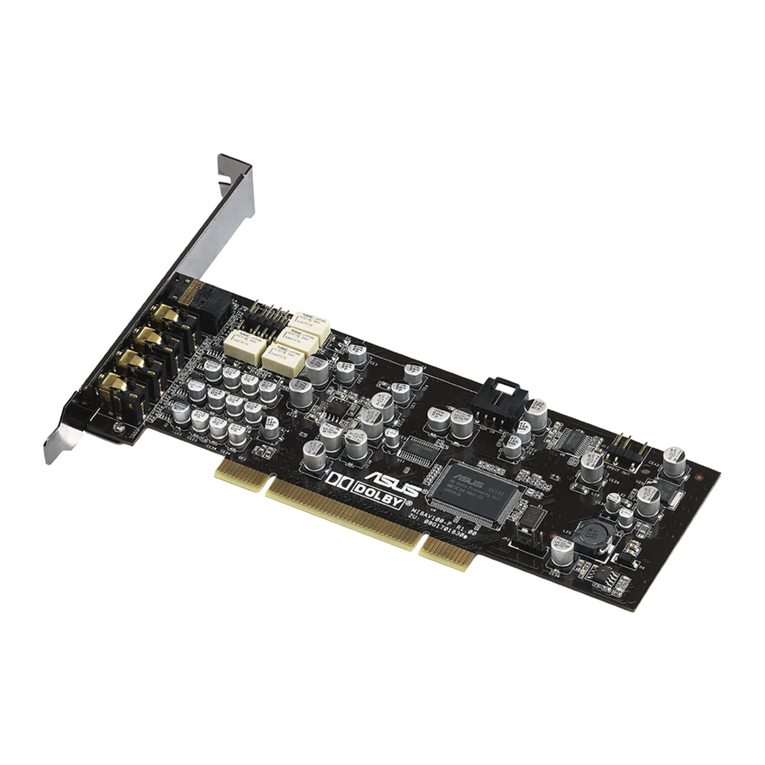
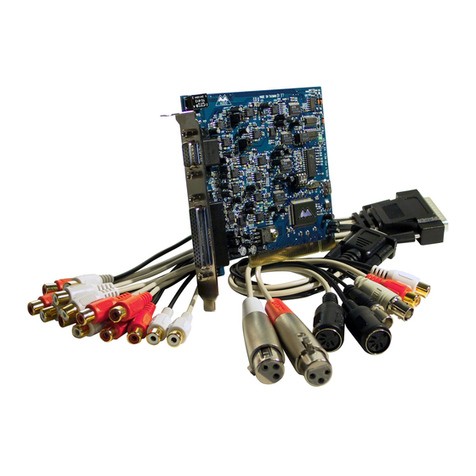
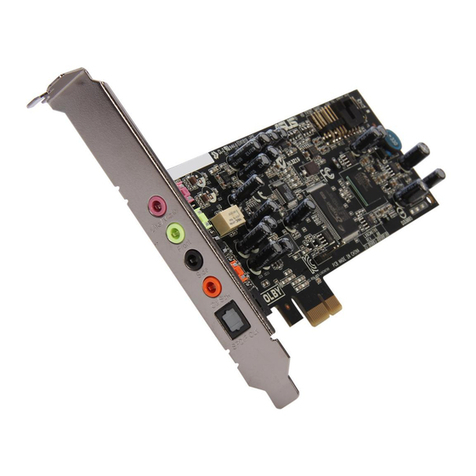
Asus Xonar Xense User manual

Xonar Xense
Premium Gaming Audio Set
Quick Start Guide
A5378

ASUS Xonar Xense Quick Start Guide
2
English
Package contents
• Xonar™ Xense Premium Gaming Audio Card x 1
• Sennheiser PC350-Xense Gaming Headset x 1
• 6.3mm to 3.5mm adapter x 1
• Audio splitter cable x 1
• Driver CD x 1
• S/PDIF TOSLINK optical adapters x 1
• Quick Start Guide x 1
If any of the above items is damaged or missing, contact your retailer.
System requirements
• One PCI Express 1.0 (or higher) compatible slot for the audio card
• Oneavailable4-pinperipheralpowercableconnectorfromthecomputer’s
power supply unit
• Microsoft®Windows®Vista/Win 7(32/64bit)/XP(32/64bit)/MCE2005
• Intel® Pentium®4 1.4GHz or AMD Athlon 1400 CPU or faster CPU
• >256 MB DRAM system memory
• >60 MB available HDD space for driver installation package
• CD-ROM drive (or DVD-ROM drive) for software installation
• High-quality headphones, powered analog speakers, or a Dolby Digital
decoder,toenjoytheultra-highdelitysoundsofthecard

ASUS Xonar Xense Quick Start Guide 3
English
Hardware introduction
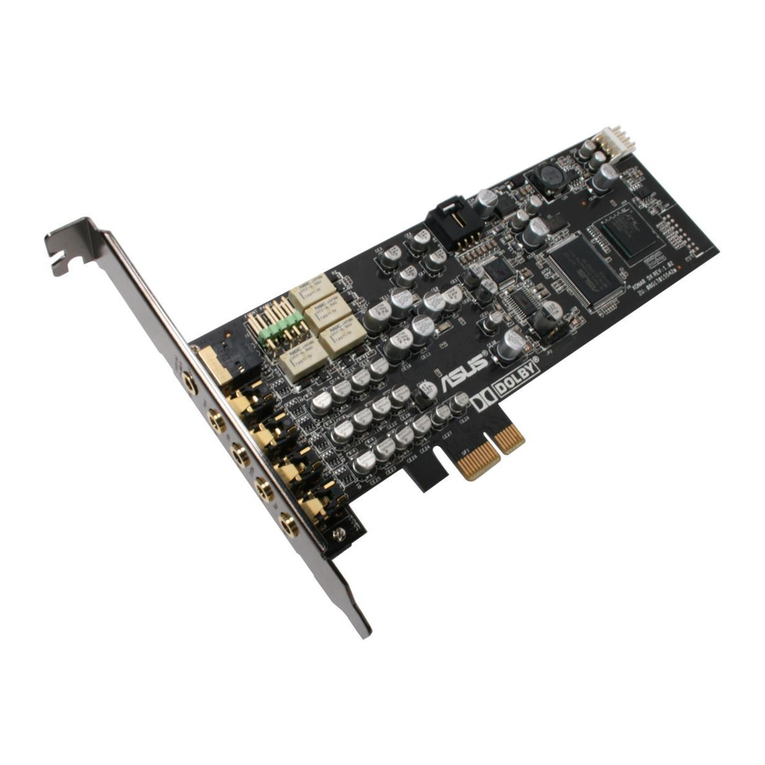
Audio card layout
1
2
3
4
56 7
9
1Microphone In port
Connectyourheadset’smicrophonecabletothisportforvoiceinput.Ithasabuilt-
inhigh-qualityMicrophonepre-amplier.
Line In port
ThroughanUltra-highdelity118dBSNRA-Dconverter,connectanalogdevices
like MP3 players, CD players, music synthesizers, and other line-level sound
sources to this 6.3mm port for audio recording or processing.
2Headphone Out port
Connectyourheadset’soutcabletothisport.
• DO NOT connect your speakers to the headphone out port. The possible
high driving power may cause damage to your speakers.
• Before connecting your headphone, adjust the headphone impedance
settings in the Xonar Xense Audio Center to match your headphone
impedance. This is to prevent damage to your headphone.
37.1 ch Speaker Output
Connects to your speakers via 7.1 channel audio splitter cable.
4S/PDIF Out port
Coaxial and optical TOSLINK combo digital output port. Connect to external digital
decoder or digital speaker systems, Home Theater systems, AV receivers for
outputting digital audio including PCM, Dolby Digital, DTS, and WMA-Pro.
8

ASUS Xonar Xense Quick Start Guide
4
English
5Front panel audio header
Connect one end of the front panel audio cable to the front panel audio header on
the audio card, with the other end to the chassis-mounted front panel audio I/O
module.
6Aux Input Header
This 4-pin header usually connects to the Analog Audio output of the TV tuner card
orothersoundsourceinsideyourcomputer.TomonitoryourTVtunercard’saudio
from this Aux-In, you must enable the “monitor” function for Aux-In in the Xonar
XenseAudioCenter‘srecordingmixer.
7S/PDIF Header
Connects to supported graphics card.
8Power connector
Connects to the power cable of your power supply unit.
9PCI Bus golden ngers
Connects to the PCI Express slot on your motherboard.
Gaming headset
1Microphone boom arm
Allowsyoutomoveyourheadset’smicrophonecomfortablyclosetoyourmouth.
2Volume control and mute box
Allowsyoutoincrease/decreasethevolumeofyourheadset’saudiooutputandto
put it on mute mode.
36.3mm connectors
Connectsyourheadsettotheaudiocard’sMicIn/Line-InandHeadphoneOutports.
1
2
3

ASUS Xonar Xense Quick Start Guide 5
English
To install the audio card:
1. Turn off your computer and disconnect
all peripherals connected to it.
2. Unplugthecomputer’spowercord
from the power outlet.
3. Touch the metal back or side panel of
the computer to avoid static electricity.
4. Remove the chassis cover.
5. Remove the metal bracket of a PCI Express slot.
6. Carefully insert the audio card into the PCI Express slot. Ensure that the
audio card sits properly in place.
Before you install the audio card, disable your onboard audio device in your
BIOS settings, or uninstall any other audio cards on your computer. For BIOS
setting or uninstallation of other sound cards, refer to the user manuals of your
motherboard and audio card.
Installing the audio card
The PCI high-quality audio card requires additional power from your computer.
If the power cable is not connected properly, the audio card will not work at all.
7. Secure the audio card with the screw you removed from the PCI Express
slot’smetalbracket.
8. Connect the power cable of your power supply unit to the power connector of
the audio card.
9. Replace the chassis cover.
10. Reconnect all peripherals to your computer.
11. Plug the power cord to a power outlet.
12. Power ON the computer.
DO NOT force the audio card into the slot.
2

ASUS Xonar Xense Quick Start Guide
6
English
For optimum TV audio quality, Xonar uses ADC recording to digitize the signal
and loops it back to DAC playback. Select Aux-In as the recording source in
theXonarAudioCenter’srecordingmixerandenablethemonitoringbutton
to pass this signal to the audio output. Using this setup, you can even turn on
sound effects such as Pro-Logic IIx to expand the stereo TV audio to 5.1 or
7.1 channel surround sound. This gives you a better TV audio quality on your
computer compared to that on your TV.
Connecting to a TV tuner card
If you have a traditional PCI/PCI Expresss TV tuner card on your computer, you
mayneedtoconnectittotheaudiocardtosendthetunercard’ssoundtoyourPC
speakers.
To connect to a TV tuner card:
1. Secure the PCI/PCI Express TV tuner card into the rear panel with a screw.
2. Connect the audio output header from the TV tuner card to the Aux-In header
of the audio card.

ASUS Xonar Xense Quick Start Guide 7
English
Installing the audio card driver
To install the audio card driver:
1. After you have installed the audio card, turn on your computer. Windows®
automatically detects the audio card and searches for device drivers. When
prompted for the drivers, click Cancel.
2. Insert the support CD into the optical drive. If Autorun is enabled in your
system, the setup starts automatically. If not, run setup.exe from your
support CD.
3. Followtheonscreeninstructionstonishtheinstallation.
The contents of the support CD are subject to change without notice.
To uninstall the audio card driver:
1. From the Windows®desktop, click Start > Control Panel.
2 Double-click Add or Remove Programs.
3. Click Change or Remove Programs.
4. Select the audio card driver.
5. Click Remove to uninstall the audio card driver. If you are prompted, restart
your computer.
Connecting speakers and peripherals
Connecting the gaming headset
Mic In/ Line-In port
Headphone Out port

ASUS Xonar Xense Quick Start Guide
8
English
Connecting Line-in audio sources
Connecting analog speaker systems
Audio Splitter Cable
(included)
Front Speaker Out (Lime)
Surround Sound (Black)
Side Speakers Out (Grey)
Center/Subwoofer (Orange)
Mic In/ Line-In port
CD Player
MP3 Player

ASUS Xonar Xense Quick Start Guide 9
English
Notices
REACH
Complying with the REACH (Registration, Evaluation, Authorisation, and
Restriction of Chemicals) regulatory framework, we published the chemical
substances in our products at ASUS REACH website at http://green.asus.com/
english/REACH.htm.
Federal Communications Commission Statement
This device complies with Part 15 of the FCC Rules. Operation is subject to the
following two conditions:
• This device may not cause harmful interference.
• This device must accept any interference received including interference that
may cause undesired operation.
This equipment has been tested and found to comply with the limits for a
Class B digital device, pursuant to Part 15 of the FCC Rules. These limits are
designed to provide reasonable protection against harmful interference in a
residential installation. This equipment generates, uses and can radiate radio
frequencyenergyand,ifnotinstalledandusedinaccordancewithmanufacturer’s
instructions, may cause harmful interference to radio communications. However,
there is no guarantee that interference will not occur in a particular installation. If
this equipment does cause harmful interference to radio or television reception,
which can be determined by turning the equipment off and on, the user is
encouraged to try to correct the interference by one or more of the following
measures:
• Reorient or relocate the receiving antenna.
• Increase the separation between the equipment and receiver.
• Connect the equipment to an outlet on a circuit different from that to which the
receiver is connected.
• Consult the dealer or an experienced radio/TV technician for help.
Caution:Anychangesormodicationsnotexpresslyapprovedbytheparty
responsibleforcompliancecouldvoidtheuser’sauthoritytooperatethe
equipment.
Canadian Department of Communications Statement
This digital apparatus does not exceed the Class B limits for radio noise emissions
from digital apparatus set out in the Radio Interference Regulations of the
Canadian Department of Communications.
This class B digital apparatus complies with Canadian ICES-003.
ASUS Xonar Xense Quick Start Guide
10
English
Prohibition of Co-location
This device and its antenna(s) must not be co-located or operating in conjunction
with any other antenna or transmitter
Important:
Radiation Exposure Statement
This equipment complies with FCC radiation exposure limits set forth for
anuncontrolledenvironment.Endusersmustfollowthespecicoperating
instructions for satisfying RF exposure compliance. To maintain compliance with
FCC RF exposure compliance requirements, please follow operation instuction
as documented in this manual.
Safety Information
TomaintaincompliancewithFCC’sRFexposureguidelines,thisequipmentshould
be installed and operated with minimum distance 20cm between the radiator and
your body. Use on the supplied antenna.
Declaration of Conformity for R&TTE directive 1999/5/EC
Essential requirements – Article 3
Protection requirements for health and safety – Article 3.1a
Testing for electric safety according to EN 60950-1 has been conducted. These are
consideredrelevantandsufcient.
Protection requirements for electromagnetic compatibility – Article 3.1b
Testing for electromagnetic compatibility according to EN 301 489-1 and EN 301
489-17hasbeenconducted.Theseareconsideredrelevantandsufcient.
Effective use of the radio spectrum – Article 3.2
Testing for radio test suites according to EN 300 328- 2 has been conducted.
Theseareconsideredrelevantandsufcient.
CE Mark Warning
This is a Class B product, in a domestic environment, this product may cause radio
interference, in which case the user may be required to take adequate measures.

Xonar Xense
Premium 遊戲音效組合
快速安裝指南

華碩 Xonar Xense 快速使用指南
12
繁體中文
包裝內容
• 華碩Xonar™XensePremium遊戲音效卡x1
• SennheiserPC350-Xense遊戲耳機x1
• 6.3mm轉3.5mm配接器x1
• 音效傳輸線x1
• 公用程式光碟x1
• S/PDIFTOSLINK光纖配接器x1
• 快速使用指南x1
若以上列出的任何一項配件有損毀或是短缺的情形,請儘快與您的經銷
商聯絡。
安裝需求
• 一條可供音效卡使用的PCIExpress1.0(或更高規格)插槽
• 電腦電源供應器上一條可用的4-pin電源線接頭
• Microsoft®Windows®Vista/Win7(32/64bit)/XP(32/64bit)/MCE2005作業
系統
• Intel®Pentium®41.4GHz或AMDAthlon1400中央處理器或更高速的處
理器
• 至少需要256MB以上的系統記憶體
• 至少需要60MB以上的硬碟空間,以提供安裝驅動程式
• 一部CD或DVD光碟機,用來安裝光碟驅動程式與軟體
• 高傳真耳機、主動式類比喇叭,或具備DolbyDigital數位解碼輸出的數
位喇叭組,來享受本音效卡所提供的超高傳真的音效輸出。

華碩 Xonar Xense 快速使用指南
13
繁體中文
硬體介紹
音效卡外觀
1
2
3
4
56 7
9
1
麥克風輸入插孔
將耳機的麥克風線連接到此插孔供聲音輸入。本音效卡內建高品質麥克風前
級。
Line In 插孔
將類比裝置如MP3隨身聽、CD播放器、音樂合成器與其它line-level的
音效來源連接至此6.3mm插孔以供音效錄製或處理(透過極高保真118dB
SNRA-D轉換器)。
2
耳機輸出插孔
將您的耳機連接至此插孔。
• 請勿將您的喇叭連接至耳機輸出接口。過高的驅動電力可能會對您
的喇叭造成損害。
•為避免對您的耳機造成損害,在連接之前請先在XonarXense音效
中心調整耳機阻抗設定,以符合您耳機的阻抗。
3
7.1 聲道喇叭輸出
透過7.1聲道音效傳輸線連接您的喇叭。
4
S/PDIF 輸出埠
同軸與光纖TOSLINK兩用數位輸出埠。可連接至外接數位解碼器或數位喇
叭系統、家庭劇院系統、供輸出包括PCM、杜比數位、DTS、WMA-Pro等
數位音效的AV接收器。
8

華碩 Xonar Xense 快速使用指南
14
繁體中文
5
前面板音效插座
將前方面板音源線的一端連接至音效卡上的前面板音效插座,另一端則連接
至機殼後方的音效輸出/輸入模組。
6
AUX-In 輔助音效輸入插座
此4-pin插頭通常連接至電視卡上的類比音效輸出或其他在您電腦系統內的
音源(要由此電源輸入插頭監控您電視卡的音效,您必須啟動XonarXense
音效中心錄製混音器中的“monitor(監控)”功能)。
7
S/PDIF 連接插座
連接到支援的顯示卡。
8
電源連接埠
連接電源供應器的電源線。
9
PCI 匯流排金手指
連接主機板上的PCIExpress插槽。
遊戲耳機
1
麥克風支架
可讓您將耳機的麥克風調整到靠近嘴的舒適位置。
2
音量控制與靜音調節器
可讓您增大/減小耳機的輸出音量或將其設定為靜音模式。
3
6.3mm 接頭
連接耳機至音效卡的麥克風輸入/Line-In與耳機輸出插孔。
1
2
3

華碩 Xonar Xense 快速使用指南
15
繁體中文
請依以下步驟安裝音效卡:
1. 關閉電腦並移除所有連接到電腦的周
邊裝置。
2. 將電腦連接電源插孔上的電源線拔
除。
3. 請接觸電腦機殼的金屬背板或側板,
以避免靜電干擾的問題發生。
4. 開啟機殼外蓋板。
5. 移除主機板上未使用的PCIExpress插槽之金屬擋板。
6. 小心地將音效卡插入 PCI Express 插槽,並確認音效卡已放入正確位
置。
在您進行以下安裝步驟前,建議您先關閉BIOS設定中的內建音效裝置,
或解除安裝您電腦中的其他音效卡(關於BIOS設定或解除安裝其他音效
卡,請參考您的主機板與音效卡使用手冊中的說明)。
安裝音效卡
PCI高品質音效卡需要電腦額外供電。如果未正確連接電源線,音效卡可
能不運作。
7. 用PCIExpress插槽的金屬支架上的螺絲將音效卡固定。
8. 請將電源供應器上提供的 4-pin 電源插頭,連接至音效卡上的電源插
座。
9. 將機殼外蓋板裝回機殼上。
10. 將所有周邊裝置安裝回您的電腦上。
11. 將電源線接上電腦電源插孔,並連接室內的插座。
12. 開啟電腦電源。
請勿強行將音效卡插入插槽。
2

華碩 Xonar Xense 快速使用指南
16
繁體中文
為了優化電視音效,Xonar使用ADC將訊號數位化,再用DAC將其還原
播放。在XonarXense音效中心的錄音混音器中選擇AUX-In作為錄音源
並且開啟監控按鈕將訊號傳輸至音效輸出。使用這一設定,您可以開啟
Pro-Logic IIx 等聲音效果,來擴充立體聲電視音效至 5.1 或 7.1 環繞音
效。這將讓您的電腦擁有堪輿電視媲美的聲音效果。
連接電視卡
如果您的電腦上安裝了傳統的PCI/PCIExpresss電視卡,您可能需要連接電
視卡和音效卡,以便將電視卡的聲音輸出到電腦喇叭上。
請依照以下步驟連接電視卡:
1. 用螺絲將PCI/PCIExpress電視卡固定在機殼後面板上。
2. 電視卡的音效輸出接頭連接至音效卡的AUX-In輔助音頻輸入插座。

華碩 Xonar Xense 快速使用指南
17
繁體中文
安裝音效卡驅動程式
請依照以下步驟安裝音效卡驅動程式:
1. 在安裝好音效卡後,啟動您的電腦。Windows® 將自動偵測音效卡並且
搜尋裝置驅動程式。當跳出詢問驅動程式視窗時,點選取消。
2. 將公用程式光碟放入光碟機中。若您的系統已經啟動自動執行功能,
設定程式會自動開始。若沒有,請在您的公用程式光碟中執行 setup.
exe。
3. 請依照畫面指示完成安裝。
公用程式光碟的內容可能隨時更新,恕不另行通知。
請依照以下步驟移除音效卡驅動程式:
1. 在Windows®桌面,點選功能表>控制台。
2 雙按新增或移除程式。
3. 點選變更或移除程式。
4. 選擇音效卡驅動程式。
5. 點選移除以移除音效卡驅動程式。當系統提示時,重新啟動電腦。
連接喇叭與周邊裝置
連接遊戲耳機
麥克風輸入/Line-In插孔
耳機輸出插孔

華碩 Xonar Xense 快速使用指南
18
繁體中文
連接 Line-in 音源
麥克風輸入/Line-In插孔
CD播放器
MP3隨身聽
連接類比喇叭系統
音效傳輸線
(內含)
前置喇叭輸出(草綠色)
環繞聲(黑色)
側邊喇叭輸出(灰色)
中央/重低音喇叭輸出(橘色)
注意事項
REACH
注意:謹遵守 REACH(Registration,Evaluation,Authorisation,and
RestrictionofChemicals)管理規範,我們會將產品中的化學物質公告在華碩
REACH網站,詳細請參考http://green.asus.com/english/REACH.html

Xonar Xense
Premium 游戲音頻組合
快速安裝指南

華碩 Xonar Xense 快速使用指南
20
簡體中文
包裝內容
• 華碩Xonar™XensePremium游戲聲卡x1
• 森海塞爾PC350-Xense游戲耳機x1
• 6.3mm轉3.5mm配接器x1
• 音頻線x1
• 應用程序光盤x1
• S/PDIFTOSLINK光纖配接器x1
• 快速使用指南x1
若以上列出的任何一項配件有損壞或是短缺的情形,請儘快與您的經銷
商聯絡。
安裝需求
• 一條可供聲卡使用的PCIExpress1.0(或更高規格)插槽
• 電腦電源供應器上一條可用的4-pin電源線接頭
• Microsoft®Windows®Vista/Win7(32/64bit)/XP(32/64bit)/MCE2005
操作系統
• Intel®Pentium®41.4GHz或AMDAthlon1400中央處理器或更高速的
處理器
• 至少需要256MB以上的系統內存
• 至少需要60MB以上的硬盤空間,以提供安裝驅動程序
• 一部CD或DVD光驅,用來安裝光盤驅動程序與軟件
• 高保真耳機、主動式模擬揚聲器,或具備Dolby Digital 數字解碼輸出的
數字揚聲器組,來享受本聲卡所提供的超高保真的音頻輸出。
Other manuals for Xonar Xense
2
Table of contents
Languages:
Other Asus Sound Card manuals

Asus
Asus PCI-AS300 User manual

Asus
Asus XONAR DX User manual

Asus
Asus Xonar U7 User manual

Asus
Asus Audio Card Xonar D2X User manual

Asus
Asus Xonar DGX User manual

Asus
Asus Audio Card Xonar D2X User manual

Asus
Asus Xonar U3 User manual

Asus
Asus Xonar DS User manual

Asus
Asus XONAR U5 SI User manual

Asus
Asus Xonar D-Kara User manual

Asus
Asus XONAR ESSENCE ST User manual

Asus
Asus Xonar U3 User manual

Asus
Asus XONAR DG User manual

Asus
Asus Xonar U5 User manual

Asus
Asus Xonar U3 User manual

Asus
Asus XONAR ESSENCE ST User manual

Asus
Asus Xonar D-Kara User manual

Asus
Asus Audio Card Xonar D2X User manual

Asus
Asus Essence STX II User manual

Asus
Asus Xonar DGX User manual