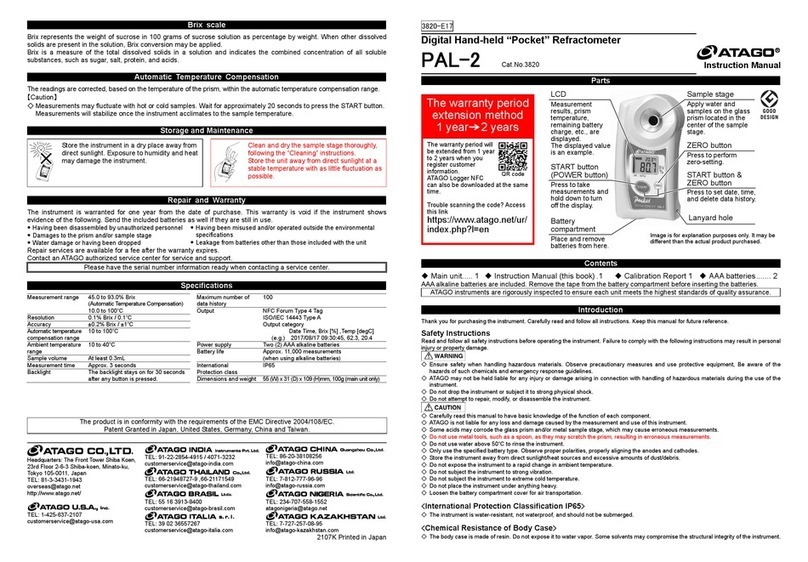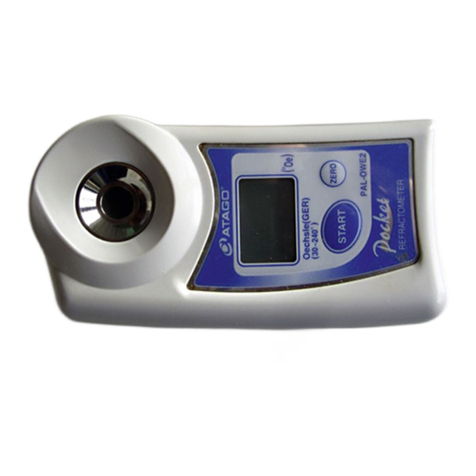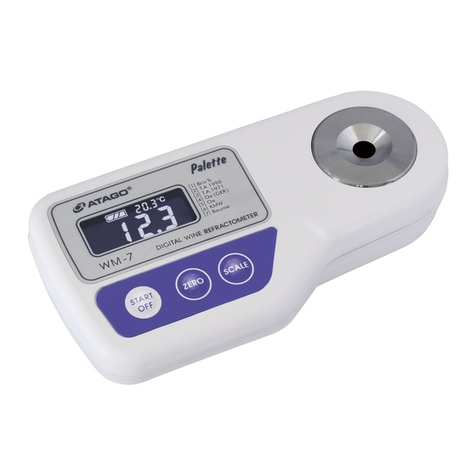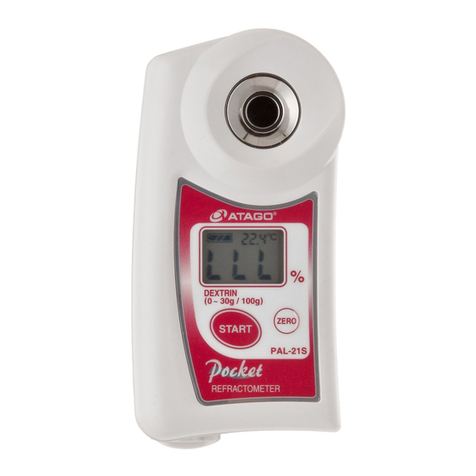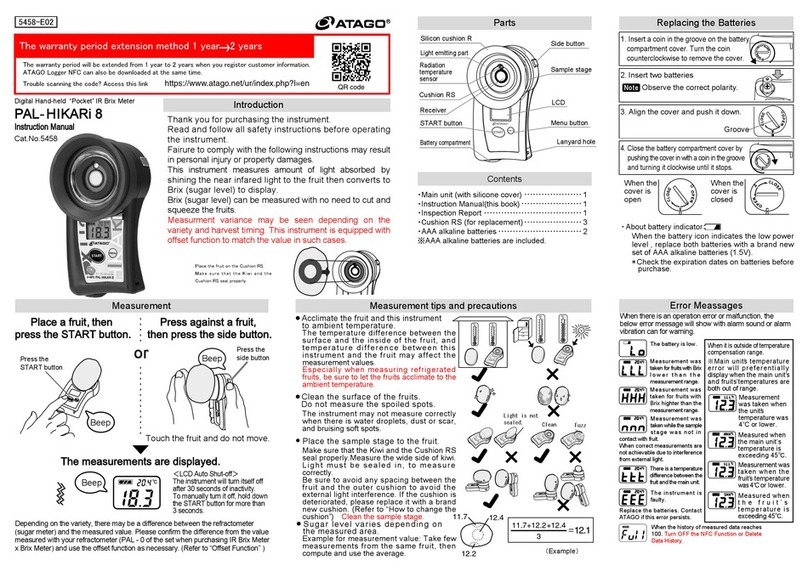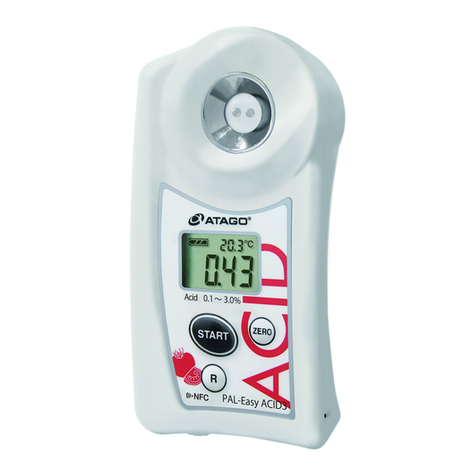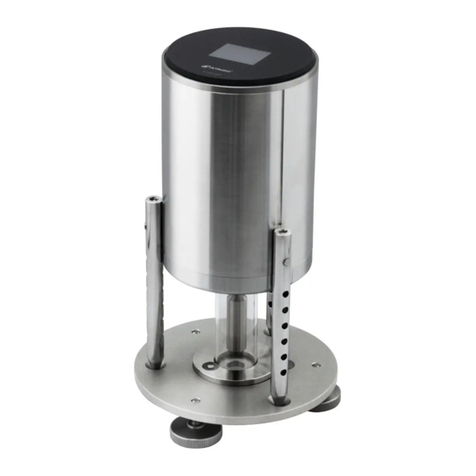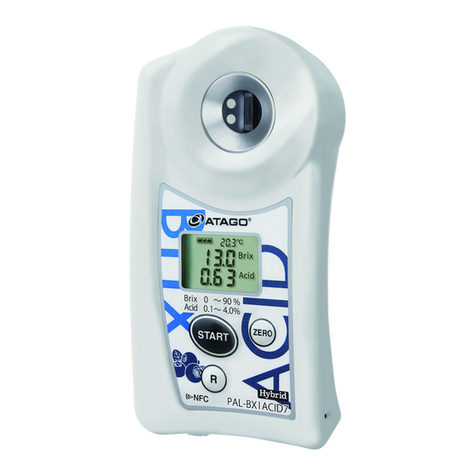
ATAGO instruments are rigorously inspected to ensure each unit meets the highest standards of quality assurance.
PRECAUTIONS
(Be sure to read the following before use.)
Warning!
Caution
When using this instrument to measure
solutions which may be harmful to humans,
please handle all materials carefully, using
the proper gloves and mask. Please be
aware of any special handling instructions for
any harmful solution.
●Carefully read the instruction manual of this instrument to
ensure proper use and operating methods.
●When handling and carrying this instrument, avoid dropping
or subjecting to any strong shock or excessive force.
●If this instrument is used for any application other than its
intended purpose, ATAGO will not be held liable for any
damage caused by the use of or the measurement(s)
obtained by the operator.
●ATAGO is not liable for any loss and damage caused by
the measurement and use of this instrument.
●The prism is considered a consumable item and a charge
will be incurred for the replacement of this part.
●All instruments received for repair are subject to a possible
inspection fee. ATAGO does not warrant the problems
which are caused by user's fault even though the unit is
under warranty.
Thank you for your purchase of a quality ATAGO product.
光… Capture the Light, Measure the Future!
1. Names and functions of main parts
11. Specifications
Brix 0.2%
Brix 0.0 to 53.0% Brix 0.0 to 20.0%
Brix ±0.2% (at 20℃)
Brix ±0.1% (at 20℃)
IP65 Water Resistant (except eyepiece)
3.2×3.4×20.7cm, 110g
3.2×3.4×16.8cm, 90g
Brix 0.1%
Brix ±0.2% (10 to 30℃)
Brix ±0.1%
Measurement range
Minimum scale
Accuracy
Size and weight
International
Protection class
Repeatability
(Automatic Temperature Compensation)
MASTER-53Pα
(Cat.No.2971)MASTER-20Pα
(Cat.No.2991)
Brix 0.0 to 10.0%
3.2×3.4×20.3cm, 105g
Brix 0.1%
Brix ±0.2% (10 to 30℃)
Brix ±0.1%
MASTER-10Pα
(Cat.No.2981)
(MASTER-53Pαpictured above.)
cThe eyepiece and daylight
plate are user replaceable.
Please contact an ATAGO
distributor to place an order or
for any inquiries.
Eyepiece
Grip
Daylight plate
Prism
Sample Stage
Scale adjustment screw
Access now ⇒
In just
-
a
-
minute
From 1year to2years
Free Extended Warranty
It requires only 1 minute! Simply by answering questions, warranty period is extended from 1 year to 2 years.
(The registration page can be accessed from ATAGO website.)
(Water Resistant &Automatic
Temperature Compensation)
MASTER SERIES REFRACTOMETER
INSTRUCTION
MANUAL
series
MASTER-20Pα(Cat.No. 2991, Brix 0.0 to 20.0%)
MASTER-10Pα(Cat.No. 2981, Brix 0.0 to 10.0%) MASTER-Pα(Cat.No. 2391, Brix 0.0 to 33.0%)
MASTER-53Pα(Cat.No. 2971, Brix 0.0 to 53.0%)
9. When moisture accumulates in the eyepiece
11. Specifications
IP65 Water Resistant (except eyepiece)
International
Protection class
Design Registration No.000379326-0001, 000379326-0002 (EU), ZL 2005 3 0116403.4,5 (China), D111526 (Taiwan), D554, 549 (U.S.A.)
1255763, 1255764, 1255765, 1255766, 1255767 (Japan)Patent Granted in countries around the world.
10. Repair and warranty
Have the serial number of your refractometer available when asking about repair.
7. Quick and Easy sampling
inside of eyepiece
outside of eyepiece
If the view of the scale and boundary line becomes obstructed by moisture
within the eyepiece, follow the instructions below for proper cleaning:
①While holding the eyepiece toward you, turn the eyepiece counter-clockwise
until it can be removed.
②Gently wipe the two areas indicated by the arrows in the figure with a
clean, dry cloth to remove any moisture.
③Replace the eyepiece and secure by turning in a clockwise direction.
※MASTER-Pαseries are water-resistant rated (JIS-C0920 5th grade jet proof type,
IEC specification 529, IP65), however the eyepiece section is not water-resistant.
Note: A brix value expressed as a percentage (%) is equivalent to that value expressed in degrees Brix (°Brix).
Place apporoximately 0.3mL of sample on the front end (Figure ①)or the rear end
(Figure ②) of the sample stage, and tilt the refractometer slightly in the proper
direction to allow the sample to move over the prism. The sample liquid will spread
evenly and the measurement value can then be read more quickly and easily. By
eliminating the steps of lifting and closing the daylight plate when applying a
sample, the operator can save much time when having to measure many samples
daily. (This measuring method requires the sample to be low in viscosity.)
8. Brix Scale
All refractometers are designed to measure the refractive index of a solution. The Brix scale is based on a sucrose
(sugar)and water solution. However, since most samples contain substances other than sugar - such as salts, minerals
and proteins - the Brix percentage represents the total concentration of all soluble solids in the sample. For certain
samples, such as cutting oils and other industrial fluids, a conversion chart from the Brix percentage to the sample's
total concentration may be necessary.
The MASTER-Pαseries are warranted for one year after the date of purchase against any manufacturer defect in materials or workmanship.
Prism and sample stage are excluded from the warranty. Any of the following events happening to the unit will void the warranty:
●Disassembled by anyone other than authorized service provider ●Immersed in liquid or dropped
●Misused, abused, or used/stored in improper ambient conditions
Service fees are applicable for repairs after the warranty period expires. Contact an authorized ATAGO Service Center or the
original seller for details.
①
②
1911K Printed in Japan
Headquarters: The Front Tower Shiba Koen
23rd Floor 2-6-3 Shiba-koen, Minato-ku
Tokyo 105-0011, Japan
TEL: 81-3-3431-1943 FAX:81-3-3431-1945
overseas@atago.net http://www.atago.net/
TEL: 1-425-637-2107
customerservice@atago-usa.com
TEL: 91-22-28544915 / 40713232
customerservice@atago-india.com
TEL: 66-21948727-9 ,66-21171549
customerservice@atago-thailand.com
TEL: 55 16 3913-8400
customerservice@atago-brasil.com
TEL: 39 02 36557267
customerservice@atago-italia.com
TEL: 86-20-38108256
info@atago-china.com
TEL: 7-812-777-96-96
info@atago-russia.com
TEL: 234-707-558-1552
atagonigeria@atago.net
TEL: 7-727-257-08-95
info@atago-kazakhstan.com
Brix 0.2%
MASTER-Pα
(Cat.No.2391)
Brix 0.0 to 53.0% Brix 0.0 to 33.0%
Brix ±0.2%
(at 20℃)
Brix ±0.1% (at 20℃)
Brix 0.2%Brix 0.1%
Brix ±0.2%
(10 to 30℃)
Brix ±0.1%
Measurement range
Minimum scale
Accuracy
Repeatability
(Automatic Temperature Compensation)
Size and weight 3.2×3.4×20.3cm, 105g
Brix 0.0 to 20.0%
Brix 0.1%
Brix ±0.2%
(10 to 30℃)
Brix ±0.1%
3.2×3.4×20.7cm, 110g
Brix 0.0 to 10.0%
Brix ±0.2%
(10 to 30℃)
Brix ±0.1%
3.2×3.4×20.3cm, 105g
3.2×3.4×16.8cm, 90g
MASTER-53Pα
(Cat.No.2971
MASTER-10Pα
(Cat.No.2981)MASTER-20Pα
(Cat.No.2991)
2971-E07
Eyepiece
Daylight plate
RE-2311-12M
RE-2315-61M
RE-2391-67M
Small volume
daylight plate
Part #Name
