Volume control button When on a call, used to increase or
decrease the receive volume of the handset or the Speakerphone or
listen only Speaker feature. When you are not on a call, the Volume
control button is used to increase or decrease the ringer volume or
tones.
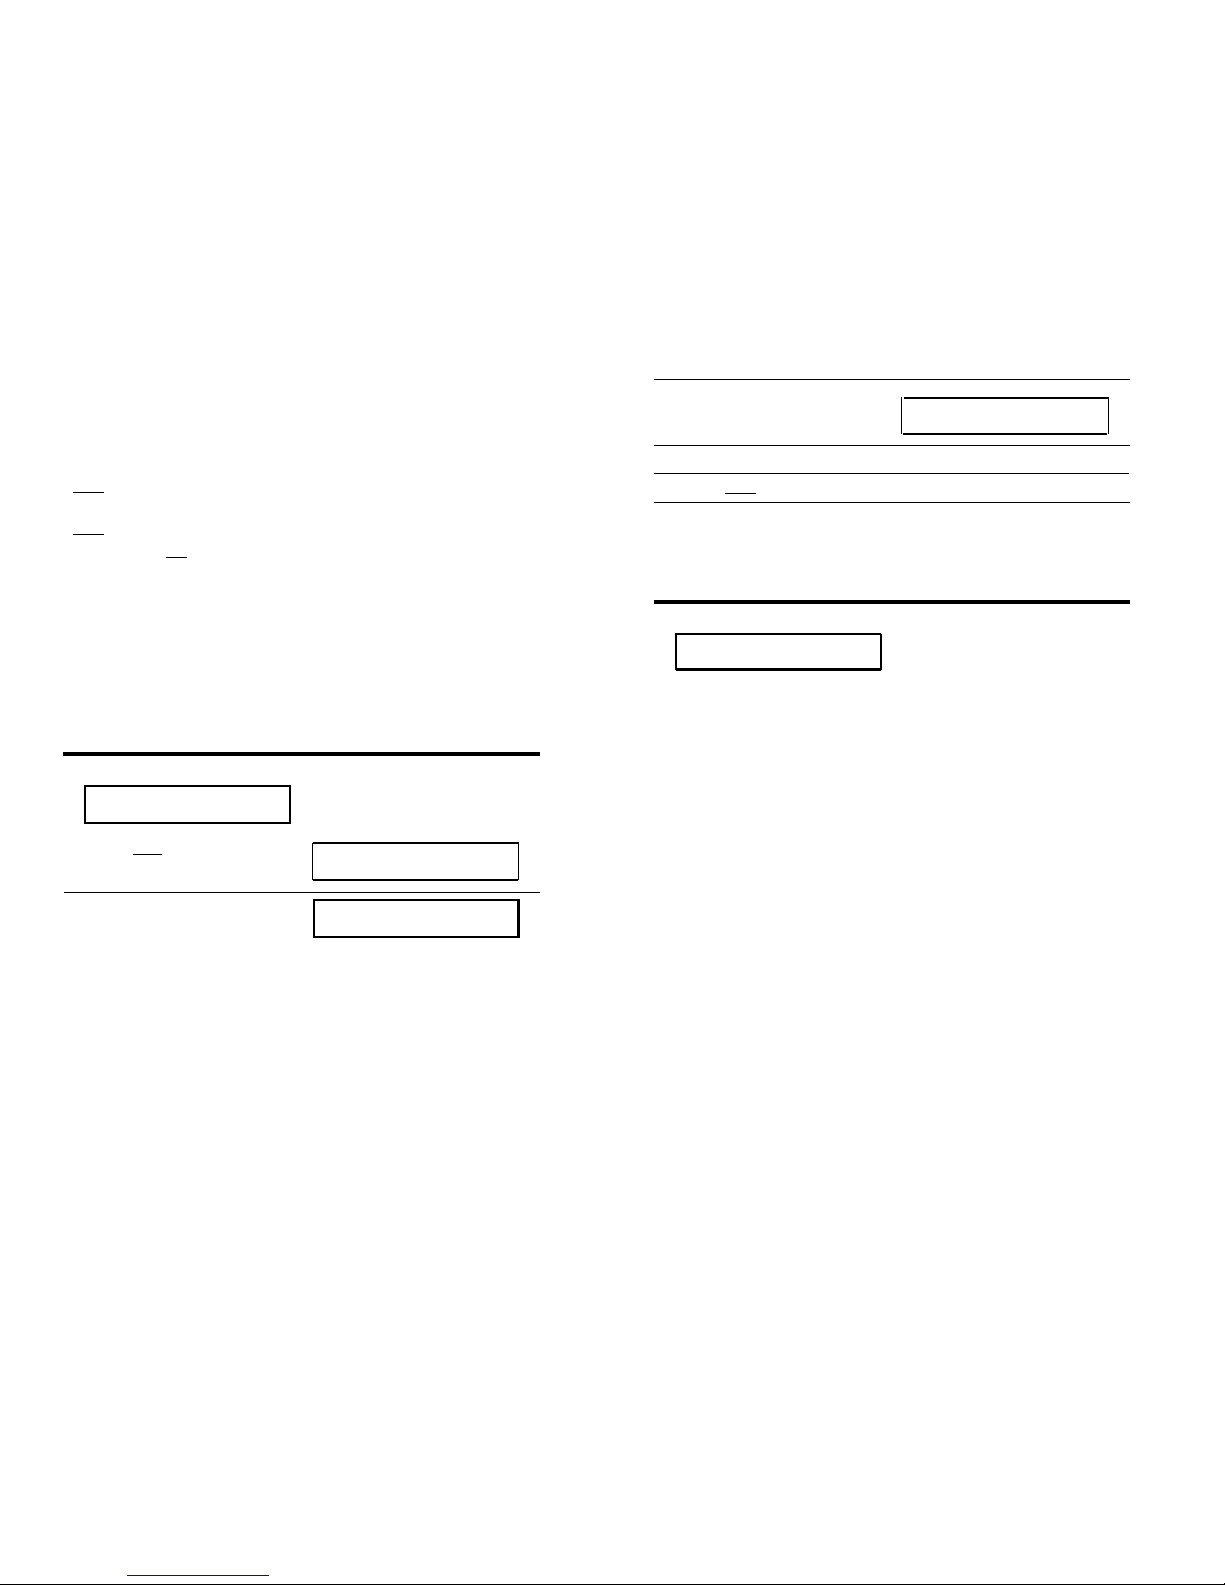
Answering and Placing a Call
To answer a call
1
Lift the handset.
How to Use the Softkeys
The softkeys on the 8510T voice terminal are the buttons labeled
with arrows, located below the display.
■
The green light (below the red light) goes on steadily at the
selected call appearance button.
NOTE: If you are not connected immediately, press the call
appearance button next to the flashing green light.
To place a call
1
2
Lift the handset.
■
The green light (below the red light) goes on steadily at the
selected call appearance button.
Listen for the dial tone and dial the number you want to call.
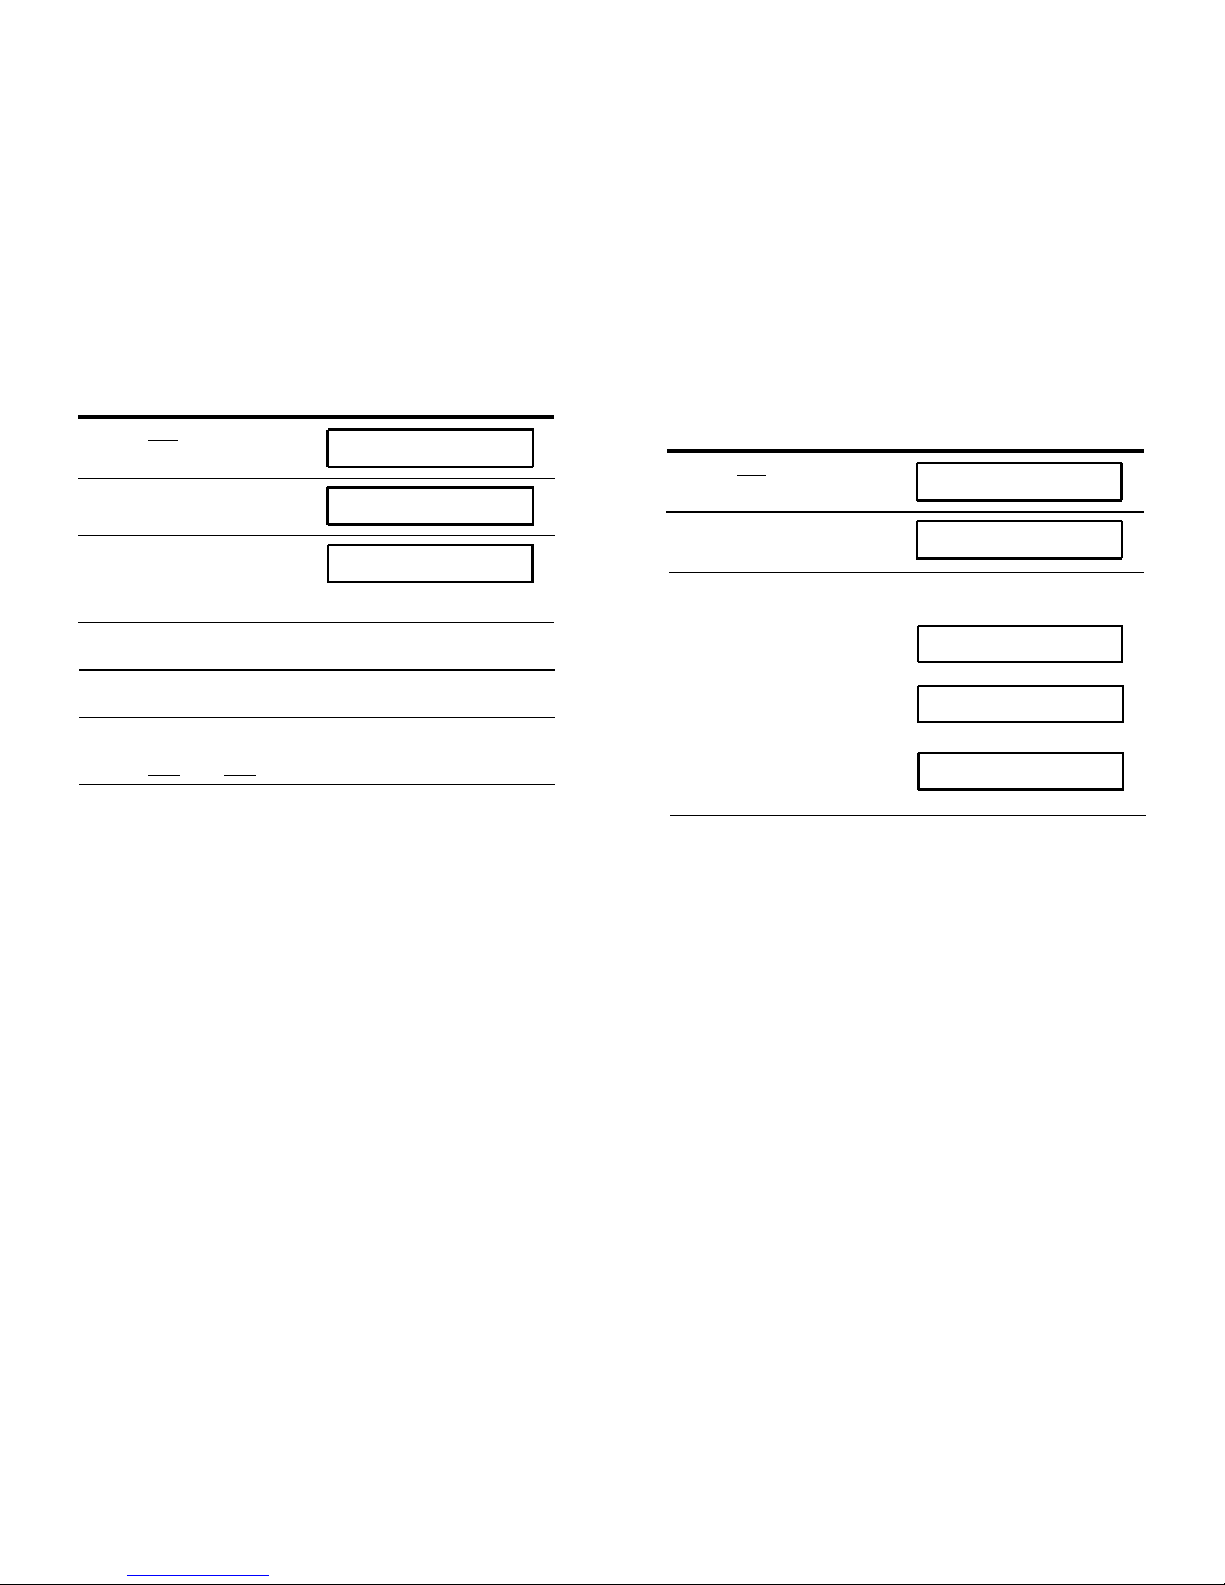
To end (or drop) a call
1Hang up the handset or press the [ Drop ] button
NOTE: If you use the [ Drop ] button, you will hear a dial tone and
your voice terminal is ready for another call.
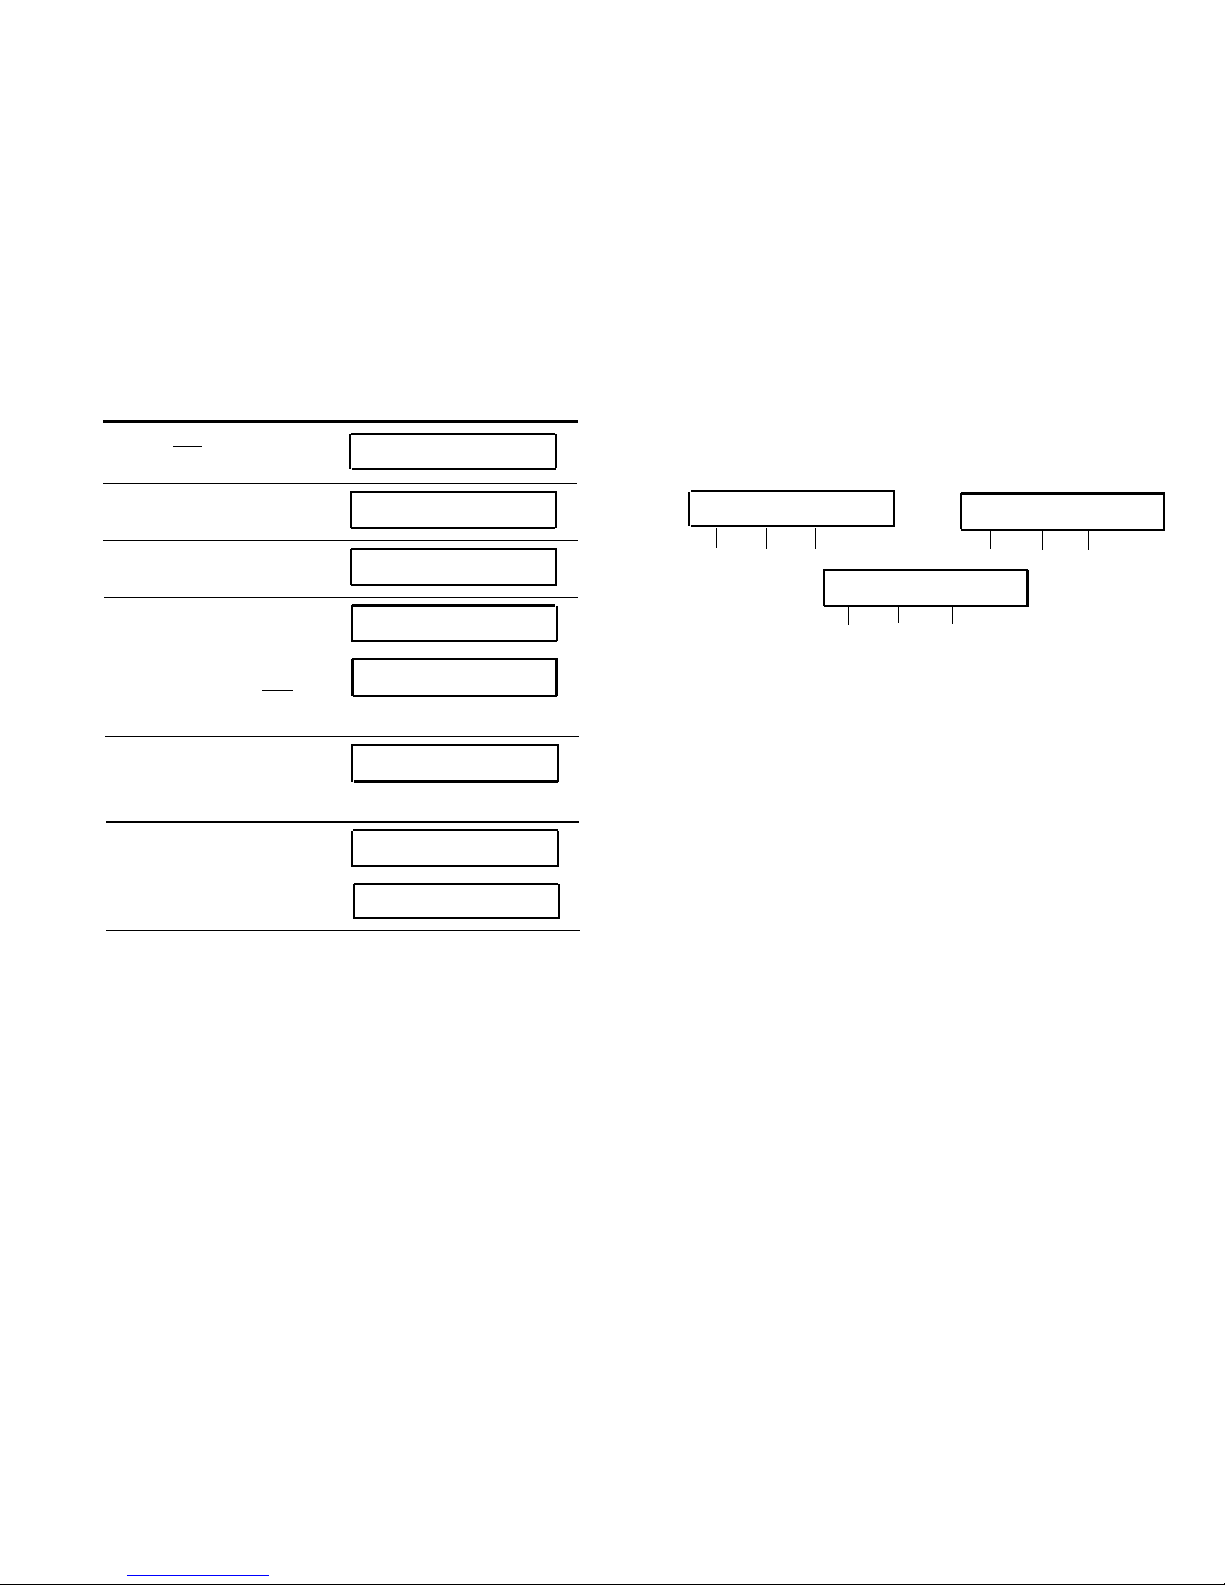
The Features Accessed with the Display and Softkeys
In order to access the features or names on the second line of the
display screen, you must press the softkey below the appropriate
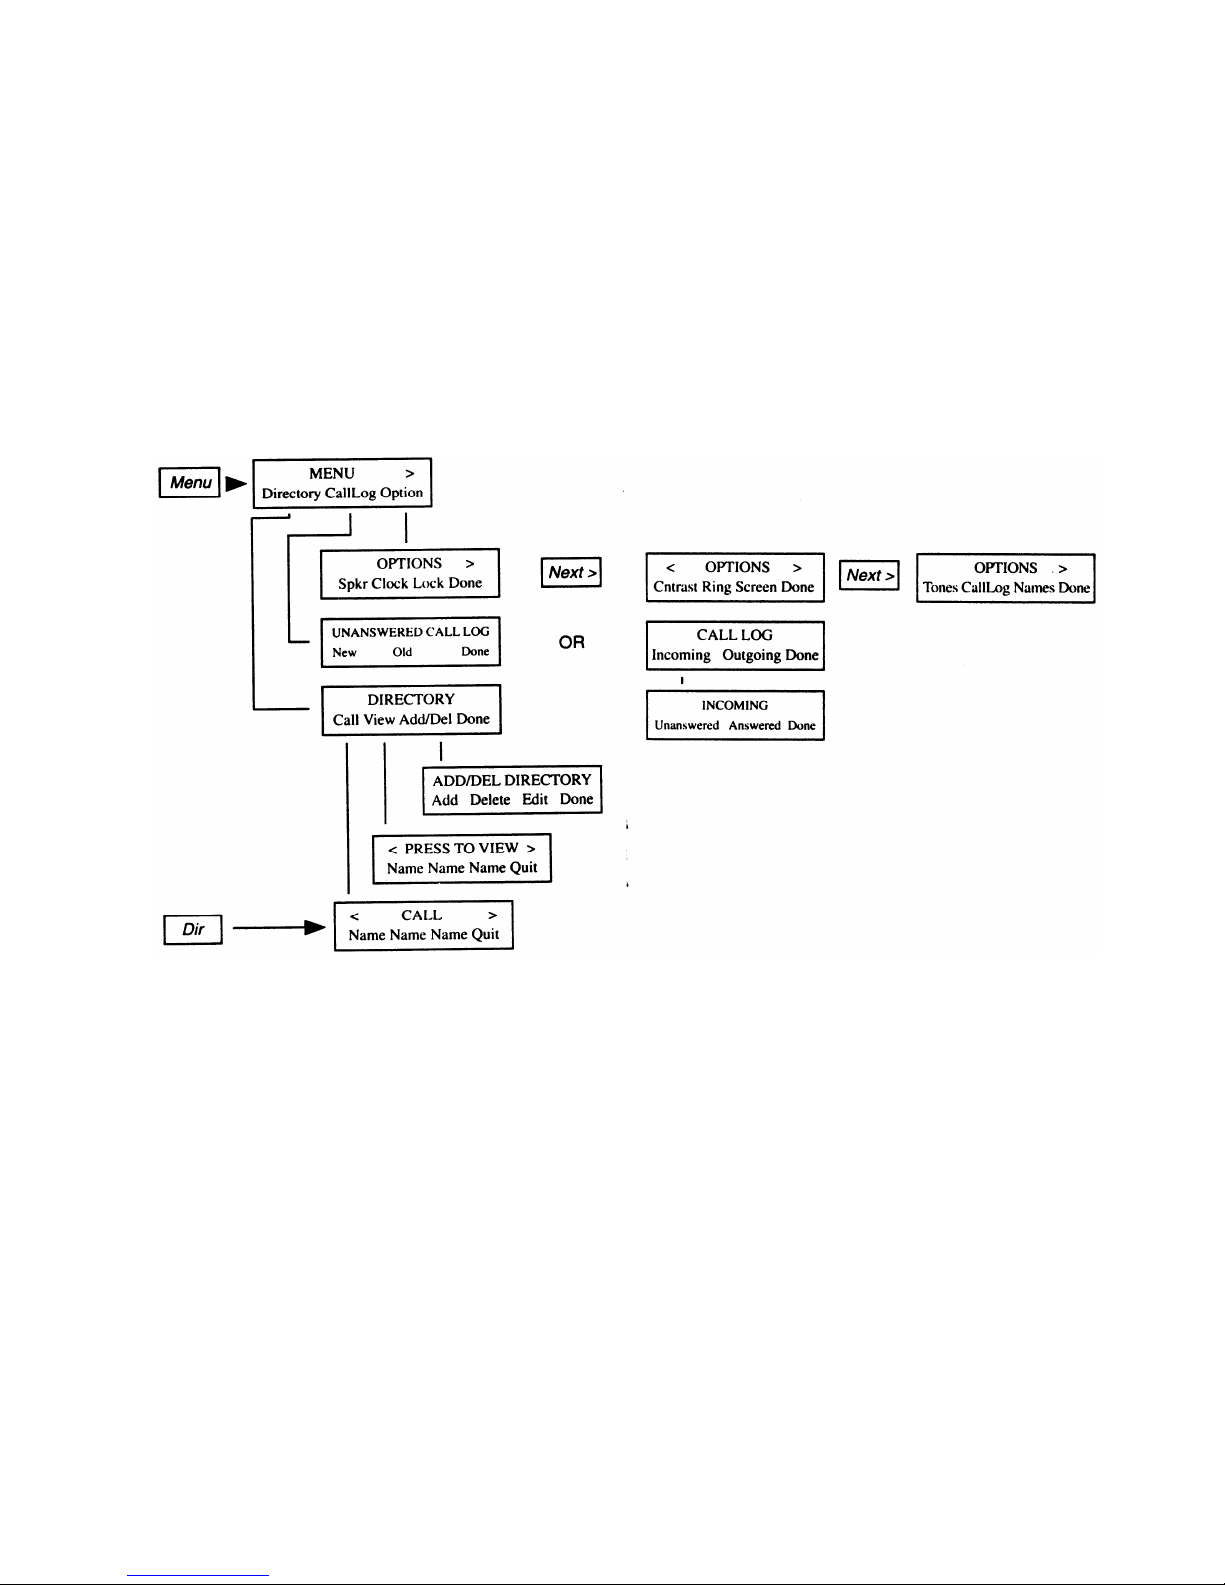
feature or person's name. The Main Menu, shown below, allows
you to view and modify 3 different types of menu choices:
MENU >
Directory CallLog Option
■Directory - create and edit a personal directory of up to
30 extensions or outside numbers.
■Call Log - initially set to list the 10 most recent incoming
unanswered calls only. An option is provided so you may also
choose to access the 10 most recent answered calls, the 10 most
recent calls placed from your voice terminal, or choose not to
log.any calls.
■Options - use to access such features as setting the clock and
speakerphone, locking the Directory, Call Log, and all softkeys,
selecting the display contrast, personalized ringing pattern, and
the rate at which display messages are shown, and turning on or
off confirmation and error tones.
Using the Display Control and Exit Buttons
There are 4 Display Control buttons located below the softkeys:
[ Menu ], [ Dir ], [ <Prev ], and [ Next> ]. Lower down on the voice
terminal is an [ Exit ] button.
23