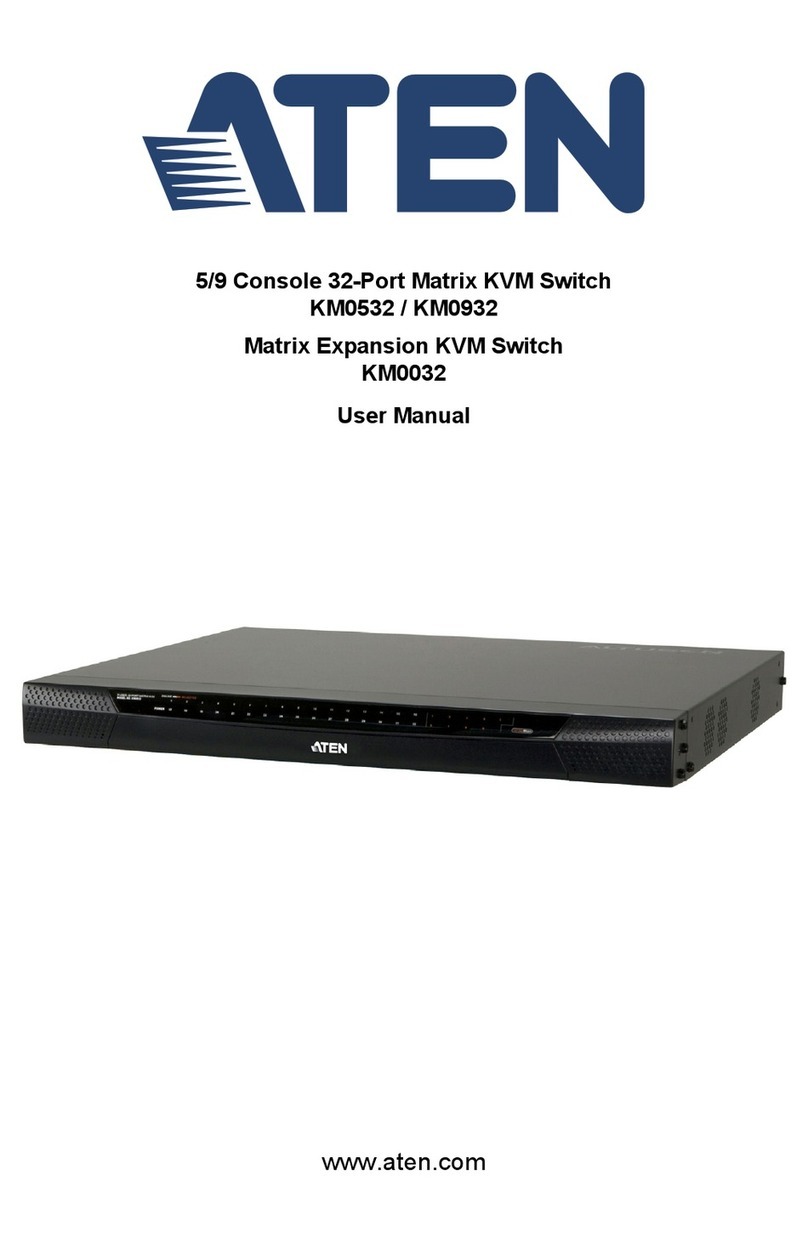
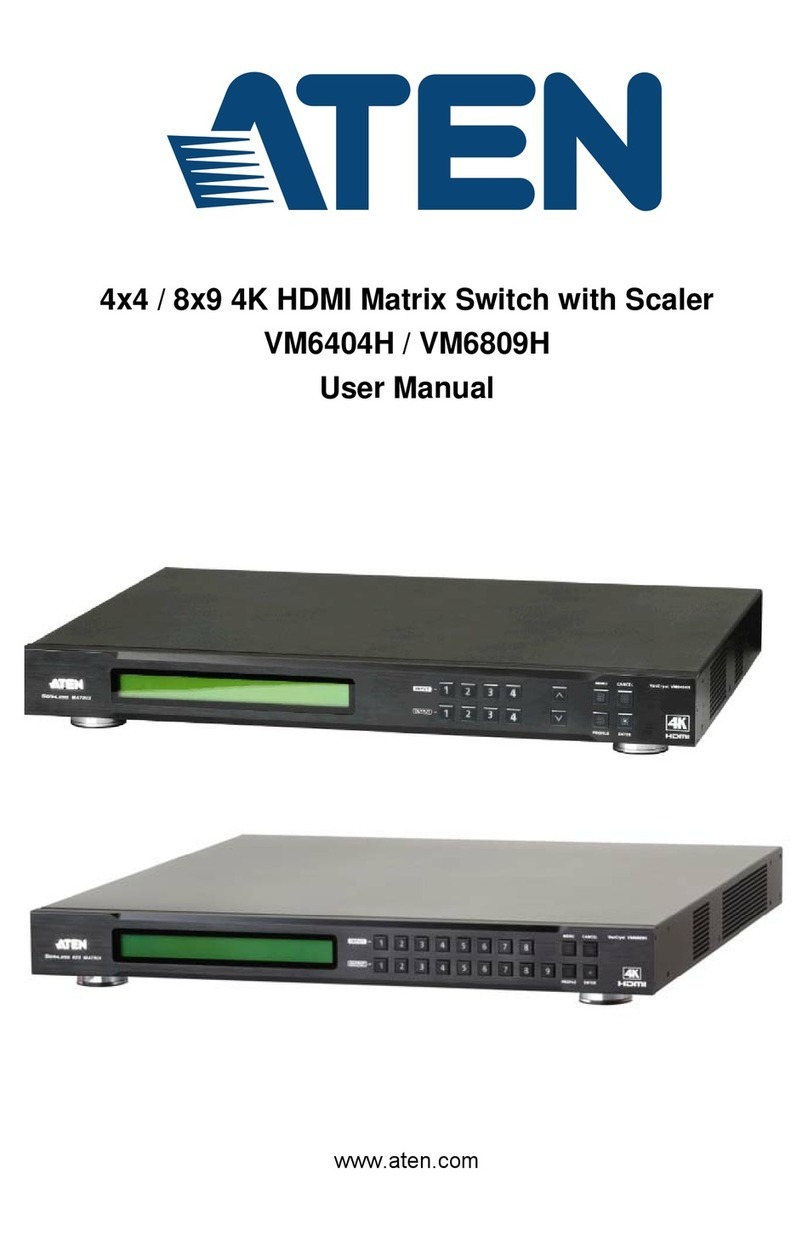
ATEN VanCryst VS0801A User manual

8-Port VGA Switch with Auto Switching
VS0801A
User Manual
www.aten.com

VS0801A User Manual
ii
FCC Information
FEDERAL COMMUNICATIONS COMMISSION INTERFERENCE
STATEMENT: This equipment has been tested and found to comply with the
limits for a Class A digital device, pursuant to Part 15 of the FCC Rules. These
limits are designed to provide reasonable protection against harmful
interference when the equipment is operated in a commercial environment.
This equipment generates, uses, and can radiate radio frequency energy and, if
not installed and used in accordance with the instruction manual, may cause
harmful interference to radio communications. Operation of this equipment in
a residential area is likely to cause harmful interference in which case the user
will be required to correct the interference at his own expense.
The device complies with Part 15 of the FCC Rules. Operation is subject to the
following two conditions: (1) this device may not cause harmful interference,
and (2) this device must accept any interference received, including
interference that may cause undesired operation.
FCC Caution: Any changes or modifications not expressly approved by the
party responsible for compliance could void the user's authority to operate this
equipment.
CE Warning: This is a class A product. In a domestic environment this
product may cause radio interference in which case the user may be required to
take adequate measures.
KCC Statement
유선 제품용 /A급 기기 (업무용 방송 통신 기기 )
이 기기는 업무용 (A 급)전자파적합기기로서 판매자 또는 사용자는 이
점을 주의하시기 바라며 ,가정 외의 지역에서 사용하는 것을 목적으로
합니다 .
RoHS
This product is RoHS compliant.

VS0801A User Manual
iii
SJ/T 11364-2006
The following contains information that relates to China.

VS0801A User Manual
iv
User Information
Online Registration
Be sure to register your product at our online support center:
Telephone Support
For telephone support, call this number:
User Notice
All information, documentation, and specifications contained in this manual
are subject to change without prior notification by the manufacturer. The
manufacturer makes no representations or warranties, either expressed or
implied, with respect to the contents hereof and specifically disclaims any
warranties as to merchantability or fitness for any particular purpose. Any of
the manufacturer's software described in this manual is sold or licensed as is.
Should the programs prove defective following their purchase, the buyer (and
not the manufacturer, its distributor, or its dealer), assumes the entire cost of all
necessary servicing, repair and any incidental or consequential damages
resulting from any defect in the software.
The manufacturer of this system is not responsible for any radio and/or TV
interference caused by unauthorized modifications to this device. It is the
responsibility of the user to correct such interference.
The manufacturer is not responsible for any damage incurred in the operation
of this system if the correct operational voltage setting was not selected prior
to operation. PLEASE VERIFY THAT THE VOLTAGE SETTING IS
CORRECT BEFORE USE.
International http://support.aten.com
North America http://www.aten-usa.com/product_registration
International 886-2-8692-6959
China 86-10-5255-0110
Japan 81-3-5615-5811
Korea 82-2-467-6789
North America 1-888-999-ATEN ext 4988
United Kingdom 44-8-4481-58923

VS0801A User Manual
v
Package Contents
The VS0801A package consists of:
1 VS0801A 8-Port VGA Switch with Auto Switching
1 IR Remote Control
1 Power Adapter
1 Mounting Kit
1 User Instructions*
Check to make sure that all the components are present and that nothing got
damaged in shipping. If you encounter a problem, contact your dealer.
Read this manual thoroughly and follow the installation and operation
procedures carefully to prevent any damage to the unit, and/or any of the
devices connected to it.
*Features may have been added to the VS0801A since this manual was
published. Please visit our website to download the most up-to-date version.
© Copyright 2015 ATEN® International Co., Ltd.
Manual Date: 2017-07-03
ATENandtheATENlogoareregisteredtrademarksofATENInternationalCo.,Ltd.Allrightsreserved.
All other brand names and trademarks are the registered property of their respective owners.

VS0801A User Manual
vi
Contents
FCC Information . . . . . . . . . . . . . . . . . . . . . . . . . . . . . . . . . . . . . . . . . . . . . ii
RoHS . . . . . . . . . . . . . . . . . . . . . . . . . . . . . . . . . . . . . . . . . . . . . . . . . . . . . ii
SJ/T 11364-2006 . . . . . . . . . . . . . . . . . . . . . . . . . . . . . . . . . . . . . . . . . . . .iii
User Information. . . . . . . . . . . . . . . . . . . . . . . . . . . . . . . . . . . . . . . . . . . . .iv
Online Registration . . . . . . . . . . . . . . . . . . . . . . . . . . . . . . . . . . . . . . . .iv
Telephone Support . . . . . . . . . . . . . . . . . . . . . . . . . . . . . . . . . . . . . . . .iv
User Notice . . . . . . . . . . . . . . . . . . . . . . . . . . . . . . . . . . . . . . . . . . . . . .iv
Package Contents . . . . . . . . . . . . . . . . . . . . . . . . . . . . . . . . . . . . . . . . . . . v
About this Manual. . . . . . . . . . . . . . . . . . . . . . . . . . . . . . . . . . . . . . . . . . .viii
Conventions . . . . . . . . . . . . . . . . . . . . . . . . . . . . . . . . . . . . . . . . . . . . . . . .ix
Product Information . . . . . . . . . . . . . . . . . . . . . . . . . . . . . . . . . . . . . . . . . .ix
1. Introduction
Overview. . . . . . . . . . . . . . . . . . . . . . . . . . . . . . . . . . . . . . . . . . . . . . . . . . . 1
Features . . . . . . . . . . . . . . . . . . . . . . . . . . . . . . . . . . . . . . . . . . . . . . . . . . . 2
Requirements . . . . . . . . . . . . . . . . . . . . . . . . . . . . . . . . . . . . . . . . . . . . . . . 3
Source Device. . . . . . . . . . . . . . . . . . . . . . . . . . . . . . . . . . . . . . . . . . . . 3
Display Device . . . . . . . . . . . . . . . . . . . . . . . . . . . . . . . . . . . . . . . . . . . 3
Cables. . . . . . . . . . . . . . . . . . . . . . . . . . . . . . . . . . . . . . . . . . . . . . . . . . 3
Components . . . . . . . . . . . . . . . . . . . . . . . . . . . . . . . . . . . . . . . . . . . . . . . . 4
VS0801A Front View. . . . . . . . . . . . . . . . . . . . . . . . . . . . . . . . . . . . . . . 4
VS0801A Rear View . . . . . . . . . . . . . . . . . . . . . . . . . . . . . . . . . . . . . . . 5
IR Remote Control . . . . . . . . . . . . . . . . . . . . . . . . . . . . . . . . . . . . . . . . 6
2. Hardware Setup
Stacking and Rack Mounting . . . . . . . . . . . . . . . . . . . . . . . . . . . . . . . . . . . 7
Stacking . . . . . . . . . . . . . . . . . . . . . . . . . . . . . . . . . . . . . . . . . . . . . . . . 7
Rack Mounting . . . . . . . . . . . . . . . . . . . . . . . . . . . . . . . . . . . . . . . . . . . 9
Rack Mounting - Front. . . . . . . . . . . . . . . . . . . . . . . . . . . . . . . . . . . 9
Rack Mounting - Rear . . . . . . . . . . . . . . . . . . . . . . . . . . . . . . . . . . 11
Installation. . . . . . . . . . . . . . . . . . . . . . . . . . . . . . . . . . . . . . . . . . . . . . . . . 13
Installation Diagram . . . . . . . . . . . . . . . . . . . . . . . . . . . . . . . . . . . . . . 14
3. Operation
Overview. . . . . . . . . . . . . . . . . . . . . . . . . . . . . . . . . . . . . . . . . . . . . . . . . . 15
Source Selection. . . . . . . . . . . . . . . . . . . . . . . . . . . . . . . . . . . . . . . . . 15
Manual Source Selection . . . . . . . . . . . . . . . . . . . . . . . . . . . . . . . 15
Remote Source Selection . . . . . . . . . . . . . . . . . . . . . . . . . . . . . . . 15
IR Code . . . . . . . . . . . . . . . . . . . . . . . . . . . . . . . . . . . . . . . . . . . . . 16
VGA Cable Source Selection . . . . . . . . . . . . . . . . . . . . . . . . . . . . 16
Port Switching VGA Cable . . . . . . . . . . . . . . . . . . . . . . . . . . . . . . 16
Auto Switch. . . . . . . . . . . . . . . . . . . . . . . . . . . . . . . . . . . . . . . . . . . . . 17
Auto Mode: . . . . . . . . . . . . . . . . . . . . . . . . . . . . . . . . . . . . . . . . . . 17
Next Mode: . . . . . . . . . . . . . . . . . . . . . . . . . . . . . . . . . . . . . . . . . .17
Default Mode: . . . . . . . . . . . . . . . . . . . . . . . . . . . . . . . . . . . . . . . . 17

VS0801A User Manual
vii
RS-232 Serial Interface. . . . . . . . . . . . . . . . . . . . . . . . . . . . . . . . . . . . . . .18
Configuring the Serial Port . . . . . . . . . . . . . . . . . . . . . . . . . . . . . . . . .18
Verification. . . . . . . . . . . . . . . . . . . . . . . . . . . . . . . . . . . . . . . . . . . . . .18
Switch Port Commands. . . . . . . . . . . . . . . . . . . . . . . . . . . . . . . . . . . .19
Auto Switch Commands . . . . . . . . . . . . . . . . . . . . . . . . . . . . . . . . . . .20
Power on Detection Commands . . . . . . . . . . . . . . . . . . . . . . . . . . . . .22
Dynamic DDC Commands . . . . . . . . . . . . . . . . . . . . . . . . . . . . . . . . .23
Pushbutton Lock Commands . . . . . . . . . . . . . . . . . . . . . . . . . . . . . . .24
Cable Button Commands . . . . . . . . . . . . . . . . . . . . . . . . . . . . . . . . . .25
IR Code Commands . . . . . . . . . . . . . . . . . . . . . . . . . . . . . . . . . . . . . .26
Reset Command . . . . . . . . . . . . . . . . . . . . . . . . . . . . . . . . . . . . . . . . .28
Powering Off and Restarting. . . . . . . . . . . . . . . . . . . . . . . . . . . . . . . . . . .29
4. The Firmware Upgrade Utility
Introduction . . . . . . . . . . . . . . . . . . . . . . . . . . . . . . . . . . . . . . . . . . . . . . . .30
Downloading the Firmware Upgrade Package . . . . . . . . . . . . . . . . . .30
Preparation . . . . . . . . . . . . . . . . . . . . . . . . . . . . . . . . . . . . . . . . . . . . . . . .31
Starting the Upgrade. . . . . . . . . . . . . . . . . . . . . . . . . . . . . . . . . . . . . . . . .32
Upgrade Succeeded . . . . . . . . . . . . . . . . . . . . . . . . . . . . . . . . . . . . . . . . .34
Upgrade Failed . . . . . . . . . . . . . . . . . . . . . . . . . . . . . . . . . . . . . . . . . . . . .34
Firmware Upgrade Recovery . . . . . . . . . . . . . . . . . . . . . . . . . . . . . . . . . .35
Appendix
Safety Instructions. . . . . . . . . . . . . . . . . . . . . . . . . . . . . . . . . . . . . . . . . . .36
General . . . . . . . . . . . . . . . . . . . . . . . . . . . . . . . . . . . . . . . . . . . . . . . .36
Technical Support. . . . . . . . . . . . . . . . . . . . . . . . . . . . . . . . . . . . . . . . . . .38
International. . . . . . . . . . . . . . . . . . . . . . . . . . . . . . . . . . . . . . . . . . . . .38
North America . . . . . . . . . . . . . . . . . . . . . . . . . . . . . . . . . . . . . . . . . . .38
Specifications . . . . . . . . . . . . . . . . . . . . . . . . . 39
Limited Warranty. . . . . . . . . . . . . . . . . . . . . . . . . . . . . . . . . . . . . . . . . . . .40

VS0801A User Manual
viii
About this Manual
This User Manual is provided to help you get the most from your system. It
covers all aspects of installation, configuration and operation. An overview of
the information found in the manual is provided below.
Chapter 1, Introduction, introduces you to the VS0801A system. Its
purpose, features and benefits are presented, and its front and back panel
components are described.
Chapter 2, Hardware Setup, describes how to set up your VS0801A
installation.
Chapter 3, Operation, explains the fundamental concepts involved in
operating the VS0801A manually, remotely, and using RS-232 commands.
Chapter 4, The Firmware Upgrade Utility, explains how to download
the VS0801A’s firmware and upgrade the device using the utility.
An Appendix, provides specifications and other technical information
regarding the VS0801A.

VS0801A User Manual
ix
Conventions
This manual uses the following conventions:
Product Information
For information about all ATEN products and how they can help you connect
without limits, visit ATEN on the Web or contact an ATEN Authorized
Reseller. Visit ATEN on the Web for a list of locations and telephone numbers:
Monospaced Indicates text that you should key in.
[ ] Indicates keys you should press. For example, [Enter] means to
press the Enter key. If keys need to be chorded, they appear
together in the same bracket with a plus sign between them:
[Ctrl+Alt].
1. Numbered lists represent procedures with sequential steps.
Bullet lists provide information, but do not involve sequential steps.
Indicates selecting the option (on a menu or dialog box, for
example), that comes next. For example, Start Run means to
open the Start menu, and then select Run.
Indicates critical information.
International http://www.aten.com
North America http://www.aten-usa.com

1
Chapter 1
Introduction
Overview
With eight VGA/Audio input ports, the VS0801A 8-Port VGA Switch with
Audio allows you to conveniently display the video output of eight separate
computersystems on a VGAmonitor ormultimedia projector. Rack mountable
in only 1U of space, and with full audio support, the VS0801A is perfect for
server room applications that require monitoring via high quality audio and
video, allowing you to monitor harsh work environments from a safe location.
The IR remote control, convenient front panel pushbuttons, RS-232 controls,
and new port switching VGA cable* allow you to quickly toggle between
VGA/Audio sources, while the front panel LEDs indicate the source device at
a glance. The optional port switching VGA cable offers- “at the source” port
selection via pushbutton built into a high quality VGA cable.
In addition, with support for up to 300 MHz bandwidth, the VS0801A provides
a high resolution with a crystal clear image quality. The VS0801A features
Dynamic DDC which allows non-active source ports to receive updated EDID
information from the display for faster optimized switching.
Furthermore, RS-232 control is standard through the VS0801A's built-in bi-
directional RS-232 serial port that allows the switch to be controlled through a
serial connected PC. RS-232 commands provide additional easy to use
functions with your VS0801A. In addition, you can download** the free RS-
232 Control Tool application with easy to use GUI (Graphical User Interface)
to manage and control all RS-232 commands from a computer to your switch.
Designed for enterprise use, the VS0801A eliminates the cost of purchasing a
separate monitor for each computer, saving space and power in the server
room. The VS0801A is perfect for providing audio and video for a wide range
of commercial applications, and is a perfect fit for any meeting room where
multiple computers need to be displayed on a single monitor or projector.
Note: 1. Port Switching VGA Cables are sold separately.
2. The VS0801A RS-232 GUI and instructions can be downloaded from
the ATEN website: www.aten.com.

Chapter 1. Introduction
2
Features
Displays the video output of up to eight computers on a single VGA
display
Quick and easy switching between VGA/Audio sources via front panel
pushbuttons, Port Switching VGA Cable*, RS-232 commands, or IR
remote control
Supports stereo audio
Built-in bi-directional RS-232 serial port for high-end system control, and
advanced RS-232 functions**
RS-232 Functions:
Power On Detection – if one VGA source is powered off, the
VS0801A will automatically switch to the next powered-on source
Auto Switching – sets the priority for auto switching to a connected
port
Pushbutton Lock – locks use of the front panel pushbuttons
Supports up to 300 MHz bandwidth for optimal video quality
Superior video quality – 2048x1536@60Hz; DDC; DDC2; DDC2B
Long-distance transmission – up to 65 m
Supports – VGA, SVGA, UXGA, WUXGA, and multisync
Video DynaSync™ – Exclusive ATEN technology eliminates boot-up
display problems and optimizes resolution when switching between ports
Supports Dynamic DDC to monitor and receive updated EDID information
from displays
All-metal casing provides durability and protection
Designed for server rooms, meeting rooms, industrial, commercial, and
media applications
Rack Mountable
Note: 1. Port Switching VGA Cables are sold separately.
2. The VS0801A RS-232 GUI and instructions can be downloaded from
the ATEN website: www.aten.com.

VS0801A User Manual
3
Requirements
Source Device
The following equipment must be installed on the source device or computer
that acts as a source of VGA/Audio content:
VGA video card with HDB-15 connector
Audio source with stereo output
Display Device
A VGA, SVGA, UXGA, WUXGA or multisync monitor or multimedia
projector with an HDB-15 connector
Stereo speakers
Cables
1 VGA/Audio cable or Port Switching VGA Cable* for each source device
1 VGA/Audio cable for your display and audio device
Note: Port Switching VGA Cables (Part No. 2L-5203B) are available and sold
through authorized ATEN dealers. We strongly recommend that you
purchase high-quality cables of appropriate length since this will affect
the quality of the audio and video display.

Chapter 1. Introduction
4
Components
VS0801A Front View
No. Component Function
1PortSelection
Pushbuttons Pressing a port selection pushbutton routes the
VGA/Audio source from the corresponding input
port to the output port for display.
2 Port LEDs There is one port LED next to each port selection
pushbutton. This lights green to indicate that the
corresponding port has been selected.
The connected port LEDs will flash when the front
panel pushbuttons are manually locked or when
auto switch mode has been activated.
(See Operation, page 15, for details)
3 IR Receiver This receives signals from the IR remote control.
2
1
3

VS0801A User Manual
5
VS0801A Rear View
No. Component Function
1 Grounding Terminal The grounding wire used to ground the unit
attaches here.
2 RS-232 Port This is the serial port for input source selection and
high-end system control.
3 Video / Audio Input Each input section is comprised of a VGA
connector and stereo audio jack. The cables that
connect to the video and audio output ports on the
computers / source devices plug in here.
4 Power Jack The power adapter cable plugs in here.
5 Video / Audio Output The cables that connect to the video and audio
input ports on the video display/audio device plug in
here.
1
23
VIDEO / AUDIO OUT 87654321
45

Chapter 1. Introduction
6
IR Remote Control
No. Component Function
1 Port Up / Port Down
Buttons Press the Port Up button to cycle forward through
the source devices (1 to 2; 2 to 3; ... 8 to 1).
Press the Port Down button to cycle backward
through the source devices.(8 to 7; 7 to 6; ... 1 to 8).
2 Port Selection Buttons Press a button to bring the focus directly to the
source device attached to its associated port.
3 On / Off Button This button enables / disables the video output.
1
2
ON / OFF 3

7
Chapter 2
Hardware Setup
Stacking and Rack Mounting
The VS0801A can be stacked on a desktop or rack mounted in a variety of
ways. The following sections take you through the procedures for each method.
Stacking
The VS0801A can be placed on any appropriate level surface that can safely
support its weight with cables attached. To stack units, remove the cover
material from the bottom of the rubber feet that came with your package, and
stick them to the bottom panel at the corners, as shown in the diagram on the
following page:
1. Important safety information regarding the placement of this
device is provided on page 36. Please review it before
proceeding.
2. Make sure that the power to all devices you will be installing
have been turned off and that all devices are properly grounded.

Chapter 2. Hardware Setup
8
Note: To ensure adequate ventilation, allow at least 5.1 cm on each side, and
12.7 cm behind the unit for power cord and cable clearance.

VS0801A User Manual
9
Rack Mounting
The VS0801A can be mounted in a 19" (1U) rack. The mounting brackets can
screw into either the front or the back of the unit so that it can attach to the front
or the back of the rack.
Rack Mounting - Front
To mount the unit from the front, do the following:
1. Remove the two screws at the front of the unit.
2. Use the M3 x 8 Phillips head hex screws supplied with the rack mount kit
to screw the rack mounting brackets into the front of the unit.

Chapter 2. Hardware Setup
10
3. Position the device in the front of the rack and align the holes in the
mounting brackets with the holes in the rack.
4. Screw the mounting brackets to the rack.
Note: Cage nuts are provided for racks that are not prethreaded.

VS0801A User Manual
11
Rack Mounting - Rear
To mount the unit from the rear, do the following:
1. Remove the two screws at the rear of the unit.
2. Use the M3 x 8 Phillips head hex screws supplied with the rack mounting
kit to screw the rack mounting brackets into the rear of the unit.
3. Position the device in the rack and align the holes in the mounting brackets
with the holes in the rack.
Other manuals for VanCryst VS0801A
1
Table of contents
Other ATEN Switch manuals
Popular Switch manuals by other brands

Spirax Sarco
Spirax Sarco LCS3051 Installation and maintenance instructions

Marmitek
Marmitek CONNECT 225 user manual

Directed Electronics
Directed Electronics VS100 owner's guide

GE
GE MSS owner's manual

Hirschmann
Hirschmann Dragon PTN user manual

Flowserve
Flowserve Ultraswitch PMV WS Series User instructions