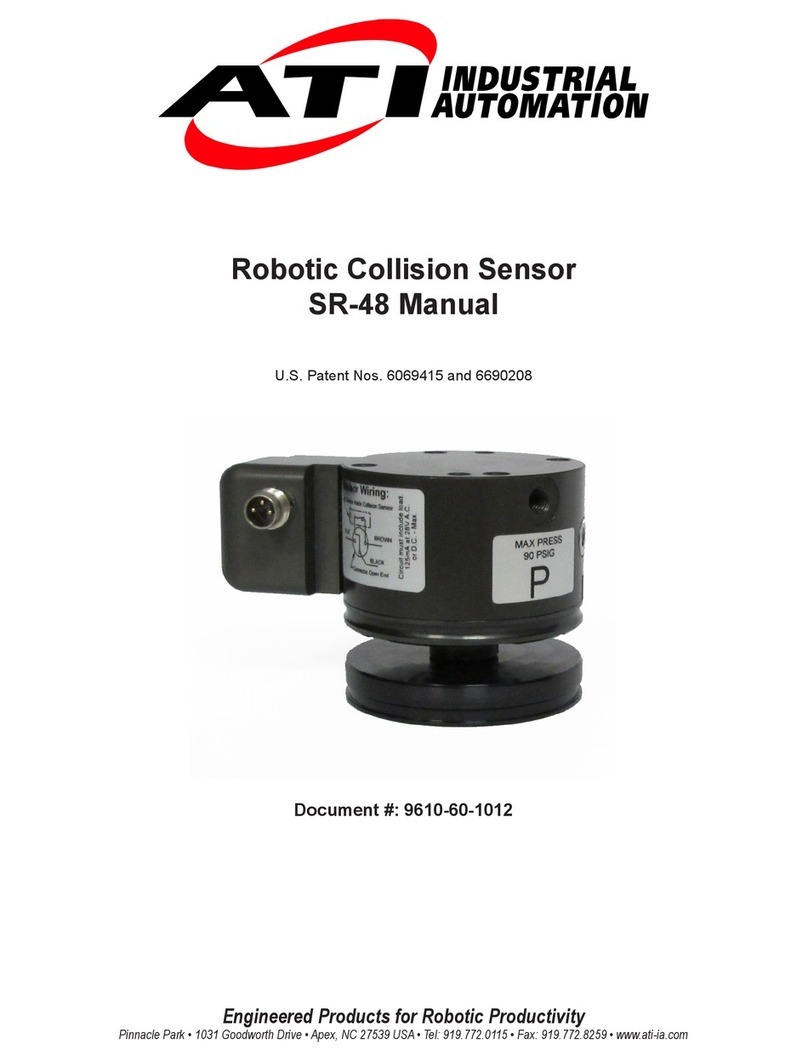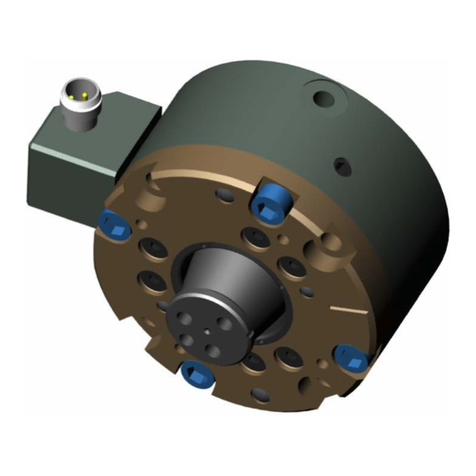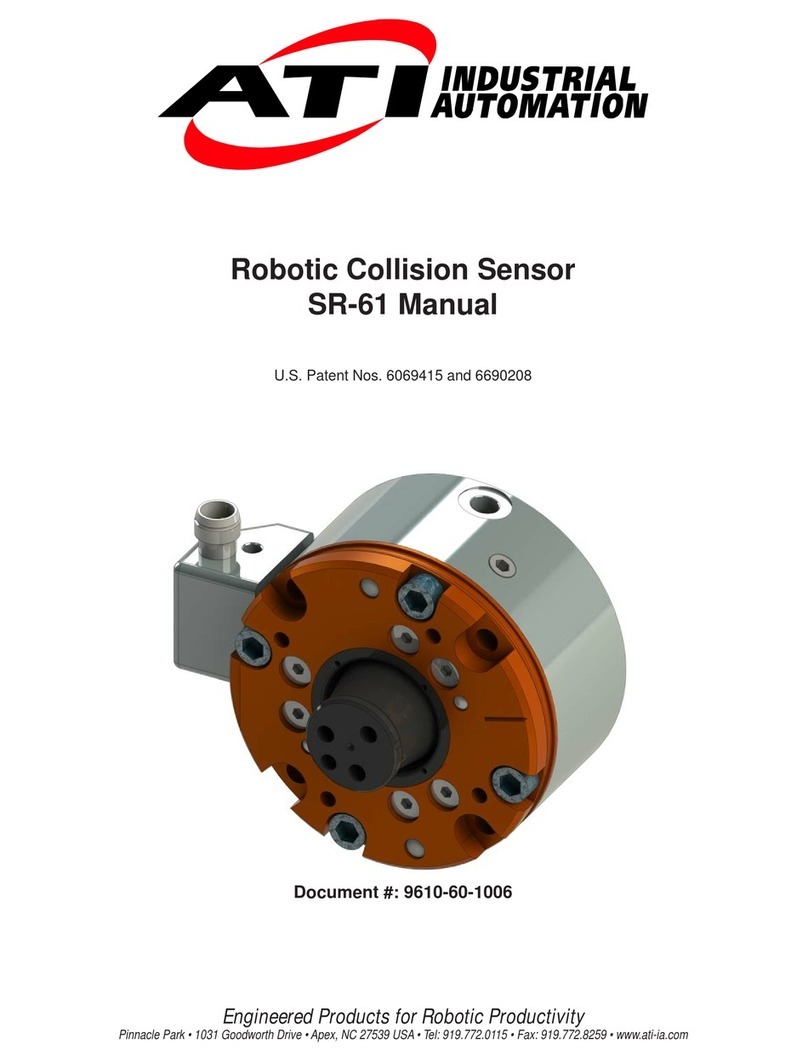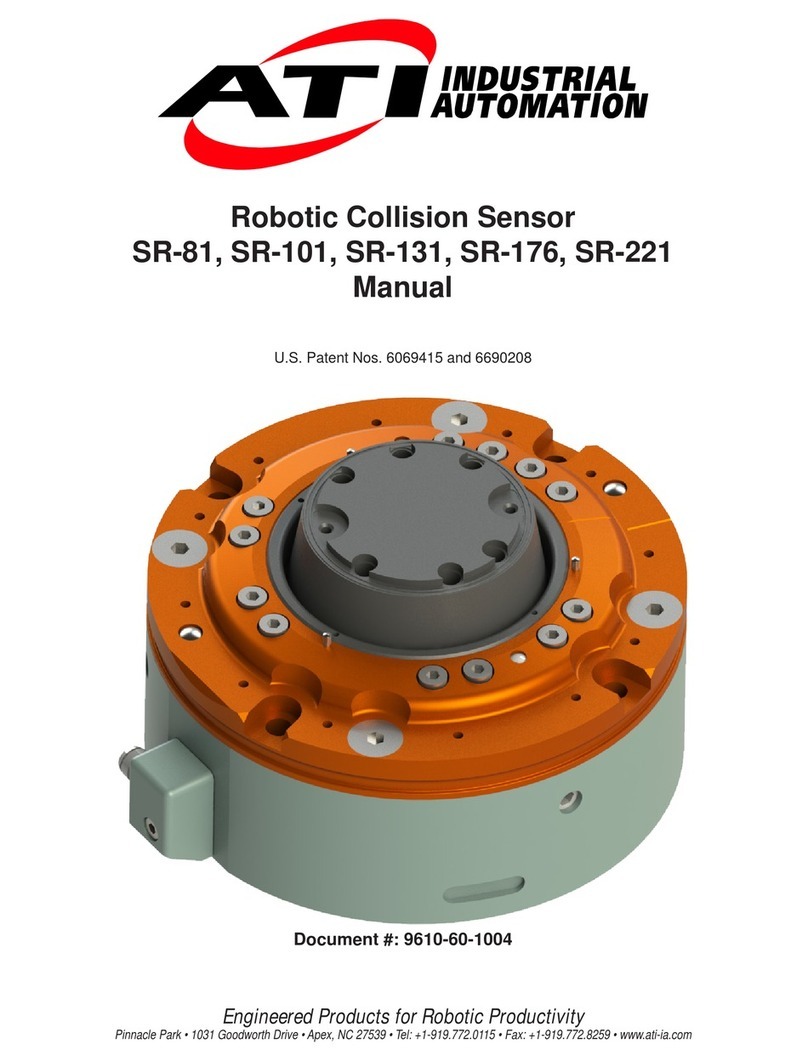
Manual, Collision Sensor, Protector™,SR-61
Document #9610-60-1006-13
Pinnacle
Park
•
1031
Goodworth
Drive
•
Apex,
NC
27539
USA
•
T
el:
919.772.01
15
•
Fax:
919.772.8259
•
www
.ati-ia.com
•
Email:
[email protected] 3
Table of Contents
1. Safety......................................................................................................................................... 6
1.1 ExplanationofNotications.........................................................................................................6
1.2 General Safety Guidelines............................................................................................................6
1.3 Safety Precautions........................................................................................................................7
2. Product Overview..................................................................................................................... 8
2.1 Product Description......................................................................................................................8
3. Installation ................................................................................................................................ 9
3.1 Mechanical Installation.................................................................................................................9
3.1.1 FastenerTorqueSpecications ..........................................................................................9
3.2 Electrical Connection..................................................................................................................10
3.2.1 Test Switch Functionality.................................................................................................. 11
3.3 Pneumatic Connection ............................................................................................................... 11
3.3.1 Operating Requirements.................................................................................................. 11
3.3.2 Calculating Estimated Pressure Setting........................................................................... 11
3.3.2.1 Calculate Applied Loads ................................................................................... 11
3.3.2.2 Obtain Required Pressure Setting....................................................................13
3.3.3 Determining Exact Pressure Required.............................................................................14
4. Operation ................................................................................................................................ 15
5. Maintenance............................................................................................................................ 16
5.1 Periodic Lubrication Instructions..............................................................................................16
5.1.1 Cover Plate and Stem Disassembly.................................................................................16
5.1.2 Cover Plate and Stem Cleaning and Lubrication .............................................................17
5.1.3 Cover Plate and Stem Re-assembly................................................................................18
6. Troubleshooting ..................................................................................................................... 19
6.1 Cable Replacement.....................................................................................................................20
6.2 Replacement of Switch/Connector Block Assembly ...............................................................20
6.2.1 Replacement of Original Style Switch/Connector Block Assembly ..................................21
6.2.2 Replacement of Current Style Switch/Connector Block Assembly...................................22
6.3 Switch Adjustment......................................................................................................................23
6.3.1 Original Style Switch Adjustment......................................................................................23
6.3.2 Current Style Switch Adjustment......................................................................................24
6.4 Spring Conversion......................................................................................................................26
6.5 Seal Replacement........................................................................................................................27
6.6 IP65 Boot Replacement ..............................................................................................................28
6.7 Weld Splatter Shield Replacement............................................................................................29
6.8 Flexible Boot Replacement ........................................................................................................30
