ITALIANO
Grazie per aver scelto USB IP Phone. Questo dispositivo permette di effettuare chiamate gratuite tramite Internet da
PC a PC in modo facile e veloce.
Dotato di una porta USB, basterà collegare il prodotto al vostro PC, eseguire il download di un software di telefonia
Internet, come ad esempio Skype™, e sarà possibile iniziare ad effetturare chiamate.
In questo modo, sarà possibile comunicare in maniera facile e veloce con amici, familiari e colleghi.
USB IP Phone è compatibile con Skype™ e può essere utilizzato anche come periferica audio.
1. Requisiti di Sistema
1.1 Per utilizzare USB IP Phone:
Computer con1 porta USB1.1 o USB 2.0 libera
Window98SE/ME/2000/XP
1.2 Per utilizzare USB IP Phone con Skype™ (requisiti minimi di sistema):
PC con SO Windows 2000 o XP
Processore con velocità pari a 400 MHz
128 MB di memoria RAM
15 MB di spazio disponibile su Hard Disk
Connessione Internet
Installazione API fornita a corredo
Skype™ non è supportato da Windows 98SE/ME. Sotto questi
SO, USB IP Phone funzionerà solamente come periferica
Audio I/O.
I requisiti sono soggeti al software Skype™. Per aggiornamenti
sugli stessi, visitare il sito web Skype™ (www.Skype.com)
USB IP Phone NON può essere usato per le chiamate di
emergenza.
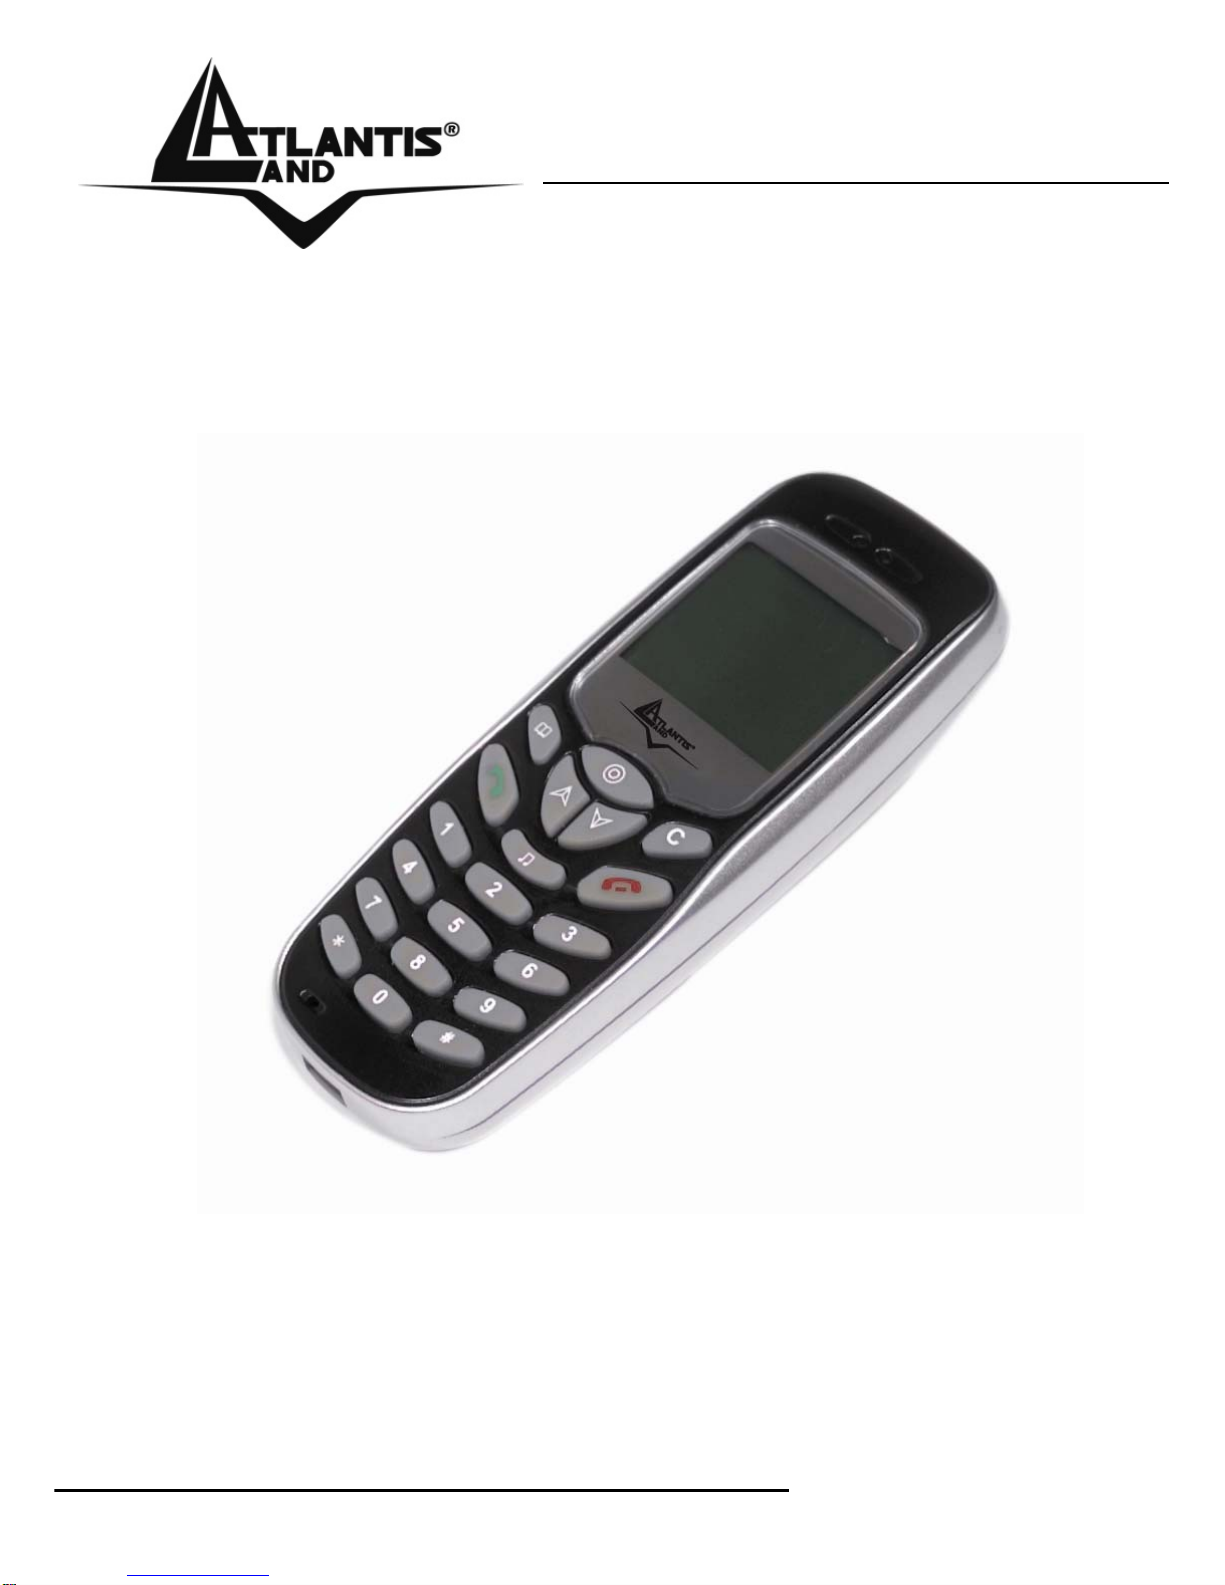
2. Caratteristiche
Compatibile con software VOIP (Voice over Internet Protocol) come Skype™, NetMeeting, etc.
Funzionalità Hot-key per utilizzare Skype™ come se si stesse utilizzando un normale telefono.
Echo-cancellation per una migliore qualità del suono.
8 tipi di suoneria differenti per la segnalazione delle chiamate entranti.
Utilizzo di un modulo LCD a matrice di punti (116*64)
Supporto modalità Multilingua (Inglese, Cinese Tradizionale/Semplificato, Tedesco, Giapponese)
Retroilluminazione LCD attiva in caso di chiamata entrante o della pressione di un tasto.
Può essere utilizzato come altoparlante per la riproduzione di musica da un PC.
Possibilità di mostrare tramite display LCD: caller ID, lista contatti e lista chiamate (entranti, uscenti e
perse).
Compatibile allo standard USB 1.1.
Non richiede nessuna alimentazione supplementare.
Pag. 2