© 2012 Escalade Sports For Customer Service Call 1-888-996-2729
10
All Rights Reserved.
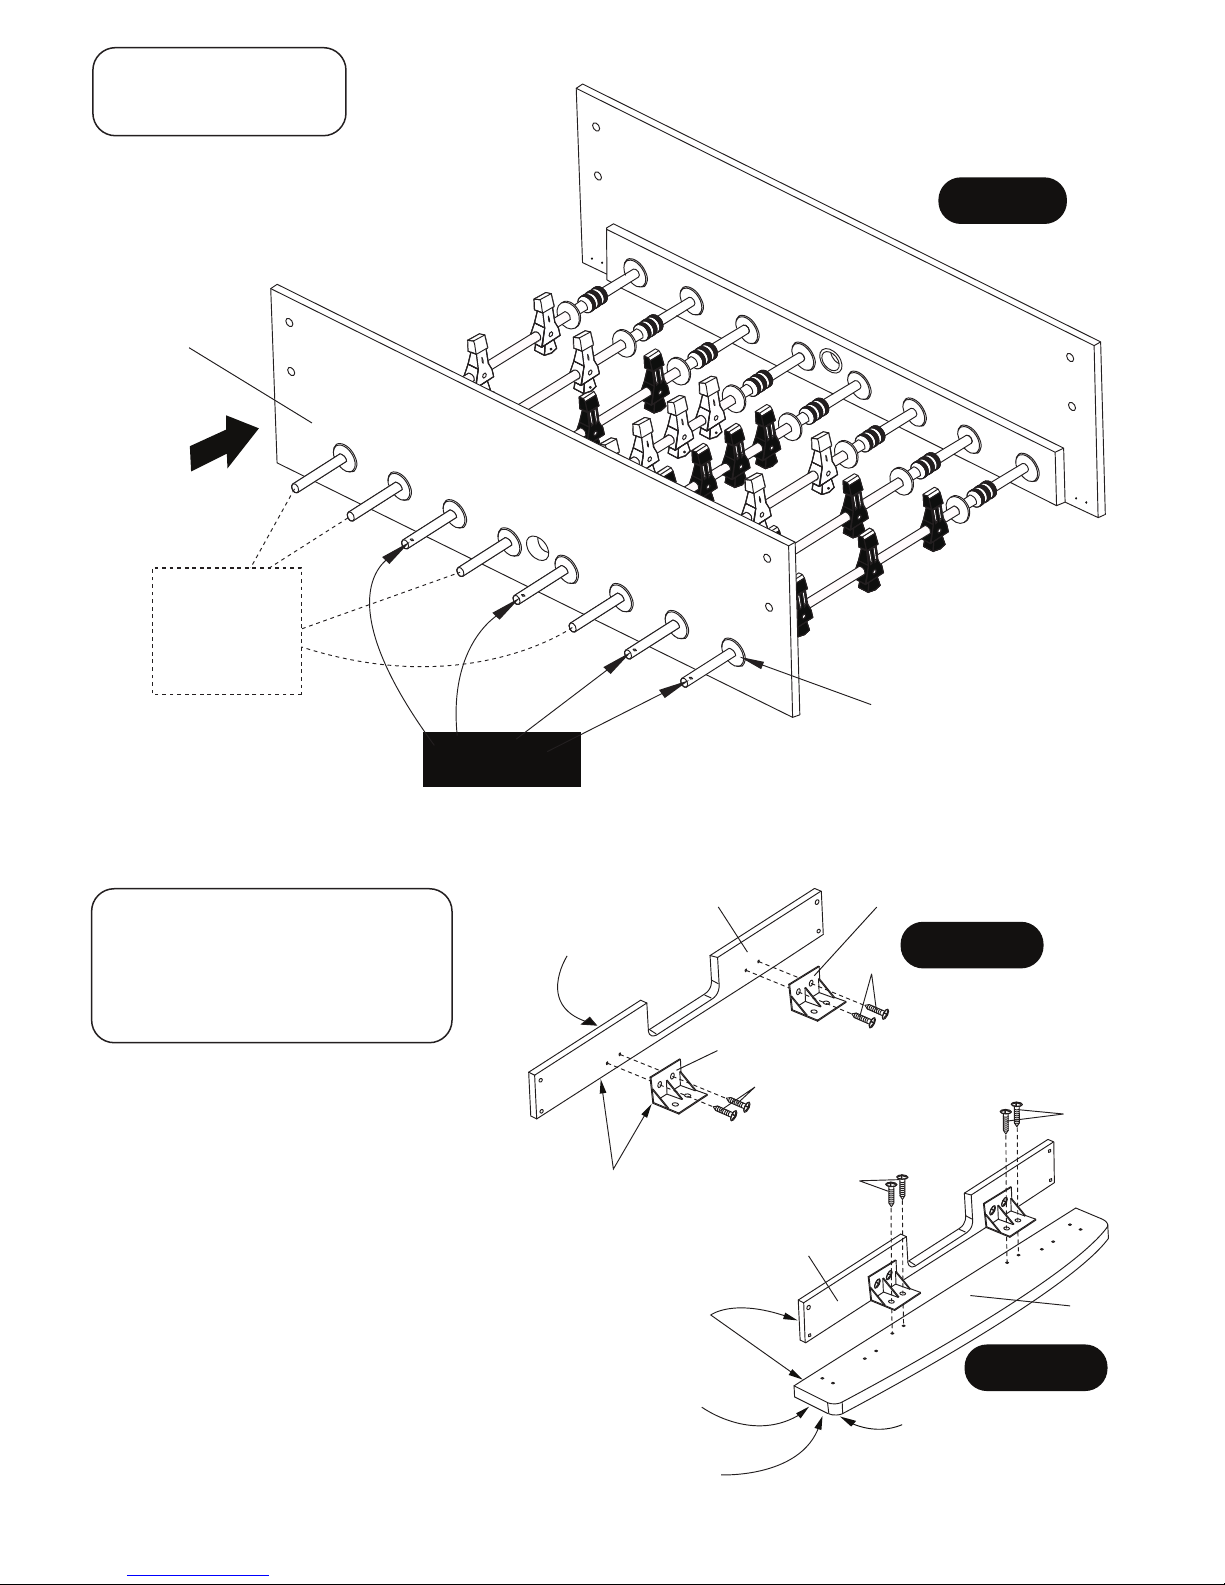
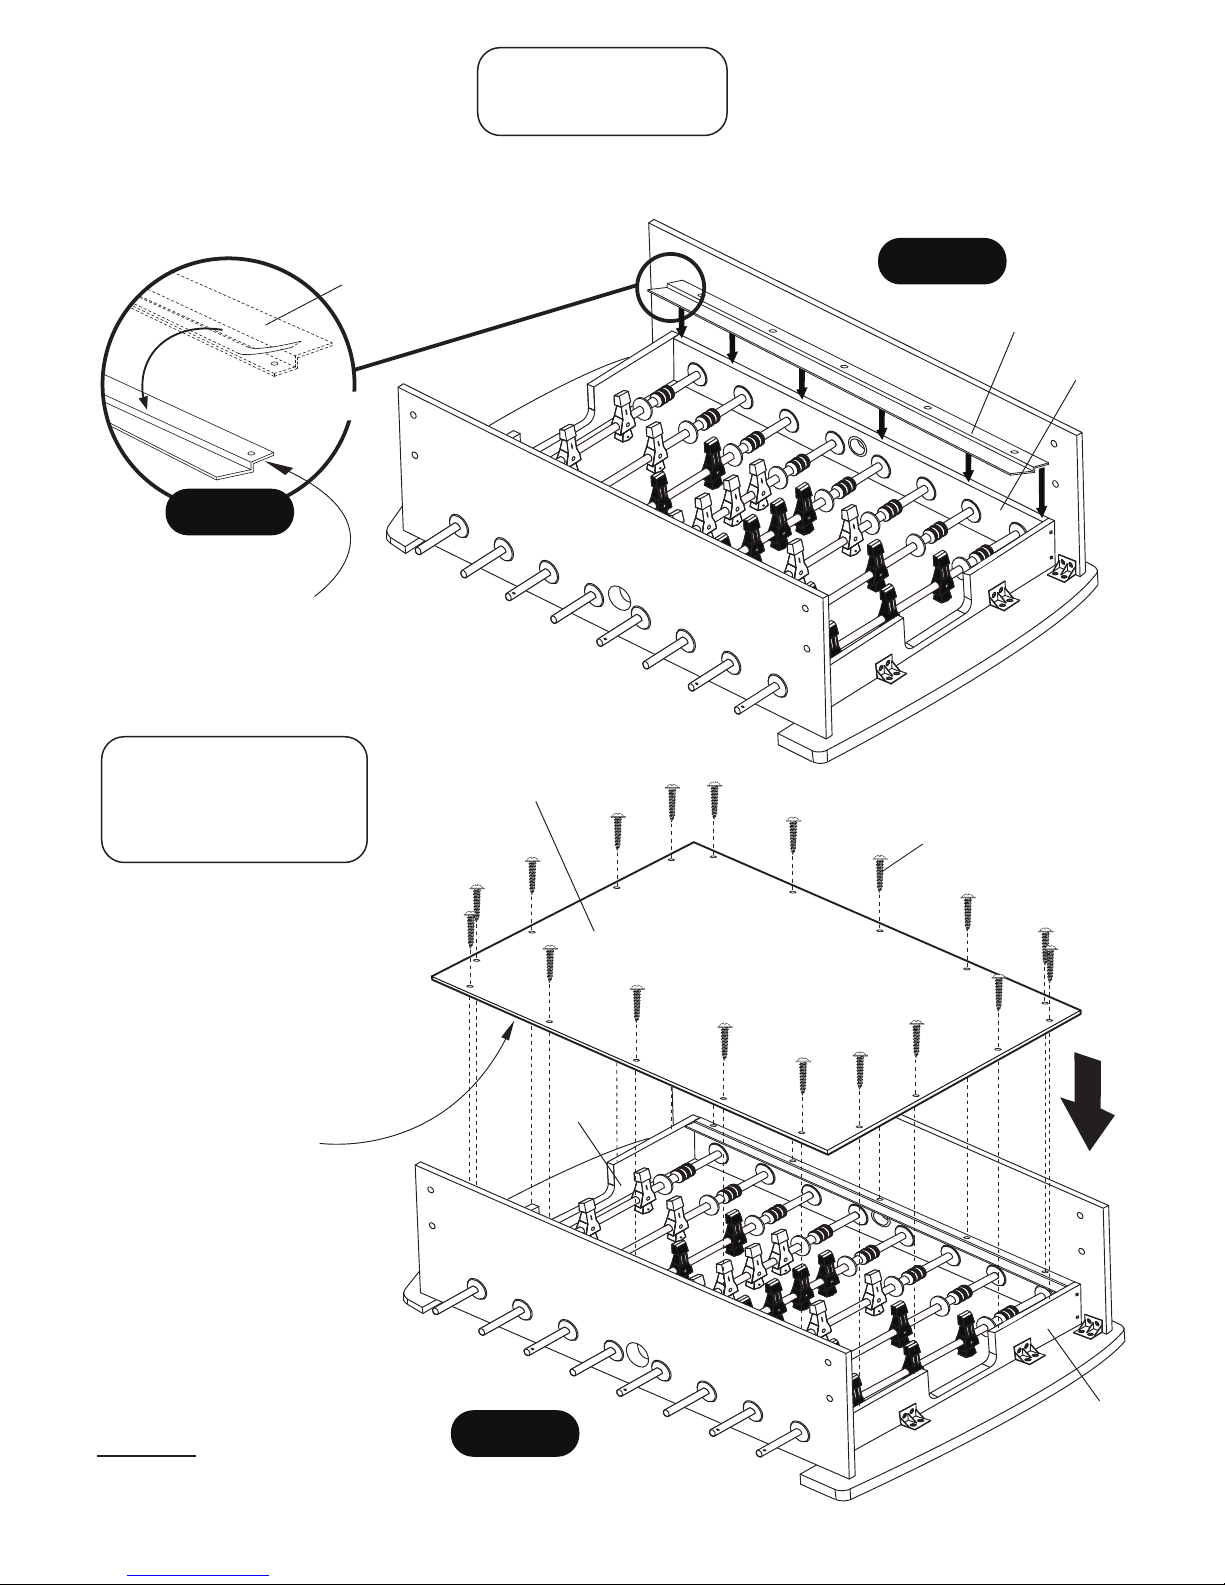
STEP 8:
Attach P18 Plastic Brackets onto the back side
of P2 End Apron using pre-drilled pilot holes
with H4 Screws as shown in FIGURE 8.
Tighten, but do not strip out H4 screws.
NOTE: Be sure bottom edge of P18 Plastic
Brackets is flush with bottom edge of apron.
Attach P8 Top Goal Box and P9 Bottom Goal
Box onto the back side of P2 End Apron using
pre-drilled holes with H4 Screws as shown in
FIGURE 8.
Tighten, but do not strip out H4 screws.
Repeat procedure for second assembly.
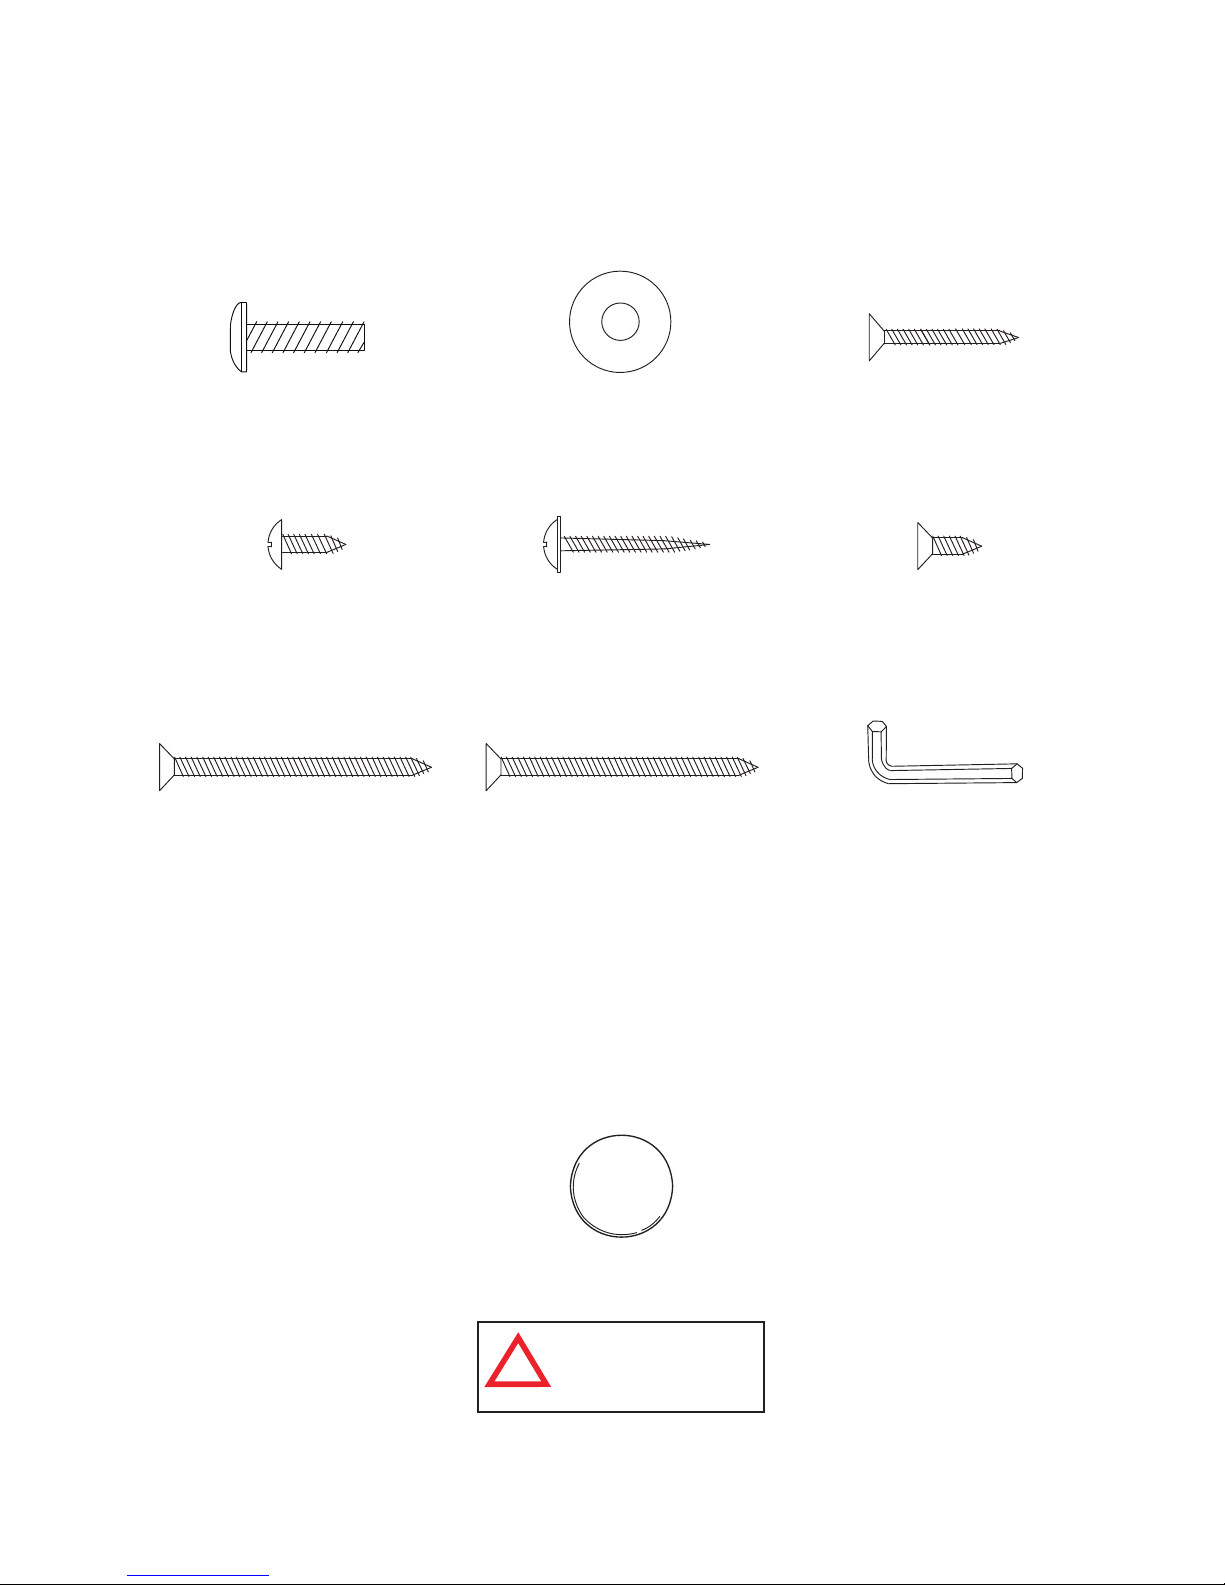
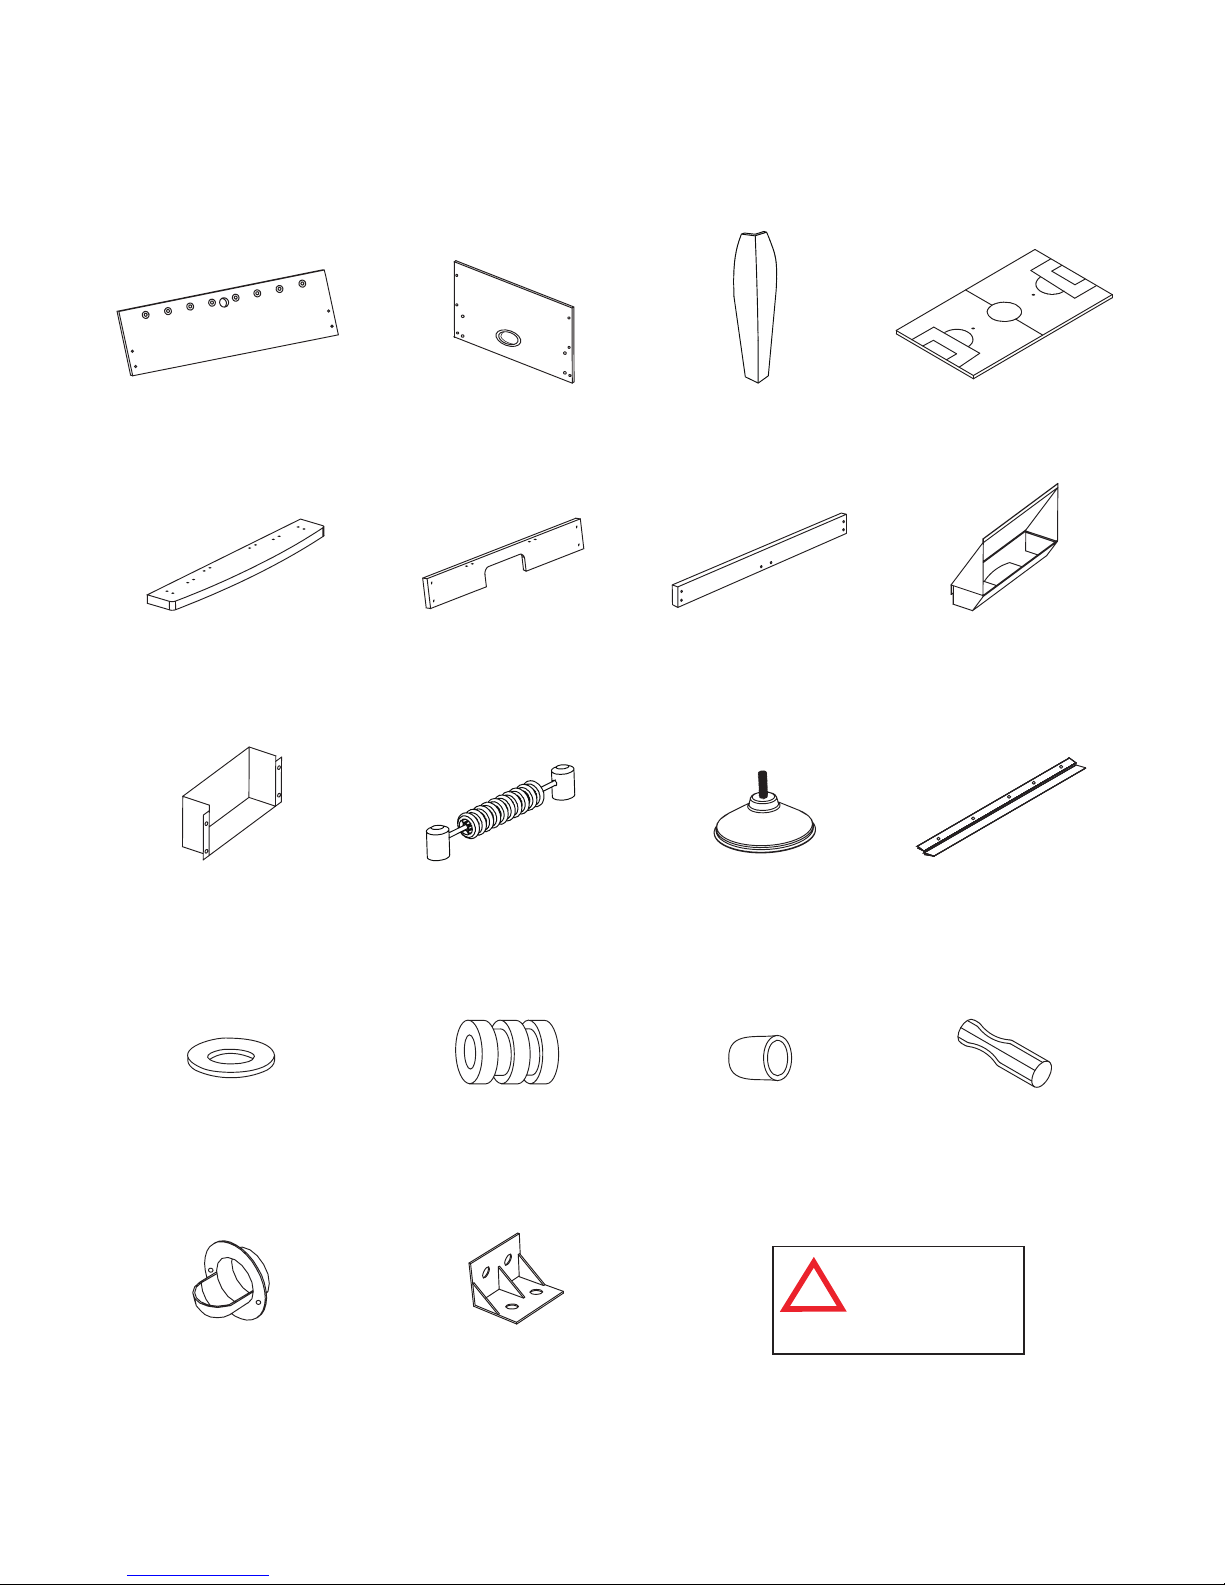
PARTS REQUIRED:
20 pcs - H4 Phillips Round Head Screw 2 pcs - P8 Top Goal Box 4 pcs - P18 Plastic Bracket
2 pcs - P2 End Apron 2 pcs - P9 Bottom Goal Box
FIGURE 8
P18
P18
H4
H4
H4
P2
P9
P8
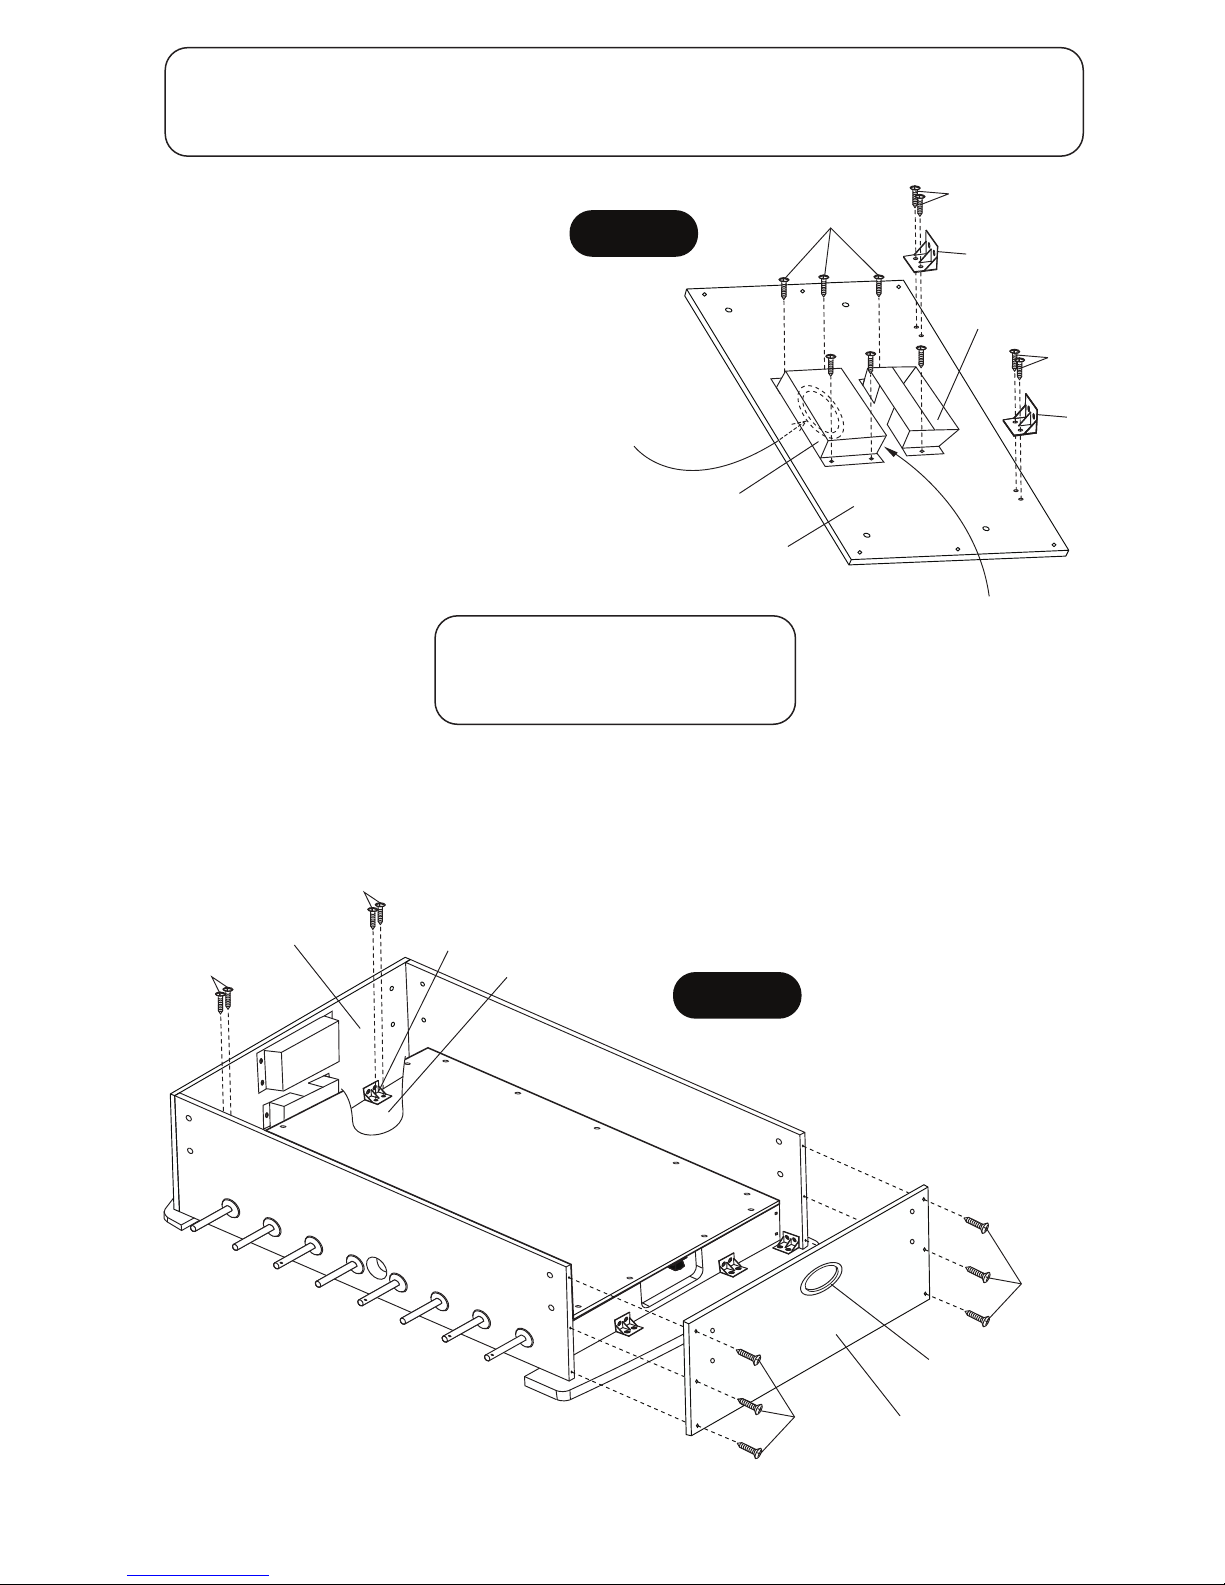
STEP 9:
Attach previous assemblies from STEP 8 to the end of table cabinet using pre-drilled pilot holes with H7 Screws
as shown in FIGURE 9. Tighten, but do not strip out H7 screws.
Install H4 Screws into previously installed P18 Plastic Brackets as shown in FIGURE 9.
Tighten, but do not strip out H4 screws.
PARTS REQUIRED:
8 pcs - H4 Phillips Round Head Screw
12 pcs - H7 Phillips Flat Head Screw
H7
H7 STEP 8
Assembly
C2
H4
H4
STEP 8
Assembly
P5
P18
FIGURE 9
NOTE:
Ball Opening
in P2 End Apron
must be in this
position.
NOTE:
Opening of P9 Bottom Goal
Box must be in this position.