Aucma AUS-S2 Technical manual

Certificate of Quality
Model: AUS-S2
UWater 1
Ultrafiltration Under Sink Water Filter System
Operation Instruction
www.aucmawater.com
Inspector:
This product has been inspected and
approved to leave the factory
Please read this instruction carefully before use
This company reserves the right to interpret this instruction
Product appearance depends on actual goods
Please properly store it after reading with the receipt
Without prior notice for upgrading of product technique or software
Category
Precautions for use
Cautions
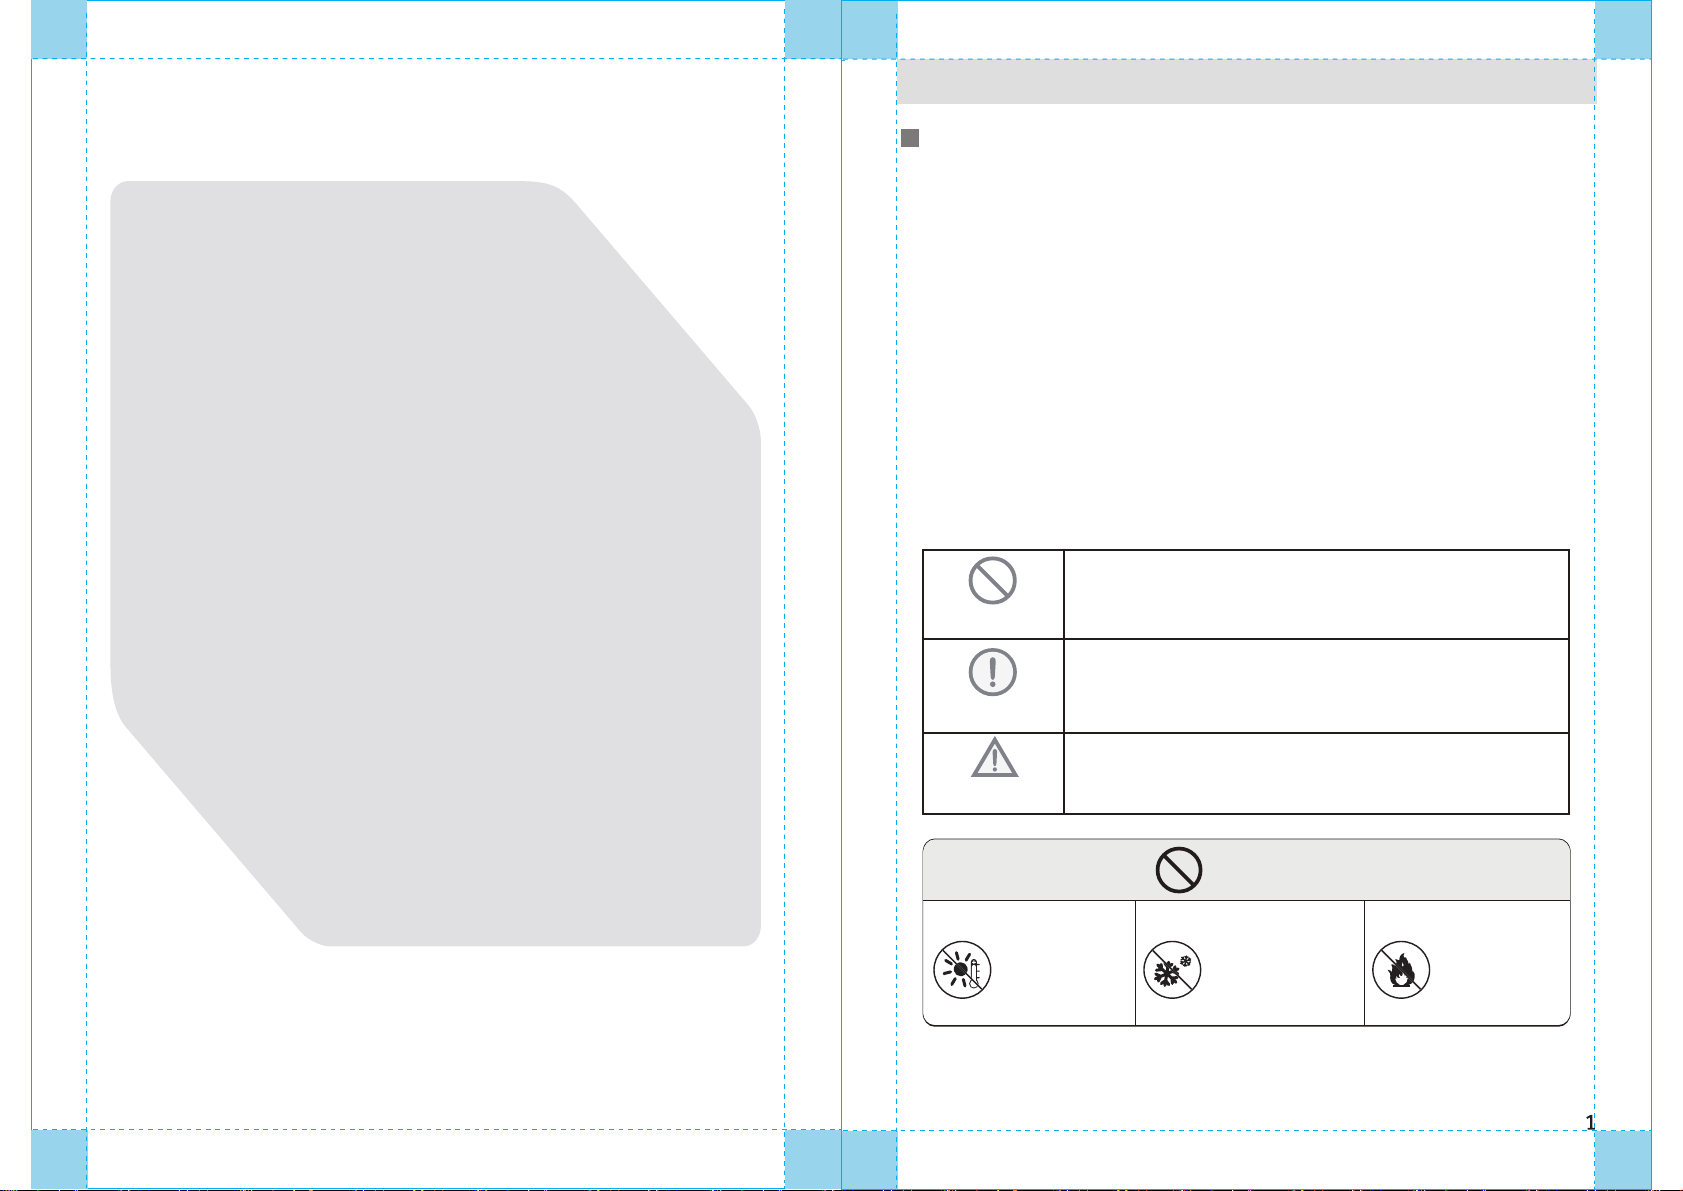
Prohibition
Prohibitory Sign
Warning Sign
Caution Sign
Avoid Sunshine and
Outdoor Spaces
Avoid installing in places that
have direct sunshine or the
outdoor spaces
Prevent Freezing Environment
Avoid putting or exposing this
product under the environment
of 0℃ or below
Heat Production
Avoid putting flammable,
combustible objects and any
objects are easy to deform
near the product body
Notes: All of the content in this item is related to safety, the users should follow strictly.
The cautions in this item are only for using this product in the right way.
In this item, the degree of risk or harm, and potential accidents are explained.
1.If using other accessories that are not approved by the manufacturer, and the machine
is malfunctioned because of it, the warranty will terminate automatically.
2.Checking if the product has any damage after opening the package, check if the
accessories are complete.
3.Children or incapacitated person should use this product under supervision.
4.If malfunction occurs, the power should be unplugged at once, and close the tap water
valve, be sure not to put the malfunction product under working condition.
5.The water flow of this water filtration will be influenced by water quality and pressure.
When the water is under quality, or the water pressure is low, the water flow will be lower
than standard condition.
Precautions For Use····························································1
Cautions···········································································1
Packing List·······································································2
Product Introduction···························································3
Technical Parameters··························································3
Working Schematic Diagram·················································3
Product Features·······························································4
Filter Function Introduction··················································4
Installation Guide·······························································5
Installation Method·····························································5
User's Manual····································································8
Direction For Use································································8
Cautions···········································································8
Function Description···························································8
Maintenance······································································9
Maintenance······································································9
Fault Diagnosis and Troubleshooting·····································10
Warranty Statement····························································11
Warm Prompt·····································································11
Any content with this sign means prohibition, or else the
product may be damaged, or endanger personal safety of
the users.
Any content with this sign, should be operated according to
the requirements, or else the product may be damaged, or
endanger personal safety of the users.
Any content with this sign, should be treated seriously, or else
the product may be damaged, or endanger personal safety
of the users.

Precautions for use Product introduction
Packing List
Technical parameters
Working Schematic Diagram
Warning
Caution
Malfunction
If the machine is in
malfunction, cut the water
source and power supply at
once
Maintenance
Please do not disassemble
the parts of the machine by
yourself, in case the machine
leaking water or damaging
Parts and Filter Element
Parts Name
Filter 1
1 setParts packaging
No.
Water faucet x1
PE pipe x1
Instruction book x1
Faucet holder x1
Three-way ball valve x1
1/4’’ straight joint x1
Sealing tape x1
Blue clip (1/4’’) x3
Expansion anchor bolt/screw x3set
In order to ensure normal running of the
machine, please use parts and filter
element with AUCMA anti-fake label
Correct Maintenance Service
Only operators with professional training
and certificate designated by AUCMA
can do the maintenance
Temperature
Please use in dry places in
the temperature range
of 4℃-40℃
Stop Using
Product name AUCMA Ultrafiltration Water Filter
Municipal tap water
0.1MPa-0.4MPa
0.1MPa-0.4MPa
5℃-38℃
≦90%
4℃-40℃
1.5L/min
2000L
140x360x400mm
Product model
Suitable water
Incoming water pressure
Working pressure
Suitable water temperature
Environment humidity
Environment temperature
Filtered water flowing rate
Total filtration water volume
Size
Note: because of improving, the above-mentioned parameters might be different, please take
the product nameplate as standard.
Raw water SUF filter
Purified water CTO filter
PPC composite filter
If do not use the equipment
for over 24 hours, shut down
the water source and power
supply
Avoid contacting by children
Please do not allow children
to operate
Emergency call
Please call our customer
service if need help
AUS-S2

Product introduction Installation Guide
Product features Installation Method
Filter Function Introduction
1.The outer cabinet uses materials of premium stainless steel and ABS plastic, corrosion
-resistant, and long life-expectancy;
2.Three-step filtration, can effectively remove the hazardoussubstances such as colloid,
suspended solids, bacteria, etc, the filtered water is premium drinking water;
3.Applies integrated disposable filter element, which is healthy and safe, and it is easy
and simple to change the filter;
4.Intelligent filter will show the life expectancy, the light will shine to warn its time to
change the filter if it is time, making your drinking water healthier and safer;
5.No need for connecting to outer power, no need to increase pressure, energy efficient
with no waste water;
6.The water flows in and out through 1/4’’ PE pipe, convenient for connecting and safe.
Before installation, make sure if the attachments in the packing are unbroken.
1.Environmental requirements for Installation
1.1 On the location where the filter is installed, municipal tap water connection is a
necessity.
1.2 The installation location should be clean and sanitary, no pollution around, and no
direct sunshine; no flammable or combustible or electrical equipment around, protected
from rain.
Note: Pay attention to personal safety when using drilling tool, and there’s should be no
hidden water, electricity, or gas pipelines at the drilling position.
2.Refit of the waterway/installation of incoming water three-way valve
2.1 Tools and materials needed: conjoined three-way valve (part), sealing tape (water
tape), PE pipe, monkey wrench (wrench), smooth/nipper pliers, etc.
2.2 Sweep and clean the installation area, close incoming water main valve, dismantle
water pipe faucet (faucet or angle valve, etc).
2.3 When installing the three-way valve, dismantle the faucet or angle valve first,
connect the incoming water valve onto the three-way valve, then connect back to the
faucet or angle valve together with the three-way valve.
2.4 Installation of incoming water pipe: using PE pipe to link incoming water ball valve
and the water inlet of the cabinet. Be sure to leave enough reserved length.
2.5 If the pressure of incoming water is over 0.4MPa, pressure valve needs to be
purchased and installed in addition.
inflow water three-way
ball valve inflow water PE pipe
tap water faucet or
angle valve
Grade of filter
First grade
Second grade
Third grade
PPC composite filter
SUF filter
CTO filter
Effectively filter sediment, rust, suspended colloid, red worm and other solid
impurities; Remove residual chlorine, peculiar color and odor,
macromolecular organic compounds and other impurities in water.
Effectively intercepts micro suspended solids, colloid and bacteria in water.
Absorb peculiar color and odor in water, improve the taste and make the
water sweeter and healthier.
Filter name Filter function

Installation guide Installation guide
Both of the inlet and outlet of the product have quick connector port. Quick connector is
a kind of connecting port that doesn’t need tools to realize quick and secure connecting.
First, pull out the U-shaped snap ring at the port, and push the flexible plastic ring on the
port to the connecting direction, making it stick to the port, then the trumpet-shaped
plastic plug can be pulled out easily. Insert the PE pipe into the end of the port, then pull
it gently, leaving some gap between the plastic ring and the port, then insert the U-shaped
snap ring into the gap.
5.Connecting PE pipe
This product uses fast connecting, just insert the water pipe into the corresponding joint.
Before connecting water pipe, cut PE pipe into suitable length, and make sure the section
is smooth and tidy, in case water leakage.
1)Filtered water connection: connect one end of PE pipe into the inlet of the faucet, and
connect the other end to the connector behind the cabinet where the label of filtered water
connector is marked.
2)Inlet connection: connect one end of PE pipe onto the tap water ball valve, and connect
the other end to the connector behind the cabinet where the label of inlet water connector
is marked.
The water pipe shall be installed along with the edges of the cabinet.
Using suitable tools to do vertical cutting, cut the pipe into needed length.
Be sure not to bend the pipe during installation, in case the pipe got squeezed.
In order to make the water flow smooth and fast, the pipe connecting the cabinet and the
faucet should be as short as possible.
6.Installation of battery
Using screw driver to unscrew the battery compartment , put the battery into the
compartment, screw the nut.
4.Tap water faucet installation
Drilling at the location of outlet pipe
4.1 Tools and materials needed: electric hand drill, drills, water, etc.
4.2 Locating and draw circle on the washbasin countertop according to the customer’s
advice.
4.3 It should be better to choose metal-specialized drilling machine for drilling. According
to actual situation, choose suitable drills (recommendation: φ29 metal drilling machine
and φ12 drill).
4.4 Concentrating when drilling, keep safety, and avoid talking with others. During drilling
heat will be produced, water can be added to decrease the temperature.
4.5 After drilling, clean the debris and dirt caused.
4.6 If the basin or wash basin has holes for liquid soap, the holes can be directly used for
installing faucet.
Installation of faucet
4.7 Tools and materials needed: nipper pliers, faucet set,
quick connecting straightway valve, PE pipe, etc.
4.8 Screw out the nut under the faucet, put the filmed stainless
steel base plate and the big rubber mat into the threaded
bolt, then penetrate it through the countertop.
Then put the metal mat and small mat into the threaded bolt,
then screw the nut to fix the faucet to ensure the base
doesn’t move.
4.9 Insert the quick connecting straightway valve into the inlet
of the faucet, make sure the connection is secured. Then cut
PE pipe into suitable length, and insert one end to the quick
connecting straightway valve.
Connector Port
PE Pipe
1.Pull Out the U-shaped Snap Ring
3.Pull Out PE Pipe
1.Insert the PE Pipe
Gooseneck Faucet
Stainless Steel Base
Rubber Pad
Plastic Pad
Internal Pad
Nut
Fast Connector
Filtered Water Faucet
PE Pipe
Inlet Three
-way Ball
Valve
1/4 Inch PE Pipe
2.Pull The Plastic Ring Gently and Leaving Some Gap
3.Insert The U-shaped Snap Ring And Finish The Installation
Of Connector
2.Push the Flexible Plastic Ring On The Port

User’s Manual Maintenance
Maintenance
Direction for use
Cautions
Function Description
First step: after installation, before adding water, please check if all of the joints are
sealed.
Second step: open filtered water faucet, let the water flow for at least 15 minutes, to
wash the whole cabinet, until the outlet water is clean.
Third step: close the filtered water faucet to check if there’s any water leakage. After the
above-mentioned operations, this equipment can be used.
Fourth step: if there’s any water leakage condition, please turn off the inlet ball valve,
repair the leaking place.
(1)Replacement Period for Filter
The filter will accumulate various impurities after using for a period of time, which will
affect the outflow rate.
In order to maintain the normal outflow, the filter should be replaced regularly.
The replacement period of the filter is completely different according to water quality and
the amount of pure water used. Therefore, the above suggested replacement period for
filter is just for reference.
Note: The filter should be replaced if the following situations occur:
1. The quality of filtered water is poor, the taste is bad, and the TDS value increases
significantly.
2. Outflow is significantly reduced, if it’s not because of the low environmental
temperature and water temperature, it is necessary to check whether the filter or
membrane is blocked, and consider replacing the filter;
3. If the surface of the filter is discolored badly or the outer surface is covered with dirt;
4.The filter is blocked badly.
(2)Filter Replacement
In order to ensure that each filter of the product plays a good filtering effect and the
outflow meets drinking water standards, the user should replace or clean the filter
regularly. The filter should be replaced by professional.
(3)Steps To Replace the Filter:
1.First, close the water inlet ball valve and open
the water filter faucet to relieve pressure.
2.Take off the cover and rotate the disposable
filter counterclockwise by hand.
3. Remove the package of the new filter and
rotate it clockwise to the right position.
4. Open the inlet ball valve, check whether there
is leakage, open the water filter faucet, and the
new filter can be used after flushing.
5.Short press the reset button to start the filter
reset procedure, press successively until the
new filter is selected, then press the button for
3S to reset the filter.
A: Schematic diagram of
screwing filter
reset
B: Schematic diagram of
screwed filter
Notes:
1. Gently twist the handle on the end
of the filter, to avoid damaging the
filter and its’ positioning structure.
2. Referring to Figure A to screw in
the filter; When the filter is screwed
to the position shown in Figure B, the
filter has been installed. Please do
not screw forcefully again.
Filter Name
Replacement
Period
PPC Composite Filter
6 Months
SUF Filter
12-24 Months
CTO Filter
12 Months
1.It is suggested to turn off the inlet water ball valve at night, and cut off the water source,
in case the pressure change in the night that may damage inner parts of the equipment or
causing water leakage.
2.Each day, when first using this equipment, open the inlet valve and the faucet, it can be
use normally after discharging 500ml of residual water.
3.If the water filter will not be used in a long time, please turn off the inlet valve.
4.It is normal to discharge black or white water for the first time.
Running: when the power is on, all of the LED light will light up (the blue and red light will
blink in circle for 3 times), and goes into ventilation mode. It will go out in one minute if no
button is pressed.
Battery level: the warning starts when the battery has 10% left. It will beep for 3 times
continually in every 2 hours, and all the light will shine in circle from blue light, red light to
ventilation mode light.
Filter life expectancy: if the life expectancy of the filters are due, the corresponding red
light will blink and there will be voice warning. It will beep for 3 times in each 1 hour, the
filter red light will be light up for 1 second; after the filter is changed, the warning will be off.
Reset button: under the condition of powering on, short press the reset button, go into
filter function choosing, only the chosen filter light will be light up, press reset button in
order, and the filter light will be chosen in order from 1-2-3-1, then long press reset
button (over 3s), the chosen filter will be reset.

Maintenance Warranty Statement
Fault Diagnosis and Troubleshooting Dear Users:
Thank you for choosing Aucma products, we will provide you with quality services.
You can enjoy the following services provided by our company :
(1)Free repairing is available for the water purification machine (except the filter) for
their functional defects within one year.
(2)The water filter can not be used for commercial purposes, otherwise the warranty
period for whole machine (except the filter) and the main accessories will be shorten
to 3 months, unless otherwise stipulated in the purchase and sales contract.
(3) The warranty period shall be calculated from the original date of purchase.
2.We do not provide free repair services to the following situations but we can provide
you with paid service.
(1)Exceeded the warranty period, but can be used after repair;
(2)Damages caused by transportation, improper storage, misuse or other users’ own
reasons.
(3)Products that are removed or repaired without our company's permission or in
maintenance shop without our authorization;
Troubles Possible Cause
The filter is blocked
The water pressure is low
Failed filter
Wrong installation of PE Pipe
The pipe is leaked,
the inlet 3-way valve
or the ball valve is broken
Poor inlet water
Connector is broken
Long-term
suspend(>3 days)
The ball valve is not fully opened
Solutions
Change filter
Take supercharge Measures
Change filter
Please cut off the water supply and
contact our after-sales service employee
To ensure that the water source is municipal tap water
Turn on the tap and let the
water run for 30 minutes
Check if the ball valve on the water inlet end is fully opened
Decreased
Outflow
Bad Water
Quality
Leakage
Note:
The filter needs to be replaced in time to ensure the safety
of the filtered water; If not replace filter in time, it’ll weaken
filtration efficiency, increase maintenance cost, shorten
service life of water filter and cause other adverse effects.
Table of contents
Other Aucma Water Filtration System manuals

Popular Water Filtration System manuals by other brands


Jandy
Jandy JEF-IN installation instructions

Nano Soft Water
Nano Soft Water 9 Stage LG Re-Mineralizer Installation & service manual

Worcester
Worcester GREENSTAR SYSTEM FILTER Installation & servicing instructions

Fluval
Fluval 207 user manual

Pelican
Pelican EZ Connect PC-100 quick start guide

Parker
Parker 140R Series manual