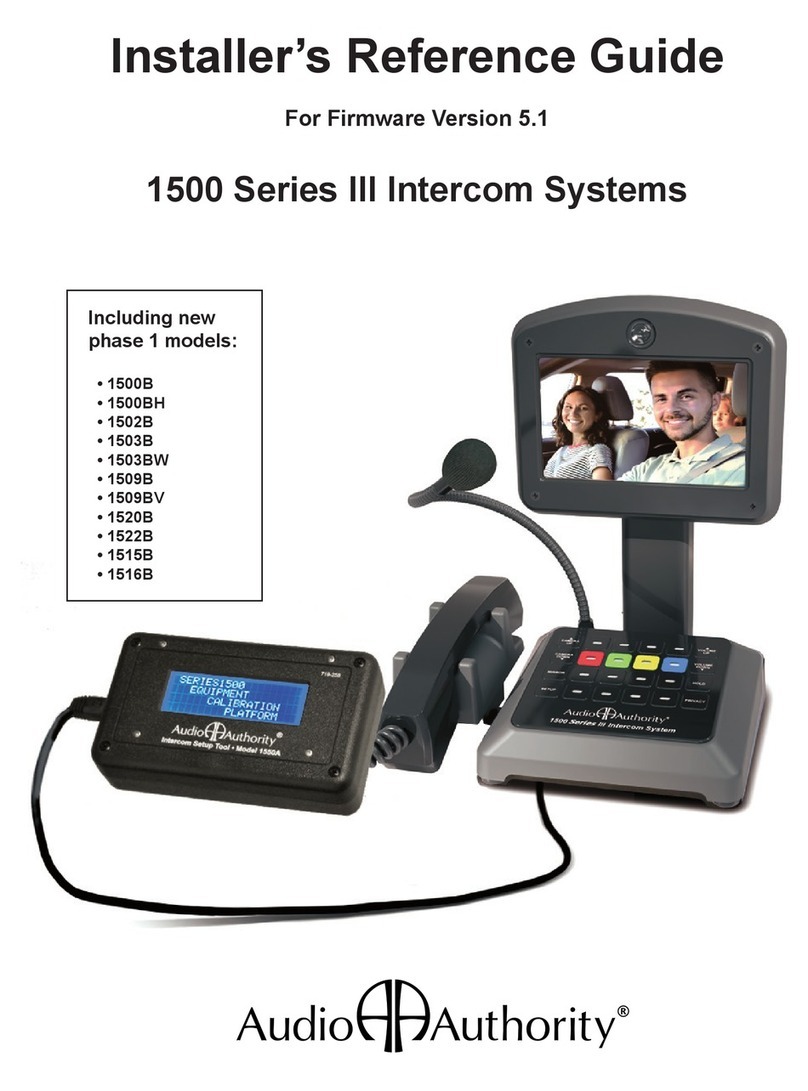
Audio Authority COVENANT 1500 Series User manual

User Manual
Series 1500 Intercom Systems
Model 1550A
Intercom Setup Tool

2
RECESSED JACK
(ANGLED)
CAT 5E/6
1550A CALIBRATION AND SETUP
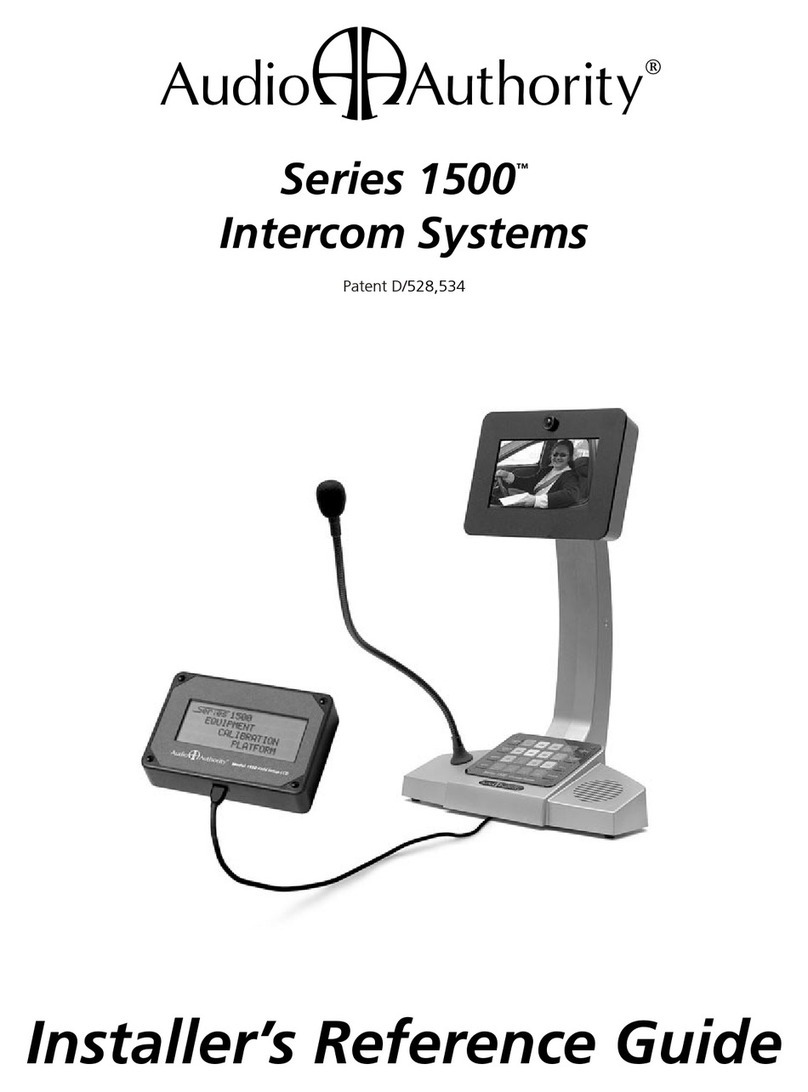
The Model 1550A is a programming tool that shows the menus and settings for
Series 1500 and 1580 Intercom Systems. The entire system can be calibrated
from one Counter Station (except for Model 1533*). Connect the CAT 5E/6 cable
to the RJ45 jack on the underside of any live Counter Station (the jack is at an
angle). Return the Counter Station to its upright position and connect the 1550A
Setup Tool. If the Counter Station has a handset cradle (1500AH) make sure the
handset is resting in the cradle before you connect the 1550A.
Upon connection, the 1550A displays “Series 1500 EQUIPMENT CALIBRATION
PLATFORM”.
• HoldtheSETUPkeyontheCounterStationforonesecondtoenterSetup
Mode. The 1550A displays the top level of the menu shown on page 4.
• Tonavigatethemenus,usetheVOLUMEUPandVOLUMEDOWNkeysto
move the cursor.
• UseSETUPtoenterasubmenuorconrmaselection,andPRIVACYtogo
back.
• Anychangesyoumakearerecordedasyouexiteachmenu.Whenyouexit
Setup Mode, you must choose to either save all changes and exit, or exit
without saving.
• Ifyouneedtore-enterSetupMode,simplypressSETUPfor1second.
* Model 1533 Intercom / Telephone Interface requires separate programming
using the 1550A. After setting up the intercom system, connect the 1550A
to each 1533 in the system and perform setup tasks as outlined in the 1533
manual.
1500A COUNTER STATION
(UNDERSIDE) Intercom Setup Tool • Model 1550A

3
WARNINGS
• Readtheseinstructionsbeforeusingthisproduct.
• Thisproductmustbeinstalledbyqualiedpersonnel.
• Donotexposethisunittoexcessiveheat.
• Cleantheunitonlywithadryorslightlydampenedsoftcloth.
LIABILITY STATEMENT
Every effort has been made to ensure that this product is free of defects. Audio Authority® cannot
beheldliablefortheuseofthishardwareoranydirectorindirectconsequentialdamagesarising
from its use. It is the responsibility of the user of the hardware to check that it is suitable for his/her
requirementsandthatitisinstalledcorrectly.Allrightsarereserved.Nopartsofthismanualmaybe
reproduced or transmitted by any form or means electronic or mechanical, including photocopying,
recording or by any information storage or retrieval system without the written consent of the
publisher.
Audio Authority reserves the right to revise any of its hardware and software following its policy to
modify and/or improve its products where necessary or desirable.
AudioAuthorityandtheDouble-ASymbolareregisteredtrademarksofAudioAuthorityCorp.
Copyright July, 2016. All third party trademarks and copyrights are recognized.
See www.audioauthority.com/page/service_policy for full warranty disclosure.
POWER USER TIPS
• Forfastermenunavigation,submenusmaybeselectedbytouchingthe
key that is lit RED corresponding to the menu item (see the numbered keys
above).Forinstance,toenterBLOWERMOTORDELAY,press1andthen1.
• ToExitSetupModefromanymenu,holdSETUPforonesecondandfollow
the prompts on the 1550A.
• AfteradjustingaLaneStationorCounterStation,youcanusetheCAMERA
UPorCAMERADOWNkeystoselectotherstationsforadjustmentwithout
leaving the submenu.
USING THE KEYPAD FOR NAVIGATION
VOLUME = Move menu
cursor up and down
1234
5678
9 10 11 12
13 14 15 16
SETUP = Enter
or Confirm
PRIVACY = Go Back to
previous menu
CAMERA = Select next
or previous Lane
or Counter Station
(after selecting a single
Lane or Counter Station)

4
1500 SETUP MENU MAP WITH DEFAULT VALUES
FirmwareVersion4.07May31,2013
See 1533 or 1580 manuals for system menu maps.
Root Menu First Menu Subset Second Menu Subset Financial Default Value Pharmacy Default Value
1: System Parameters 1: Blower Motor Delay 3.0 (seconds) 3.0 (seconds)
2: Power Save Delay** 90 (seconds) 90 (seconds)
3: Supervisor Teller* None None
4: Lane Mirror Disable** Off Off
5:TrafcSensorTone Use Lane Ringtone Use Lane Ringtone
6: Background Threshold 4 4
7:AllowVideoScroll On Off
8: Master Teller None 1
2: Lane Parameters 1: Single Lane 1:InboundVolumeLevel 8 8
2: Auto Select Lane 2:OutboundVolumeLevel 4 4
3: Group of Lanes 3: Open Loop Gain 12 12
4: All Lanes 4: Handset Mic Level 88
5: Cancel 5: Handset Speaker Level 8 8
6: Ringtone Override* None None
7:HalfDuplexOnly Off Off
8: Program Audio Abate* Off Off
9: Relay Operation Selection Activates Selection Activates
10: Swap Camera Up/Down Off Off
11:SuppressVideo Off Off
3: Teller Parameters 1: This Teller 1: Key Assignment**
2: Single Teller 2: Allow Hands Free On Off
3: Group of Tellers
4: All Tellers
5: Cancel
4: Set Defaults 1: Cancel
2: Financial Defaults
3: Pharmacy Defaults
5: Memory Card 1: Cancel
2:WriteToMemoryCard
3: Read From Memory Card
4: Firmware Upgrade
6: Exit 1: Cancel
2: Exit and Save
3:ExitWithoutSaving

5
FirmwareVersion4.07May31,2013
See 1533 or 1580 manuals for system menu maps.
Root Menu First Menu Subset Second Menu Subset Financial Default Value Pharmacy Default Value
1: System Parameters 1: Blower Motor Delay 3.0 (seconds) 3.0 (seconds)
2: Power Save Delay** 90 (seconds) 90 (seconds)
3: Supervisor Teller* None None
4: Lane Mirror Disable** Off Off
5:TrafcSensorTone Use Lane Ringtone Use Lane Ringtone
6: Background Threshold 4 4
7:AllowVideoScroll On Off
8: Master Teller None 1
2: Lane Parameters 1: Single Lane 1:InboundVolumeLevel 8 8
2: Auto Select Lane 2:OutboundVolumeLevel 4 4
3: Group of Lanes 3: Open Loop Gain 12 12
4: All Lanes 4: Handset Mic Level 88
5: Cancel 5: Handset Speaker Level 8 8
6: Ringtone Override* None None
7:HalfDuplexOnly Off Off
8: Program Audio Abate* Off Off
9: Relay Operation Selection Activates Selection Activates
10: Swap Camera Up/Down Off Off
11:SuppressVideo Off Off
3: Teller Parameters 1: This Teller 1: Key Assignment**
2: Single Teller 2: Allow Hands Free On Off
3: Group of Tellers
4: All Tellers
5: Cancel
4: Set Defaults 1: Cancel
2: Financial Defaults
3: Pharmacy Defaults
5: Memory Card 1: Cancel
2:WriteToMemoryCard
3: Read From Memory Card
4: Firmware Upgrade
6: Exit 1: Cancel
2: Exit and Save
3:ExitWithoutSaving
*NotAvailablewith1-on-1congurations
**Notavailablewith1509SDminihubcongurations
Note: See the 1533 or 1580 manual for denitions and setup instructions.

6
MENU SELECTIONS DEFINITIONS
AUTO-SELECT 1 LANE Allowsinstallertocongurelaneaudiosettings
using live audio from the lane. Useful for
adjusting inbound and outbound audio levels.
ALLOW HANDSFREE Allow communication using speaker and
gooseneck microphone.
ALLOW VIDEO SCROLL Inactive Counter Stations view all available
camerasinsequence;whenvideoscrollis
disabled, inactive Counter Stations see only the
wideview camera (if installed).
BACKGRND THRESHOLD Adjustment for level of background audio rejected
by Counter Station microphone.
0 = no rejection.
BLOWER MOTOR DELAY The period between disengagement of blower
andmicrophoneaudioun-mute.Adjustsin.5
second increments for up to 3 seconds of delay.
FIRMWARE UPGRADE Thismenuallowsthermwareofsystem
components to be upgraded.
HANDSET MIC LVL Inbound handset volume level adjustment.
HANDSET SPKR LVL Outbound handset volume level adjustment.
HALF DUPLEX ONLY Enables‘push-to-talk’operation.
INBOUND VOLUME LVL Inbound volume level adjustment.
KEY ASSIGNMENT This menu enables lane selection keys to be
redenedinanycongurationdesired.First
select the lane number to be assigned using
theVOLUMEkeys.Thentouchthekeyto
be assigned to that lane. If the desired key is
already assigned, touch it twice. For 20 lane
systems use “Page Mode”. Page Mode allows
theusertoipbetweentwo“pages”ofkeys.The
rstpagecontainslanes1-10,thesecond11-20.
To enter or exit Page Mode, touch the HOLD key
whileinKEYASSIGNMENT.
LANE MIRROR DISABLE OFF = Idle Lane Stations display their own
camera output.
ON = Idle Lane Stations DO NOT display their
own camera output.
MASTER TELLER Enables one Counter Station to monitor
conversations conducted on all other Counter
Stations.
OUTBOUND VOLUME LVL Outbound volume level adjustment.

7
OPEN LOOP GAIN Adjustment for adapting to different acoustic
environments. Lower this setting for Lane Station
acoustical environments with too much audio
feedback. Increase this setting to hear more of
the customer while operator is talking.
PGM AUDIO ABATE ON=ProgramAudioheardONLYwhenlaneis
on hold.
OFF = Program Audio heard when lane is idle
OR on hold.
PHARMACY SETTINGS See the Model 1533 Telephone Intercom
Interface Manual for details.
POWER SAVE DELAY If enabled, the length of time the system must be
idle before entering Power Save (LCD sleep).
READ FROM MEM. CARD System settings are restored from Hub memory
card.
RELAY OPERATION AllowscongurationofLaneStationrelay
contacts (Model 1520 terminal block position #9
& 10). The contacts can be set to close using
the HOLD key, or while the lane is selected (See
Operator Card 1 in the Series 1500 Intercom
Systems manual for HOLD key operation
details).
RINGTONE OVERRIDE Pressakeytoselectauniqueringtoneforthe
selected Lane Station(s).
1 = no override (plays the ringtone set by each
Counter Station).
Allotherkeysrepresentuniqueringtoneswhich
override any Counter Station settings.
SINGLE LANE Allowsinstallertocongurelaneaudiosettings
without using live audio from the lane.
SUPERVISOR TELLER If enabled, allows one Counter Station to monitor
others.
SWAP CAMERA UP/DOWN Swaps functions of the camera up and down
buttons.
TRAFFIC SENSOR TONE Pressakeytoselectauniqueringtoneforall
trafcsensorevents.
0 = no ringtone, 1 = use Lane Station Ringtone
Override setting.
WRITE TO MEM. CARD System settings are saved to Hub memory card.

2048MercerRoad,Lexington,Kentucky40511-1071USA
Phone:859-233-4599•Fax:859-233-4510
CustomerToll-FreeUSA&Canada:800-322-8346
www.audioauthority.com•support@audioauthority.com
752-489Rev20161104
FIRMWARE UPGRADE INSTRUCTIONS
These instructions are applicable to Series 1500 Intercom systems with v4.0 or
higherrmware.IfyoursystemisnotSDcard-compatible,orhasv1.9orearlier
rmware,callAudioAuthoritytechnicalsupport.
Downloadthelatestrmwareversionfrom:www.audioauthority.com/page/
series1500rmwarefollowtheinstructionstocopythenecessarylesontoan
SD card.
Note: Older Series 1500 equipment with rmware prior to version 1.5 may not be
upgraded to version 4.07 using older Hubs. To upgrade to version 4.07, these
systems must have a new 1509SD Hub, or a new 1517SD System card.
This upgrade may take several minutes. The system cannot be used during this
time,soplanforadequatedown-timetocompleteandverifytheupgrade.
• InserttheSDmemorycardintotheHub*cardslot(1509SDor1517SD).
• Connecta1550AInstallerSetupTooltotheundersideofaModel1500A
CounterStationthathasrmwarev4.0orhigher.
• PressSetupfor2seconds
• PressKey5(1stbuttononsecondrow)
• PressKey4(lastbuttonontoprow)
• PresstheMirrorkey
• PresstheSetupkeytwice
After a successful upgrade, “Firmware upgrade complete” is displayed on the
1550A screen. The menu on the 1550A now shows several new selection options
that apply only to the new 1500A, 1500AH, and 1533. Once the upgrade is
complete, all indicators on the Hub will return to normal operation.
* 1-on-1 systems may be upgraded by temporarily connecting a Hub.
Ifyouhavequestionsorrequireassistancewiththisproductinareasnotcovered
by this manual, please contact Audio Authority using the information below.
This manual suits for next models
1
Table of contents
Other Audio Authority Intercom System manuals
Audio Authority
Audio Authority Model 1548 User manual

Audio Authority
Audio Authority Series 1500 User manual

Audio Authority
Audio Authority Series 1500 Manual
Audio Authority
Audio Authority 1580 series How to use

Audio Authority
Audio Authority 1550 User manual
Audio Authority
Audio Authority Series 1500 Manual

Audio Authority
Audio Authority Series 1500 Reference manual
Audio Authority
Audio Authority Series 1500 How to use

Audio Authority
Audio Authority 1580 series User manual

Audio Authority
Audio Authority 1500A Manual

