Audionet AMPERE User manual

AMPERE
External Power Supply
User's Manual


3
Content
1!Preface 4!
1.1!Includes items 5!
1.2!Transport 5!
2!Overview front panel 6!
3!Overview back panel 7!
4!Installation and connection 8!
4.1!Placement 8!
4.2!Mains connection 9!
4.3!Connecting the mother unit 10!
5!Usage 11!
5.1!Powering up 11!
5.2!Switching on and off 11!
6!Protection system 13!
7!Technical Information 14!
8!Security advice 15!
9!Technical Data 16!

4
1 Preface
The Audionet Scientists Team and its leading scholars congratulate you on your
purchase of this unit, sending cheers directly from our research and development
center.
Surely you are already a satisfied owner of an Audionet device. With the external
power supply AMPERE you have the possibility to provide all connected units
with a more sophisticated foundation.
Even if you're an experienced aficionado of ultra-highend components, please
start listening to your new Audionet AMPERE by reading this manual carefully
before you plug it in. This will ensure you'll enjoy all functions of this unit without
any compromise or potential disruption.

5
1.1 Includes items
You will find the following items included:
• The External Power Supply AMPERE
• The user's manual (that you are currently reading)
• One AMPERE connection cable
• One standard mains cord
1.2 Transport
Important
• Please transport the AMPERE only in the included package.
• Always use the plastic bag to prevent scratches on the casing.
• Please allow the AMPERE to adapt to the climatic conditions in your listening
room before you switch on the unit for the first time after transport.

6
2 Overview front panel
AMPERE
audionet
AMPERE
LED
(power indicator)

7
3 Overview back panel
4
1
2
3
1Mains switch
2
Mains input socket
3
Marking mains phase
4
7-pin connector

8
4 Installation and connection
Important
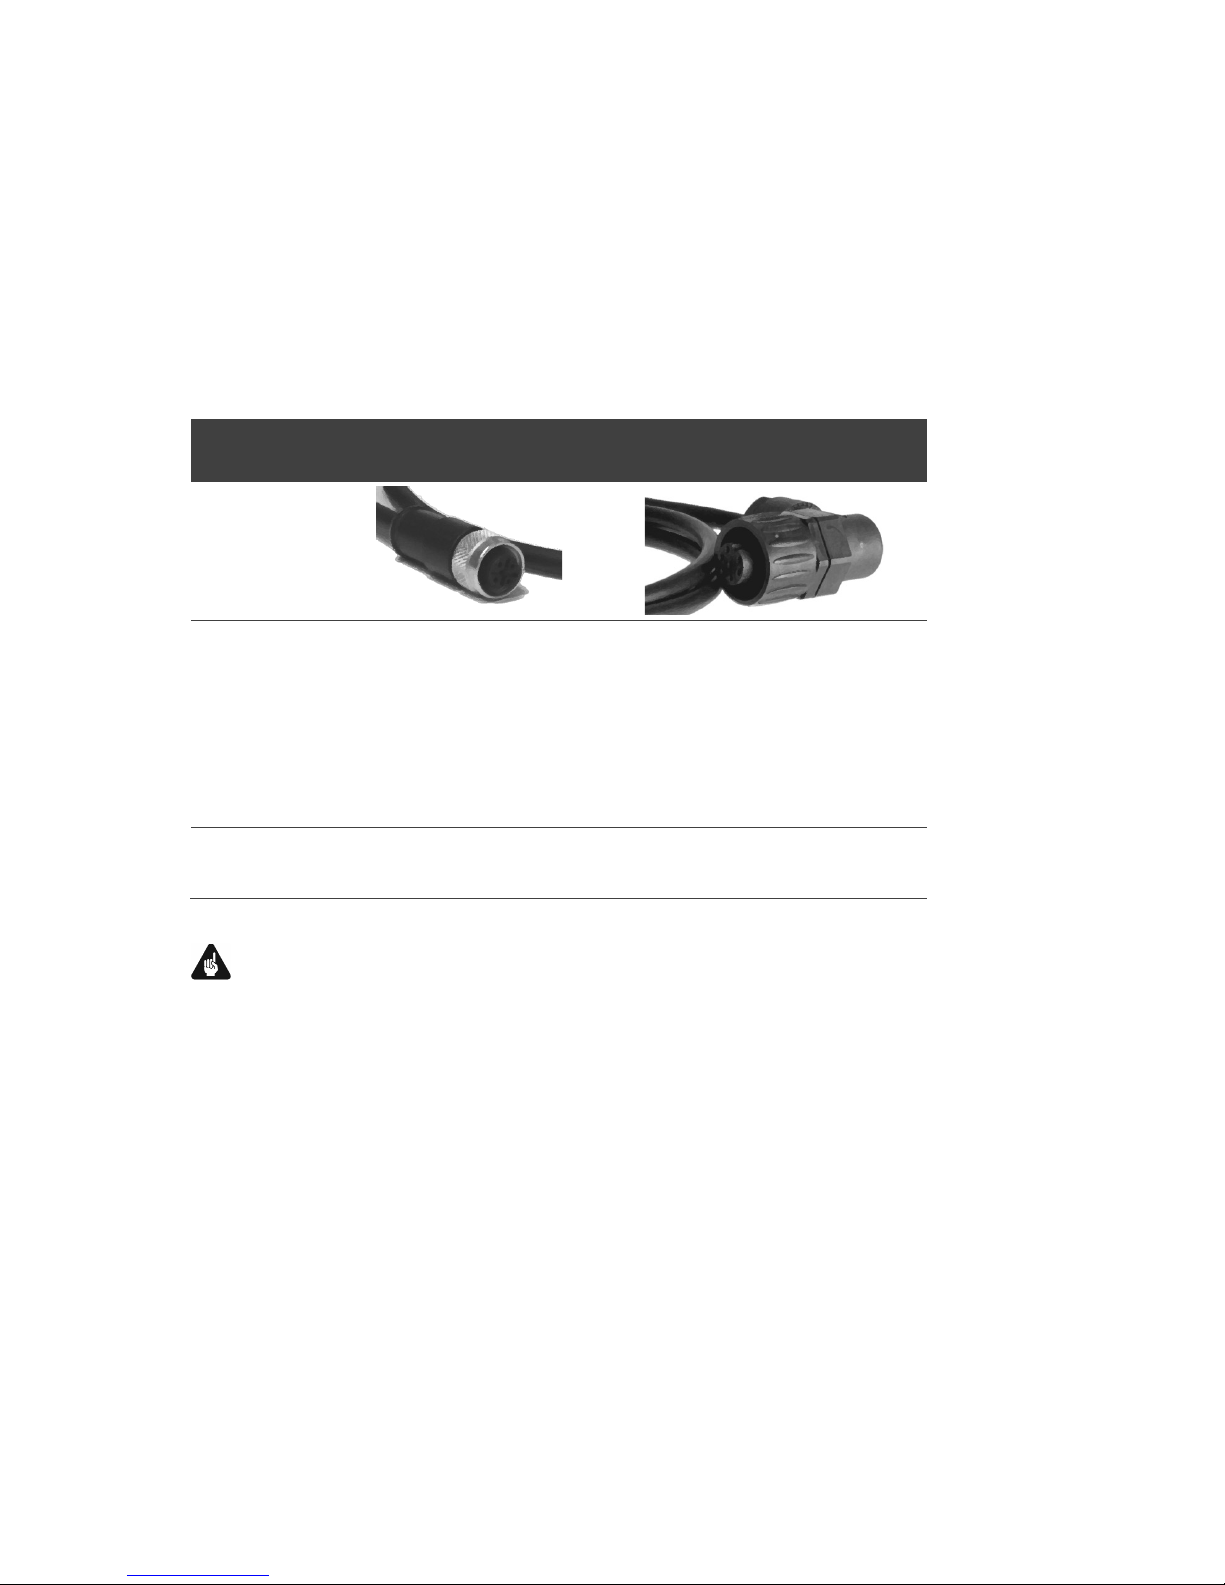
• While connecting the AMPERE to or removing it from the mother unit, both –
AMPERE and mother unit – must be switched off completely to prevent any
damage from both devices.
• Please make sure that all cables are in absolute best conditions! Broken shields
or shorted cables could damage both devices.
4.1 Placement
Important
• Place the AMPERE right beside or at least 30 cm above or below of the
mother unit.
• It is recommended to place the AMPERE into a high quality rack or onto a
stable table.
• Do not expose the unit to direct sunlight.
• Do not cover the ventilation slots.
• Do not place the AMPERE in close range to heat sources like radiators or on
top of another unit, especially not on top of power amplifiers, preamplifiers
or similar devices that produce heat. Both units could suffer damage from
thermal overload.
• Do not use the unit in places where it is exposed to vibrations.
• Do not place the unit close to loudspeakers or in corners of a room where
it is exposed to high levels of sonic energy, which might reduce the sound
quality of the unit.

9
4.2 Mains connection
The mains input socket * is on the back panel of the AMPERE. To connect the
unit to the mains use the included mains cord. If you prefer to use a different
power cord, make sure that it meets the specifications for your home country.
Important
• The electrical specifications of your home country must meet the electrical
specifications printed on the back panel.
• The AMPERE is a Class I unit and must be earthed. Please ensure a stable
earth connection.
• To ensure the best sonic experience, please make sure that the 'hot' pin of
your mains outlet is connected to the 'hot' pin of the mains input socket .
The 'hot' pin of the mains input socket is marked 'PHASE' on the back
panel of the AMPERE.
• Never pull the mains plug while the AMPERE is switched on! Before you pull
the mains cord off the socket, power down the unit to stand-by mode and
switch off the mains switch .
The AMPERE should only be switched off from the mains in cases of extended
absence (like vacations) or if massive trouble on the mains power is to be ex-
pected – always using the mains switch . Pull the mains plug to completely dis-
connect the unit from mains.

10
4.3 Connecting the mother unit
An AMPERE connection cable with a 5-pin or 7-pin connector (depending on the
mother unit) is required to connect the AMPERE to a mother unit. The following
table provides further details:
AMPERE cable with
5-pin connector
AMPERE cable with
7-pin connector
Image of the con-
nector
Mother unit
PRE 1 G3,
DNP, DNA, DNC,
VIP G2, VIP G3,
ART G2, ART G3,
PLANCK
PRE 1,
PRE 1 G2,
CAT,
PAM,
PAM V2,
PAM G2
MAP,
MAP V2,
MAP 1
Mains connection
of mother unit
required
not required
required
Important
• Do not connect a mains cord to any of the mother units PRE I / PRE I G2 /
all PAM models / CAT. This would compromise the quality of the audio per-
formance. Please do only use one mains cord to connect the AMPERE itself
to mains in case of using the before listed models and no mains cord to the
mother unit.

11
5 Usage
5.1 Powering up
First of all, please make sure your AMPERE is connected correctly to the mother
unit and to mains (refer to section 'Mains connection' on page 9 and 'Connecting
the mother unit' on page 10).
The AMPERE is a stand-by unit. Please operate the mains switch on the back
panel to put the AMPERE in stand-by mode.
The AMPERE should only be switched off from the mains in cases of extended
absence (like vacations) or if massive trouble on the mains power is to be ex-
pected – always using the mains switch . Pull the mains cord off the mains input
socket to completely disconnect the unit from mains.
Important
• Never pull the mains cord while the AMPERE or the mother unit is switched
on! Before you pull the mains plug, power down the mother unit to stand-by
mode and switch off the AMPERE with the mains switch on the back panel.
5.2 Switching on and off
Please turn on the mother device first by using its mains switch on the back panel.
Then operate the mains switch on the back panel of the AMPERE to switch
to stand-by mode. The position of the mains switch of mother units that require
no additional mains connection (please refer to section 'Connecting the mother
unit' on page 10) is negligible.
Afterwards the mother device is operated as usual. All functions of the mother
unit stay the same. If the mother device is switched on, the LED on the front
panel of the AMPERE flashes for several seconds until the unit is ready to use.
Afterwards the LED lights up permanently.
If you power the mother unit down, the LED on the AMPERE front panel does
stop glowing as well.

12
Note
• Please consult the user's manual of the mother device for further information
on starting up an Audionet unit with a 5-pin connector in combination with
an AMPERE.

13
6 Protection system
Your Audionet AMPERE is equipped with a powerful protection system that safe-
guards the mother unit as well as itself. The AMPERE indicates any error by flash-
ing the status LED on the front panel. The following flash code:
ÄÄ_ÄÄ_ÄÄ_ÄÄ … (long illuminated, shortly paused)
informs the user that an error was detected by the protection circuit. Possible
reasons are:
• Thermal overload: The protection circuit powers down the unit if the heat
sinks do overheat.
• Shortcut protection: The protection circuit powers down the AMPERE if ex-
cessive current is drawn from its output over a longer period.
You have to switch off the AMPERE with the mains switch on the back panel,
if the protection system took action. Before turning on again the AMPERE, let
the unit cool down and make sure that the cause for the problem (e.g. short
circuit or overheating) is removed.

14
7 Technical Information
Your AMPERE provides the mother unit with ideal operating conditions. The
popular usage of accumulators however exhibits the following serious disad-
vantages:
• The output voltage is not short term stable. The internal impedance is ten
times worse than the optimal one of your AMPERE. Using accumulators in-
stead would therefore cause an output ripple voltage 10 times in magnitude
at the same load condition.
• The output voltage is not long term stable as well. The output voltage of an
accumulator is highly dependent from its state of charge and usage history,
typically ranging from 23 V to 28 V. The AMPERE provides 24.00 V – always
at any time.
• The usage of accumulators is questionable regarding environmental concerns.
• Last but not least, you are able to listen to your music with high-end quality
using the AMPERE whenever you like – without being forced to wait for ac-
cumulators being charged.
7.1 Features
• Fully separated discrete circuitry for positive and negative voltage.
• Two 300 VA toroid transformers.
• Total capacitance per voltage of 288,000 μF each (in total 576,000 μF).
• Custom made audio-grade capacitors with silk dielectric.
• Separate power supply for control and stand-by purposes.
• High precision voltage regulator with discrete MOSFETs.
• High precision and low noise reference voltage.
• Short-circuit proof and protected against overheating.
• Internal wiring with ultra-low impedance silver/gold cables.
• Rhodium fuse.

15
8 Security advice
Important
• Avoid packaging material, especially plastic bags, coming into children's hands!
• Only store and operate the unit in a dry room at a reasonable room temper-
ature!
• Avoid moisture, any liquids, dirt or small objects of getting inside the unit!
• Set the unit up in a sufficiently ventilated environment!
• Do not cover the unit at any time!
• Do not open the unit. Unauthorised opening will void warranty!
• Do not short-circuit the outputs!
• While connecting or removing the AMPERE to or from the mother unit, both
AMPERE and mother unit must be switched off completely to prevent any
damage to both devices.
• Use a dry cloth for cleaning!

16
9 Technical Data
Type
Ultra low noise, highly stable and constant power
supply for AMPERE compatible Audionet devices
Power supply
Two encapsulated 300 VA toroid transformers
with 576,000 μF capacitance
Circuitry
Reference voltage sources for positive and neg-
ative analog voltages using discrete Audionet
voltage regulators (MOSFET)
Connection
7-pin socket for connecting the mother unit
Output voltage
±24.00 V for analog sections,
+5 V for digital and control sections
Stability
Deviation absolute: < 0.1% of nominal value
Deviation relative: < 0.01% accuracy
Noise
-144 dB or 1.5 μVRMS for 0 Hz up to 22 kHz
Mains
220..240 V oder 110..120 V, 50..60 Hz
Power consumption
Stand by < 0.5 W, max. 400 W
Dimensions
Width: 430 mm
Height: 110 mm
Depth: 360 mm
Weight
ca. 18 kg
Finish
Front panel: Brushed aluminium, 12 mm,
C-32 (light bronze) anodized,
text engraved
LED: White
Top cover: Brushed aluminium, 4 mm, C-32
(light bronze) anodized
Side plates: Brushed aluminium, 8 mm, C-32
(light bronze) anodized
Chassis: Aluminium, C-32 (light bronze)
anodized, white print
Errors and omissions excepted. Specifications and design are subject to changes without prior notice.

17

18
is a trademark of Idektron GmbH & Co KG
Engineered and produced by:
Idektron GmbH & Co. KG, Alboinstraße 36-42, 12103 Berlin, Germany
www.audionet.de
contact@audionet.de
Table of contents
Other Audionet Power Supply manuals