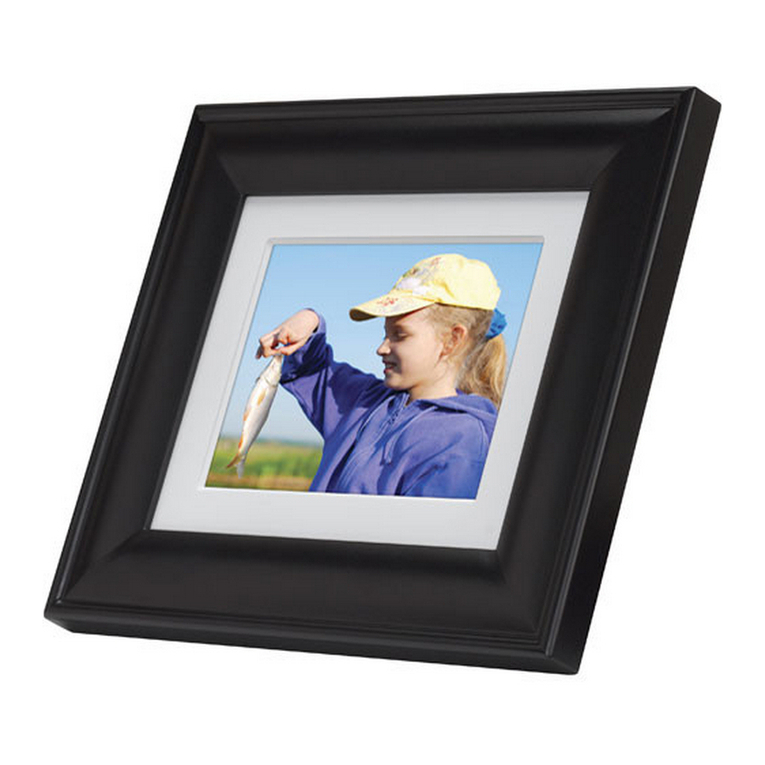
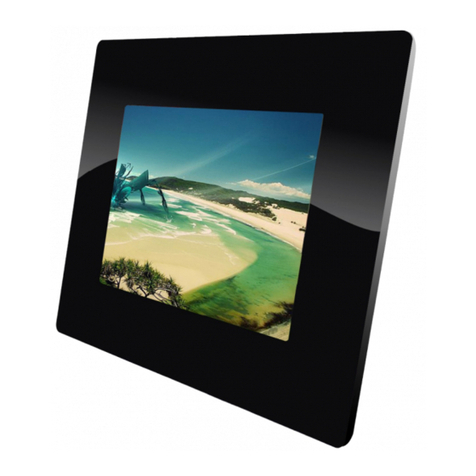
Audiovox DPF700 - Digital Photo Frame User manual

DIGITAL PHOTO FRAME
DPF700

2
A. Introduction
ThankyouforselectingtheDPF700DigitalPhotoFrame. Themain
featuresincludea 7" Screen(16:9AspectRatio)Liquid CrystalDis-
play (LCD) monitor, 4 in 1 card reader and a USB port. The unit
appliesthelatest state oftheartelectronicsandis designedforuse
withSD/MMC/MS/xDmemorycardsandUSBmemorydevices.The
unit isconstructedtoprovide yearsof reliable, trouble-freeservice.
Pleasereadtheentire instructionmanualsupplied with thisproduct
priortooperation.Thedocumentationwillassistyouinobtaining the
bestequipmentperformance. Allmanualsshouldbestoredforlater
use.
B. Cautions and Warnings
1. Placement
Topreventfireorelectricshock,donotexposetheDPF700torain
ormoisture.Toprevent it from fallingdonotplacetheDPF700on
anunstablecart,stand,tripod,bracketortable.Keeptheunitaway
from strong magnets, heat sources, direct sunlight, and exces-
sivedust.
2. Installation
EnsurethattheDPF700 isusedin accordancewith the instruc-
tionsand illustrationsprovidedinthismanual.
3. Object and Liquid
Donotpushobjectsofanykindintotheunitthroughopenings;do
not spill or spray liquid of any kind on or in the system (this may
resultina fire orelectric shock). Do notplace anythingheavyon
theunit.Toensureproperventilationandproperoperation,never
cover or block the slots and openings with a cloth or other
material.
4. Disassembly
Do not attempt to disassemble the cabinet. There is a risk of elec-
tric shock. Contact a qualified service personnel if your system is
in need of repair.
5. Cleaning Unit
Whencleaning, make sure the system isunpluggedfromthepower
source. Do not use liquid cleaners or aerosol cleaners. Use a cloth
lightly dampened with water for cleaning the exterior of the system
only.

3
C. Contents
1. 1 x DPF700 7” Digital Picture Frame
2. 1 x AC to DCAdaptor
3. 1 x Remote Control w/ Battery (CR2025)
4. 1 x InstructionManual
D. Positioning Your Frame
Adjustable Stand
Rotate the stand to position the frame vertically or horizontally.
Keep the frame away from strong magnets, heat sources,
direct sunlight, or excessive dust.
Eyeholes for
wall mounting

4
1) PREV.: Press to move to the previous photo.
2) NEXT: Press to move to the next photo.
3) UP/COPY/DELETE:Presstonavigate, copy,ordeletea photo.
4) DOWN/ROTATE: Press to navigate or rotate a photo.
5) MENU: Press to access the main menu.
6) MODE/PLAY/PAUSE: Press to cycle through the different
modes (Slide Show, Pause,Thumbnail).
7) POWER: Press to turn the digital picture frame on or off.
8) POWER LED: Lights when the power is applied to the frame.
9) BRIGHTNESS: Rotate to adjust the picture frame brightness.
10) SD/MS/MMC/xD: Slot which accepts various memory cards.
11) USB: Slot which accepts a USB device.
12) DC INPUT: 9VDC input connection from theAC wall adapter.
E. Unit View
Top Right Side
4
3

5
SETUP
LEFT/PREV.
COPY/DEL.
MENU
ZOOM
UP
MODE/PLAY/
PAUSE
RIGHT/NEXT
DOWN/ROTATE
SLIDE SHOW
Press to enter setup menu screen.
Press to move the cursor to the left or to
access the previous photo.
Press to copy a photo into frame memory or
delete a photo from the frame.
Press to return to the main menu or to enter the
card selection screen when the main menu is
displayed.
When a photo is displayed, pressing ZOOM
will enlarge the photo display size by 100%, 117%,
133%, 150% and 200% respectively.
Move cursor up.
Press to confirm a selection, pause a slide show,
or change modes (Slide Show, Pause, Thumbnail)
Press to move the cursor to the right or to
access the next photo.
Move cursor down or rotate a photo in Pause
Mode.
Press to enter Slide Show Mode.
F. Remote Control Controls and Indicators

6
1.Press the POWER button on the top of your frame to turn the frame
on.
2.Insert a card into the card slot or insert a USB memory device
into the USB slot. The photos will display automatically after
several seconds.
3. Press MENU button and the Main Menu will appear.
4.Use the RIGHT or LEFT button to move the cursor to highlight
the PHOTO icon.
5.Press MODE/PLAY/PAUSE once to enter Slide Show mode.
6.Press MODE/PLAY/PAUSE again to enter Pause mode. The
frame displays a single image. You can use the PREV. and
NEXT button to display photos positioned before or after
current photo.
7. Press MODE/PLAY/PAUSE the third time to view photos as
thumbnails. The thumbnail images will appear in a table. Use the
PREV. or the NEXT button to position the highlight on the desired
picture and press MODE/PLAY/PAUSE to start the Slide Show
mode from that photo.
G. Selecting Cards and Viewing Photos

7
Copying Photos to Your Frame
Refer to the step “G” first. If you want to copy a photo, select
the photo in Slide Show or Pause mode, then press the UP/
COPY/DELETE button on the frame or COPY/DEL. button on
the remote control. The Copy screen will appear. Use the Left
or Right button to move the cursor to highlight the YES icon.
Then press MODE/PLAY/PAUSE button. Wait several seconds
and the photo is copied. The frame can copy approximately 14
photos to memory.
Note: You can rotate photos clockwise by pressing the ROTATE but-
ton when the photo is displayed in Slide Show or Pause mode.
Rotated photos are copied in the rotated position.
H.Copying and Deleting Photos

8
Deleting Photos From Your Frame
If you want to delete a photo from the frame memory, remove the
memory card or USB memory device. Press the POWER button
on the top of the frame to turn it on. The Main Menu will appear. Use
the RIGHT or the LEFT button to highlight the PHOTO icon. The
photos will automatically display in Slide Show mode. Use the
PREV. or the NEXT button to locate the photo you wish to delete,
then press the UP/COPY/DELETE button on the frame or COPY/
DEL. button on the remote control. The Delete selection will appear.
Use the Left/Right button to move the cursor to highlight the YES
icon. Press the PLAY/PAUSE/MODE button on the frame or MODE/
PLAY/PAUSE button on the remote control.After several seconds,
the photo will be deleted from the frame‘s memory.
Note:Thedeletefunctiononlydeletesphotosfromtheframe’smemory
not from a memory card or a USB memory device.

9
J. SPECIFICATIONS
Photo format: JPEG
Panel size: 7 inch
Power source: DC 9V
Power consumption: 5 W
Operating temperature: 41~95°F, 5~35°C
Weight : 0.55 Kg
Dimensions (W x H x D): 9.8 X 6.9 X 1.2 inches
(240 X 170 X 30mm)
I. Settings
Press the POWER button on the top of the frame to turn it on. The
Main Menu will appear. Use the RIGHT and LEFT button to move the
cursorto highlight theSETTINGicon.Press theMODE/PLAY/PAUSE
button and the SETUP menu will appear. Use the UP and DOWN
buttonsto highlight an option. Press theMODE/PLAY/PAUSE button
or the NEXT button to select a highlighted option. Use the UP and
DOWN buttons to highlight a setting for the selected option. Press
MODE/PLAY/PAUSEbuttontoselectthenewsetting.PressthePREV.
button to exit without change.
Options to be selected:
BRIGHTNESS (-3 to +3)
SLIDE SHOW TIME (5, 10 or 30 seconds interval)
OSDLANGUAGE (Select yourmenulanguageof choice)
DEFAULT (Reset, return to factory settings)
EXIT SETUP MENU (Return to main menu)

10
U.S.A.: AUDIOVOXELECTRONICSCORPORATION,150MARCUSBLVD, HAUPPAUGE,NEWYORK 11788
z1-800-645-4994
CANADA:CALL1-800-645-4994FORLOCATIONOFWARRANTYSTATIONSERVINGYOURAREA
AUDIOVOXELECTRONICSCORP.(theCompany)warrants totheoriginalretailpurchaser of
this product that should this product or any part thereof, under normal use and conditions,
be proven defective in material or workmanship within 90 days from the date of original
purchase, such defect(s) will be repaired or replaced with reconditioned product (at the
Company's option) without charge for parts and repair labor. A game controller, if supplied,
is similarly warranted for ninety (90) days.
Toobtain repairorreplacement withinthetermsofthisWarranty,theproductisto bedelivered
with proof of warranty coverage (e.g. dated bill of sale), specification of defect(s),
transportation prepaid, to the Company at the address shown below.
This Warranty does not extend to the elimination of externally generated static or noise, to
correction of antenna problems, to costs incurred for installation, removal or reinstallation of
theproduct,or todamagetodigitalmemory/mediadevices,gaming devices, discs, speakers,
accessories, or electrical systems.
This Warranty does not apply to any product or part thereof which, in the opinion of the
Company, has suffered or been damaged through alteration, improper installation, mishan-
dling, misuse, neglect, accident, or by removal or defacement of the factory serial number/
barcodelabel(s). THEEXTENTOFTHECOMPANY'SLIABILITYUNDERTHISWARRANTYIS
LIMITEDTOTHEREPAIRORREPLACEMENTPROVIDEDABOVEAND,INNOEVENT,SHALL
THECOMPANY'SLIABILITYEXCEEDTHEPURCHASEPRICEPAIDBYPURCHASERFORTHE
PRODUCT.
This Warranty is in lieu of all other express warranties or liabilities. ANY IMPLIED WARRAN-
TIES,INCLUDINGANYIMPLIEDWARRANTYOFMERCHANTABILITY,SHALLBELIMITEDTO
THE DURATION OF THIS WRITTEN WARRANTY. ANY ACTION FOR BREACH OF ANY
WARRANTYHEREUNDERINCLUDINGANYIMPLIEDWARRANTYOFMERCHANTABILITY
MUST BE BROUGHT WITHIN A PERIOD OF 24 MONTHS FROM DATE OF ORIGINAL
PURCHASE. INNOCASESHALLTHECOMPANYBELIABLEFORANYCONSEQUENTIALOR
INCIDENTALDAMAGESFORBREACHOFTHISORANYOTHERWARRANTY,EXPRESSOR
IMPLIED, WHATSOEVER. No person or representative is authorized to assume for the
Company any liability other than expressed herein in connection with the sale of this product.
Some states do not allow limitations on how long an implied warranty lasts or the exclusion
or limitation of incidental or consequential damage so the above limitations or exclusions may
not apply to you. This Warranty gives you specific legal rights and you may also have other
rights which vary from state to state.
90 DAY LIMITED WARRANTY
Applies to Audiovox Video Products
128-5556G
©2007 Audiovox Electronics Corporation
11 128-8251
© 2007 Audiovox Electronics Corporation
Other manuals for DPF700 - Digital Photo Frame
1
Table of contents
Other Audiovox Digital Photo Frame manuals

Audiovox
Audiovox DPF908 - Digital Photo Frame User manual

Audiovox
Audiovox DPF7407WH User manual

Audiovox
Audiovox DPF508 - Digital Photo Frame User manual

Audiovox
Audiovox DPF702 - Digital Photo Frame User manual

Audiovox
Audiovox HOME BASE DPF711K User manual

Audiovox
Audiovox DPF701 User manual

Audiovox
Audiovox DPF1000 User manual

Audiovox
Audiovox DPF708 - Digital Photo Frame User manual

Audiovox
Audiovox DPF700 - Digital Photo Frame User manual

Audiovox
Audiovox DPF800 - Digital Photo Frame User manual