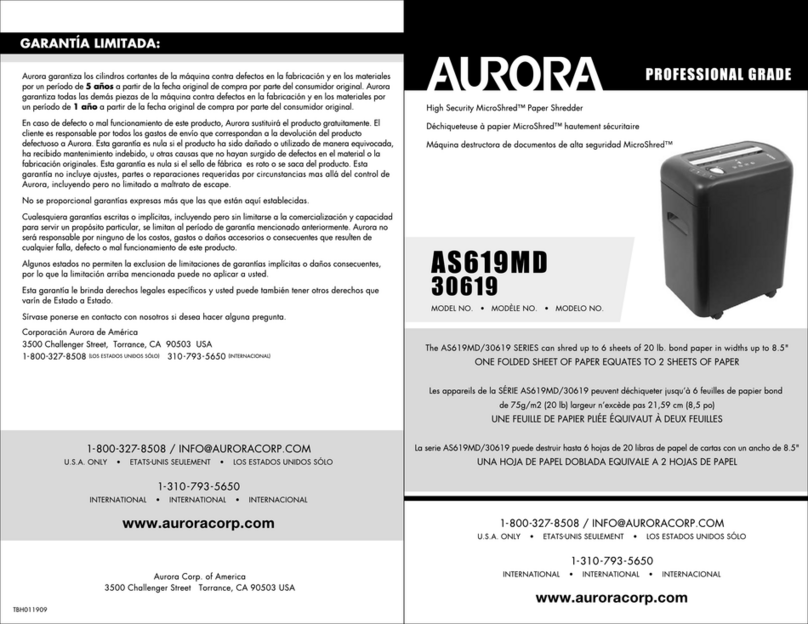
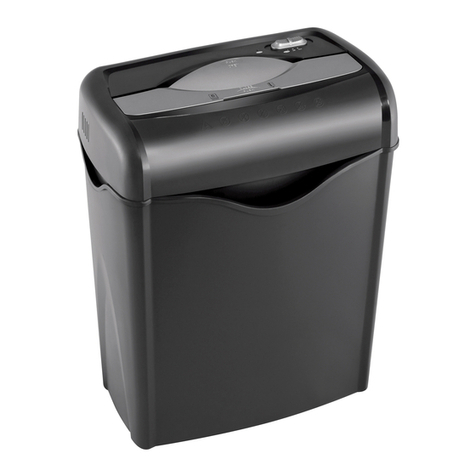
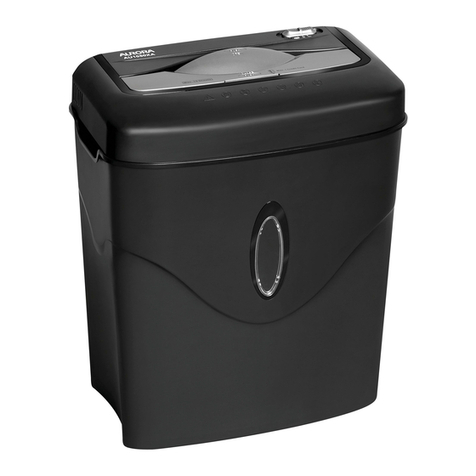
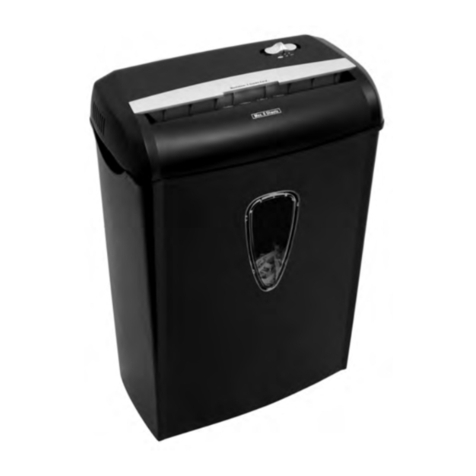
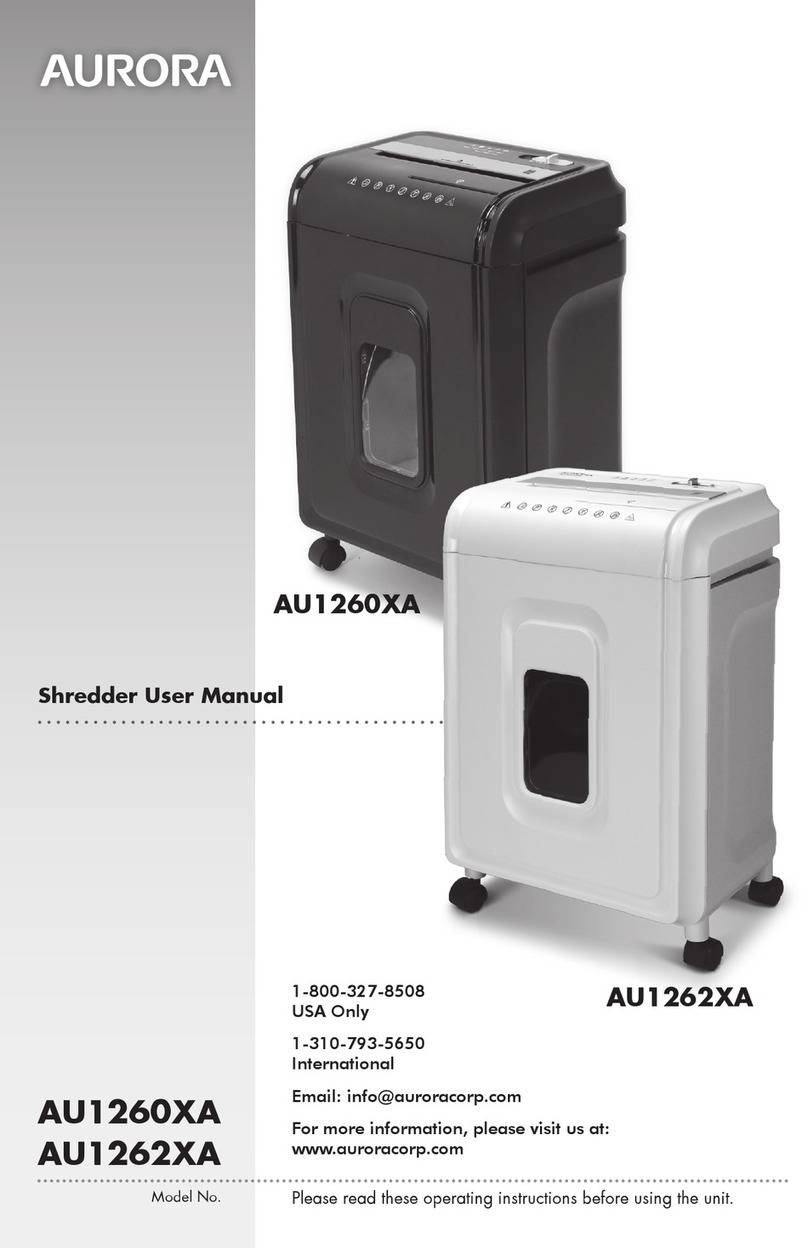
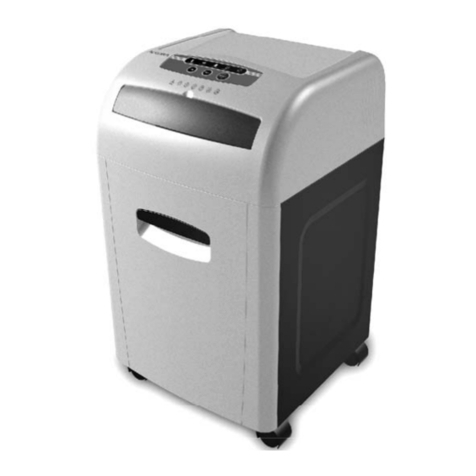
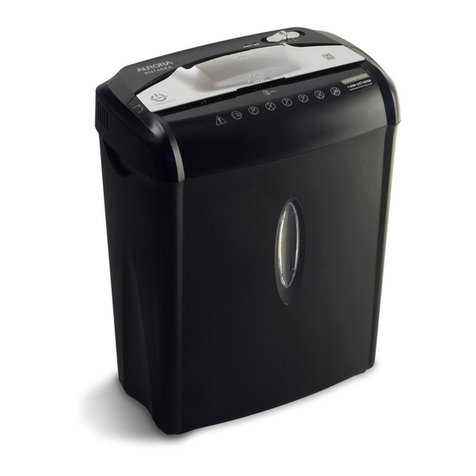
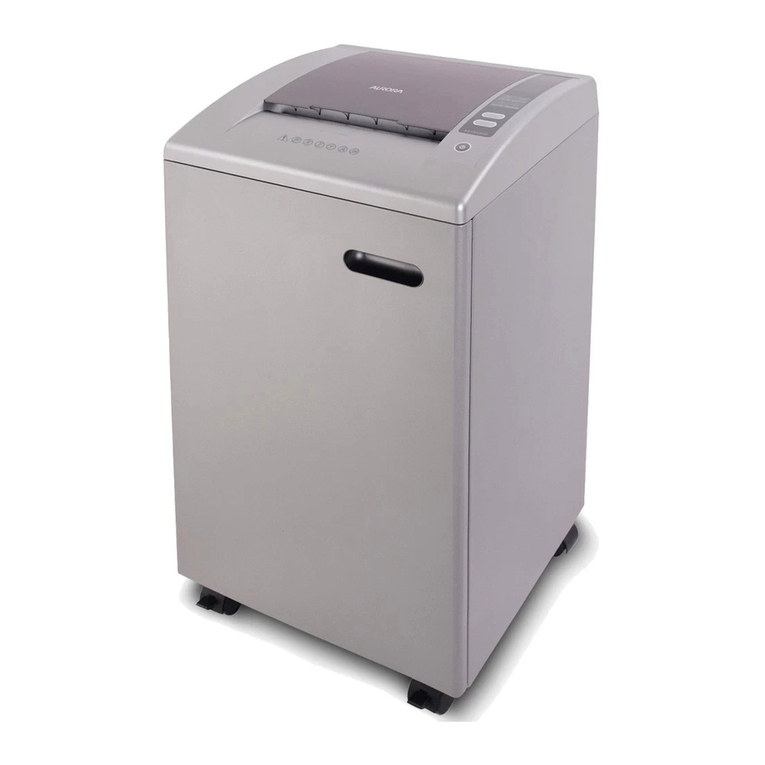
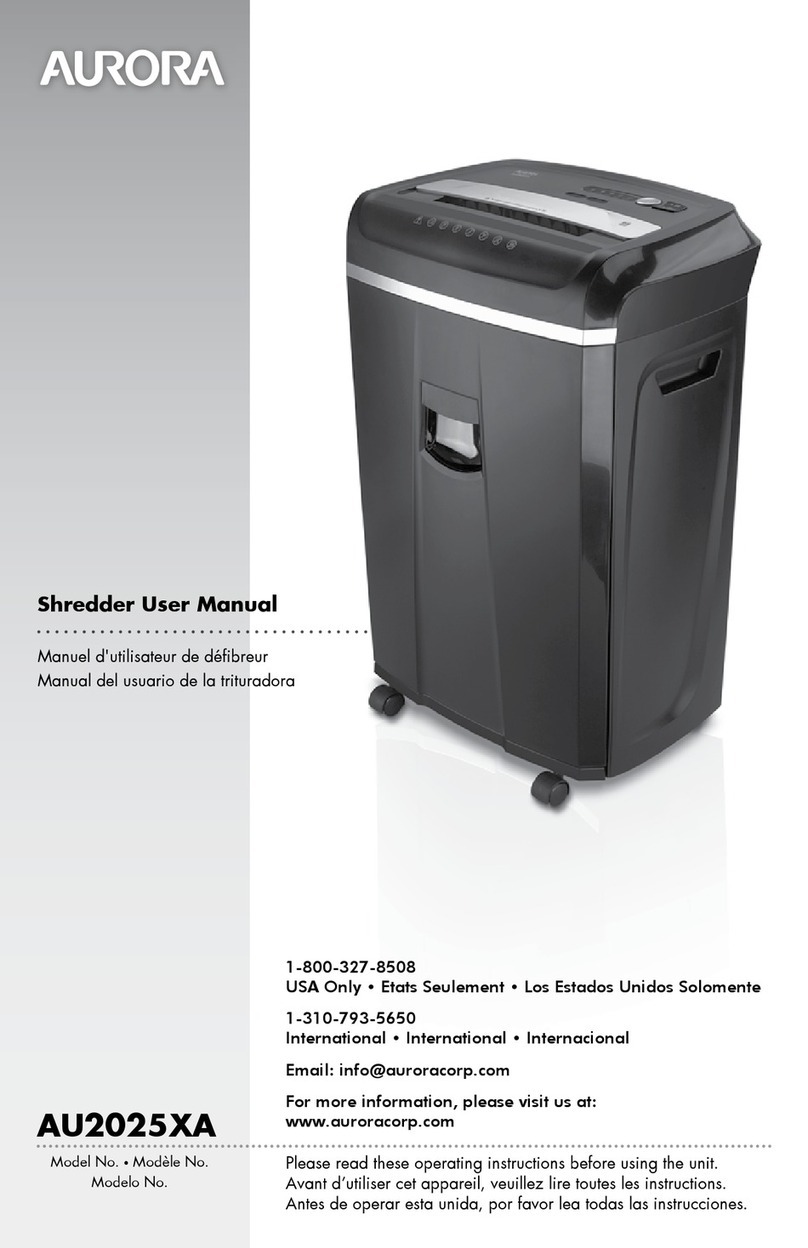
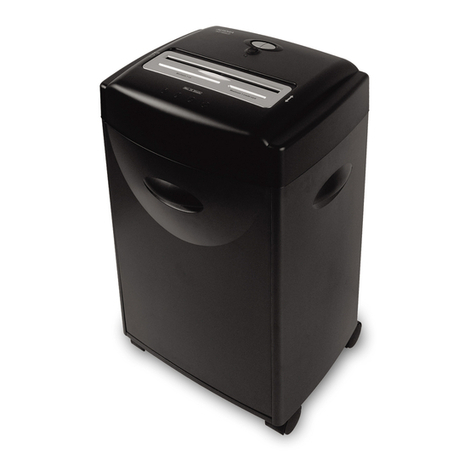
Aurora AU120MA User manual

AU120MA
Model No. Please read these operating instructions before using the unit.
Shredder User Manual
1-800-327-8508
USA Only
1-310-793-5650
International
Email: [email protected]
For more information, please visit us at:
www.auroracorp.com


3ENGLISH
WARNING:SAFETY INSTRUCTIONS, READ BEFORE USING!
DO NOT SHREDS:
Note: Do not open lid once shred cycle has started CONTINUED NEXT PAGE
u
n
o
p
e
n
e
d
m
a
i
l
/
e
n
v
e
l
o
p
e
s
>
1
/
4
”
(
6
m
m
)
h
e
a
v
y
d
u
t
y
s
t
a
p
l
e
s
a
v
o
i
d
p
l
a
c
i
n
g
s
t
a
p
l
e
s
i
d
e
h
e
r
e
l
a
m
i
n
a
t
e
d
s
h
e
e
t
s
/
m
a
g
a
z
i
n
e
s
a
v
o
i
d
p
l
a
c
i
n
g
s
t
a
p
l
e
s
i
d
e
h
e
r
e
Keep away from moving parts.
Read instructions before use.
Avoid touching the document
feed opening with hands.
Product is not intended for use by
children (product is not a toy).
Do not insert foreign objects into
the paper entry slot.
Do not spray or keep any
aerosol products in or around the
shredder.
Keep loose clothing or jewelry
away from the paper entry slot.
Avoid getting hair near the
paper entry slot.
Sharp blade edges!
Do not touch!

4ENGLISH
WARNING:SAFETY INSTRUCTIONS, READ BEFORE USING!
•AlwaysturntheshredderoffandunplugthepowercordfromtheACoutletwhen
notinuse,beforecleaning,moving,oremptyingthewastebasket.
•RISKOFFIRE.Neveruseanypetroleumbasedorflammableoilsorlubricantsin or
around the machine as some oils can combust causing serious injury.
•NEVER dispose of flammable chemicals or materials that have come into contact with flammable
chemicals (for example, nail polish, acetone and gasoline) in the shredder basket.
•Nevershredmetalcreditcards,largepaperclips,windoworinsulatedenvelopes,
continuousforms,newsprint,boundpages(forexample:notepads,checkbooks,
magazines,etc...),transparencies,laminateddocuments,cardboard,anyitemswith
adhesives,hardmaterialsorplastic(exceptCreditCards).
•A socket-outlet should be near the equipment and be easily accessible.
•Never let the wastebasket become full. This will lead to shredded material being pulled back up into
the shredder and cause jams.
•Never place the shredder near water or any heat source.
•Do not use the shredder if the power cord is damaged in any way.
•Do not attempt to service this product yourself as doing so may expose you to sharp cutting blades
and/or electricity and will void the manufacturer's warranty.
•Never try to clean or clear the shredder blade.
•Never shred beyond the specified sheet capacity. This may result in extensive damage to the machine.

5ENGLISH
PaperShredderOperatingInstructions
• Warning • Installation • Operation • Maintenance • Troubleshooting
*ManualFeed:
• Shreds credit cards, small paper clips, staples
• One folded sheet of paper equates to 2 sheets of paper
• Heavier paper, humidity or electrical voltage other than the rated voltage may reduce shredding capacity
Sheet Capacity
Paper Shred Size
Paper Tray Size:
Paper Entry Width
Credit Card Capacity
Duty Cycle
Voltage
120 Sheets of 20 lb. letter size bond paper
5/32 in. x 15/32 in. pieces
(4.0 mm x 12 mm pieces)
Letter size- 8.5” x 11”
8.7 in / 220 mm
N/A
30 min. on / 45 min. off
120-V~60Hz / 3.0 A
10 Sheets of 20 lb. bond paper*
5/32 in. x 15/32 in. pieces
(4.0 mm x 12 mm pieces)
N/A
8.7 in / 220 mm
Only one per pass
10 min. on / 45 min. off
120-V~60Hz / 3.0 A
AutoFeedTray: ManualFeedSlot:
INSTALLATION
1. Make sure the basket door is securely closed shut. This shredder features a safety power cut off and
will not operate if door is open. Shredders with pull-out wastebaskets will also cut power upon bin
removal. The supplied wastebasket activates a safety switch, which allows the shredder to be operable.
2. Attach all 4 caster wheels to the bottom of the wastebasket. (FIGURE 1)
3. A socket-outlet should be near the equipment and be easily accessible.
4. Connect the power cord to any standard 120 volt AC outlet.
Microcut shredders have very sharp exposed blades on the underside. Do not touch. Unplug the
shredder before clearing paper jams.
Use care when mounting the shredder on the wastebasket. PUSH
DOWN
PUSH
DOWN
!Caution:
CORRECT FIT
FIGURE1

6ENGLISH
Control
Button
TopLidButtonManual-FeedSlot
MainPowerSwitch
The Main Power Switch must be “ON” to operate.
In an emergency, stop the shredder immediately and
turn switch to “OFF” mode. This completely discon-
nects all power to the machine.
ControlButton:
ONOFF
–O
CONTINUED NEXT PAGE
OPERATION
MainPowerOn/OffSwitch
(atbackofmachine)
•Auto-On(Green):
This setting automatically starts the shredder by loading paper into the paper tray or
inserting paper into the manual-feed slot. When the paper has passed through, the
shredder automatically stops.

7ENGLISH
OPERATION
•Off:
This setting turns off all features of the shredder. For safety reasons, we recommend that
you leave shredder in the OFF position when it is unattended or not in use.
•Reverse:
In the unlikely event of a paper jam, use the reverse setting to help clear the cutters of
paper that did not pass through. IMPORTANT: Never attempt to clear a jam using the
reverse function until you have emptied the wastebasket.
•Forward:
The forward setting can also be used to help clear the cutters in the event of a paper
jam. This allows you to manually activate the shredder into cutting mode.
LEDStatusIndicators:
•Overheat:
Red LED light indicates the shredder has shredded continuously beyond the maximum
running time, has overheated, and will automatically shut off. If this happens, switch the
shredder to Off for 45 minutes or longer before resuming normal operation.
•Overload:
Red LED light indicates when too much paper is inserted. Use the "Reverse" mode to
back up and reduce number of sheets.
•DoorOpen:
Red LED light indicates the shredder basket or top lid is not closed properly. Shredders
with pullout wastebaskets feature a safety power cut off upon bin removal. Make sure
the pull-out wastebasket is properly set back into place and the blue “Power On” indica-
tor is lit.
•BinFull:
When basket is full, RED light will indicate it needs to be emptied. While lit, the shred-
der will not operate until the wastebasket is cleared.
•FeedError:
RED light indicates paper in the paper tray cannot be grabbed by the feeders, Open
lid to make sure papers are unfolded and positioned properly.
CONTINUED NEXT PAGE

8ENGLISH
OPERATION
Auto-FeedShreddingOperation:
Put main power switch
in ON (–) position.
Turn power on.
Plug into ground standard US
household power outlet (120-V).
•Poweronshredder
•Openlidandloadpaper*
*Papershouldbeflatandalignedwith
papertray.
Features:
•Auto-ReverseTechnology:
When shredder detects over-capacity shredding, the motor will immediately stop and
reject paper before actual shredding begins.
Shreds:
• Maximum 120 sheets of letter size (8-1/2” x 11”) 20 lb bond paper per load
• Up to 10 sheets stapled paper stacks
• Up to 10 sheet clipped paper stacks
•Auto-FeedShreddingCapacity:
CONTINUED NEXT PAGE

9ENGLISH
OPERATION
Make sure you do not exceed sheet count per
pass (10 sheets max). Insertpaperas
straightaspossibleintofeedslotand
release.
Insert one credit card at a time into
the middle of the feed slot.
•Poweronshredder
•Closelid:
Put main power switch
in ON (–) position.
Turn power on.
Plug into ground standard
US household power outlet
(120-V).
The shredder automatically starts when you
close the lid.
Manual-FeedShreddingOperation:
NOTE:
• Always turn off and unplug the shredder when not in use.
• This shredder will shred staples and small paper clips. It is recommended that you remove paper clips
whenever possible to extend the lifespan of your shredder.
• Only shred credit cards by feeding them vertically i nto the middle of the entry, releasing when
shredding begins. Never feed more than one credit card at a time.
• Overfeeding the shredder: Shredding beyond the specified sheet capacity can result in extensive
damage to the shredder. Overfeeding will strain the machine and quickly wear and break the cutting
blades and internal components.
• Overheating with extended use: In the event that the shredder has shred continuously beyond the
maximum running time and overheating, the unit will automatically shut off. If this happens, switch the
shredder off for 45 minutes or longer before resuming normal operation.

10 ENGLISH
Warning:Failuretoproperlymaintainyourshredderwillvoidthewarranty.
Tomaintainwithshredderoil(shredderoilnotincluded):Oil the shredder blades every
month with basic vegetable, cooking oil or shredder oil. Follow oiling procedure below. It helps to
keep the shredder blades operating well over many years of use.
Oilingprocedure:
1. Open lid.
2. Carefully apply shredder oil across feed slot.
Tomaintainwithashreddersheet(shredder
sheetnotincluded):
• Simply insert shredder sheet into the manual-feed
slot the same way you would a piece of paper.
• Turn shredder in reverse mode for 3-5 seconds.
3. Close lid and turn shredder in reverse
mode for 3-5 seconds.
Note:Shredder oil and lubricant sheet are not included.
!Caution:
Shredder
Oil
DO NOT USE
AEROSOL PRODUCTS!
CONTINUED NEXT PAGE
MAINTENANCE
• Donotsprayorkeepanyaerosolproducts
inoraroundshredder.
• DONOTUSECANNEDAIRONSHREDDER.
CLEANING:
• ALWAYS UNPLUG THE SHREDDER BEFORE CLEANING!
• Only clean the shredder by carefully wiping the unit with a dry soft cloth or towel.
• Do not clean or immerse shredder in water. Having the unit wet may result in damage or malfunction to
the electrical components. If the shredder happens to get wet, be sure to completely dry the unit immedi-
ately with a cloth or towel.
• Never use anything flammable to clean the shredder. This may result in serious injury or damage to the product.

11ENGLISH
TROUBLESHOOTING
If there is a problem with your shredder, check below for the symptoms and steps to resolve. If you
continue to have problems, contact customer support at our Service Center.
DONOTATTEMPTTOREPAIRBYOPENINGTHESHREDDERHEAD.Thiswillcompletely
voidtheproductwarranty.
1)Make sure power cord is plugged into
a functioning 120-V standard house-
hold power outlet.
2)Check if the blue Power On icon is lit.
3)Check that the lid and waste bin are
properly closed.
No-powertotheshredder
If Overheat light is lit in red, turn shred-
der off and let it cool down for 45 min-
utes. Turn shredder on, check Overheat
light again, and restart shredding only
when light is not lit.
RED light indicates paper in paper
tray cannot be grabbed into shredding
slot. Open lid to make sure papers are
unfolded and positioned properly.
IfFeedErroriconislit
Shredderisjammedorrunscontinuously
Shredderdoesnotfeedorshredpaper
Check power outlet Check main power
switch located at
back of machine
Overheat Cool down
Min
45
• Open lid, remove the remaining stack of
paper and carefully pull the jammed
paper out of the cutters.
• Remove folded papers, staples and clips.
• Remove any materials with adhesive
labels.
• Make sure papers are positioned
properly. Staples must be placed in either
top left or top right of paper tray.
Auto-Feedmode:
CONTINUED NEXT PAGE
s
t
a
p
l
e
d
p
a
p
e
r
s
j
u
m
b
o
c
l
i
p
s
f
o
l
d
e
d
s
h
e
e
t
s
u
n
o
p
e
n
e
d
m
a
i
l
/
e
n
v
e
l
o
p
e
s
n
o
s
t
a
p
l
e
s
i
n
c
e
n
t
e
r

12 ENGLISH
Power Off then pull
paper side to side
• Position credit card or small piece of
paper over the credit card section of the
Feeder (center position).
• Try again.
Shredderdoesnotfeedorshredcreditcardorsmallpieceofpaper
Warning:DONOTUSEANY
SPRAYCANSORAEROSOLS.
!
Shredderisjammedandrunsin“Reverse”modeonly/
Overloadiconislitinred
1)Press the reverse button ( ) for
5 sec.
2)Turn off shredder then pull paper side
to side to remove jammed paper (as
much as possible).
3)Reduce the number of sheets being
fed (count pages to be sure not to exceed
the maximum sheet count).
1)Turn off shredder.
2)Apply shredder oil to the feed slot
(shredder oil not included). Let oil soak in
to paper and machine for 30 minutes.
3)Set the Power button to Auto/On.
4)Press forward button ( ) or use thick
paper stock/ greeting card to manually
activate the shredder into cutting mode o
push the jam through.
5)Reduce the number of sheets being
fed (count pages to be sure not to exceed
the maximum sheet count). Refeed the
paper.
Reverse for 5 sec
Turn off shredder
Press “Forward”
Reduce sheets
Apply shredder oil and
wait for 30min.
Use thick paper to
push jam through
Min
30
Feed in the center
Or
Turn on shredder
Manual-Feedmode:
With stubborn situations where the reverse function does not help, follow the steps below:
TROUBLESHOOTING

13ENGLISH
Aurora warrants the cutting cylinders of the machine against defects of workmanship and material for a
period of 5years from the original purchase date to the original consumer. Aurora warrants all other
parts of the machine against defects of workmanship and material for a period of 1year from the
original purchase date to the original consumer.
Should there be a defect or malfunction of this product, Aurora will repair or replace the product free
of charge. Customer is responsible for all shipping charges to return the defective product to Aurora. A
copyoftheproofofpurchaseshowingoriginalpurchasedateisrequired. This warranty
is void if the product has been subject to damage, unreasonable use, improper service, or other causes
not arising from defects in original material or workmanship. This warranty is void if factory seal is bro-
ken or removed from the product. This warranty does not include adjustments, parts or repairs required
by circumstances beyond the control of Aurora.
There are no expressed warranties other than those stated herein.
Any expressed or implied warranties, including but not limited to merchantability and fitness for a par-
ticular purpose are limited to the above warranty period. Aurora shall not be liable for any incidental
or consequential cost, expenses or damages resulting from any failure defect or malfunction of this
product.
Some states do not allow the exclusion of limitations of implied warranties or consequential damages,
therefore, the above limitations may not apply to you.
This warranty grants you specific legal rights, and you may also have other rights that vary from state to state.
Beforereturninganyproduct,pleasecallourServiceCenterforspecificreturninstructions.
AuroraCorp.ofAmerica:1-800-327-8508USAONLY
1-310-793-5650INTERNATIONAL•[email protected]
LIMITEDPRODUCTWARRANTY
If you have any questions in regards to the operation of this shredder or in need of a spare part, please
contact our service center at:
Aurora Corp. of America
Telephone: 1-800-327-8508(U.S.A.only)or1-310-793-5650(International)
Business hours: Monday to Friday 8:00 am - 5:00 pm PST (Pacific Standard Time)
Email: [email protected]
Or for more information, please visit our website at http://www.auroracorp.com
SERVICECENTER

110221
© 2021 Aurora Corp. of America
3500 Challenger Street, Torrance, CA 90503 USA
1-800-327-8508
USA Only
•
1-310-793-5650
International
•
Email: [email protected]
•
For more information, please visit us at:
www.auroracorp.com
Table of contents
Other Aurora Paper Shredder manuals

Aurora
Aurora AU1215XB User manual

Aurora
Aurora AU1220XA User manual

Aurora
Aurora AU1220XE User manual

Aurora
Aurora AU200MA User manual

Aurora
Aurora AU1210MA User manual

Aurora
Aurora AU870MZ User manual

Aurora
Aurora AU125MA User manual

Aurora
Aurora ShredSafe AU740XA User manual

Aurora
Aurora AU1480MA User manual

Aurora
Aurora C1210 Series User manual

Aurora
Aurora AU808MA User manual

Aurora
Aurora JamFree ShredSafe AU800MA User manual

Aurora
Aurora AU1225MA User manual

Aurora
Aurora AU1410MA User manual

Aurora
Aurora AU1540MA User manual

Aurora
Aurora AU1415XA User manual

Aurora
Aurora ShredSafe AU840XA User manual

Aurora
Aurora AS610C User manual

Aurora
Aurora AU1830XA User manual

Aurora
Aurora AU1230XA User manual