avantec DT910N User manual

DIGITAL CORDLESS
VoIP DECT PHONE – DT910N
USER MANUAL

2
CONTENTS
1. Safety Instructions ............................................................................................................ 3
2. Product Description ........................................................................................................ 4
3. Installation ......................................................................................................................... 5
4. Basic Telephone Operation ........................................................................................... 6
4.1 aking Calls ......................................................................................................... 6
4.2 Answering Calls .................................................................................................... 6
4.3 Dial Calls from Call Lists ....................................................................................... 6
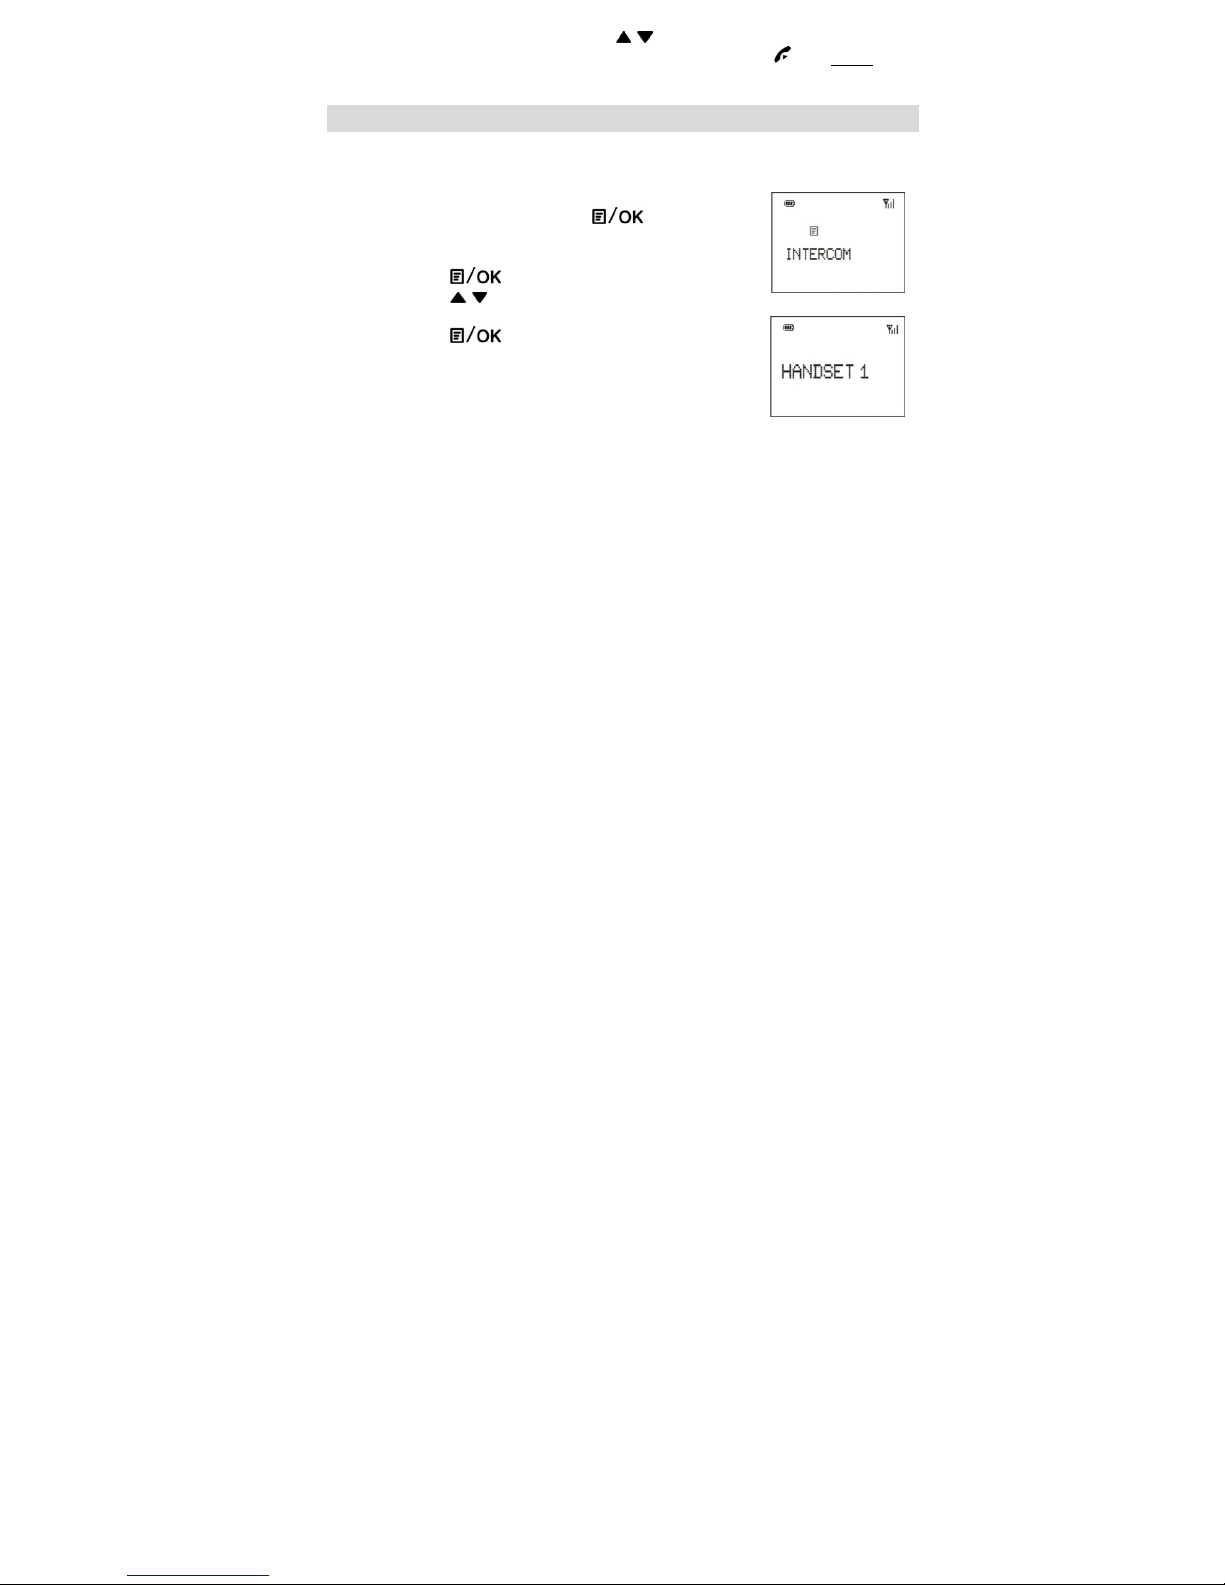
4.4 aking Internal Calls (Intercom) ....................................................................... 7
4.5 Call Transfer .......................................................... Error! Bookmark not efine .
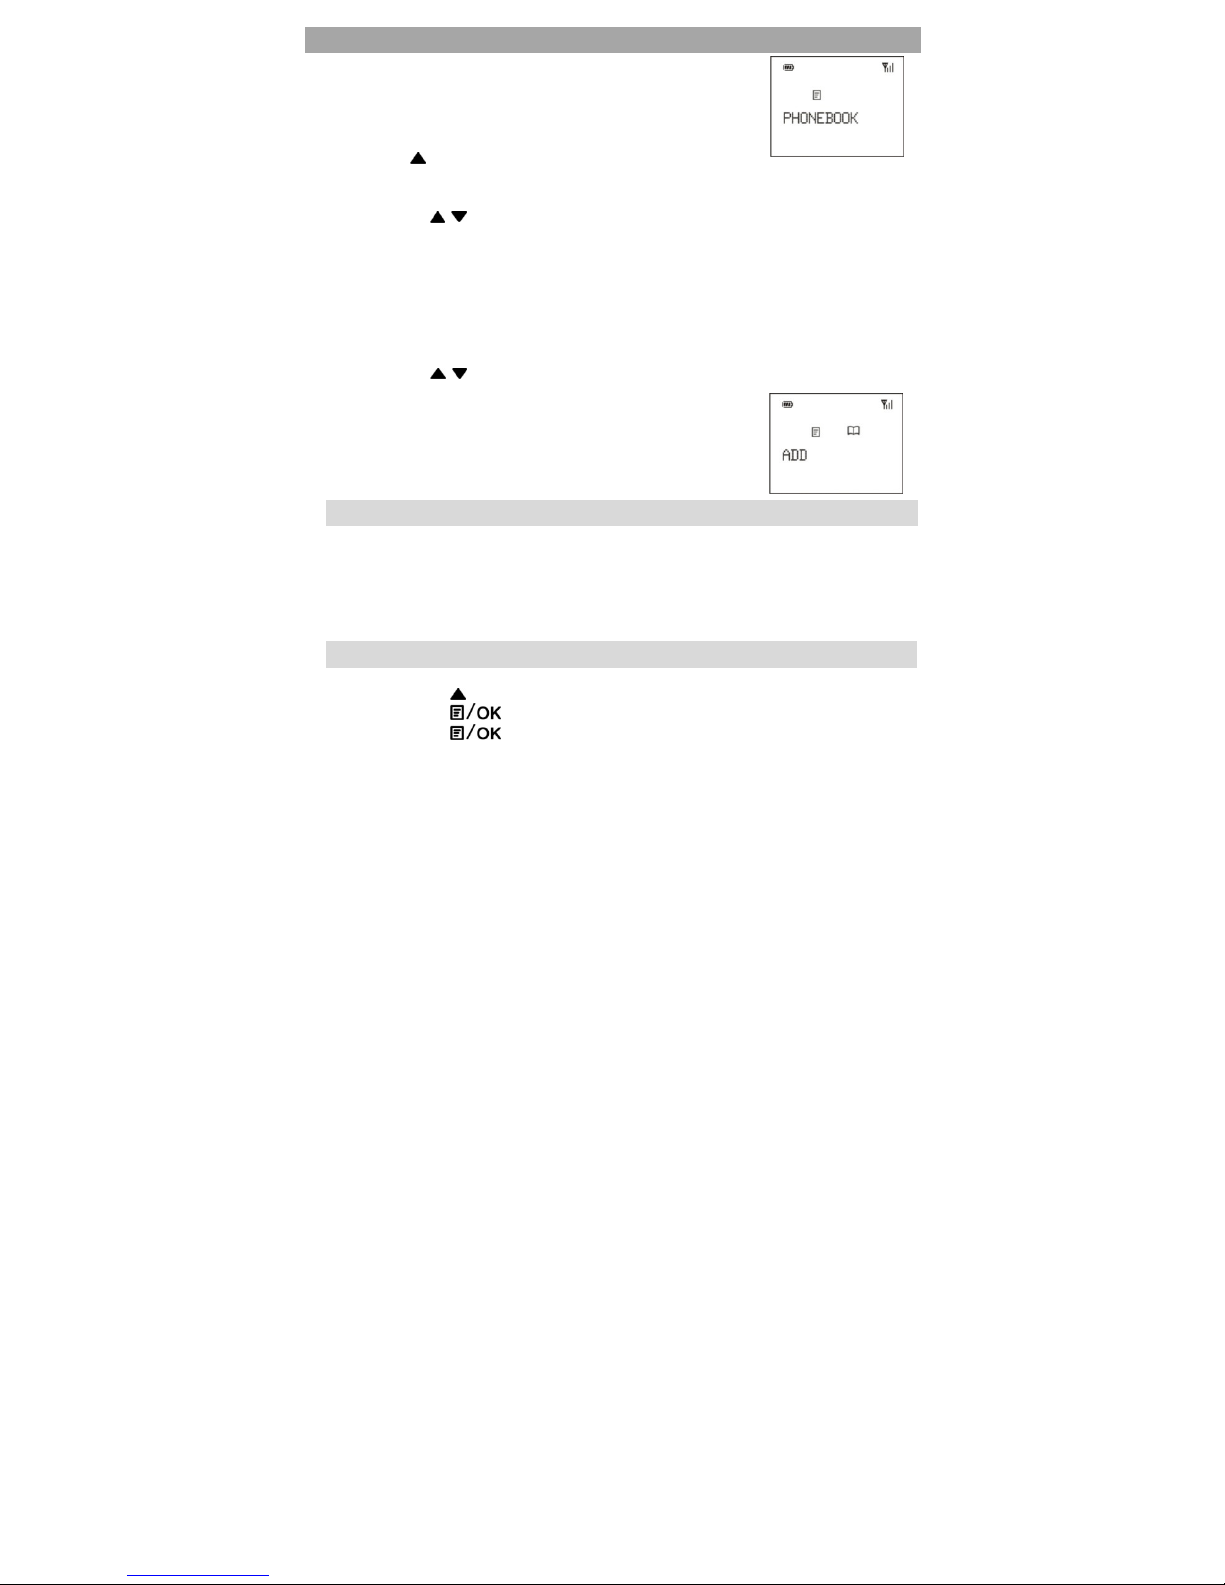
5. Phonebook ....................................................................................................................... 8
5.1 Features ................................................................................................................. 8
5.2 Add New Entry to the Phonebook .................................................................... 8
5.3 View the Number of an Entry ............................................................................. 9
5.4 Edit an Entry .......................................................................................................... 9
5.5 Delete an Entry ..................................................................................................... 9
6. Clock/Alarm ................................................................................................................... 10
6.1 Real Time Clock .................................................................................................. 10
6.2 Set Alarm ............................................................................................................. 10
7. Handset SETUP ................................................................................................................ 11
7.1 Handset Tone ...................................................................................................... 11
7.1.1 Ring Volume (External Call) ................................................................. 11
7.1.2 Ring elody ........................................................................................... 11
7.1.3 Intercom elody .................................................................................. 12
7.1.4 Key Tone ................................................................................................. 12
7.1.5 Low Battery ............................................................................................ 12
7.1.6 Range ..................................................................................................... 13
7.2 Contrast ............................................................................................................... 13
7.3 Handset Name ................................................................................................... 14
7.4 Auto Answer........................................................................................................ 14
7.5 Language ............................................................................................................ 15
8. Base SETUP ...................................................................................................................... 15
8.1 V WI off (Voice essage Waiting Indication) ............................................. 15
8.2 Register/Subscribe a New Handset ( ultiple Handset Scenario) .............. 17
8.3 Select a Base ( ultiple Base Scenario) .......................................................... 19
8.4 Advance Setup .................................................................................................. 19
8.4.1 Dial ode ............................................................................................... 19
8.4.2 Recall Time ............................................................................................. 20
8.4.3 Unregister ............................................................................................... 20
8.4.4 New PIN .................................................................................................. 21
8.4.5 Default .................................................................................................... 21
9. Other Features ............................................................................................................... 22
9.1 Last Number Redial............................................................................................ 22
9.2 Received and issed Call Lists ........................................................................ 23
10. Warranty ......................................................................................................................... 25

3
1. Safety Instructions
1. Please read all the instructions of this manual before using this product.
2. Observe all the instructions marked on this product.
3. Install this product on a stable surface and to avoid anyone from
stepping over the telephone line.
4. Do not fix the AC power supply cord to building surfaces with metal
fittings.
5. This product should be operated only from the type of power source
indicated on the product. If you are not sure of the type of power
supply to your home, consult your local power company.
6. Do not use this product near water, or when your hands are wet. If the
product comes into contact with any liquids, disconnect the power
supply immediately and contact repair centre.
7. To prevent fire or electrical shock hazard, do not expose this product to
rain or moisture.
8. Before cleaning the product, disconnect it from the telephone jack
and power source. Use a soft, damp cloth to clean the product. Do
not use liquid cleaner, aerosol cleaners or abrasive powder to clean
this product.
9. As there maybe electric shock from lightning, avoid using or installing
this product during thunderstorms.
10. If the product is not operating normally or if it is damaged, do not open
the cabinet or try to repair by yourself. This will expose you to
dangerous electrical shock or other risks. Please contact repair centre.
11. Do not use any metallic objects to connect the charging terminals on
the Base Station as this may cause fire due to overloading the power
source.
12. Do not charge the battery by any devices other than that provided by
this product.
13. Never use ordinary (non-rechargeable) batteries. Only use approved
batteries of the same type (rechargeable), otherwise battery damage
can result.
14. Dispose the damaged battery properly.
15. Do not touch the insulated telephone wires or terminals unless the
telephone line and power source has been disconnected.
16. Do not overload wall outlets and extension cords as this can lead to
electrical shock.
17. edical equipment can be affected by the handset.

4
2. Pro uct Description
Main Features
Dot matrix LCD display with backlight
Phonebook capacity 50 entries (with 24 digits and name of 12
characters)
Caller ID list: 50 entries
Redial log: 10 entries
Caller ID: type 1 and type 2
Handset polyphonic ring melodies: 12
Languages: 10 (English, German, French, Italian, Spanish, Portuguese,
Dutch, Turkish, Greek, Danish)
Number of base per handset: 4
Number of handset per base: 6
Key Layout an Definitions
1. Earpiece
2. LCD display
3. Scroll Up / Phonebook
4. Cancel / Redial / Flash
5. End (Power on / off) button
6. Scroll down / Call list
7. Numeric keypad
8. # key
9. enu / OK button
10. Call button / hands-free
11. key
12. icrophone
On-screen Icon Description
On: 3-level battery capacity
Blinking: battery empty
Scrolling: being charged
On: Handset is connected
Blinking: Handset is out of
coverage/ not registered
essage Waiting Indication*
External call in progress
Ringing tone is off
Internal call in progress
Alarm clock is on
Viewing the menu
icrophone is muted
issed call indication
Speakerphone is on
Viewing the phonebook
* Service offered by telephone network providers.

5
3. Installation
1. Connect the Ethernet patch cord, one side into the PoE switch / PoE
supply, the other to the base station socket.
2. The base station automatically power up.
3. The re LED on the base station goes up to indicate that the VoIP DECT
enters the ready state.
4. Open the handset’s battery door and insert the rechargeable pack
(supplied) to the handset, ensuring correct polarity before inserting (Fig.
1) Replace the battery door. After approx. 3 seconds, text will come up
on the LCD screen indicating the handset is ready to use.
5.
Fig. 1
6. The handset is already registered to the base
station when shipped. It will take a few seconds
for the handset to search for the base station
during initial power up. “Searching…” will be
displayed on the screen and the antenna icon
will be blinking.
7. Once the handset is successfully paired with the
base station, the “Handset X” will be shown and
the antenna icon will stop blinking.
Remarks:
1. Never use non-rechargeable battery.
2. When the handset battery is fully discharged, the base station will
charge the battery quickly for few hours and then change to slow
charging. The handset becomes warm during fast charging. This is
normal and not dangerous. t cools down gradually when battery is
almost fully charged.
3. Place the base station in a high location to ensure a maximum
operating range.
4. Do not install the base station in bathrooms.
5. The operating range of the phone may vary depending on the
environment.
6. For the first time use, leave the handset on the base station for charging
about 10 hours before any operation.

6
4. Basic Telephone Operation
4.1 Making Calls
Direct Dial
1. Press first to get a line and you will hear a dial tone.
2. Enter the phone number.
Pre- ial
1. Enter the phone number during standby mode.
(Use key to edit any wrong entry.)
2. Press to dial out the number.
During a call, you may press key to activate the speakerphone
feature, the icon will be turned on. Press key again to switch
back to the earpiece mode, the icon will be turned off.
You may also use the / keys to adjust the earpiece /
speakerphone volume during a call.
Microphone MUTE function
During telephone conversation, if you don’t
want the person on the line to hear your voice,
press key twice, and icon is
displayed on the screen. To deactivate the
ute function, press twice again.
To end a call, press key.
4.2 Answering Calls
When the handset is ringing, press key to answer the call.
4.3 Dial Calls from Call Lists
You may access to the call lists by using the short-cut keys and dial the
selected number from the list.
In standby mode, press the following short-cut keys:
key: Incoming call list
key: Phonebook
key: Last number redial list

7
After entering the list, press the / key to scroll through the entries
and pick a number that you wish to call, then press key twice to
confirm. The selected number will be dialed out automatically.
4.4 Making Internal Calls (Intercom)
If you have two or more handsets registered to a base station, it’s
possible to make internal calls between handsets.
1. In standby mode, press key to enter
the handset menu, “INTERCOM” is
displayed.
2. Press key to confirm.
3. Press / key to select the handset
number that you wish to call.
4. Press key to dial out.
Note: The handset number is normally shown on
the display “HANDSET X” during standby.

8
5. Phonebook
Up to 50 entries (name and number) can be stored in
the phonebook.
To access the phonebook from standby mode,
1. Press short-cut key during standby mode.
(When accessed to the phonebook, the first entry is displayed. Entries
are listed alphabetically.)
2. Use the / key to browse the phonebook and pick a record that you
wish to call.
It is also possible to make an alphabetical search (quick search) in the
directory:
1. Once in the phonebook list, enter the initial letter of the name, the first
name which starts with this letter or the nearest letter in the alphabet is
displayed.
2. Use the / key to search for the exact record that you wish to call.
Note: When you first access to the directory (it’s
empty), “ADD” is displayed.
5.1 Features
The following details are available in the directory.
The caller number: 24 digits
The caller name: 12 characters
The associated melody (if available)
5.2 A New Entry to the Phonebook
1. Press key during standby mode to enter phonebook.
2. Press key to enter phonebook menu, “ADD” is displayed.
3. Press key to enter name and number respectively.
Alternatively, you may also copy an entry directly from the call list or
redial list and save it to the phone book. (Please refer to 9.2.3)

9
5.3 View the Number of an Entry
1. Press key during standby mode to enter phonebook, the first
entry name is displayed.
2. Press / key to select the entry.
3. Press key, the phone number is displayed.
4. Press key to go back to standby screen.
5.4 E it an Entry
1. Press key during standby mode to enter phonebook, the first
entry name is displayed.
2. Press / key to select the entry you want to edit.
3. Press key, the “ADD” option is displayed.
4. Press key, the “EDIT” option is displayed.
5. Press key to start editing the name
field.
6. Press key to move to the number
field for editing.
7. Press key again when finish and the changes will be
automatically saved.
8. Press key to go back to standby screen.
5.5 Delete an Entry
1. Press key during standby mode to enter phonebook, the first
entry name is displayed.
2. Press / key to select the entry you want to delete.
3. Press key, the “ADD” option is
displayed.
4. Press / key until the “DELETE” option is
displayed.
5. Press key to delete the entry, the
next entry name is displayed.
6. Press key to go back to standby screen.
If there is no entry stored in the phonebook, the
handset will display “Empty”.

10
6. Clock / Alarm
6.1 Real Time Clock
6.1.1 Manual Setting
1. In standby mode, press key to enter the handset menu.
2. Press key until “CLOCK/ALARM” is displayed.
3. Press key, “DATE & TIME” is
displayed.
4. Press key to enter the date and
time setting screen.
5. Press / key to enter the current date
and time in 12H format.
6. Press key to save the new setting.
7. Press key to go back to standby screen.
6.1.2 Automatic Setting
Provided that this service is enabled by the network, the time clock
will be automatically updated upon receiving a CLI (Caller ID).
6.2 Set Alarm
1. In standby mode, press key to enter the handset menu.
2. Press key until “CLOCK/ALARM” is displayed.
3. Press key, “DATE & TIME” is displayed.
4. Press key until “SET ALARM” is displayed.
5. Press key, “ON ONCE” is displayed.
6. Use the / key to select between “ON
DAILY” or “ON ONCE” and Press
key to confirm.
7. Use the / key to set the alarm “ON” or
“OFF”.
8. Press key to set the alarm ON, then
use the / key to enter the alarm time,
A or P .
9. After the alarm is set, press key to
save the change.
10. Press key to go back to standby
screen.

11
7. Han set SETUP
7.1 Han set Tone
7.1.1 Ring Volume (External Call)
1. In standby mode, press key to enter the handset menu.
2. Press key until “HS SETUP” is displayed.
3. Press key, “HANDSET TONE” is displayed.
4. Press key, “RING VOLUME” is displayed.
5. Press key to enter the menu.
6. Press / key to adjust the desired volume level (off, 1-5).
7. Press key to save the new value.
8. Press key to go back to standby screen.
Note: When the Ring volume is set to “OFF”, icon will be turned on
indicating that the ringer set to non-distribute/ silent mode.
7.1.2 Ring Melo y
There are 12 ring melodies available.
1. In standby mode, press key to enter the handset menu.
2. Press key until “HS SETUP” is displayed.
3. Press key, “HANDSET TONE” is displayed.
4. Press key, then press key until
“RING MELODY” is displayed.
5. Press key, “ elody: x” is displayed
(x is the number of current melody).
6. Press / key to select the desired
melody.
7. Press key to save the new melody.
8. Press key to go back to standby screen.

12
7.1.3 Intercom Melo y
1. In standby mode, press key to enter the handset menu.
2. Press key until “HS SETUP” is displayed.
3. Press key, “HANDSET TONE” is displayed.
4. Press key, then press key until
“INTERCOM” is displayed.
5. Press key, “ elody: x” is displayed
(x is the number of current melody).
6. Press / key to select the desired
melody.
7. Press key to save the new melody.
8. Press key to go back to standby screen.
7.1.4 Key Tone
1. In standby mode, press key to enter the handset menu.
2. Press key until “HS SETUP” is displayed.
3. Press key, “HANDSET TONE” is displayed.
4. Press key, then press key until
“KEY TONE” is displayed.
5. Press key, the current setting is
displayed (TONE, ELODY or OFF).
6. Use / key to switch between “TONE”,
“MELODY” and “OFF”.
7. Press key to confirm and save the change.
8. Press key to go back to standby screen.
7.1.5 Low Battery
To enable/disable the low battery warning tone.
1. In standby mode, press key to enter the handset menu.
2. Press key until “HS SETUP” is displayed.
3. Press key, “HANDSET TONE” is displayed.
4. Press key, then press key until
“LOW BATT” is displayed.
5. Press key, the current setting is
displayed (ON or OFF).
6. Use / key to switch between ON and
OFF.
7. Press key to confirm and save the change.
8. Press key to go back to standby screen.

13
7.1.6 Range
If the RF signal strength is weak during a call (the handset is far away
from the base station), the handset will play a WARNING Tone in the
earpiece to indicate that the RF range condition is bad.
1. In standby mode, press key to enter the handset menu.
2. Press key until “HS SETUP” is displayed.
3. Press key, “HANDSET TONE” is displayed.
4. Press key, then press key until
“RANGE” is displayed.
5. Press key, the current setting is
displayed (ON or OFF).
6. Use / key to switch between ON and
OFF.
7. Press key to confirm and save the change.
8. Press key to go back to standby screen.
7.2 Contrast
1. In standby mode, press key to enter the handset menu.
2. Press key until “HS SETUP” is displayed.
3. Press key, then press key until
“CONTRAST” is displayed.
4. Press key, the current contrast level
is displayed.
5. Use / key to select the desired contrast
level (6 steps).
6. Press key to save the change.
7. Press key to go back to standby screen.

14
7.3 Han set Name
User can assign a name to the handset which shows on the display
during standby.
1. In standby mode, press key to enter the handset menu.
2. Press key until “HS SETUP” is displayed.
3. Press key, then press key until
“HANDSET NAME” is displayed.
4. Press key, the current handset
name is displayed.
5. Edit the handset name and press
key to save the change.
6. Press key to go back to standby screen.
7.4 Auto Answer
This feature allows the user to answer a call by simply lifting the handset
from base station, without the need to press the key.
1. In standby mode, press key to enter the handset menu.
2. Press key until “HS SETUP” is displayed.
3. Press key, then press key until
“AUTO ANSWER” is displayed.
4. Press key, the current setting is
displayed.
5. Use / key to switch between ON and
OFF.
6. Press key to save the change.
7. Press key to go back to standby screen.

15
7.5 Language
There are 10 languages available.
English
German
French
Italian
Spanish
Portuguese
Dutch
Turkish
Greek
Danish
7.5.1 Change the Han set Display Language
1. In standby mode, Press key to enter the handset menu.
2. Press key until “HS SETUP” is displayed.
3. Press key, then press key until
“LANGUAGE” is displayed.
4. Press key, the current language is
displayed.
5. Press
/ key to select the desired
language.
6. Press key to save the change.
7. Press key to go back to standby screen.
8. Base SETUP
8.1 DHCP an SIP Registry
All VoIP DECT units are DHCP enabled when shipped.
Plug in the Base Station.
It requests an IP address.
When it enters the ready state, the LED on the Base Station turns re .
To read the IP address:
1. Press key to enter the handset menu.
2. Press key until “IP MENU” is displayed.
3. Press key, “IP INFO” is displayed.
4. Press key, and the IP address is
shown.

16
Copy this IP address and enter it in a Web Browser.
To change the DHCP setting on the handset:
1. Press key to enter the handset menu.
2. Press key until “IP MENU” is displayed.
3. Press key, “IP INFO” is
displayed.
4. Press key, “USE DHCP” is displayed
5. Press key:
a. Select “YES” for DHCP
b. Select “NO” for Fixed-IP
6. Press key to confirm
7. Exit the menu, the Base Station
automatically reboots
Web Portal
For ease of data entry and editing, all critical configurations are
set on the Web Portal:
SIP registry, NAT setting, CODEC setting, f/w upgrade, etc.
Web Portal (default) login: admin | admin

17
8.2 Register / Subscribe a New Han set (Multiple Han set
Scenario)
It is possible to subscribe additional handsets to the same base unit. A
maximum of 6 handsets can be supported by the system.
1. Press and hold the page button on base station until the LED on
base station turns yellow.
2. On the handset, in standby mode, press key to enter the
handset menu.
3. Press key until “BS SETUP” is displayed.
4. Press key, then press key until
“REGISTER” is displayed.
5. Press key, “BASE 1” is displayed.
6. Press / key to select the base station
number that you want to register.
7. Press key, “PIN?” is displayed.
8. Enter the PIN code (The default PIN is “0000”).
9. Press key to validate the PIN and
start the registration process.
10. “Searching…” is displayed indicating that the handset is looking
for the selected base station.
(It may take up to 30 seconds for the handset to search for the
base.)
11. Upon successful registration, the handset will return to standby
screen and the assigned handset number will be shown “HANDSET
1”.
To locate a registered handset:
1. Press the paging button on the Base Station
2. Hold down on the paging button for 3 secs
3. Ringing tone is audible on the registered handset
Note:
f the handset does not locate the base unit, it will go back to standby
screen when times out. Please repeat the registration procedure and
make sure that the handset is placed closely to the base unit (approx..
10-20 cm).
f the handset emits a “double beep” during the registration, it means
that either the entered P N is wrong or the base unit is full (already has 6
handsets registered).
A unique number is assigned to each handset (1-6) by the base unit

18
upon successful registration. This number is displayed on the handset as
“HANDSET X” during standby and the handset number is used for
making internal calls.

19
8.3 Select a Base (Multiple Base Scenario)
In case a handset is registered to more than one base station, you may
use this option to select between multiple base stations. (A handset
can register to a maximum of 4 base stations)
1. In standby mode, press key to enter the handset menu.
2. Press key until “BS SETUP” is displayed.
3. Press key, then press key until
“SEL BASE” is displayed.
4. Press key, then use key to select
the desired base unit.
5. Press key to validate and start
registration, “SEARCHING” is displayed.
6. Upon successful completion, the handset
will return to standby screen and the
assigned handset number will be shown
“HANDSET 1”.
In most cases, you may simply leave this setting
“AUTO” (Automatic), the handset will
automatically choose its registered base unit.
8.4 A vance Setup
8.4.1 Dial mo e
Use this option to select Tone/Pulse dial mode.
1. In standby mode, press key to enter the handset menu.
2. Press key until “BS SETUP” is displayed.
3. Press key, then press key until “ADVANCE SET” is
displayed.
4. Press key, and enter PIN code
(default as “0000”), “DIAL MODE” is
displayed.
5. Press key, then use / key to
switch between “Tone” or “Pulse”.
6. Press key to save the change.
7. Press key to go back to standby screen.

20
8.4.2 Recall Time (Flash Time)
Use this option to select the correct recall (flash) time for your
system/country setting.
1. In standby mode, press key to enter the handset menu.
2. Press key until “BS SETUP” is displayed.
3. Press key, then press key until “ADVANCE SET” is
displayed.
4. Press key, and enter PIN code (default as “0000”).
5. Press key until “RECALL TIME” is
displayed.
6. Press key, then use / key to
select the desired Recall Time.
7. Press key to save the change.
8. Press key to go back to standby screen.
8.4.3 Unregister
Use this option to delete the registration entry of a handset from its
base station.
1. In standby mode, press key to enter the handset menu.
2. Press key until “BS SETUP” is displayed.
3. Press key, then press key until “ADVANCE SET” is
displayed.
4. Press key, and enter PIN code (default as “0000”).
5. Press key until “UNREGISTER” is
displayed.
6. Press key, then Use / key to
select a handset number that you want to
remove from the base station.
7. Press key to confirm.
8. Press key to go back to standby screen.
Alternatively, you may unregister all handsets from their Base Station
at once.
1. Press the paging button on the Base Station
2. Hold down on the paging button and see that the LED turns
yellow
3. Keep holding down on the paging button until the LED turns re
Table of contents
Other avantec IP Phone manuals
Popular IP Phone manuals by other brands

Alcatel-Lucent
Alcatel-Lucent 8082 My IC Phone user manual

Yealink
Yealink Yealink SIP-T26P Quick installation guide

Ericsson
Ericsson Dialog 5446 IP Premium user guide

DayStarr
DayStarr Yealink T46-G Quick user guide

Aastra
Aastra Dialog 4422 IP Office Quick reference guide

Nortel
Nortel IP Phone 2007 Quick reference card