manuals.online logo
Brands
  1. Home
  2. •
  3. Brands
  4. •
  5. Aventics
  6. •
  7. Industrial Equipment
  8. •
  9. Aventics RTC-BV User manual

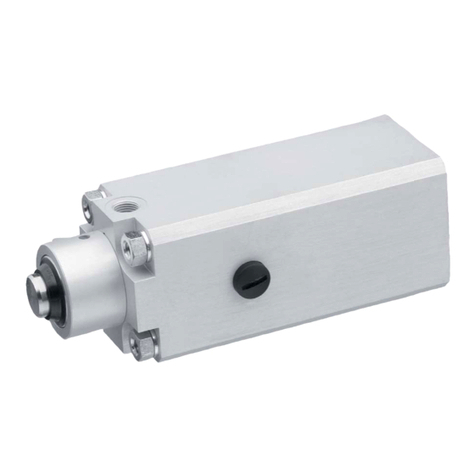
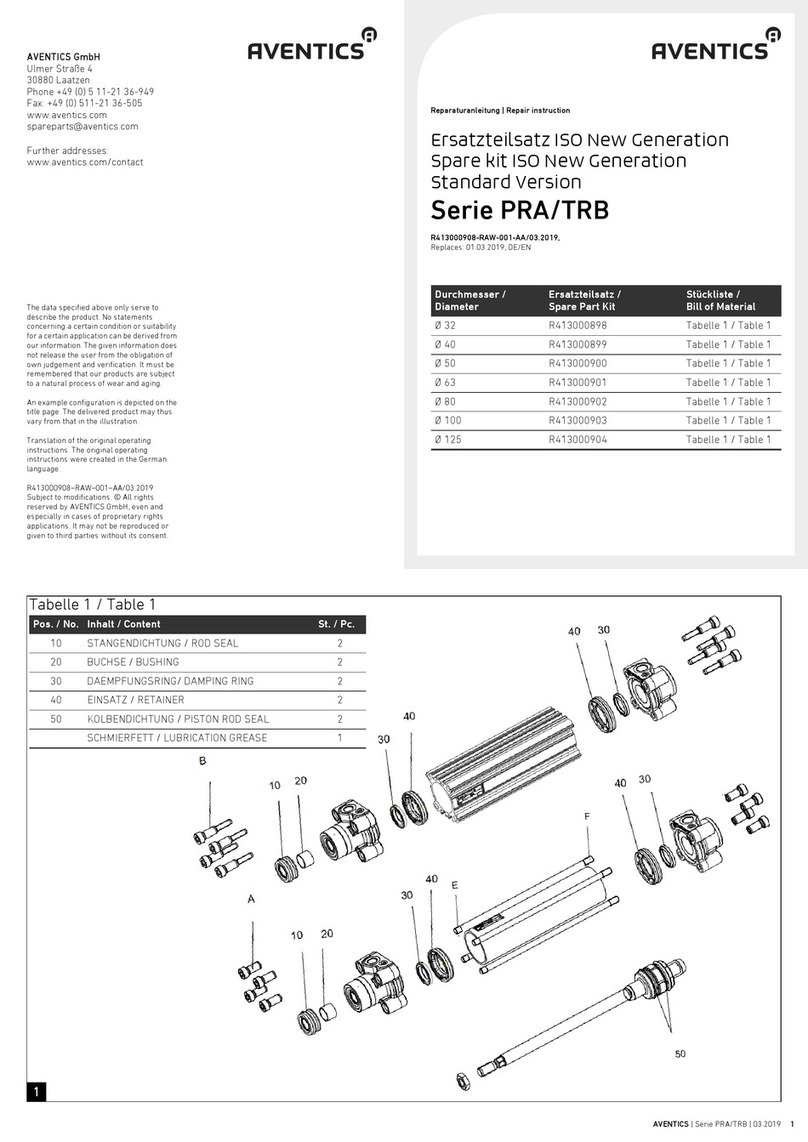
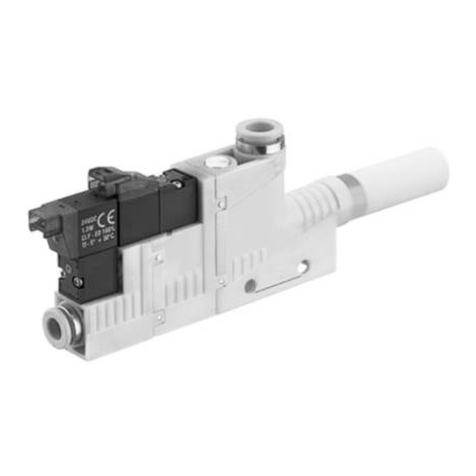
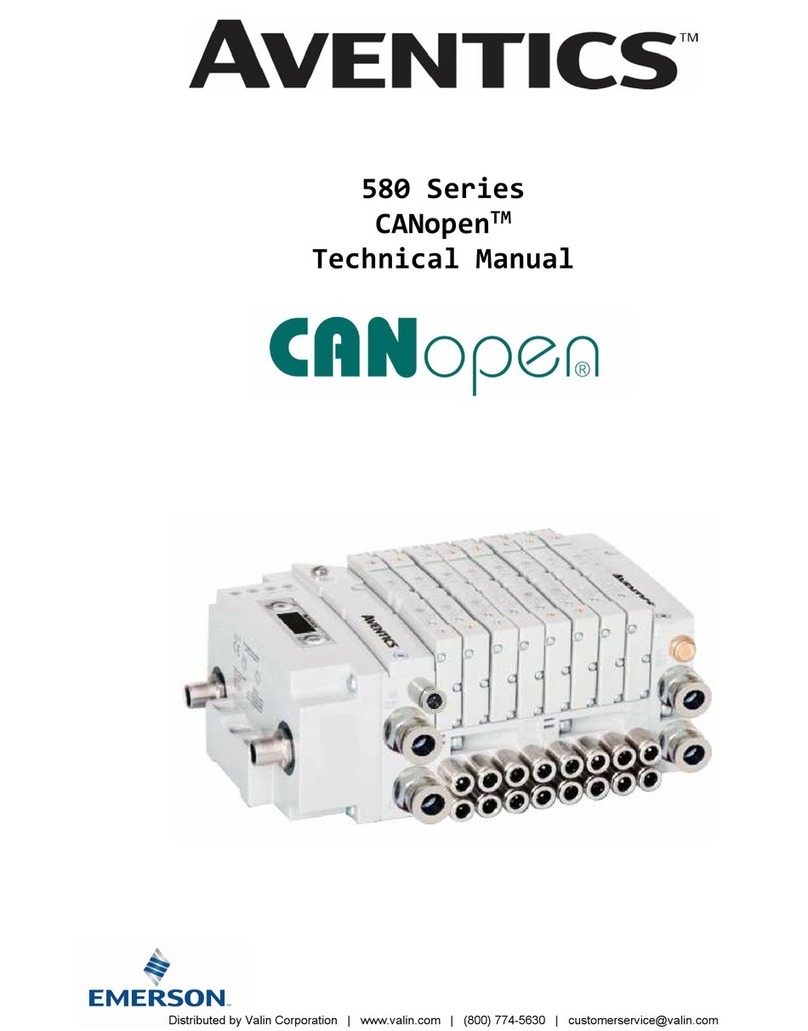
Aventics RTC-BV User manual

The data specified above only serve to
describe the product. No statements
concerning a certain condition or suitability
for a certain application can be derived from
our information. The given information does
not release the user from the obligation of
own judgement and verification. It must be
remembered that our products are subject
to a natural process of wear and aging.
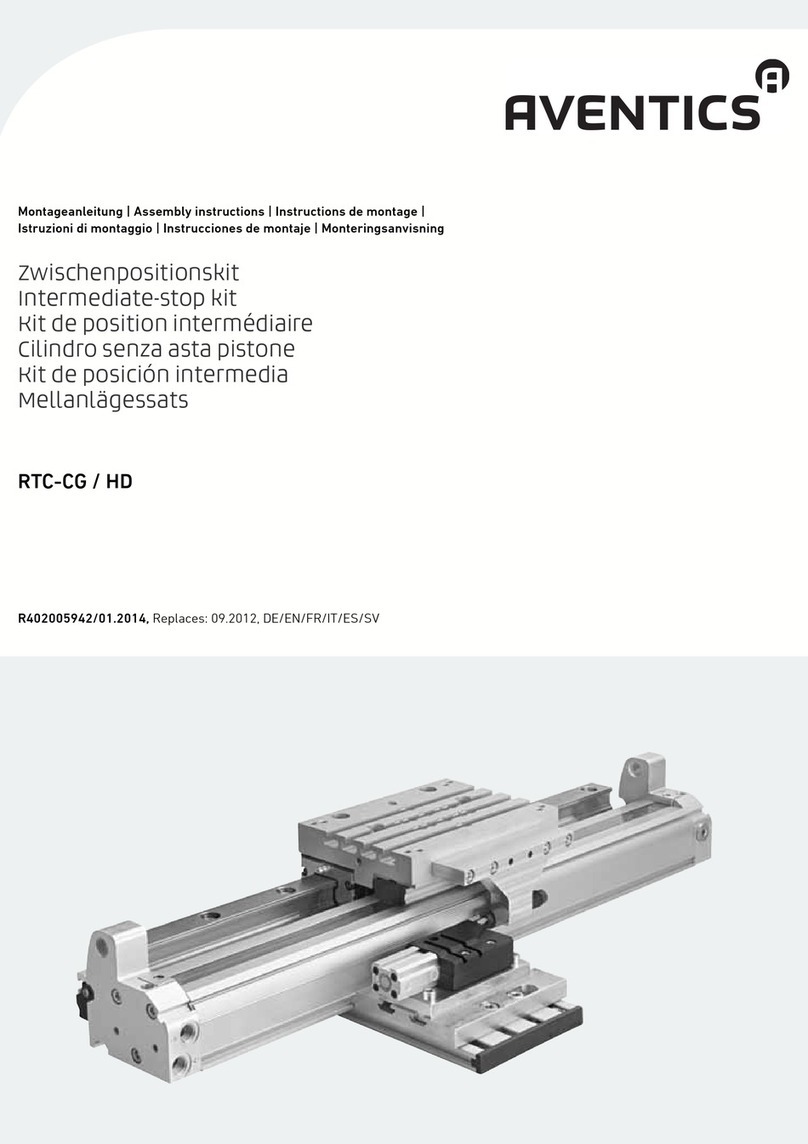
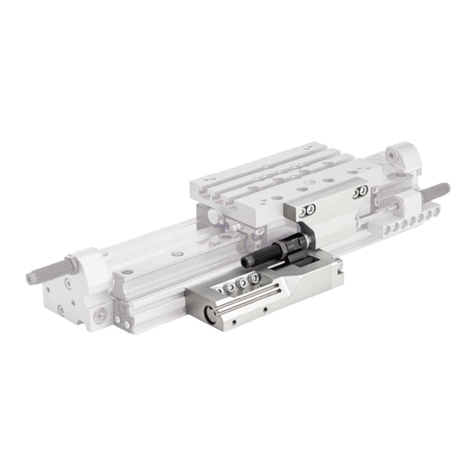
An example configuration is depicted on the
title page. The delivered product may thus
vary from that in the illustration.
Translation of the original operating
instructions. The original operating
instructions were created in the German
language.
R402005941–BDL–001–AD/06.2015
Subject to modifications. © All rights
reserved by AVENTICS GmbH, even and
especially in cases of proprietary rights
applications. It may not be reproduced or
given to third parties without its consent.
AVENTICS GmbH
Ulmer Straße 4
30880 Laatzen
Phone +49 (0) 511-21 36-0
Fax: +49 (0) 511-21 36-2 69
www.aventics.com
info@aventics.com
Further addresses:
www.aventics.com/contact
Betriebsanleitung | Operating instructions | Mode d’emploi |
Istruzioni per l’uso | Instrucciones de servicio | Bruksanvisning
Endlagenanschlag
End positioning stop
Butée de positionnement final
Fermo di posizionamento finecorsa
Tope de posicionamiento final
Ändlägesstopp
RTC-BV
R402005941/06.2015,
Replaces: 05.2014, DE/EN/FR/IT/ES/SV
1AVENTICS| RTC-BV | R402005941–BDL–001–AD
Deutsch
Lieferumfang
Sicherheitshinweise und Drehmomente beachten
Beachten Sie die Sicherheitshinweise in Betriebsanleitung R402003540. Ziehen
Sie die Schrauben mit den jeweils in der Tabelle vorgegebenen Drehmomenten
an. Schalten Sie die Anlage spannungs- und drucklos.
Schlittenaufsatz R402005903/-09/-10/-11 montieren
Befestigen Sie den Aufsatz (1) mit acht Befestigungsschrauben (2). Drehen Sie an
den Stirnseiten die beiden Anschlag-Schrauben (3) ein.
Stoßdämpfer R402005906/-07/-08 montieren
Entfernen Sie am Deckel die beiden oberen Schrauben. Befestigen Sie die
Halterung (4) mit den Schrauben (5). Setzen Sie den Stoßdämpfer (6) ein.
Stoßdämpfer austauschen
Fixieren Sie die Position des Schlittens mit einer M5-Schraube (nicht im
Lieferumfang enthalten). Setzen Sie den neuen Stoßdämpfer (6) ein. Drehen
Sie die M5-Schraube etwas zurück.
English
Delivery contents
R402005903/-09/-10/-11 R402005906/-07/-08
1 Schlittenaufsatz (1)
8 Befestigungsschrauben (
2
)
2 Anschlagschrauben (3)
1 Montageanleitung
1 Halterung (4)
2 Schrauben (5)
1 Montageanleitung
1 Stoßdämpfer (6)
(nicht im Lieferumfang
enthalten)
R402005903/-09/-10/-11 R402005906/-07/-08
1 slide attachment (1)
8 mounting screws (2)
2 stop screws (3)
1 set of assembly instructions
1 bracket (4)
2 screws (5)
1 set of assembly
instructions
1 shock absorber (
6
)
(Not included in the
scope of delivery)
A
B
B1
B2
B3, B4
C
C1
C2
Observe safety notes and torque specifications
Observe the safety notes in the operating instructions R402003540. Tighten the
screws using the torque values specified in the table. Make sure that the
system is not under voltage or pressure.
Mounting the slide attachment kit R402005903/-09/-10/-11
Fasten the attachment (1) using 8 mounting screws (2). Insert the stop screws (3)
into both end faces.
Mounting the shock absorber R402005906/-07/-08
Remove both upper screws from the end cover. Fasten the bracket (4)
with the screws (5). Insert the shock absorber (6).
Exchanging the shock absorber
Use an M5 screw (Not included in the scope of delivery) to fix the position of
the slide. Insert the new shock absorber (6). Turn back the M5 screw slightly.
FRANÇAIS
Fourniture
Respecter les consignes de sécurité et les couples
Respecter les consignes de sécurité figurant dans le mode d’emploi
R402003540. Serrer les vis aux couples indiqués dans le tableau.
Mettre l’installation hors pression et hors tension.
Montage de l’élément de chariot en kit R402005903/-09/-10/-11
Fixer l’élément (1) à l’aide des huit vis de fixation (2). Serrer les deux vis de butée
(3) des faces frontales.
Montage de l’amortisseur à l’aide du kit R402005906/-07/-08
Retirer les deux vis supérieures du couvercle. Fixer le support (4) à l’aide
des vis (5). Insérer l’amortisseur (6).
R402005903/-09/-10/-11 R402005906/-07/-08
1 élément de chariot (1)
8 vis de fixation (2)
2 vis de butée (3)
1 mode d’emploi
1 support (4)
2 vis (5)
1 mode d’emploi
1 amortisseur (6)
(Non compris dans la
fourniture)
A
B
B1
B2
B3, B4
C
C1
C2
A
B
B1
B2
B3, B4
2AVENTICS| RTC-BV | R402005941–BDL–001–AD
(2) (3)
8x 2x
(1)
3.
3.
1.
2.
A
Observe las indicaciones de seguridad y los pares de giro
Tenga en cuenta las indicaciones de seguridad que se incluyen en las instrucciones
de servicio R402003540. Apriete los tornillos con los pares de giro prescritos para
cada caso en la tabla. Desconecte la tensión y la presión de la instalación.
montar el kit R402005903/-09/-10/-11
Fije el módulo (1) con ocho tornillos de fijación (2). Enrosque los dos tornillos de
tope (3) en las partes frontales.
montar el amortiguador con el kit R402005906/-07/-08
Retire los dos tornillos superiores de la tapa. Fije el soporte (4) con los
tornillos (5). Inserte el amortiguador (6).
sustituir el amortiguador
Fije la posición de la cuna con un tornillo M5 (No se incluye en el volumen de
suministro). Inserte el amortiguador (6) nuevo. Desenrosque un poco el
tornillo M5.
SVENSKA
Leveransomfattning
Följ säkerhetsföreskrifter och åtdragningsmoment
Följ säkerhetsföreskrifterna i bruksanvisningen R402003540. Dra åt skruvarna
med de moment som anges i tabellen. Koppla ifrån anläggningen så att den
är spänningsfri och trycklös.
Montera slidtillsats kit R402005903/-09/-10/-11
Montera tillsatsen (1) med åtta fästskruvar (2). Skruva i de båda
anslagsskruvarna (3) på kortsidorna.
Montera stötdämpare med kit R402005906/-07/-08
Ta bort de båda övre skruvarna på gaveln. Fäst hållaren (4) med
skruvarna (5). Sätt i stötdämparen (6).
Byta ut stötdämpare
Fixera slidens läge med en M5-skruv (Ingår inte i leveransen). Sätt i den
nya stötdämparen (6). Skruva ut M5-skruven en aning.
R402005903/-09/-10/-11 R402005906/-07/-08
1 slidtillsats (1)
8 fästskruvar (2)
2 anslagsskruvar (3)
1 monteringsanvisning
1 hållare (4)
2 skruvar (5)
1 monteringsanvisning
1 stötdämpare (6)
(Ingår inte i
leveransen)
A
B
B1
B2
B3, B4
C
C1
C2
A
B
B1
B2
B3, B4
C
C1
C2
Remplacement l’amortisseur
Fixer la position du chariot à l’aide d’une vis M5 (Non compris dans la
fourniture). Insérer le nouvel amortisseur (6). Dévisser légèrement la vis M5.
ITALIANO
Fornitura
Rispettare le indicazioni di sicurezza e le coppie
Rispettare le avvertenze di sicurezza riportate nelle istruzioni per l’uso
R402003540. Avvitare le viti con le coppie riportate rispettivamente nella
tabella. Togliere l’alimentazione elettrica e pneumatica dell’impianto.
Montaggio del set di sopralzo slitta R402005903/-09/-10/-11
Fissare il sopralzo (1) con otto viti di fissaggio (2). Avvitare le due viti di arresto
(3) sui lati frontali.
Montaggio dell'ammortizzatore con set R402005906/-07/-08
Rimuovere dal coperchio entrambi le viti superiori. Fissare il supporto (4)
con le viti (5). Inserire l'ammortizzatore (6).
Sostituire l'ammortizzatore
Fissare la posizione della slitta con una vite M5 (Non compreso nella fornitura).
Inserire il nuovo ammortizzatore (
6
). Allentare leggermente la vite M5.
ESPAÑOL
Volumen de suministro
R402005903/-09/-10/-11 R402005906/-07/-08
1 sopralzo slitta (1)
8 viti di fissaggio (2)
2 viti di arresto (3)
1 istruzioni di montaggio
1 supporto (4)
2 viti (5)
1 istruzioni di montaggio
1 ammortizzatore (6)
(Non compreso nella
fornitura)
R402005903/-09/-10/-11 R402005906/-07/-08
1 módulo de cuna (1)
8 tornillos de fijación (2)
2 tornillos de tope (3)
1 manual de instrucciones
de montaje
1 soporte (4)
2 tornillos (5)
1 manual de instrucciones
de montaje
1 amortiguador (6)
(No se incluye en el
volumen de
suministro)
C
C1
C2
A
B
B1
B2
B3, B4
C
C1
C2
1.
1.
(5) 2x
1x
(4)
3.
3.
2.
1x
(6)
4.
5.
2. 1.
M5
STOP
1x M5
1x
(6)
4.
3.
STOP
B1 B2
C2C1
B3 B4
Schraube
Screw
Vis
Vite
Tornillo
Skruv
Drehmoment
Torque
Couple
Coppia
Par de giro
Åtdragningsmoment
RTC-BV
Ø 25 mm
8x M4x20 (2)2,9Nm
2x M6x20 (3)6,1Nm
4x M4x50 (5)2,9Nm
RTC-BV
Ø 32 mm
Ø 40 mm
8x M6x20 (2)9,8Nm
2x M6x20 (3)6,1Nm
4x M6x50 (5)9,8Nm
RTC-BV
Ø 50 mm
8x M6x20 (2)9,8Nm
2x M6x20 (3)6,1Nm
4x M8x50 (5) 24 Nm
(5)
(2) (3)

This manual suits for next models

7

Other Aventics Industrial Equipment manuals

Aventics 580 PROFIBUS DP User manual

Aventics

Aventics 580 PROFIBUS DP User manual

Aventics HU1 User manual

Aventics

Aventics HU1 User manual

Aventics IO-Link 580 User manual

Aventics

Aventics IO-Link 580 User manual

Aventics R434001025 User manual

Aventics

Aventics R434001025 User manual

Aventics NL1 User manual

Aventics

Aventics NL1 User manual

Aventics R434001024 Operating and installation instructions

Aventics

Aventics R434001024 Operating and installation instructions

Aventics GPC User manual

Aventics

Aventics GPC User manual

Aventics UPG User manual

Aventics

Aventics UPG User manual

Aventics TC08 User manual

Aventics

Aventics TC08 User manual

Aventics LU1 User manual

Aventics

Aventics LU1 User manual

Aventics LU6 User manual

Aventics

Aventics LU6 User manual

Aventics MSC User manual

Aventics

Aventics MSC User manual

Aventics PROFINET-IO User manual

Aventics

Aventics PROFINET-IO User manual

Aventics CANopen 580 Series User manual

Aventics

Aventics CANopen 580 Series User manual

Aventics DDL-X-Tool User manual

Aventics

Aventics DDL-X-Tool User manual

Aventics RTC-CG/HD User manual

Aventics

Aventics RTC-CG/HD User manual

Aventics R412012728-BDL-001-AC User manual

Aventics

Aventics R412012728-BDL-001-AC User manual

Aventics NL1 User manual

Aventics

Aventics NL1 User manual

Aventics TRB Series Setup guide

Aventics

Aventics TRB Series Setup guide

Aventics MSC Series Setup guide

Aventics

Aventics MSC Series Setup guide

Aventics 5217 Series Setup guide

Aventics

Aventics 5217 Series Setup guide

Aventics 580 Series User manual

Aventics

Aventics 580 Series User manual

Aventics TRR Series Setup guide

Aventics

Aventics TRR Series Setup guide

Aventics 580 CHARM User manual

Aventics

Aventics 580 CHARM User manual

Popular Industrial Equipment manuals by other brands

Siemens SINUMERIK ONE NCU 1760 Equipment manual

Siemens

Siemens SINUMERIK ONE NCU 1760 Equipment manual

Reich Kupplungen ARCUSAFLEX AC F2 Series English translation of the original German Operating Manual

Reich Kupplungen

Reich Kupplungen ARCUSAFLEX AC F2 Series English translation of the original German Operating Manual

TriangleTube PRESTIGE Excellence Series manual

TriangleTube

TriangleTube PRESTIGE Excellence Series manual

Dover DESTACO RFE Series Service manual

Dover

Dover DESTACO RFE Series Service manual

Grand T20E-BL manual

Grand

Grand T20E-BL manual

Sealey AK468DXP instructions

Sealey

Sealey AK468DXP instructions

Coremorrow P77 user manual

Coremorrow

Coremorrow P77 user manual

Vestil D-FORK owner's manual

Vestil

Vestil D-FORK owner's manual

UnionSpecial BCE300PD Original instructions

UnionSpecial

UnionSpecial BCE300PD Original instructions

ABB HT574576 Operation manual

ABB

ABB HT574576 Operation manual

Eaton SL7-CB-D-M12A4 Instruction leaflet

Eaton

Eaton SL7-CB-D-M12A4 Instruction leaflet

EarthLinked PHXTI Series installation manual

EarthLinked

EarthLinked PHXTI Series installation manual

Graco 25T991 Instructions - parts

Graco

Graco 25T991 Instructions - parts

REMS E-Push 2 instruction manual

REMS

REMS E-Push 2 instruction manual

Paasche Airbrush HB-16-2F instruction manual

Paasche Airbrush

Paasche Airbrush HB-16-2F instruction manual

Airflow Instruments PAN300 Series Operation and service manual

Airflow Instruments

Airflow Instruments PAN300 Series Operation and service manual

PushCorp SBS81 Series manual

PushCorp

PushCorp SBS81 Series manual

Daikin LREN8A7Y1B Installation and operation manual

Daikin

Daikin LREN8A7Y1B Installation and operation manual

manuals.online logo
manuals.online logoBrands
  • About & Mission
  • Contact us
  • Privacy Policy
  • Terms and Conditions

Copyright 2025 Manuals.Online. All Rights Reserved.