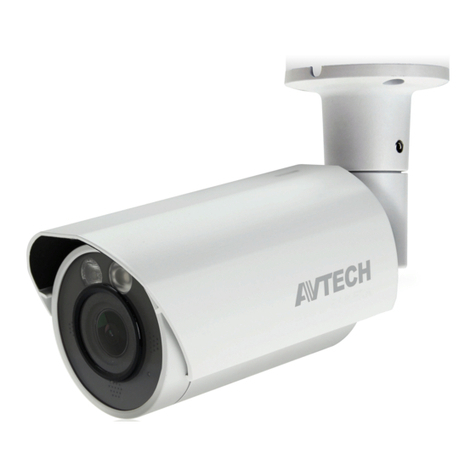
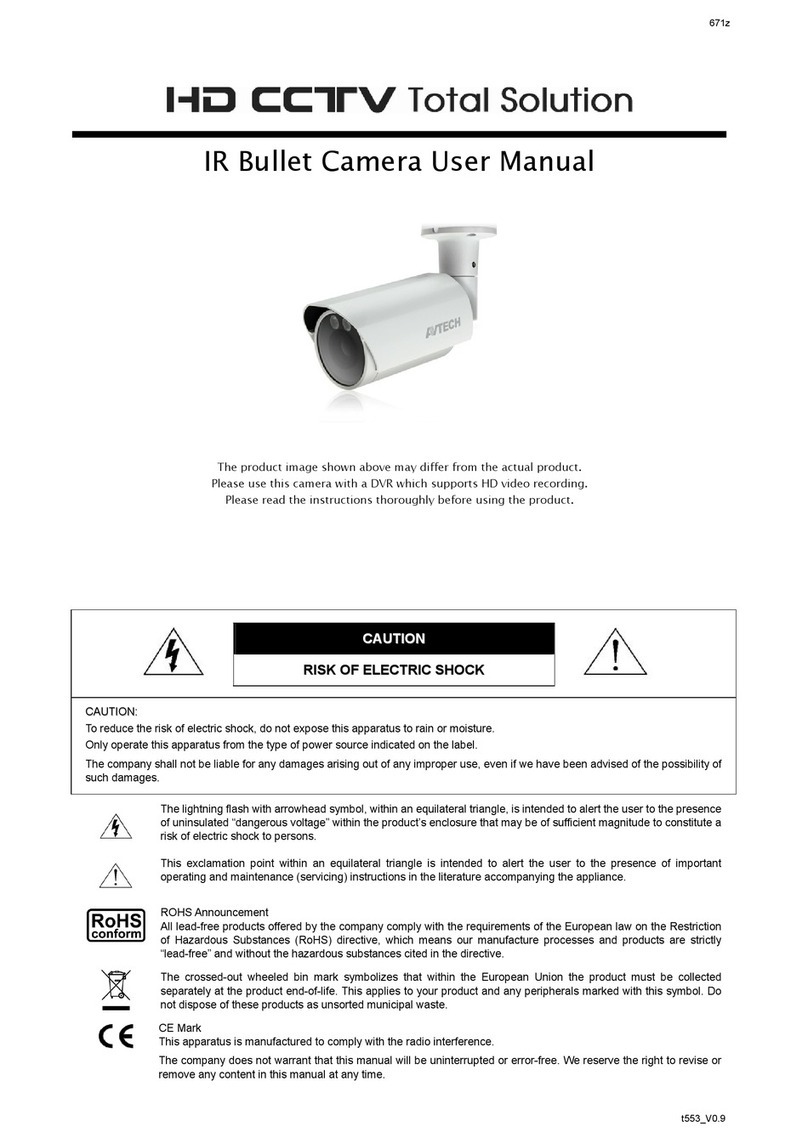
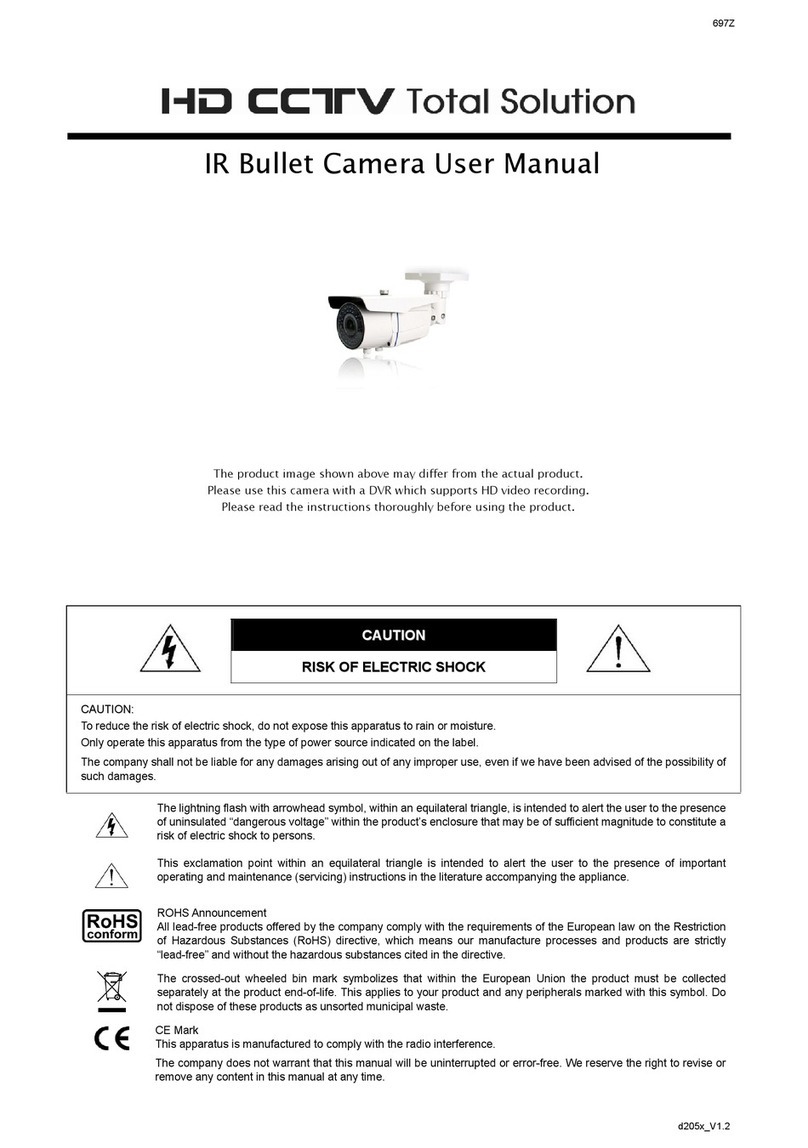
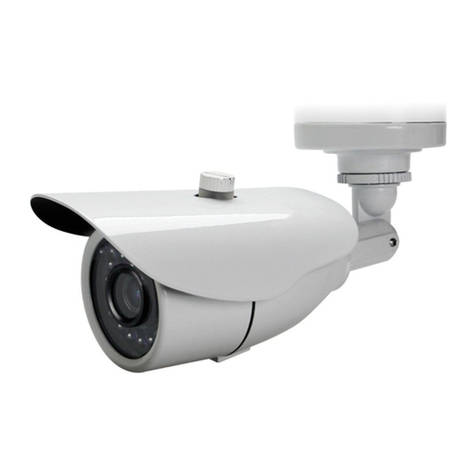
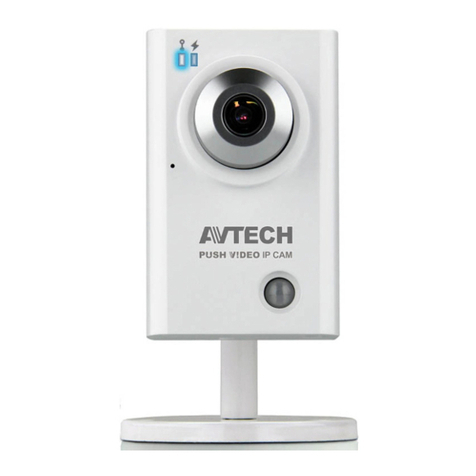
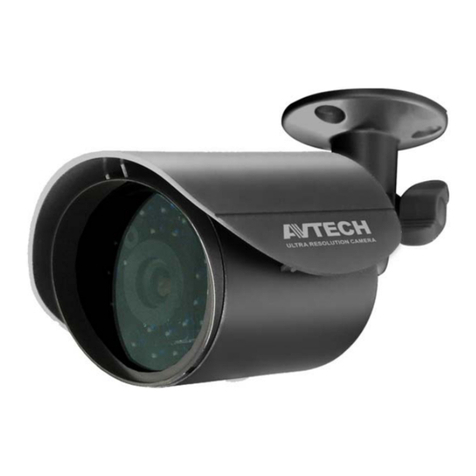
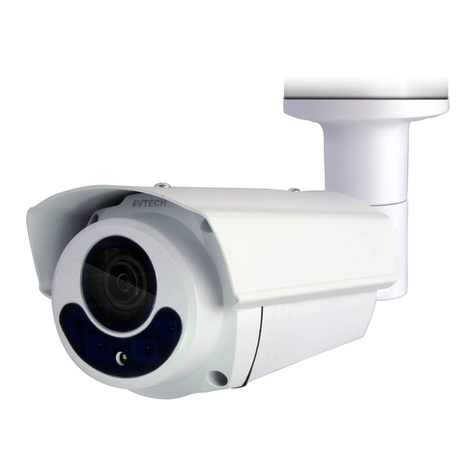
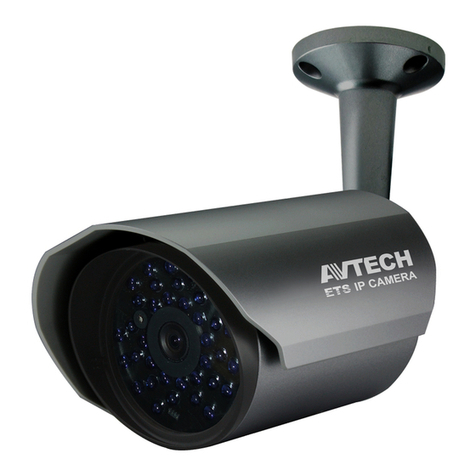
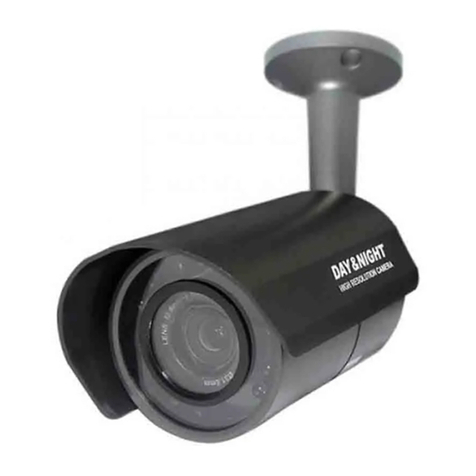
Avtech AVC467A User manual

396Z
467a_V0.9
USER MANUAL
High Resolution IR Camera
Please read the instructions thoroughly before using the product.
396Z
467a_V0.9
USER MANUAL
High Resolution IR Camera
Please read the instructions thoroughly before using the product.
alarm shop

alarm shop

IMPORTANT SAFEGUARD
All lead-free products offered by the company comply with the requirements of the European law on the Restriction of
Hazardous Substances (RoHS) directive, which means our manufacture processes and products are strictly
“lead-free” and without the hazardous substances cited in the directive.
The crossed-out wheeled bin mark symbolizes that within the European Union the product must be collected
separately at the product end-of-life. This applies to your product and any peripherals marked with this symbol. Do
not dispose of these products as unsorted municipal waste. Contact your local dealer for procedures for recycling this
equipment.
CE Mark
This apparatus is manufactured to comply with the radio interference.
Federal Communications Commission Interference Statement
This equipment has been tested and found to comply with the limits for a Class B digital service, pursuant to Part 15 of the FCC rules.
These limits are designed to provide reasonable protection against harmful interference in a residential installation.
Any changes or modifications made to this equipment may void the user’s authority to operate this equipment. This equipment
generates, uses, and can radiate radio frequency energy. If not installed and used in accordance with the instructions, may cause
harmful interference to radio communications. However, there is no guarantee that interference will not occur in a particular installation.
If this equipment does cause harmful interference to radio or television reception, which can be determined by turning the equipment
off and on, the user is encouraged to try to correct the interference by one or more of the following measures:
Reorient or relocate the receiving antenna.
Increase the separation between the equipment and receiver.
Connect the equipment into an outlet on a circuit different from that to which the receiver is connected.
Consult the dealer or an experienced radio/TV technician for help.
alarm shop

This device complies with Part 15 of the FCC Rules. Operation is subject to the following two conditions:
(1) This device mat not cause harmful interference, and
(2) This device must accept any interference received, including interference that may cause undesired operation.
FCC Caution:
Any changes or modifications not expressly approved by the party responsible for compliance could void the user's authority to
operate this equipment.
All external cables connecting to this basic unit must be shielded.
For cables connecting to PCMCIA cards, see the option manual or installation instructions.
Disclaimer
We reserve the right to revise or remove any content in this manual at any time. We do not warrant or assume any legal liability or
responsibility for the accuracy, completeness, or usefulness of this manual. The content of this manual is subject to change without
notice.
alarm shop

TABLE OF CONTENT
FEATURES ............................................................................................................. 1
PACKAGE CONTENT ............................................................................................ 1
SPECIFICATIONS*................................................................................................. 2
CONNECTION........................................................................................................ 4
INSTALLATION....................................................................................................... 4
CAMERA CONFIGURATION.................................................................................. 6
alarm shop

alarm shop

1
FEATURES
1. 1/3" color CCD sensor with SONY Effio DSP
2. High resolution
3. Low light sensitivity of 0.05 Lux, 0 Lux (IR ON)
4. External alarm-in device connection
5. Customized OSD menu for camera configuration
6. IP67, suitable for outdoor use
7. Day and night features for 24-hour surveillance
PACKAGE CONTENT
Please make sure you have the following items in your sales package:
IR Camera * 1
Bracket * 1
User Manual * 1
alarm shop

2
SPECIFICATIONS*
Pick up Element 1/3" Color CCD image sensor with SONY Effio DSP
Number of Pixel 768(H)x494(V) <NTSC> / 752(H)x582(V) <PAL>
Resolution Super High Resolution
Min. Illumination 0.05 Lux / F1.4; 0 Lux (IR ON)
S/N Ratio More than 48dB (AGC off)
Electronic Shutter 1/60 (1/50) to 1/100,000 sec
Lens f6.0mm / F1.4
Lens Angle 54°
IR LED 35 units
IR Effective Distance Up to 25 meters
Color Rolling Suppress YES
White Balance ATW
AGC Auto
IRIS Mode AI / AES (Default)
IP Rating IP67
alarm shop

3
External Alarm Device Connection Alarm in
Video Output 1.0 Vp-p composite, 75
Startup Temperature 0˚C~40˚C
Operating Temperature -20˚C~40˚C
Power Source (±10%) DC12V
Current Consumption (±10%) 75mA (IR OFF), 400mA (IR ON)
Dimensions (mm)** 142(H) x 75()
* The specifications are subject to change without notice.
** Dimensional Tolerance: ± 5mm
alarm shop

4
CONNECTION
1. Connect the power connector of the camera to a DC 12V regulated power
supply.
NOTE: Please use a regulated DC12V power adaptor to operate this unit. The power
tolerance of this unit is DC12V ± 10% (DC 10.8V ~ DC 13.2V). A power input of
more than the DC 13.2V will damage this unit.
2. Connect the camera video output to the input of the DVR with a 75coaxial
cable.
3. (Optional) Connect to an alarm device as described in the manual of the alarm
device with the “Alarm in” and “GND” wires. Then, go to DVR’s menu
(ADVANCED CONFIG DETECTION ALARM) to enable alarm
detection.
alarm shop

5
INSTALLATION
1. Use the supplied three screws to attach the bracket to wall. Drill a hole in
advance on the proper position of the wall for the Power and Video Cable to
pass through later.
2. Remove the Joint Lock from the bracket by turning it counterclockwise. Then,
screw the Joint Lock to the backside of the camera (turn clockwise).
NOTE: There are two screw holes on the backside of the camera. Please
choose the proper one which best suits your installation
environment.
3. Screw the camera with the Joint Lock connected to the bracket. After that,
secure the Joint Lock to fix. Then, pass the Power and Video Cable through the
hole drilled in Step 1 to hide it.
4
INSTALLATION
1. Use the supplied three screws to attach the bracket to wall. Drill a hole in
advance on the proper position of the wall for the Power and Video Cable to
pass through later.
2. Remove the Joint Lock from the bracket by turning it counterclockwise. Then,
screw the Joint Lock to the backside of the camera (turn clockwise).
NOTE: There are two screw holes on the backside of the camera. Please
choose the proper one which best suits your installation
environment.
3. Screw the camera with the Joint Lock connected to the bracket. After that,
secure the Joint Lock to fix. Then, pass the Power and Video Cable through the
hole drilled in Step 1 to hide it.
alarm shop

5
Figure 1 Figure 2 Figure 3
5
Figure 1 Figure 2 Figure 3
alarm shop

6
CAMERA CONFIGURATION
This camera has its own menu for parameter settings. To enter the menu, please
connect this camera with a DCCS-enabled DVR, or used with our control box,
AVK-T1, when it’s connected to a non-DCCS DVR.
Enter camera menu
Connect the supplied power adapter to the camera’s power jack on the rear
panel and the power outlet.
Below shows how to enter the camera menu with a DCCS-enabled DVR.
STEP1: When the DVR is powered on, check the channel with this camera
connected, and see if the DCCS connection icon is shown.
STEP2: Enter the camera menu.
alarm shop

7
From DCCS menu
Right-click to display the DVR main menu, and select “ADVANCED
CONFIG“ “DCCS“.
ADVANCED CONFIG
C A N E R A CH1 CH2 CH3 CH4
DETECTION DIAGNOSTIC START
ALERT MENU SETUP
NETWORK
DISPLAY
RECORD
DEVICES
DCCS DEVICE OSD CAM
IVS CONNECTION OK
NOTIFY
EXIT
Select “MENU“ “SETUP“ to enter the camera menu.
To move between each option, select ““ / ““;
To change parameter values, select ““ / ““;
When you see with an option, select “ “;
To exit the menu and return to the main menu, select “X“.
7
From DCCS menu
Right-click to display the DVR main menu, and select “ADVANCED
CONFIG“ “DCCS“.
ADVANCED CONFIG
C A N E R A CH1 CH2 CH3 CH4
DETECTION DIAGNOSTIC START
ALERT MENU SETUP
NETWORK
DISPLAY
RECORD
DEVICES
DCCS DEVICE CAMERA
IVS CONNECTION OK
NOTIFY
EXIT
Select “MENU“ “SETUP“ to enter the camera menu.
To move between each option, select ““ / ““;
To change parameter values, select ““ / ““;
When you see with an option, select “ “;
To exit the menu and return to the main menu, select “X“.
alarm shop

8
Camera menu
SUB-MENU DESCRIPTION
SHUTTER / AGC 1. Select “AUTO” to allow the camera to act automatically when the light
condition of the environment changes.
2. Select “MANUAL” to fix the shutter and AGC modes of the camera no matter
how the light condition of the environment changes.
WHITE BAL Process the current image to retain color balance over a color temperature
range.
BACKLIGHT Adjust the image to compensate for an area that is overpowered by brightness
because of excessive light.
“BLC” is to automatically adjust the level of the light to show more details in the
dark environment.
“HLC” is to mask extremely bright areas.
PICT ADJUST Adjust the color of the pictures in, for example, brightness, contrast, sharpness
and hue.
ATR D-WDR to increase the image recognizability of the overexposed and dark
areas.
PRIVACY Mask areas that should be not visible.
DAY / NIGHT Set the night surveillance mode to color or B/W.
NR Reduce noise by separating luminance (Y) and chrominance (C) settings.
CAMERA ID Set the title of the camera.
LANGUAGE Select the language of the menu on-screen display.
CAMERA RESET Press to restore all settings to their factory default values.
8
Camera menu
SUB-MENU DESCRIPTION
SHUTTER / AGC 3. Select “AUTO” to allow the camera to act automatically when the light
condition of the environment changes.
4. Select “MANUAL” to fix the shutter and AGC modes of the camera no matter
how the light condition of the environment changes.
WHITE BAL Process the current image to retain color balance over a color temperature
range.
BACKLIGHT Adjust the image to compensate for an area that is overpowered by brightness
because of excessive light.
“BLC” is to automatically adjust the level of the light to show more details in the
dark environment.
“HLC” is to mask extremely bright areas.
PICT ADJUST Adjust the color of the pictures in, for example, brightness, contrast, sharpness
and hue.
ATR D-WDR to increase the image recognizability of the overexposed and dark
areas.
PRIVACY Mask areas that should be not visible.
DAY / NIGHT Set the night surveillance mode to color or B/W.
NR Reduce noise by separating luminance (Y) and chrominance (C) settings.
CAMERA ID Set the title of the camera.
LANGUAGE Select the language of the menu on-screen display.
CAMERA RESET Press to restore all settings to their factory default values.
alarm shop

9
Camera menu tree
SUB-MENU OPTIONS
AUTO HIGH
LUNINANCE MODE AUTO IRIS /
SHUT+AUTO
IRIS
SHUTTER / AGC
BRIGHTNESS 0 ~ 255
LOW
LUMINANCE MODE AGC / OFF
BRIGHTNESS x0.25 / x0.50 /
x0.75 / x1.00
MANUAL MODE SHUT + AGC
SHUTTER 1/50; 1/120; 1/250; 1/500; 1/1000;
1/2000; 1/4000; 1/10000
AGC 6.00 / 12.00 / 18.00 / 24.00 / 30.00 /
36.00 / 42.00 / 44.80
WHITE BAL ANTI CR
MANUAL LEVEL 012 ~ 031
PUSH LOCK
ATW SPEED 0 ~ 255
DELAY CNT 0 ~ 255
ATW FRAME x0.50 / x1.00 / x1.50 / x2.00
ENVIRONMENT INDOOR / OUTDOOR
alarm shop

10
SUB-MENU OPTIONS
WHITE BAL PUSH
USER1 /
USER2 B – GAIN /
R – GAIN 0 ~ 255
BACKLIGHT OFF / BLC / HLC
PICT ADJUST MIRROR OFF / ON
BRIGHTNESS /
CONTRAST /
SHARPNESS /
HUE / GAIN
0 ~ 255
ATR OFF
ON LUMINANCE LOW / MID / HIGH
CONTRAST LOW / MIDLOW / MID / MIDHIGH /
HIGH
PRIVACY OFF
ON AREA SEL 1/4; 2/4; 3/4; 4/4
TOP / BOTTOM 0 ~ 288
LEFT / RIGHT 0 ~ 370
COLOR 1 ~ 8
TRANSP 0.00 / 0.50 / 0.75 /
1.00
MOSAIC ON / OFF
alarm shop

11
SUB-MENU OPTIONS
DAY/NIGHT COLOR
B/W BURST ON / OFF
AUTO BURST ON / OFF
DELAY CNT 0 ~ 255
DAY-> NIGHT 0 ~ 255
NIGHT-> DAY 0 ~ 255
NR NR MODE Y/C; Y; C; OFF
Y LEVEL
C LEVEL
CAMERA ID OFF / ON
LANGUAGE ENGLISH / 日本語 / DEUTSCH / FRANCAIS / / PORTUGUÊS /
ESPAÑOL
CAMERA RESET
11
SUB-MENU OPTIONS
DAY/NIGHT COLOR
B/W BURST ON / OFF
AUTO BURST ON / OFF
DELAY CNT 0 ~ 255
DAY-> NIGHT 0 ~ 255
NIGHT-> DAY 0 ~ 255
NR NR MODE Y/C; Y; C; OFF
Y LEVEL
C LEVEL
CAMERA ID OFF / ON
LANGUAGE ENGLISH / 日本語 / DEUTSCH / FRANCAIS / / PORTUGUÊS /
ESPAÑOL
CAMERA RESET
alarm shop
Table of contents
Other Avtech IP Camera manuals

Avtech
Avtech AVM311 User manual

Avtech
Avtech KPC172 User manual

Avtech
Avtech AVT553B User manual

Avtech
Avtech AVC167 User manual

Avtech
Avtech DGM2643SVP User manual

Avtech
Avtech DGM1304 User manual

Avtech
Avtech AVN80X Troubleshooting guide

Avtech
Avtech AVN2503 Operation instructions

Avtech
Avtech AVC647 User manual

Avtech
Avtech AVM457A User manual