manuals.online logo
Brands
  1. Home
  2. •
  3. Brands
  4. •
  5. Axiom
  6. •
  7. Speakers
  8. •
  9. Axiom MILLENNIA M2 Technical manual

Axiom MILLENNIA M2 Technical manual

Millennia
MILLENNIA M2 v2, M3 v2, M22 v2 BOOKSHELF SPEAKERS
Quick Start Setup Guide
ENCEINTES BIBLIOTHÈQUE MILLENNIA M2 v2, M3 v2, M22 v2
Guide d’installation
Welcome Bienvenue
Every member of our Axiom team,myself included,is pleased
that you have decided on one of our products. We have all
worked hard to bring the highest level of satisfaction to
your audio experiences, and will continue to work hard
to make every Axiom purchase a wise audio investment for
you.
Axiom is deeply committed to ongoing audio research that
continues to enhance the performance of our products.
We design and engineer all of our loudspeakers based
on the world-class psycho-acoustical research that
was conducted at the National Research Council and
that I have been an integral part of since its early years.
This research changed the way that sound is measured,
and allows Axiom to provide the world’s most realistic-
sounding loudspeakers at amazing value to the consumer.
By emphasizing the practical side of our ongoing research,
Axiom continues to extend people’s expectations of
performance.
It is our central goal at Axiom to turn this research into a
truly exciting experience for you in your environment. Our
commitment to the delivery of the most accurate sound
reproduction is a commitment to heighten the level of
enjoyment you receive from music and movies.
We at Axiom see our customers as family members and as
such we stand at the ready to deliver personal, expert
advice and to follow up on any of your audio needs.
Sincerely,
Ian Colquhoun
President, Axiom
Chaque membre de notre équipe Axiom (y compris moi-
même) est enchanté que vous ayez fixé votre choix sur l’un
de nos produits. Nous avons travaillé d’arrache pied pour
vous procurer le plus haut niveau de satisfaction possible
lors de vos expériences audio et nous allons continuer de
déployer tous nos efforts pour faire en sorte que chaque
achat Axiom puisse représenter pour vous un investissement
audio des plus avisés.
Axiom est profondément engagé en permanence dans
des recherches audio qui permettent de rehausser
la performance de nos produits. Nous concevons et
construisons toutes nos enceintes en fonction des résultats
obtenus dans le cadre de recherches psychoacoustiques
d’enverguremondialequiontétémenéesauConseilnational
de recherche et auxquelles j’ai participé pleinement dès les
premières années. Ces recherches ont changé la manière
de mesurer le son et permettent à Axiom de produire les
enceintes offrant le son le plus réaliste au monde et ce, à
un prix étonnamment abordable pour le consommateur. En
gardant l’emphase sur le côté pratique découlant de nos
recherches incessantes, Axiom continue de surpasser les
attentes des audiophiles en termes de performance.
Voilà l’objectif maître d’Axiom, de transformer ces
recherches en une expérience sonore emballante pour vous,
dans votre environnement. Notre engagement à reproduire
les sons le plus fidèlement possible est un engagement
visant à rehausser votre plaisir d’écoute, que ce soit pour
la musique ou les films.
Nous, chez Axiom, considérons nos clients comme des
membres de la famille et c’est la raison pour laquelle nous
demeurons à votre entière disposition si vous avez besoin
de conseils d’experts personnalisés, ou pour toute autre
question concernant vos besoins audio.
Cordialement,
Ian Colquhoun
Président, Axiom
TABLE DES MATIÈRES
Directives d’installation de l’enceinte. . . . . . . . . . . . . . .1-3
Accessoires.................................4
Commentnousjoindre.........................5
TABLE OF CONTENTS
Quick-Start Speaker Setup . . . . . . . . . . . . . . . . . . . . . .1-3
Accessories.................................4
ContactInformation ...........................5
AXIOM QUICK-START SPEAKER SETUP
We at Axiom are delighted with your choice of Axiom Speakers. To get
the best sound from your new Axioms, please read and follow these
simple steps.
CONNECTING...
INSTALLATION RAPIDE DES ENCEINTES AXIOM
Merci d’avoir choisi des enceintes Axiom. Pour obtenir le meilleur
rendement de vos nouvelles enceintes, veuillez suivre ces étapes.
BRANCHEMENT...
2. The Cables
Examine your speaker cables. On the ends, there may be spade lugs
or banana plugs, each one color-coded red or black like your speaker
binding posts to help you identify the red and black (positive and negative)
wires on each end of the cable. If the cable ends are bare wires and
lack color coding, check the wires: one may be copper-colored, the other
silver. Some generic cables may simply have a colored thread or a ribbed
pattern on the plastic insulation to indicate the positive wire. Alternatively,
some speaker cables, like Axiom’s, may have writing on one side or the
other (perhaps the brand name, for example) or even a positive sign or
negative sign on each of the conductors. Whichever you have, just follow
the Red-To-Red, Black-to-Black connection rule or use the + to + or - to
- connection scheme for each cable pair.
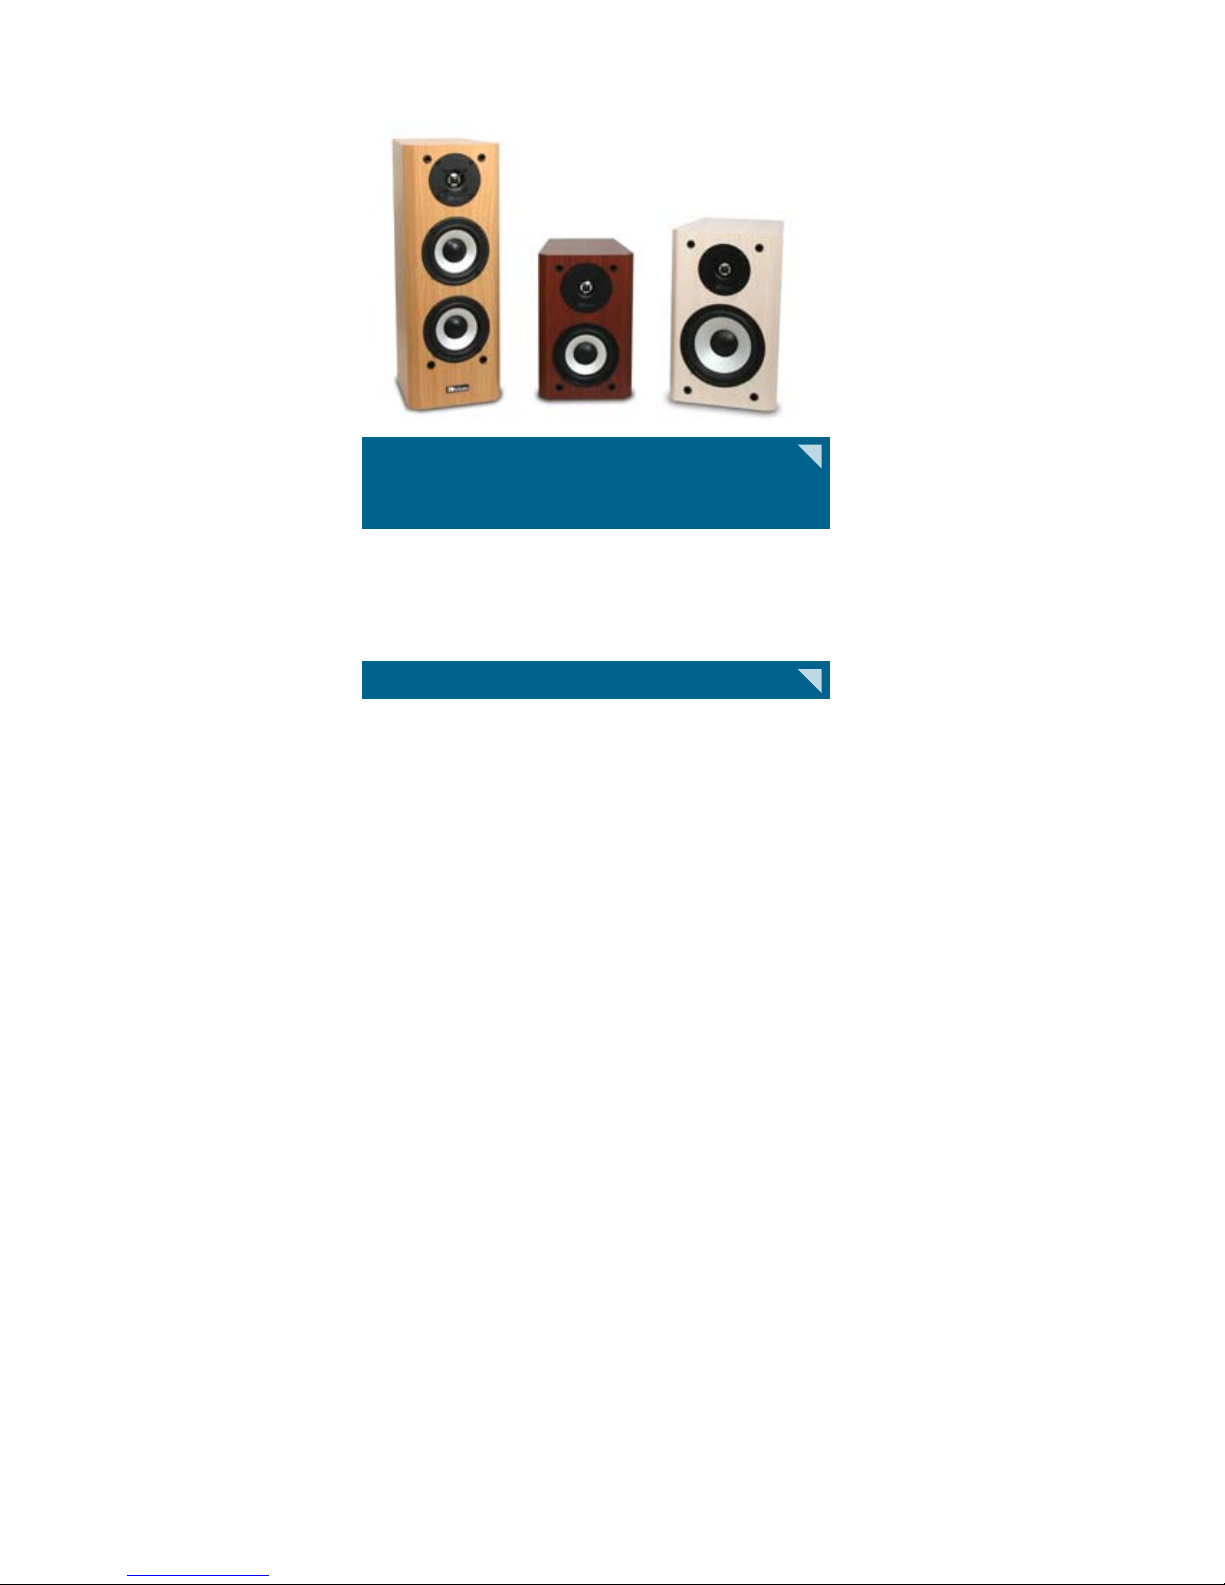
1. The Speakers
Turn the speakers around and look at the back
panel. You’ll see gold-plated 5-way binding posts, to
which you are going to connect the speaker cables
from your receiver or amplifier.
Each gold binding post has a colored ring around
it-- RED is POSITIVE, BLACK is NEGATIVE. Most
receiver and amplifier manufacturers use this color
code and you should use it as well--it makes things
a lot easier to hook up your speaker cables.
You will also see a positive (+) sign engraved in
the plastic beneath the RED binding post, and a
negative (-) sign beneath the BLACK post. Your
amplifier may or may not have these positive and
negative symbols. If you wish, you can use these
symbols along with the color coding to guide you.
1. Les enceintes
Examinez le panneau arrière des enceintes. Vous
y trouverez des bornes “5 façons” plaquées or
auxquelles vous devrez connecter les câbles de
haut-parleur provenant de votre récepteur ou
amplificateur.
Chaque borne est doté d’une bague de couleur
– ROUGE est le POSITIF et NOIR est le NÉGATIF.
La plupart des fabricants de composantes
électroniques utilisent ce code couleur et vous
devriez le respecter. Il simplifie la connexion des
câbles de haut-parleur.
Vous verrez également un symbole positif ( + )
gravé dans le plastique sous la borne ROUGE et
un symbole NÉGATIF ( - ) sous la borne NOIRE.
Votre amplificateur n’est pas nécessairement
doté de ces symboles positifs et négatifs. Ils
sont complémentaires aux codes couleur et vous
aideront à respecter la polarité de vos connexions.
2. Les Câbles
Examinez vos câbles de haut-parleur. Il y aura peut-être à chaque
extrémité des cosses à fourche ou des fiches banane. Chacune est
codée rouge ou noir, comme les bornes de vos enceintes, pour vous
aider à déterminer le fil positif et le fil négatif. Si les extrémités des fils
sont dénudés, sans code couleur, examinez bien les fils — l’un deux
pourrait être couleur cuivre, l’autre argent. Certains câbles bon marché
utilisent une gaine de plastique codée couleur ou striée pour identifier
le fil positif. Quelque soit les câbles que vous utilisez, connectez- les
toujours en respectant le code “rouge à rouge” et “noir à noir” (ou “+
à +” et “- à -”).
1For further infomation about your product, please see our Manual Index at: www.axiomaudio.com/manual_index.html
Step 2 / Étape 2
Leave washer down.
Laissez la rondelle vers le bas.
Step 1 / Étape 1
Bare ends of speaker wire.
Extrémités dénudées des ls d’enceinte.
Step 3 / Étape 3
Insert bare end of wire through exposed
hole on binding post. Ensure postive wire
from Amp is in red connector.
Insérez l’extrémité dénudée du l à travers
le trou exposé sur la borne d’attache.
Assurez-vous que le l positif en prov-
enance de l’amplicateur est dans le con-
necteur rouge.
Step 4 / Étape 4
Tighten nuts with supplied plastic wrench.
Serrez les écrous avec la clé en plastique
fournie.
Step 1 / Étape 1
Lift washer.
Soulevez la rondelle.
Step 2 / Étape 2
Insert spade into slots in binding post.
Ensure positive wire from Amp
is in red connector.
Insérer la cosse dans les fentes de la
borne d’attache. S’assurer que le l
positif en provenance de l’amplicateur
est dans le connecteur rouge.
Step 2 / Étape 2
Ensure positive wire from Amp is in
red connector.
Assurez-vous que le l positif en
provenance de l’amplicateur est
dans le connecteur rouge.
Step 1 / Étape 1
Tighten nuts with supplied
plastic wrench
Serrez les écrous avec la clé en
plastique fournie.
Step 3 / Étape 3
Insert banana plug.
Insérez la che banane.
SPADE LUG (1/4-INCH SPADE) • COSSE À FOURCHE (COSSE DE 1/4-PO)
BARE WIRE • FIL DÉNUDÉ
BANANA PLUG (3/4-INCH SPACING) • FICHE BANANE (ESPACEMENT DE 3/4-PO)
Step 3 / Étape 3
Tighten nuts with supplied
plastic wrench.
Serrez les écrous avec la clé
en plastique fournie.
2
Plastic Wrench
La clé en plastique
3. Le récepteur (ou l’amplicateur)
Examinez les bornes de sortie haut-parleur situées sur le panneau
arrière de votre récepteur ou amplificateur. À moins qu’il ne soit très
ancien, les bornes seront rouges et noires, comme celles de vos
enceintes, ou du type à ressort, également codées rouge et noir. Les
très anciens amplis sont dotés de barrettes à vis.
La borne ROUGE ( + ) de la sortie du canal droit de votre ampli doit être
reliée à la borne ROUGE ( + ) de l’enceinte droite. La borne NOIRE (
- ) de la sortie du canal droit de votre ampli doit être reliée à la borne
NOIRE ( - ) de l’enceinte droite. Répétez l’opération pour connecter
les sorties du canal gauche de votre ampli aux bornes de l’enceinte
gauche, puis pour connecter les enceintes ambiophoniques gauche et
droite (à la gauche et à la droite de votre position d’écoute), l’enceinte
du canal central, et les enceintes additionnelles arrière requises par
les systèmes 6.1 ou 7.1.
Si votre récepteur ou amplificateur respecte le nouveau code de couleur
de C.E.A pour chaque canal, le terminal négatif (-) sera toujours noir,
le terminal positif sera de différente couleur correspondant a chaque
canal du système surround.
H.P avant gauche; blanc
H.P. caisson de grave; pourpre
( sortie RCA seulement )
H.P avant droit; rouge
H.P. avant central; vert
H.P. cote gauche; bleu
H.P. cote droit; gris
H.P. arrière gauche; brun
H.P. arrière droit; beige
Si vous êtes confus, notez la polarité positive (+) et le négative (-)
pour chaque haut-parleur. et le câble de chaque haut-parleur.
3. The Receiver (Amplier)
Look at the speaker connectors on the rear panel of your receiver
or amplifier. Unless it’s very old, these will usually be red and black
binding posts, like those on your speakers, or red and black spring-
loaded push connectors. Vintage amplifiers may have only screw
terminals.
The Red (+) terminal on your receiver’s Right speaker output connects
to the Red (+) binding post of the Right speaker. The Black (-) terminal
on your receiver output connects to the Black (-) binding post on the
Right speaker. Follow the same pattern to connect the receiver’s Left
speaker outputs to the Left speaker’s binding posts, then the left
surround (the speaker to your left from your listening seat), and right
surround speakers, the center-channel speaker, and additional rear
speaker(s) required by 6.1- or 7.1-channel systems.
If your A/V receiver or amplifier has the new Consumer
Electronics Association color coding (pictured below) for each
speaker channel, the negative terminal (-) will always be
black, however, the positive terminal (+) will have a different
color corresponding to each channel of the surround system.
Front Left speaker: White
Subwoofer: Purple
(line-level RCA output only)
Front Right: Red
Center: Green
Left Surround (side): Blue
Right Surround (side): Gray
Left Back Surround: Brown
Right Back Surround: Tan
If you find this color coding confusing, note the positive (+) and negative
(-) polarity for each speaker and the speaker cable.
The M22 v2 being tested in the anechoic
chamber at the National Research Council.
Un M22 v2 en test dans une chambre
anéchoïque du Conseil National de la Recherche.
The M2 v2 showcasing the wire
management on a FMS 24 Stand.
Illustration du sytème de camouage du
l de haut-parleur sur le support FMS 24.
3
4
2. Full Metal Bracket
For more versatile wall-mounting, use the Axiom Full Metal Bracket.
Designed for accommodating even the most difcult installations, the Full
Metal Bracket swivels left, right, up, and down, with lock-nuts for securing
your ultimate position.
Fixation au mur tout on métal
Pour une installation murale plus polyvalente, utilisez les supports Axiom
Full Metal Bracket. Conçus pour faciliter les installations même les plus
difciles, les supports Full Metal Bracket peuvent être orientés vers la
gauche, la droite, le haut et le bas. Des écrous freinés assurent leur stabilité
en position nale.
Brackets
Mount to wall with optional
Axiom FMB (Full Metal Bracket)
Available in Black or White.
Fixations
Montez les enceintes au mur avec les
xations Axiom tout en métal.
Disponibles en noir ou blanc.
MOUNTING OPTIONS
ACCESSOIRES DE MONTAGE FACULTATIFS
Stands
Mount on optional Axiom
FMS 16 or FMS 24
Supports
Montez les enceintes sur des supports
Axiom (en option) tout en métal, FMS
16 ou FMS 24.
1. FMS 16 / 24
This sturdy audiophile-quality die-cast aluminum 16-inch / 24-inch Full
Metal Stand is custom-engineered to exactly t your Axiom Bookshelf
Speaker. Its tapered top plate matches the anti-standing-wave shape ofAxiom’s
speakers, providing a sleek, minimalist look that complements any decor.
FMS 16 / 24
Ce support de 40,5 cm / 61 cm (16 po / 24 po) tout en aluminium coulé et
de qualité audiophile à été conçu expressément pour vos enceintes Axiom
de style bibliothèque. Sa plaque supérieure disposée à angle convient par-
faitement à la forme des enceintes Axiom à l’épreuve des ondes station-
naires, sans compter que son apparence eflée et discrète s’harmonise
avec tous les décors.
3. Rubber Feet
Install Supplied Rubber Feet
Pieds de caoutchouc
Installer les pieds de caoutchouc fournis.
Axiom Audio Head Office 2885 Highway 60
Siège Social Axiom Audio Dwight, ON Canada
P0A 1H0
Toll Free (North America) 1-866-244-8796
Sans frais (Amérique du Nord) 1-888-249-9143
Worldwide • International 1-705-635-3090
Email • Courriel: info@axiomaudio.com
www.axiomaudio.com
For further infomation about your product, please see our Manual Index at: www.axiomaudio.com/manual_index.html
Pour des renseignements complémentaires sur votre produit, consultez notre index de manuel au: www.axiomaudio.com/manual_index.html

This manual suits for next models

2

Other Axiom Speakers manuals

Axiom Architectural Series W22 Specification sheet

Axiom

Axiom Architectural Series W22 Specification sheet

Axiom VP180 v3 User manual

Axiom

Axiom VP180 v3 User manual

Axiom AX12C User manual

Axiom

Axiom AX12C User manual

Axiom Quadpolar QS4 v2 User manual

Axiom

Axiom Quadpolar QS4 v2 User manual

Axiom AX12LF User manual

Axiom

Axiom AX12LF User manual

Axiom AX2065A User manual

Axiom

Axiom AX2065A User manual

Axiom Algonquin User manual

Axiom

Axiom Algonquin User manual

Axiom AX2065A User manual

Axiom

Axiom AX2065A User manual

Axiom M100 User manual

Axiom

Axiom M100 User manual

Axiom AX8000 NEO User manual

Axiom

Axiom AX8000 NEO User manual

Axiom FMS 16/24 Specification sheet

Axiom

Axiom FMS 16/24 Specification sheet

Axiom W100 User manual

Axiom

Axiom W100 User manual

Axiom ED23PMKII User manual

Axiom

Axiom ED23PMKII User manual

Axiom Millennia M2 Technical manual

Axiom

Axiom Millennia M2 Technical manual

Axiom Vocal Point VP Zero User manual

Axiom

Axiom Vocal Point VP Zero User manual

Axiom AX2065P User manual

Axiom

Axiom AX2065P User manual

Axiom ED60P User manual

Axiom

Axiom ED60P User manual

Axiom AX800A NEO User manual

Axiom

Axiom AX800A NEO User manual

Axiom VP100 v2 User manual

Axiom

Axiom VP100 v2 User manual

Axiom Millennia User manual

Axiom

Axiom Millennia User manual

Axiom Audiobyte User manual

Axiom

Axiom Audiobyte User manual

Axiom ED120P User manual

Axiom

Axiom ED120P User manual

Axiom VP100 User manual

Axiom

Axiom VP100 User manual

Axiom AX6C User manual

Axiom

Axiom AX6C User manual

Popular Speakers manuals by other brands

Bang & Olufsen BeoLab 19 user manual

Bang & Olufsen

Bang & Olufsen BeoLab 19 user manual

Alecto MPA-BOX user manual

Alecto

Alecto MPA-BOX user manual

Whelen Engineering Company WSXPL6T Series Assembly

Whelen Engineering Company

Whelen Engineering Company WSXPL6T Series Assembly

Wonders Technology DS-827B manual

Wonders Technology

Wonders Technology DS-827B manual

Celestion Orange Label Series BN10-300S Specifications

Celestion

Celestion Orange Label Series BN10-300S Specifications

Sony SAVA-7 Service manual

Sony

Sony SAVA-7 Service manual

B&C Speakers MF Drivers DCM50 Specifications

B&C Speakers

B&C Speakers MF Drivers DCM50 Specifications

Naxa NAS-3080 instruction manual

Naxa

Naxa NAS-3080 instruction manual

Radio Shack 40-4093 owner's manual

Radio Shack

Radio Shack 40-4093 owner's manual

Kenwood KFC-1362 Servise manual

Kenwood

Kenwood KFC-1362 Servise manual

Eminence ASD 1001 Brochure & specs

Eminence

Eminence ASD 1001 Brochure & specs

ION Wave Rider Max quick start guide

ION

ION Wave Rider Max quick start guide

Sharper Image 207681 user guide

Sharper Image

Sharper Image 207681 user guide

Tannoy Precision owner's manual

Tannoy

Tannoy Precision owner's manual

Harman Kardon CITATION 300 owner's manual

Harman Kardon

Harman Kardon CITATION 300 owner's manual

Acoustic Energy AE29-06C How to use

Acoustic Energy

Acoustic Energy AE29-06C How to use

Blueant Burleigh product manual

Blueant

Blueant Burleigh product manual

König Electronic CMP-SPSU100 manual

König Electronic

König Electronic CMP-SPSU100 manual

manuals.online logo
manuals.online logoBrands
  • About & Mission
  • Contact us
  • Privacy Policy
  • Terms and Conditions

Copyright 2025 Manuals.Online. All Rights Reserved.