8
3. Screw the lter on the lid. The net should
be put on the underside of the lid.
FIG. 3
4. Put the barrel on its side, and insert the
legs in the fasteners. Put one leg in each
fastener. The feet on the legs should face
down.
FIG. 4
5. Stand the barrel up and close the lid with
the zip.
USE
1. Place the water barrel on a level, stable
surface near a drainpipe.
2. Put the end of the drainpipe near the
lter in the lid, or open the lid a little and
insert the end of the drainpipe in the
barrel. You may need to cut the drainpipe
and/or t a hook.
3. Fill the barrel with 5–10 cm of water to
keep it stable.
4. The rainwater that collects in the barrel
can be taken out from above, or drained
o with a hose via the tap.
5. The overow can be open or closed.
A hose can be connected to the overow
to lead the water to a suitable place.
FIG. 5
6. The overow can also be used to connect
two barrels together with a hose.
FIG. 6
MAINTENANCE
• Check the lter regularly, and clean if
necessary.
• Empty the barrel at the end of the season
and store in a frost-free place to prevent it
from being damaged.
• Store the barrel out of the reach of
children.
SAFETY INSTRUCTIONS
• Never allow children to play in,
or around the water barrel.
• Make sure that the lid is closed when the
barrel is unattended.
• Do not drink the rainwater in
the barrel. It is only intended
for watering and other similar
applications outdoors.
• Place the barrel on a level,
stable surface.
TECHNICAL DATA
Volume 225 l
Size H 80 x Ø 60 cm
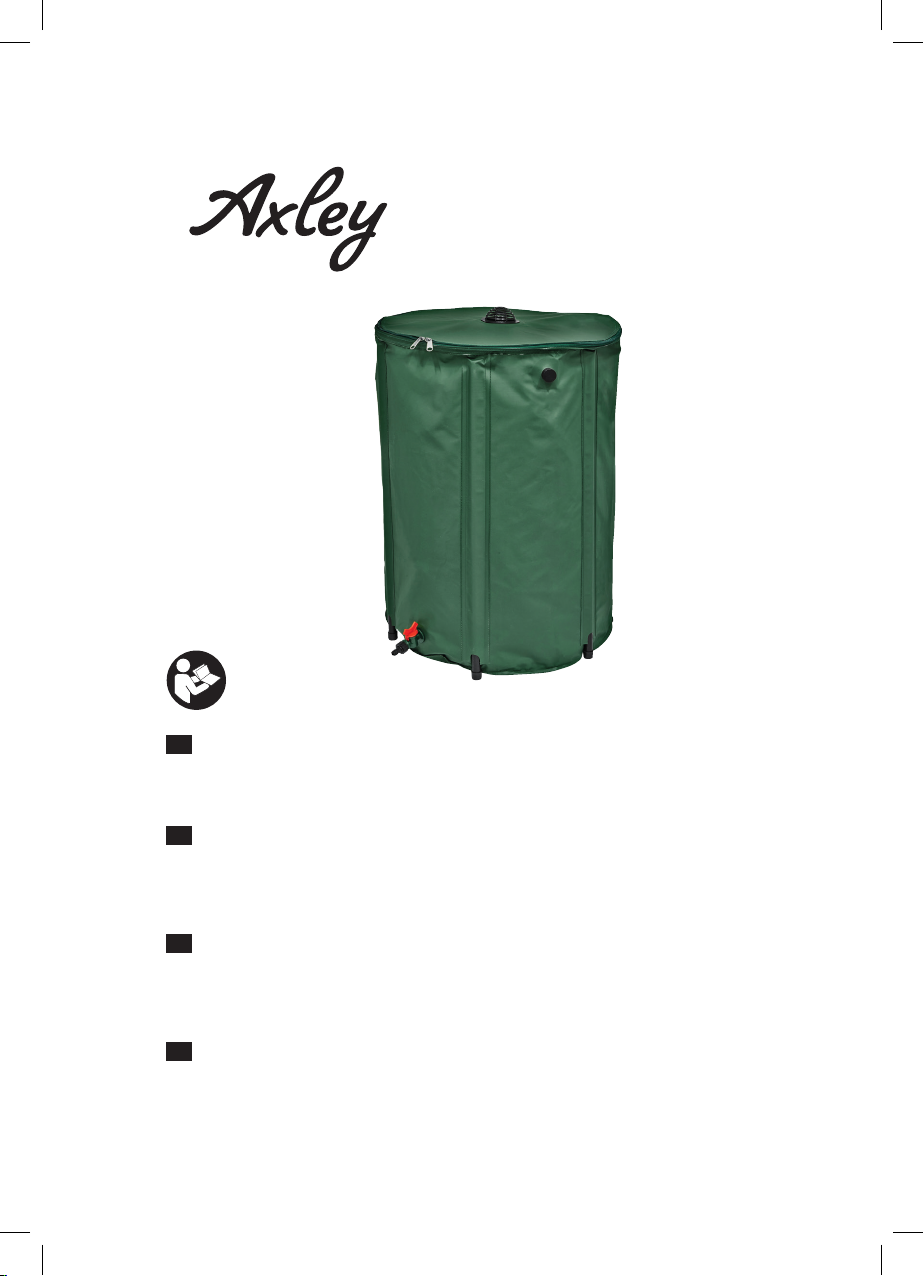
DESCRIPTION
COMPONENT PARTS
1 UV resistant vinyl barrel
1 overow
1 tap with quick-release coupling
1 lter
6 legs
ASSEMBLY
1. Open the water barrel and screw the tap
with nozzle on the outlet at the bottom of
the barrel. The tap is put on the outside of
the barrel. Put one of the supplied rubber
seals on the inside of the barrel and the
other on the outside.
FIG. 1
2. Screw the overow on the outlet at
the top of the barrel. The valve guard
is put on the outside of the barrel.
Put one of the supplied rubber seals on
the inside of the barrel and the other on
the outside.
FIG. 2