AYRSTONE AyrMesh Hub2x2 User manual

1Start Here
Turn over or shorter instructions
Quickstart Guide AyrMesh®Hub2x2
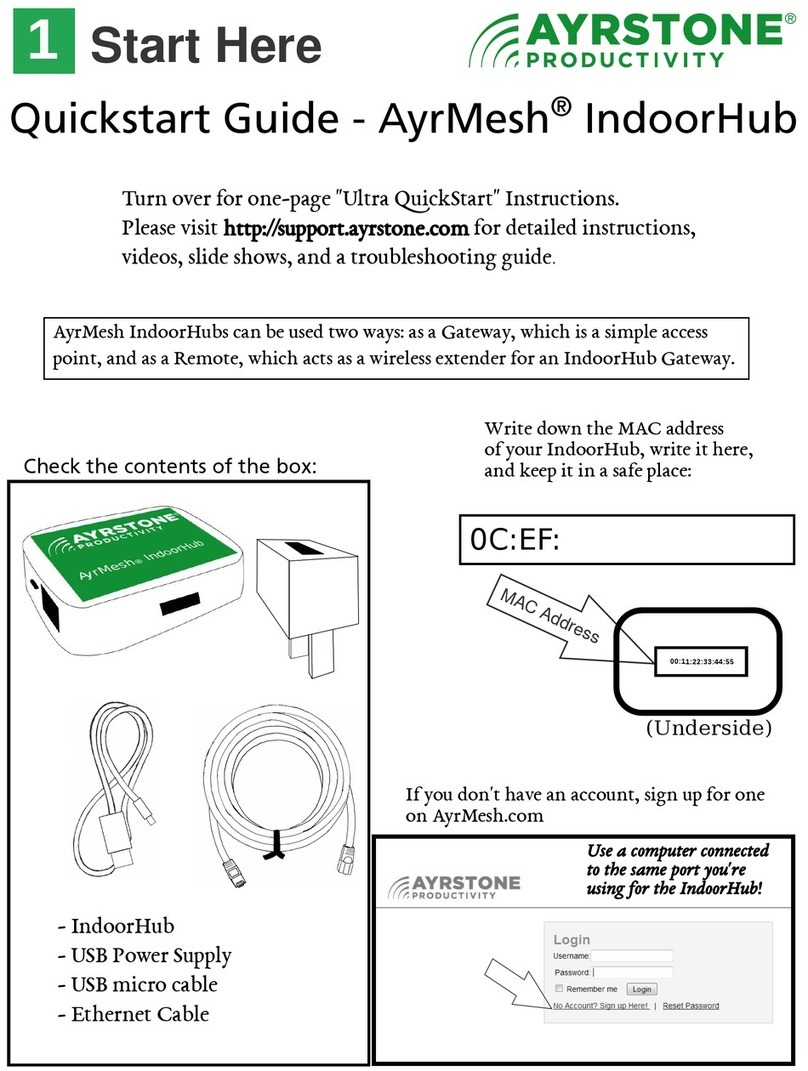
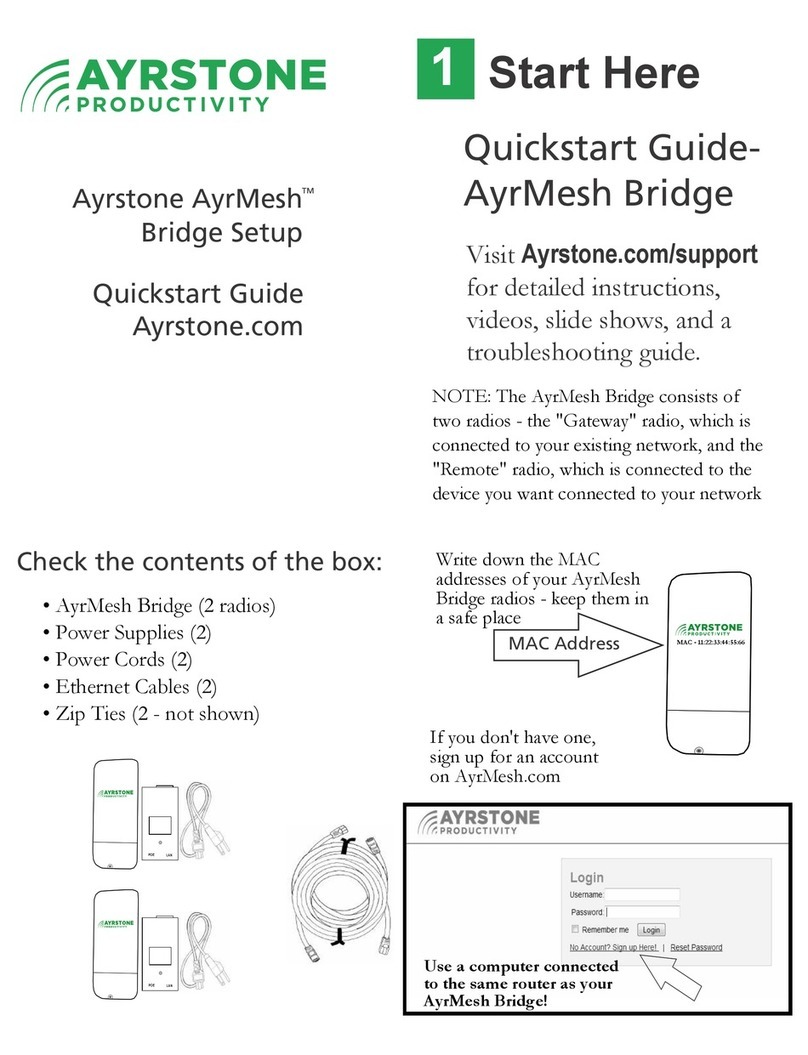
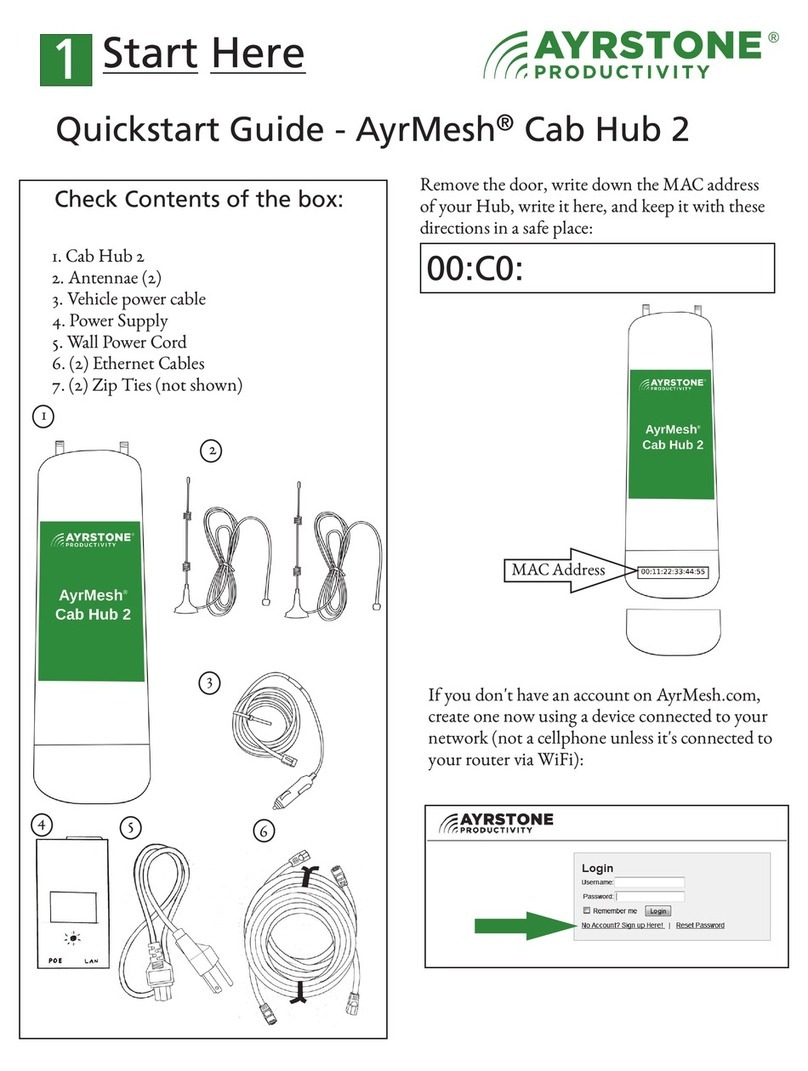
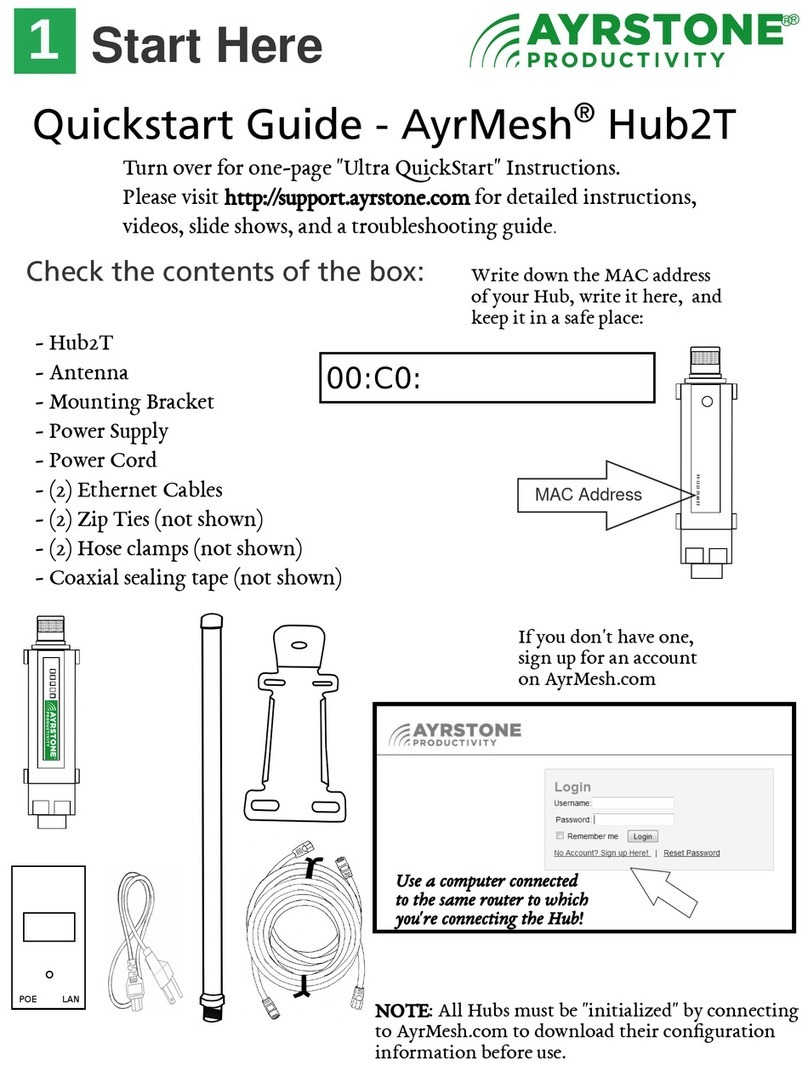
Check Contents o the box:
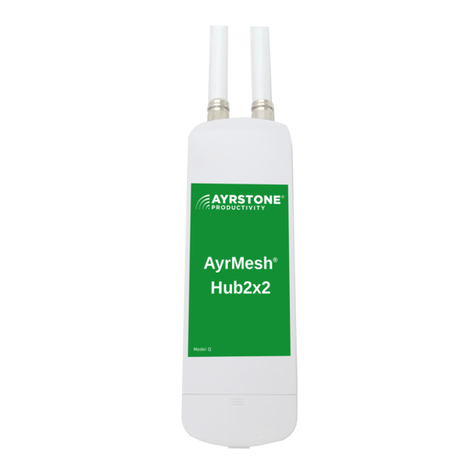
1. Hub2x2
2. Antennae (2)
3. Power Supply
4. Power Cord
5. (2) Ethernet Cables
6. (2) Zip Ties (not shown)
1
Remove the door, write down the MAC address
ofyour Hub, write it here, and keep it with these
directions in a safe place:
00:C0:
MAC Address
Ifyou don't have an account on AyrMesh.com,
create one now using a device connected to your
network (not a cellphone unless it's connected to
your router via WiFi):
2
34
5

2Assemble the Hub and
connect to router
Screw the antennae
gently onto the
threads on the Hub
- finger-tight (no
tools):
Plug an Ethernet cable into the left-hand port
(marked "LAN PoE IN") on the Hub - slide in
until it clicks in place:
Click the other end ofthe Ethernet cable
into the port on the power supply marked
"POE":
Use another Ethernet cable to connect the
LAN port ofthe power supply to one ofthe
LAN ports on your router.
Plug the power supply
into the wall:
This is how the
setup should look:
The PoE IN
light should
be on and the
WiFi light
blinking. The
top signal
light should
also start
blinking:
DO NOT FORCE
CONNECTORS IN OR
OUT OF PORTS!

Make Sure Hub is Working
The signal lights (3 top lights) will start out
"running" from bottom to top (or left to right if
it's on its side). When the Hub has checked in to
AyrMesh.com, just the top signal light will be on.
Hub is checking in
It usually takes about 1-2 minutes for the Hub to
check in and show up on AyrMesh.com, but
sometimes it takes a bit longer. Ifit hasn't shown
up after 5 minutes, try adding it manually with
the MAC address:
3
Finish the installation
4
All Hubs should be mounted outside, up as high as
possible, with the antennae pointing straight up.
Maximum range for the Hub depends on having
clear line-of-sight.
The Hub can be mounted to a flat surface with
four screws, or to a pole with the included zip ties.
Click the Ethernet cable from the Power Supply
into the right Ethernet port on the bottom ofthe
Hub - the one marked "PoE LAN/WAN" - ifit's
plugged into the other port, the Hub will still light
up, but it won't communicate through the
Ethernet port.
Carefully put the door back on the Hub - make sure
the cable is in one ofthe
cutouts in the bottom ofthe Hub.
When mounting the Hub, make sure to leave a "Drip
Loop" in the cable where it enters the building so water
does not run down the cable to the power supply.
Zip-ties
Pole
Screws
Drip
Loop

Signal lights on the Hub
5
Top Signal light - green
Second Signal light - orange
First Signal light - red
PoE OUT - unused
WiFi activity light - green
Other wireless - unused
USB - unused
Power light - green
Gateway Hubs have the Power light on steady,
the WiFi activity light flashing, and the Top
Signal light on steady.
Remote Hubs have the Power light on steady,
the WiFi activity light flashing, and the signal
lights on indicating the signal strength to the
nearest Hub:
• ust the first (red) signal light - very low signal
• First (red) and second (yellow) signal light -
good signal
• All three signal lights (green on top) - excellent
signal; Hubs may be too close together
Using the Hub
6
The AyrMesh Hub provides normal 802.11n
WiFi, just like any other WiFi access point.
Unless you have changed it in your
AyrMesh.com account, the default SSID is
"AyrMesh" and the default encryption passkey is
"Ayrmesh1" (note the capital "A").
NOTE: Once you have tested the Hubs, MAKE
SURE you CHANGE THE ENCRYPTION
PASSKEY (and the SSID ifyou want) in your
AyrMesh.com account to ensure the security of
your network!
Changes on AyrMesh.com may take up to half
an hour to take effect on your network - the
Hubs wait before changing to make sure all the
devices in the network receive the new
configuration.
The AyrMesh network extends the IP network
ofyour router, so, from a networking
perpsective, everything connected to the
AyrMesh network appears as ifconnected
directly to your router.
Select AyrMesh network (default:
AyrMesh
)
Enter the passkey (default:
Ayrmesh1
)

Troubleshooting
7
•
NO LIGHTS ON
- make sure power supply light is on steady (not pulsing or blinking); ifnot, make sure power cable is
fully plugged into power supply and into the wall plug. Make sure the wall plug has power. Ifpower
supply won't light up, contact Ayrstone support.
- check cables: make sure all cables are fully clicked into place; use a known-good short Ethernet cable
(available at most hardware stores).
•
SIGNAL LIGHTS CONTINUE TO "CHASE"AND/OR HUB DOES NOTCHECKINTO
AYRMESH.COM
- IfHub does not appear in your account, enter the MAC address into your account on AyrMesh.com
by hand.
- Gateway Hub
- check the cables between the Hub and the power supply and the power supply and the router -
replace with known-good short Ethernet cables.
- check to see ifthe Hub appears in the DHCP list (sometimes called "connected devices") on your
router. Ifit does, check your router configuration to see ifthere is some sort ofweb blocking enabled or
some other problem. Try a "factory reset" on your router.
- Remote Hub
- Make sure the Hub is getting good signal from the nearest "upstream" Hub - make sure it is within
2.5 miles, that the "Fresnel zone" between the Hubs is mostly clear, and that there isn't too much
interference on the channel selected on AyrMesh.com.
• DIFFICULTTO CONNECTTO THE WIFISIGNAL
- Don't use special characters (especially "%," "#", "&," and "$") or spaces in the SSID or encryption
passkey.
- Make sure you are spelling the passkey correctly - for example, the capital "A" in "Ayrmesh1"
- Solid objects will significantly weaken the strength ofthe WiFi signal - trees and wood-and-drywall
walls will weaken the signal significantly, while bricks or stones may block the signal and anything metallic
will almost certainly block the signal completely.
- The signal may be relatively weak directly beneath the Hub - the high-gain antenna is designed to cast
the signal out toward the horizon rather than up or down from the Hub.
•
NETWORKCRASHES AFTER AYRMESHDEVICE ADDED
- Check for another router - do not use secondary routers on your network unless you understand IP
networking, especially subnets and NAT.
- Check for static addresses on your network - do not use static IP addresses on devices in your network;
use DHCP reservations instead to avoid IP address conflicts.
- Check for network loops - commonly caused by devices with multiple ways to connect to the network
(e.g. printers or cameras with both Ethernet and WiFi)
See http://support.ayrstone.com for additional information, hints, and troubleshooting tips.

ULTRAQUICKSTART GUIDE
1
These minimized directions are intended for more knowledgeable or experienced installers, or just for the
impatient. Turn this booklet over for more in-depth instructions, and see https://support.ayrstone.com
for additional information.
Turn over or more indepth instructions
GET READY: Write down the MAC address ofthe Hub in the box below and
put it someplace safe. Ifyou haven't already, create an account on
AyrMesh.com from a computer connected to the same router that the Hub
will be connected to. This ensures you won't have to enter the Hub's MAC
address manually.
00:C0:
2
ASSEMBLE: Screw the antennae into the top ofthe Hub (finger-tight, no tools), then open the
door on the bottom ofthe Hub, exposing the Ethernet ports.
3
INITIALIZE: With an Ethernet cable, connect the LAN port of
the Power Supply to your router. With another Ethernet cable,
connect the PoE port ofthe Power Supply to the "PoE In" port
on the Hub. Plug in the power supply (lights on the Hub will go
on). Wait until the Hub checks in to AyrMesh.com - the signal
lights will "run" from bottom to top, then the top signal light will
remain lit. This should take about a minute.
4
INSTALL: Mount the Hub outdoors, as high and "in the clear"
as possible. Run a long (preferably shielded - STP) Ethernet
cable from the power supply (which must be kept dry) to the
Hub - remember to leave a "drip loop" where the cable enters the
building to prevent water from coming down the cable inside.
The Gateway Hub must have the "LAN" port of the power
supply connected to the Router; Remote Hubs have the LAN
port available for connecting other devices.
Zip-ties
Pole
Screws
Drip Loop
See http://support.ayrstone.com for additional information, hints, and
troubleshooting tips.
Table of contents
Other AYRSTONE Network Hardware manuals
Popular Network Hardware manuals by other brands

CoolAutomation
CoolAutomation CoolMaster Quick installation guide

Sena
Sena HelloDevice Lite Series user guide

Vpon
Vpon VP-2 Series Quick reference manual

Lenovo
Lenovo Storage N3310 User guide and hardware maintenance manual

Asoni
Asoni NVR609LX user manual

Dell
Dell OptiPlex Small Form Factor 7010 owner's manual