Azbil 700 series User manual

Smart Valve Positioner 700Series
with FOUNDATION Fieldbus
Model AVP703
User's Manual
CM2-AVP703-2001

Important
• Please be sure to hand this manual to the staff who will be using this product.
• No part of this publication may be reproduced or reused in any form or by
any means without the prior written permission of the publisher.
• The information and specifications in this document may be subject to
change without prior notice.
• While the contents of this document have been thoroughly checked, please
contact us if you find any incorrect or incomplete descriptions.
• We can not take responsibility for any unexpected results that are the result of
your handling of the product.
• FOUNDATION™Fieldbus is a trademark of the FieldComm Group.
© 2014–2019 Azbil Corporation. All Rights Reserved.

i
Introduction
Thank you for purchasing our AVP703 Smart Valve Positioner. The AVP703 (called
“the device” below) is a smart valve positioner that can be connected to the Foundation
Fieldbus.
The auto setup function makes it easy to set up the valve.
All adjustments and setup can be performed from the Foundation Fieldbus host. The Local
User Interface (LUI), which consists of the LCD (liquid crystal display) and operation
buttons, facilitates monitoring of input signals, valve opening, pressure display, and other
items as well as basic adjustments.
In addition, the built-in pressure sensor can be used to measure the supply air pressure and
output air pressure. As a result, the device can not only perform self-diagnostics but can
also be combined with the control valve maintenance support system called “Valstaff ” in
order to monitor the characteristics, operating status, and other data of the control valve,
helping to improve the maintenance efficiency of control valves. This instruction manual
describes how to handle the device. Read this manual to make full use of the features of
this product.
Scope of this manual and related documents
This document describes the functions and method of installation and adjustment of this
device. For details on the FOUNDATION Fieldbus network, refer to Fieldbus Integration
Manual (No. CM2-FBS100-2001*).
For details on the control valve diagnostic items, refer to the Smart Valve Positioner 700
Series Control Valve Diagnostic Function Manual (No. CM2-AVP700-2003*).
* If you need the above documents, please contact one of our sales representatives.

ii
Safety precautions
Symbols
The purpose of the safety precautions listed here is to ensure the user uses the product
safely and correctly, to prevent harm to the user and other people and damage to property.
Make sure to observe the safety precautions.
Many different symbols are used in this manual.
Their appearance and meaning are described below. Thoroughly understand the
explanation before starting to read the main text.
WARNING Wrong handling may cause the death or severe injury of the user.
CAUTION Wrong handling may cause a minor injury to the user or damage to equipment.
Sample symbols
This symbol indicates warnings and cautions for handling the device.
This symbol indicates prohibited actions that must not be taken.
This symbol indicates instructions for an action that must be taken.
Handling Precautions:
This symbol indicates a point to be noted when handling the device.

iii
Precautions for safe work
WARNING
Do not perform wiring with wet hands or while the device is energized. This may lead to electric
shock. Turn the power off before starting the work and work with dry hands or use gloves.
Follow the work procedure defined in the explosion protection guidelines when performing the
power distribution work in an explosion-proof area.
For devices equipped with the pressure-resistant, explosion-proof specifications, do not open the
cover during operation (while the power is on).
CAUTION
Do not get on the installed device or use it as a step stool. This is dangerous because the device may
tip over.
Do not touch the device during operation without reason. This is dangerous because the surface may
be hot or cold depending on the usage environment.
Be careful not to touch the edge of the cover or the screw threads of the main unit when opening the
cover of the terminal box. You may be injured by these parts.
Use a DC power supply with overload protection. Overload may cause smoke or fire.
If a tool or other item touches the glass part of the display, it may break, leading to an injury. Be
careful. Wear safety glasses during work.
This product is heavy. Be careful where you step and wear safety shoes during work.
Do not touch the feedback lever or other moving part while the device is operating. You may be
injured by getting your hand or other body part caught in them.
Properly use the power supply based on the specifications. Inputting a different power supply may
damage the device.
Use gloves and other protective equipment during work in a hot, cold, or other severe environment.
Do not move the device close to a magnet or magnetic driver. The control valve may operate.
Apply the correct supply air pressure in accordance with the specification of the device. The
overpressure may cause abnormal actions of the control valve or damage to the pressure gauge.

iv
Unpacking, Verification, and Storage of Product
Unpacking
This device is precision measuring equipment. Carefully handle it to prevent accidents or
damage.
After unpacking, check that the items below are included.
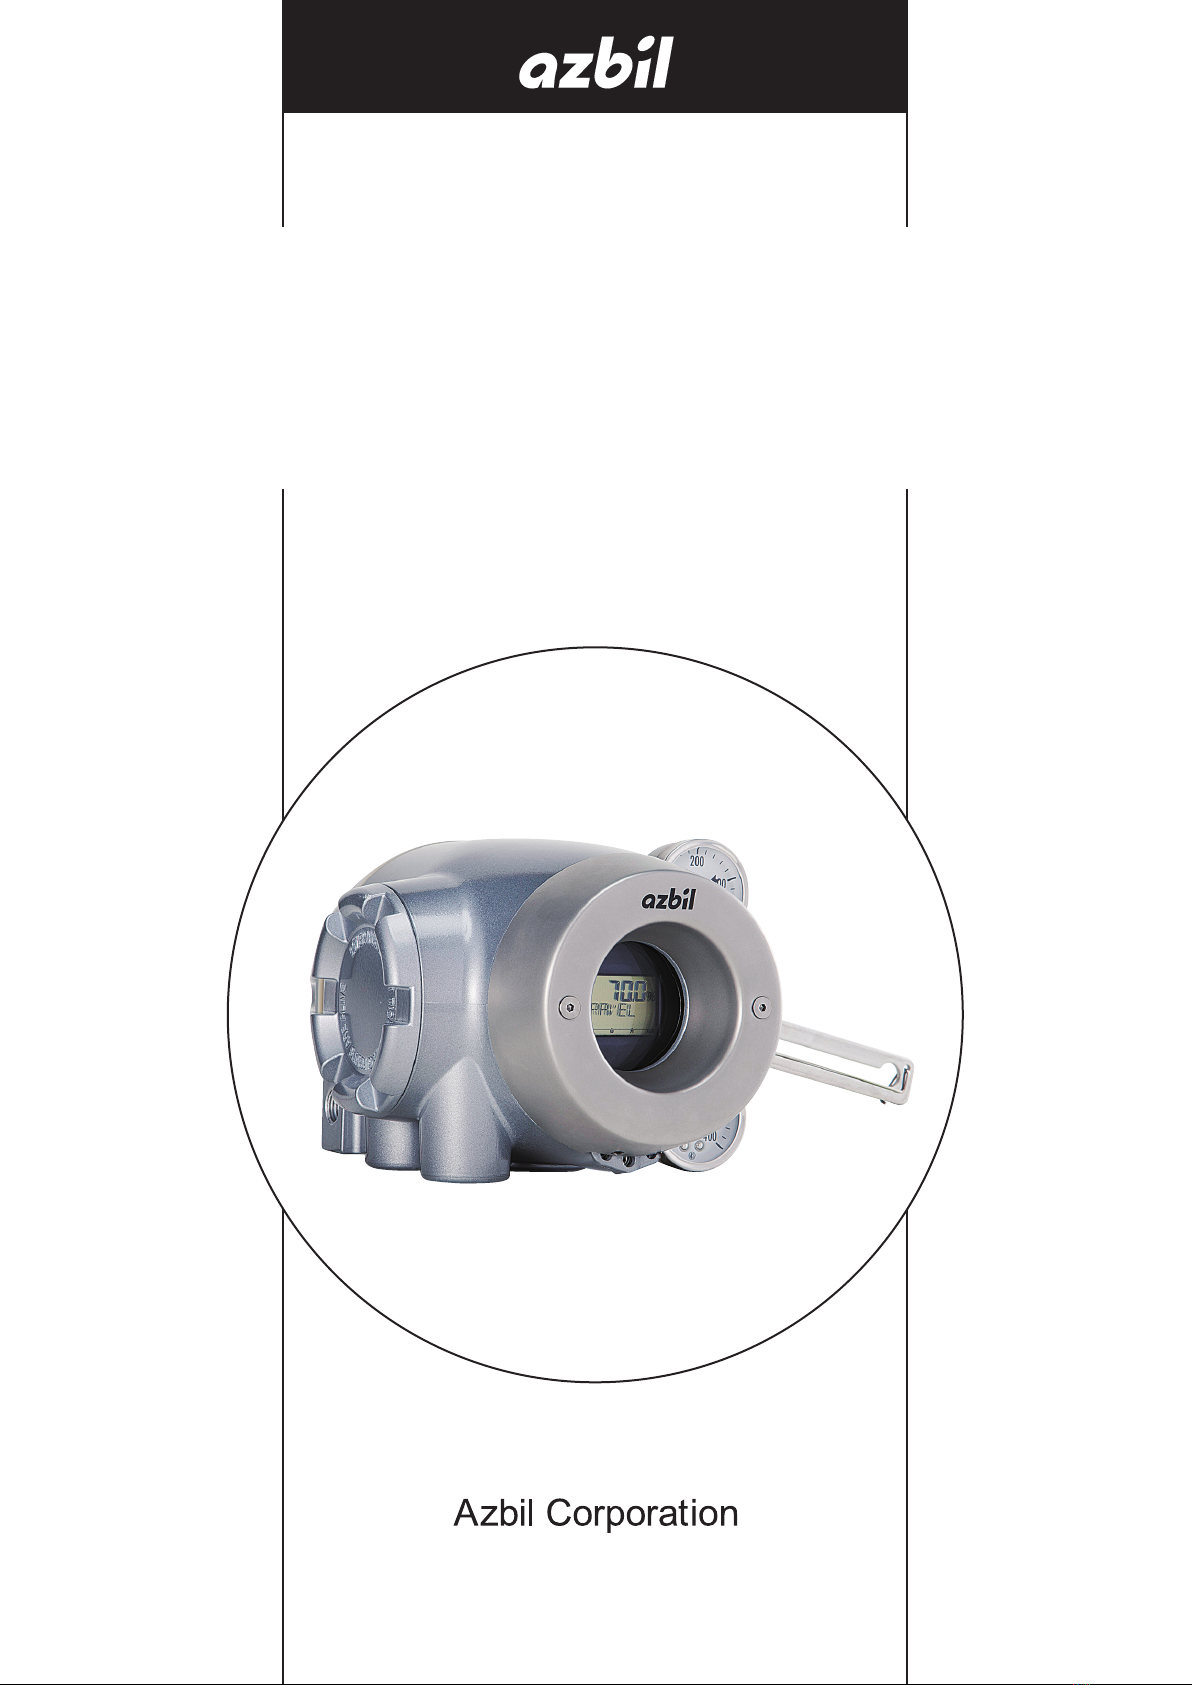
• The device
• Feedback lever and hexagon socket bolts×2
• (4-mm) hexagon wrench×1 (for feedback lever) (Included only when the device is
shipped alone.)
• Solenoid valve (KZ03) (optional)
• Mounting plate set (optional)
• Pressure-resistant packing cable adapter and pressure-resistant elbow (option for
explosion-proof specifications)
• Instruction manual (this document) (Included if specified at the time of purchase.)
• Extension lever and hexagon socket bolts×2 (optional)
Specifications check
The specifications are shown on the nameplate of the main unit. Check that the specifications
are the same as what you specified. In particular, confirm the following points.
• Tag No. (TAG No.)
• Model (MODEL)
• Work No. (PROD.)
• Supply air pressure (SUPPLY)
• Explosion protection certification seal (for explosion-proof specifications)
WARNING
When using the device in an explosion-proof area, be sure to select the model that satisfies the
necessary explosion-proof requirements. Non-explosion-proof products cannot be used in an
explosion-proof area.
Contact
For inquiries about this device, please contact us.
When contacting us, let us know the model number and production number.
Storage
When storing the device after purchase, obey the following precautions.
• When storing the device before it has been used
1. Store the device as packed at shipment.
2. Store the device at an indoor location with little vibration or shocks and at normal
temperature and humidity (about 25°C, 65%).
• When storing the device after it has been used
1. Tightly secure the terminal box cover and block the conduit connection port with
tape to prevent humidity intrusion.
2. Block the three pneumatic piping connection ports (SUP, OUT1 and OUT2) with
tape to prevent humidity and dust intrusion.
3. Pack the device in the same way as at shipment.
4.
Store the device at an indoor location with little vibration or shocks where it will not be
exposed to rain or water and at normal temperature and humidity (about 25°C, 65%).

v
Table of Contents
Chapter 1. Structure of the 700 Series Control System 1-1
1-1. System Configuration 1-1
1-2. Structure of the Device and Description of Each Part 1-3
1-2-1. Structure of the Device 1-3
1-2-2. Structure of Terminal Box 1-5
1-2-3. Display on the Local User Interface (LUI) 1-7
Chapter 2. Installation of the 700 Series 2-1
2-1. Usage Conditions 2-2
2-2. Selection Criteria for Installation Location 2-3
2-2-1. Selection Criteria for Installation Location 2-3
2-3. Installation Procedure 2-5
2-3-1. Mounting the 700 Series onto the Actuator 2-5
2-3-2. Pneumatic Piping Connection 2-11
2-3-3. Electrical Wiring Connection 2-14
2-3-4. Cables 2-16
2-4. Cable gland and flameproof universal elbow for TIIS Flameproof apparatus 2-18
Chapter 3. Operation of the 700 Series 3-1
3-1. Local User Interface (LUI) 3-2
3-1-1. Displays 3-4
3-1-2. Disp_TB Display 3-5
3-2. Adjustment before Operation 3-14
3-2-1. Auto Setup 3-14
3-2-2. Zero Span Adjustment 3-17
3-2-3. Supply Bypass 3-20
3-2-4. Control Parameters 3-21
3-3. Starting Operation 3-23
3-3-1. Checking Fieldbus Operation 3-23
3-3-2. Preoperation Check 3-24
Chapter 4. Operations Using Fieldbus Communication 4-1
4-1. Fieldbus Communication Menus 4-1
4-2. Setup and Adjustment of Device 4-1
4-2-1. Process Variables 4-2
4-2-2. Auto Setup 4-2
4-2-3. Valve System 4-4
4-2-4. Control Configuration 4-5
4-2-5. Characterization 4-6
4-2-6. Final Value Cutoff 4-7
4-2-7. Units 4-7
4-2-8. Travel Calibration 4-8
4-2-9. Pressure Sensor Adjustment 4-9
4-2-10. Simulation 4-9
4-2-11. Test 4-10
4-2-12. Restore factory settings 4-11
4-2-13. Operator Action Records 4-11
4-2-14. Device Information 4-12
4-2-15. FF Option 4-12
4-3. Diagnostic Messages 4-13
4-3-1. Self-Diagnostic Messages 4-13

vi
4-3-2. Control Valve Diagnostic Messages 4-15
Chapter 5. Troubleshooting 5-1
5-1. Troubleshooting 5-2
5-1-1. The Device Does Not Operate. (There Is No Output Air Pressure.) 5-2
5-1-2. The Control Valve Operates Abnormally (There Is Output Air Pressure.) 5-3
5-1-3. Display Transducer Block Does Not Switch To Auto (LUI display says “DISP_OOS.”)
5-3
5-1-4. Adjustment Procedure When Hunting Occurs 5-4
5-1-5. Auto Setup Failure 5-5
5-2. Description of Messages 5-6
Chapter 6. Maintenance 6-1
6-1. A/M Switch 6-2
6-2. Replacement of Filter and Maintenance of Flow Restrictor 6-3
6-3. Cleaning the Flapper 6-4
6-4. Adjusting the Pilot Relay 6-5
6-5. Insulation Resistance Test 6-6
6-6. Adjustment Procedure When Using the Device with the Booster Relay Attached 6-7
6-7. Internal Block Diagram of the 700 Series 6-8
6-8. Resale Parts 6-8
6-8-1. Procedure to Change Switch Block 6-12
6-8-2. Procedure to Change Pilot Relay 6-13
Chapter 7. Notes on the Explosion-Proof 700 Series 7-1
7-1. TIIS Flameproof Model 7-2
7-2. ATEX Flameproof and Dust Ignition Protection 7-3
7-3. IECEx Flameproof and Dust Ignition Protection 7-5
7-4. FM Explosionproof/Dust Ignition Protection 7-7
7-5. FM Intrinsically safe (ic) and Nonincendive 7-8
7-6. FMC Explosionproof/Dust Ignition Protection 7-11
7-7. NEPSI Flameproof/Dust Ignition Protection 7-12
7-8. KOSHA Flameproof 7-14
7-9. INMETRO Flameproof/Dust Ignition Protection 7-15
7-10. EAC Flameproof 7-17
7-11. ATEX Intrinsic Safety and Dust Ignition Protection 7-18
7-12. IECEx Intrinsic Safety and Dust Ignition Protection (FISCO) 7-19
Appendix A. LUI Display Example A-1
Appendix B. Menu List B-1
Appendix C. Parameter List C-1
Appendix D. Specifications D-1
Appendix E. Model Configuration Table E-1
Appendix F. Outline Dimensional Drawing F-1
Terms and Conditions S2

1-1
Chapter 1 Structure of the 700 Series Control System
Chapter 1. Structure of the 700 Series Control System
This chapter describes the device configuration of the control system that uses the device.
• Description of the configuration of the input/output system in the device
• Description of the structure of the main unit of the device and the name and function of
each part
1-1. System Configuration
This device is a Fieldbus-enabled smart valve positioner and registered Foundation Field-
bus product.
The concept and the operation block diagram of the control valve control system that uses
the device are shown below.
Other Fieldbus device
Fieldbus
Air supply
system Shutoff
valve
Solenoid valve
with filter
Supply air
Device
Air to the actuator
Control valve
Process fluid
Figure 1-1. Concept Diagram of the 700 Series Control System

1-2
Chapter 1 Structure of the 700 Series Control System
1) Operation block diagram
The block configuration of a typical function block and positioner is shown in the figure
below.
Fieldbus
Resource
Block
AO
Function
Block
Positioner
Transducer
Block
Positioner
control section
Electropneumatic
transduction
section
Position
sensor Pilot
CV
−
PID
SP
IN OUT
PV
Figure 1-2. Operation Block Diagram (AVP703)

1-3
Chapter 1 Structure of the 700 Series Control System
1-2. Structure of the Device and Description of Each Part
1-2-1. Structure of the Device
1) Major components
The structure of the main unit of the device is shown in the figure below.
Mounting plate (optional)
Feedback lever
Supply air pressure gauge
Main unit
Local user
interface (LUI)
Output air pressure gauge
Output air connection port (OUT1)
Figure 1-3. Structure of the Device (Upper)
Electrical conduit connection port
Pilot relay cover
External grounding terminal
Terminal box cover
Exhaust cap
Output air connection port (OUT2)
Supply air connection port (SUP)
Figure 1-4. Structure of the Device (Lower)

1-4
Chapter 1 Structure of the 700 Series Control System
2) Name and description of each part
The table below describes each part.
Table 1-1. Description of Each Part
Name Description
Main unit
• Houses electronic circuits, an electro-pneumatic trans-
ducer (EPM), a position sensor (VTD), and a pressure
sensor.
Pilot relay cover
• Cover of the pilot relay that amplifies the air signal from
the EPM (electro-pneumatic transducer) and transduces
it into the air signal sent to the actuator.
• When you must adjust the balance pressure to switch
between the pilot relay for the single-acting actuator and
the pilot relay for the double-acting actuator, remove
this cover.
Auto/Manual (A/M)
switch
• This switch is used to switch how the output air between
the auto operation status and the manual operation
status is controlled. This switch is built into the pilot
relay. This switch can be seen by removing the pilot relay
cover.
Feedback lever • Extracts and transmits the movement of the control
valve lift to the VTD (position sensor).
Local user interface (LUI)
• The LUI allows you to adjust the zero span, perform
auto setup, and manually operate the device with the
LCD (liquid crystal display) and operation buttons with-
out using the communicator.
Supply air pressure gauge • Indicates the pressure of supply air.
Output air pressure gauge • Indicates the pressure of output air.
Supply air connection
port (SUP)
• Supply air is input to this port.
• “SUP” is displayed at this port.
Output air connection
port (OUT1)
• Output air is sent out of this port to the actuator.
• “OUT1” is displayed at this port.
Output air connection
port (OUT2)
• Output air is sent out of this port to the actuator.
• This port is blocked with a blind plug in the single-
acting actuator.
• OUT2 is displayed at the output port for the double-
acting actuator.
Mounting plate (optional)
• The mounting plate is used to mount the device onto the
actuator.
• The shape of the mounting plate differs depending on
the specifications (actuator model).

1-5
Chapter 1 Structure of the 700 Series Control System
1-2-2. Structure of Terminal Box
1) Major components
The terminal box houses the Fieldbus terminal and the internal grounding terminal.
The structure of the terminal box is as shown below.
Lock screw
Conduit connection port (2)
Conduit connection port (1)
Terminal
box cover
Figure 1-5. Structure of Terminal Box
Figure 1-6. Terminal Block in the Terminal Box
M4 screw
for Fieldbus terminal
M4 screw
for internal grounding terminal
M4 screw
for external grounding terminal

1-6
Chapter 1 Structure of the 700 Series Control System
2) Name and description of each part
The table below describes each part of the terminal box.
Table 1-2. Description of Each Part
Name Description
Terminal box cover • Lid of terminal box.
• This cover has a pressure-resistant explosion-proof structure.
Lock screw • Used to secure the terminal box cover.
Fieldbus terminal • “FB” is displayed at this terminal.
• The Fieldbus signal cable is connected to this terminal.
External grounding
terminal
• External terminal for grounding. The cable for grounding is
connected to this terminal.
Internal grounding
terminal
• Internal terminal for grounding. The cable for grounding is
connected to this terminal.
Conduit connection
port (1) • Service entrance for a cable.
Conduit connection
port (2)
• Service entrance for a cable.
• This entrance is normally blocked with a blind plug.
WARNING
When using a pressure-resistant explosion-proof model in a dangerous place, be sure to use the
specified cable adapter for pressure-resistant packing for the conduit connection port. Securely
close the terminal box cover all the way. Then, rotate the lock screw counterclockwise to secure the
terminal box cover.
Handling Precautions:
Ground either the external or internal grounding terminal according to the
specifications. Be careful not to ground the device at two points.

1-7
Chapter 1 Structure of the 700 Series Control System
1-2-3. Display on the Local User Interface (LUI)
Figure 1-7. Segments on the LUI
Table 1-3. Description of Each Part
No. Displayed element Main display
(1) 7 segments (5 digits) Displays the main numerical values such as the speci-
fied opening.
(2) Minus sign Displays the sign for the 7-segment number.
(3) Decimal point (5 places) Displays the decimal point for the 7-segment number.
(4) 16 segments (7 digits) Displays the unit, status, or other data.
(5) Dot (6 places) Displays the 16-segment auxiliary display, separator, or
other data.
(6) Percentage Displays %.
(7) Bar graph (22 bars) Displays the bar graph in percentage at a set point, etc.
(8) Key mark
On: LUI operation is unavailable.
Off: LUI operation is available.
Blinking: LUI is in operation.
(9) Flag mark
When the self-diagnostic alarm is activated, the key
mark is displayed. For detailed information of the
alarms, please refer to the status monitor of page 3-4 .
(10) Display refresh mark Display during operation
White and black circles alternately blink.
For a display example, refer to “Appendix A. LUI Display Example.”
Handling Precautions:
The LUI buttons may not respond well near an electromagnetic inductor (such as
a large transformer or high-frequency furnace).
Remove sand, dust, and other foreign objects from the rubber parts of the
operation buttons before operating the LUI. Operating the LUI with foreign
objects on it may damage the rubber parts.
Do not pull the rubber parts of the operation buttons. This may deteriorate the
sealability, possibly causing malfunction.
(3)
(6)
(7)
(1)
(10)
(5)
(8)
(9)
(2)
(4)

1-8
Chapter 1 Structure of the 700 Series Control System

2-1
Chapter 2 Installation of the 700 Series
Chapter 2. Installation of the 700 Series
This chapter describes the usage conditions, installation, piping, and wiring of the device.
Precautions for safe work
WARNING
Do not perform wiring with wet hands or while the device is energized. This may lead to electric
shock. Turn the power off before starting the work and work with dry hands or use gloves.
Follow the work procedure defined in the explosion protection guidelines when performing the
power distribution work in an explosion-proof area.
For devices equipped with the pressure-resistant, explosion-proof specifications, do not open the
cover during operation (while the power is on).
CAUTION
Do not get on the installed device or use it as a step stool. This is dangerous because the device may
tip over.
Do not touch the device during operation without reason. This is dangerous because the surface may
be hot or cold depending on the usage environment.
Be careful not to touch the edge of the cover or the screw threads of the main unit when opening the
cover of the terminal box. You may be injured by these parts.
Use a DC power supply with overload protection. Overload may cause smoke or fire.
If a tool or other item touches the glass part of the display, it may break, leading to an injury. Be
careful. Wear safety glasses during work.
This product is heavy. Be careful where you step and wear safety shoes during work.
Do not touch the feedback lever or other moving part while the device is operating. You may be
injured by getting your hand or other body part caught in them.
Properly use the power supply based on the specifications. Inputting a different power supply may
damage the device.
Use gloves and other protective equipment during work in a hot, cold, or other severe environment.
Do not move the device close to a magnet or magnetic driver. The control valve may operate.
Apply the correct supply air pressure in accordance with the specification of the device. The
overpressure may cause abnormal actions of the control valve or damage to the pressure gauge.

2-2
Chapter 2 Installation of the 700 Series
2-1. Usage Conditions
The device must be installed in the location, which satisfies the following conditions.
Also, the divice must be used in accordance with its specification.
Table 2-1. Range of Usage Conditions
Units
Basic
operating
conditions
Normal
operating
conditions
Marginal
operating
conditions
Transportation
conditions
Operating
temperature
range
General model °C +23 ±2 −40 to +80 −40 to +80 −40 to +70
TIIS flameproof model °C +23 ±2 −20 to +55 −20 to +55 −40 to +70
ATEX/IECEx/FM/
FMC/NEPSI/KOSHA/
EAC/INMETRO
flameproof model
°C +23 ±2 −30 to +75 −30 to +75 −40 to +70
FM Intrinsically Safe (ic)
and Nonincendive
°C +23 ±2 −24 to +75 −24 to +75 −40 to +70
ATEX/IECEx intrin-
sically safe model
(FISCO)
°C 23±2 −40 to +60 −40 to +60 −40 to +70
LUI °C +23 ±2 0 to +50 −40 to +80 −40 to +70
Power supply voltage V 9 to 32 9 to 32 32 —
Vibration Amplitude *1mmp-p 0 15/(5 to 8 Hz) 15/(5 to 10 Hz) 15/(5 to 10 Hz)
Acceleration *1*2m/s20 20/(8 to 400 Hz) 40/(10 to 400 Hz) 40/(10 to 400 Hz)
Friction of applied valve % 3 to 20 3 to 20 0 to 3
20 to 100 —
Supply air pressure Ps
(140kPa≤Ps≤700kPa) kPa Ps ±1% 140 to 700 0 to 710 —
Installation orientation *3° ±1*4±180 ±180 ±180
Humidity range %RH 50 ±10 5 to 100 5 to 100 5 to 100
Each operating condition is defined as follows.
• Basic operating condition: Range in which the accuracy is guaranteed
• Normal operating condition: Range in which the positioner normally operates
• Marginal operating condition: Range in which performance is not guaranteed but the device can be used with-
out being permanently damaged
• Transportation condition: Environment condition range in which the non-operating device is not permanently
damaged during transportation
*1. Vibration conditions when the positioner cover is positioned at the center front.
*2. The pressure gauge is not applied.
*3. The slope characteristics are not included.
*4. The status where the drive shaft of the direct-acting actuator is perpendicular to the ground and that is used as the reference.

2-3
Chapter 2 Installation of the 700 Series
2-2. Selection Criteria for Installation Location
The device is designed to withstand severe conditions, but the installation location should
be selected according to the criteria described below to maximize performance.
2-2-1. Selection Criteria for Installation Location
Install the device in a location that satisfies all of the following conditions.
• Operating temperature range that conforms to the explosion protection rules
• Relative humidity: 5 to 100%RH
• Ambient temperature change rate: ±20°C/hr or slower
• Electromagnetic induction: 400 A/m or less (Avoid places near a large transducer, high-
frequency furnace, or other such equipment.)
• Do not use a transceiver near the device.
• Vibration: 20 m/s2(5 to 400 Hz) or less (The vibration conditions defined for the device
are the vibrations at the positioner part.)
2-2-1-1. Criteria for instrumentation air
The device employs a nozzle flapper structure in the electropneumatic transduction sec-
tion. If instrumentation air is contaminated (includes oil, water, or other substance), the
positioner function of the device may not function properly or an irrecoverable failure may
occur. Therefore, the quality of instrumentation air supplied to the device is defined as fol-
lows.
• Solid material: No particles with a diameter larger than 3 μm.
• Oil: Less than 1 ppm.
• Supply air humidity: The dew point temperature is at least 10°C lower than that of the
device.
(This criterion is based on Japanese Industrial Standards JIS C 1805-1(2001).)
Select a compressor and main line or terminal-installation type compressed air purifier by
referring to the above specifications.
(1) Compressed air purifier for the main line
Select a compressed air purifier for the main line, such as a main line filter or micro-
alescer, to satisfy the above specifications.
Domestic compressed air purifier manufacturers of Japan: SMC Corporation and CKD
Corporation
(2) Compressed air purifier to be installed on the terminal
If an air purifier cannot be installed on the main line due to installation of a control
valve or for other reasons, use an compressed air purifier that can be installed on the
terminal in order to satisfy the above specifications.

2-4
Chapter 2 Installation of the 700 Series
<Example devices>
Products from SMC Corporation
• Mist Separator AM150 or AM250 Series (Filtering level: 0.3 μm, Secondary oil mist
concentration: 1.0 mg/m3)
CKD Corporation
• Oil mist filter
• M1000 or M3000 Series
• Mantle S Type (Filtering level: 0.3 μm, Remaining oil: 1.0 mg/m3)
Handling Precautions:
Select a compressed air purifier with specifications suited to the usage conditions.
Even when you install the above oil removal equipment, it is necessary to properly
inspect and maintain the air circuit section for long-term stable operation. Install
the oil removal equipment before use and perform periodic inspection and
maintenance.
The warranty is void if the device fails because the quality of the above
instrumentation air was not sufficient.
Other manuals for 700 series
2
This manual suits for next models
1
Table of contents
Other Azbil Valve Positioner manuals
Popular Valve Positioner manuals by other brands

Atlas Copco
Atlas Copco ILS Target Quad STB-S Product instructions

SMAR
SMAR FY302 Installation, operation and maintanance manual

Leuze
Leuze BPS 8 operating instructions

ABB
ABB TZIDC-220 operating instructions

Pepperl+Fuchs
Pepperl+Fuchs PGV...-F200...-R4-V19 Series manual

halstrup-walcher
halstrup-walcher PS*3**C series instruction manual